

In dental photography, black and white backgrounds are staples of portrait photography, each offering distinct advantages and challenges. Choosing the right background and understanding its nuances can significantly enhance the quality of your images.
Black Background
A black background is highly popular for dental photography due to its ability to make portraits appear brighter and more vivid. However, it requires meticulous attention to lighting and camera settings.
- Lighting Considerations: A black background absorbs light, necessitating slightly brighter settings. However, overexposure of the patient’s face must be avoided.
-
Recommended Settings:
- Aperture: f/18
- ISO: 100
- Shutter Speed: 1/125
- Flash Power: 1/2
- White Balance: Slightly warmer (~5500K) to counteract blue tones.
Pro Tip: Pay attention to the patient’s clothing color. White attire against a black background can create a colder appearance. Adjust the white balance to achieve a visually appealing, warmer tone.
White Background
A white background reflects light, making it easier to work with and forgiving in terms of lighting adjustments. It’s ideal for creating clean and professional images.
- Lighting Considerations: The reflective nature of white allows for slightly dimmer settings compared to black backgrounds.
-
Recommended Settings:
- Aperture: f/20
- ISO: 100
- Shutter Speed: 1/125
- Flash Power: 1/4
Pro Tip: If the patient is wearing colored clothing, white backgrounds may reflect these colors. Maintain a one-meter distance between the patient and the background and consider using an additional flash on the background to keep its color clean and neutral.
Key Tips for Both Backgrounds
- Adjusting White Balance: The lighting temperature and camera white balance settings differ. For example, lighting at 3000K is warm, but the same value on the camera indicates cool light. Flash units often operate around 5000K, so setting this value on the camera ensures accurate white balance.
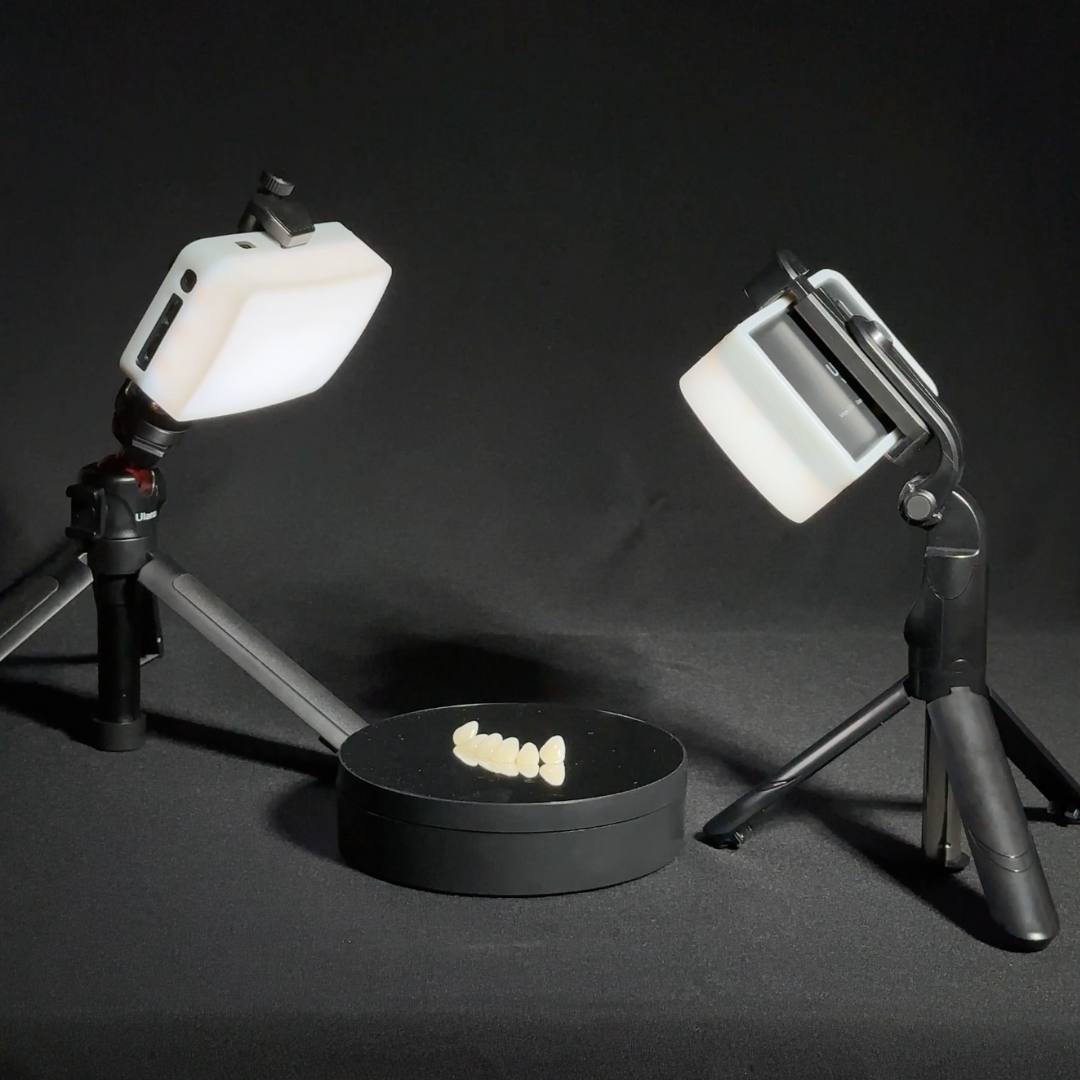
- Lighting Position: Ensure light placement minimizes shadows and achieves even illumination.
- Post-Processing: Nearly all dental photos benefit from editing. Use software like Adobe Lightroom or Photoshop to refine colors and brightness.
Conclusion
Whether using a black or white background, understanding their unique requirements is essential for achieving professional-grade dental photography. Proper lighting, camera settings, and white balance adjustments play pivotal roles in producing consistent, high-quality images. With practice and the right techniques, your dental photography can reflect the highest standards of your practice.


