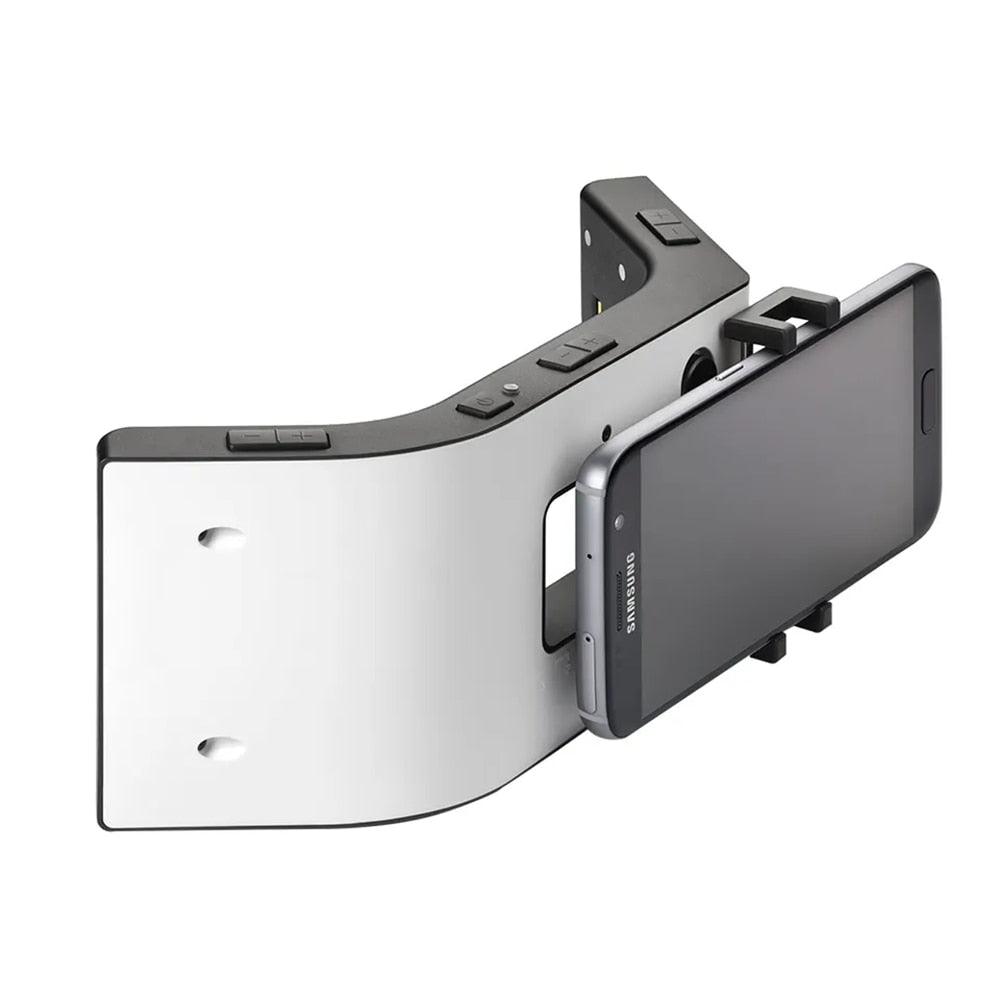
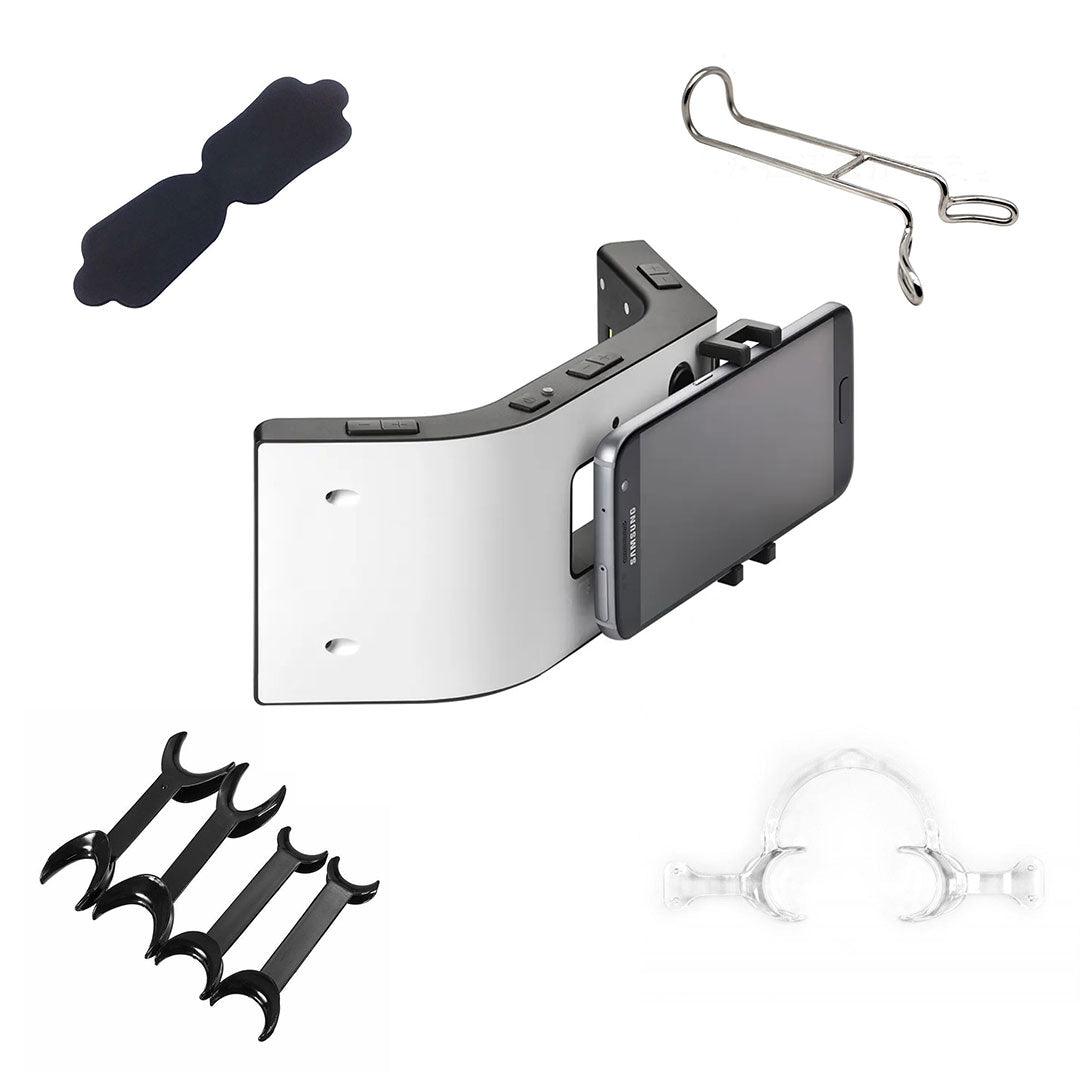
In dental photography, lighting plays a pivotal role in creating clear, high-quality images. The right lighting setup ensures that every detail, from enamel texture to gum structure, is captured with precision. Without proper lighting, even the best cameras and lenses can't deliver the level of detail required for diagnostics and professional presentations.
Why Lighting is Crucial in Dental Photography
Lighting directly impacts the clarity, sharpness, and accuracy of your dental images. Proper lighting eliminates shadows, reduces glare, and enhances the visibility of intricate details. It also helps in:
- Accurate Color Representation: Essential for color-matching restorations and demonstrating treatment outcomes.
- Texture and Detail: Highlights surface textures, such as enamel and gums, for accurate documentation.
- Consistent Results: Ensures every photo meets professional standards, vital for creating cohesive presentations and case studies.
Types of Lighting for Dental Photography
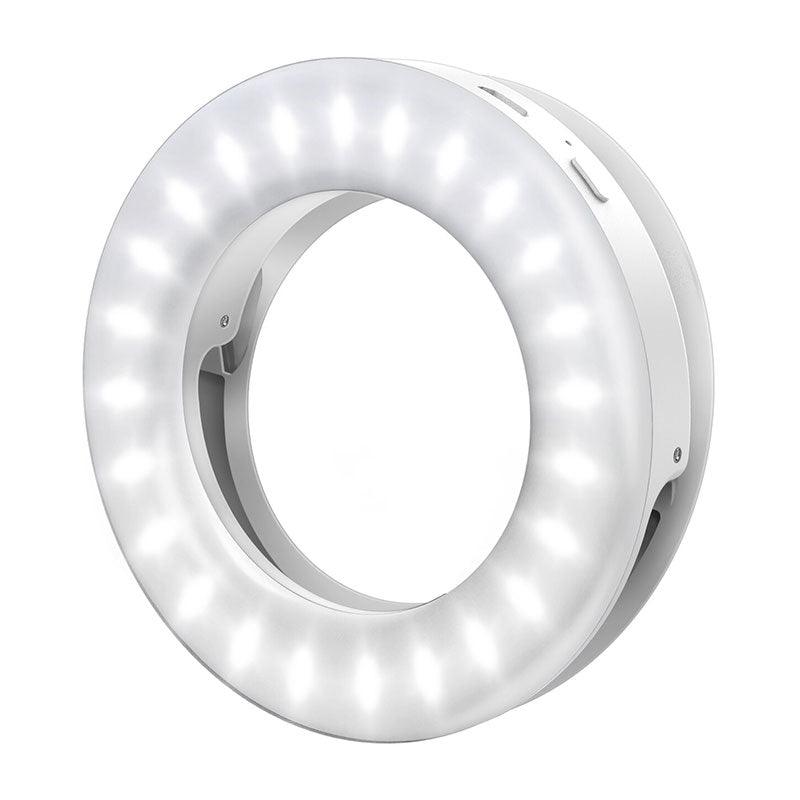
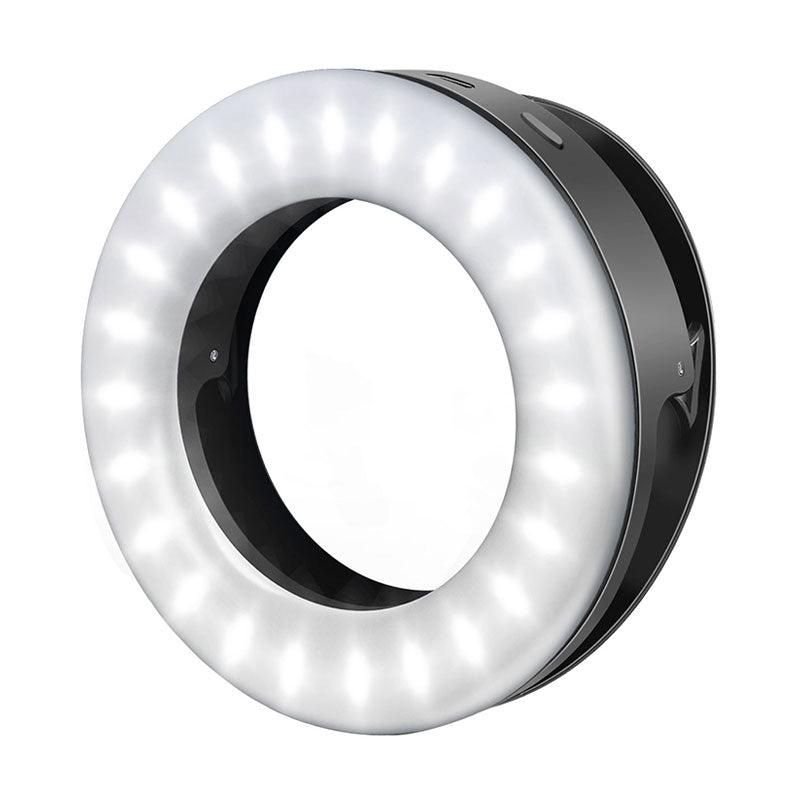
Ring Flash
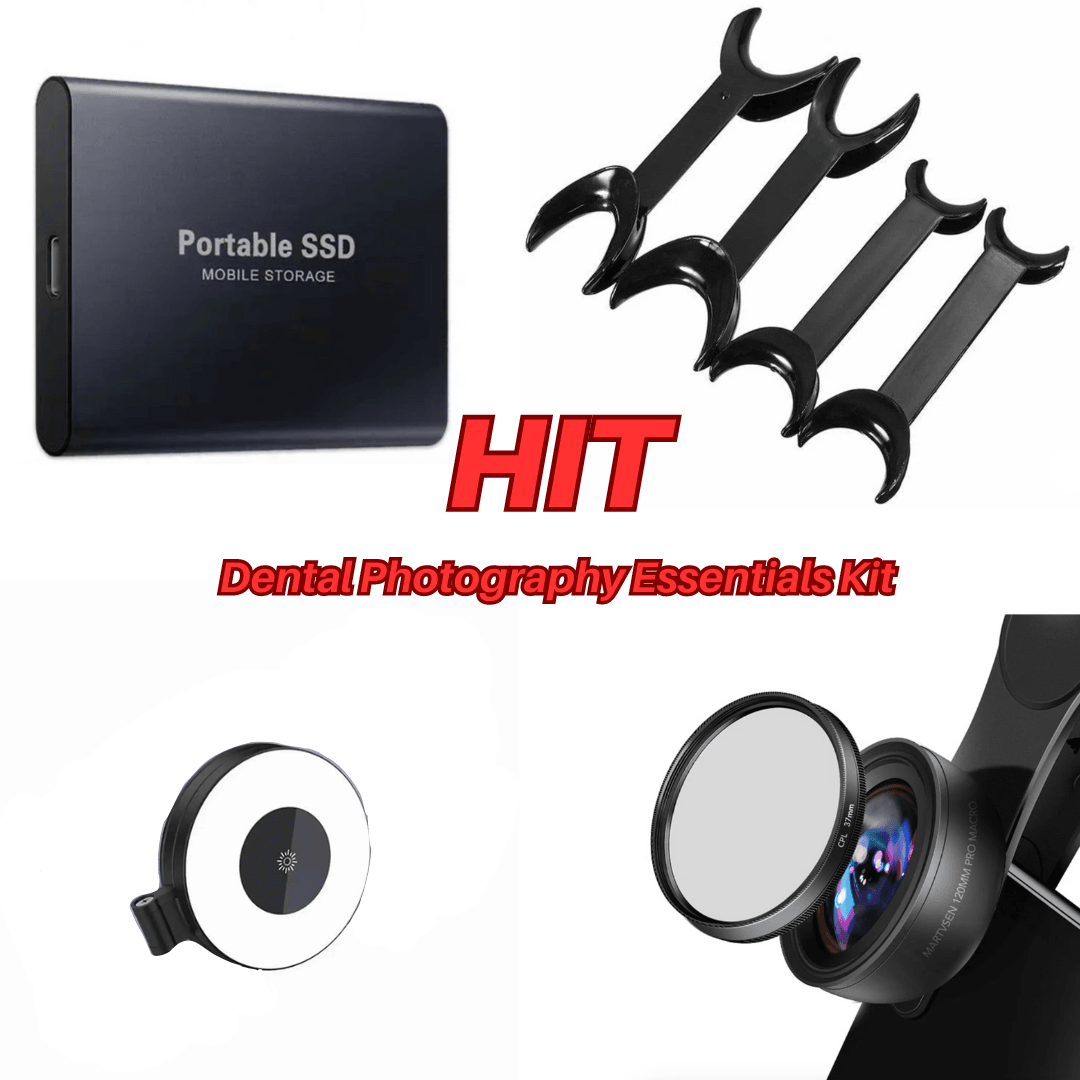
A ring flash is a circular light mounted directly around the camera lens.
Benefits:
- Provides uniform, shadow-free illumination.
- Ideal for intraoral photography, ensuring all areas are evenly lit.
- Compact and easy to use in confined dental office spaces.
Recommended Use: Perfect for capturing intraoral shots, such as occlusal surfaces and tooth structure.
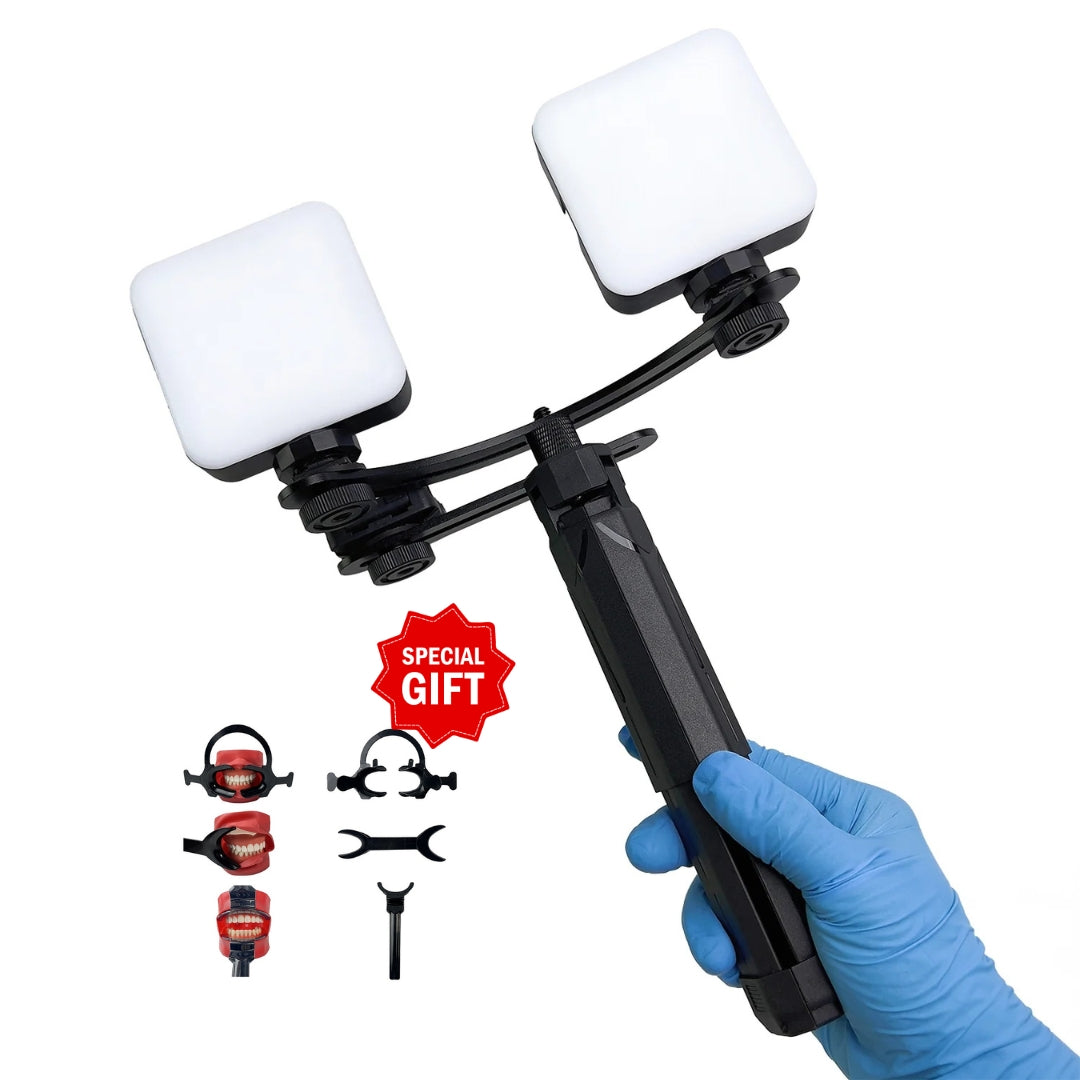
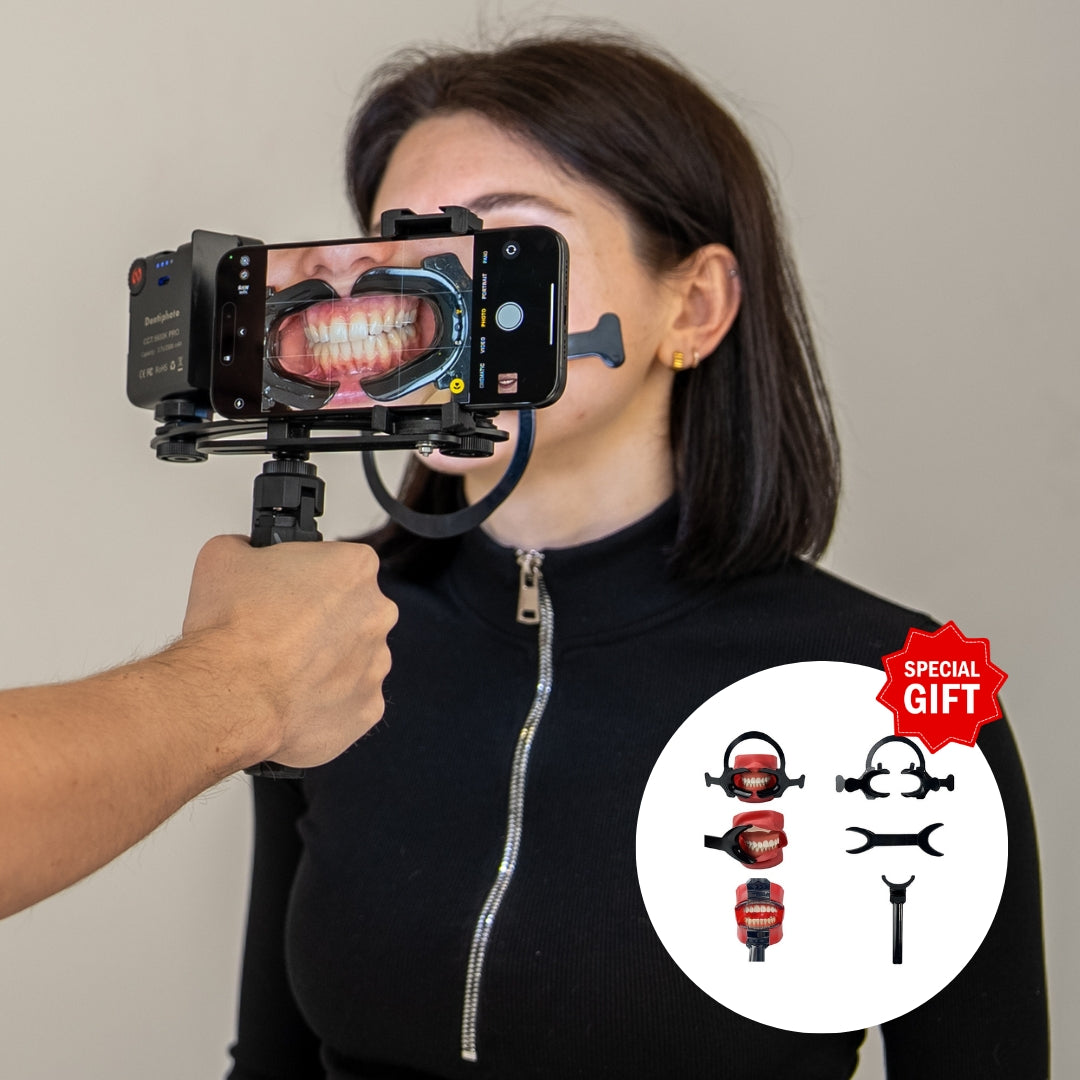
Twin Flash
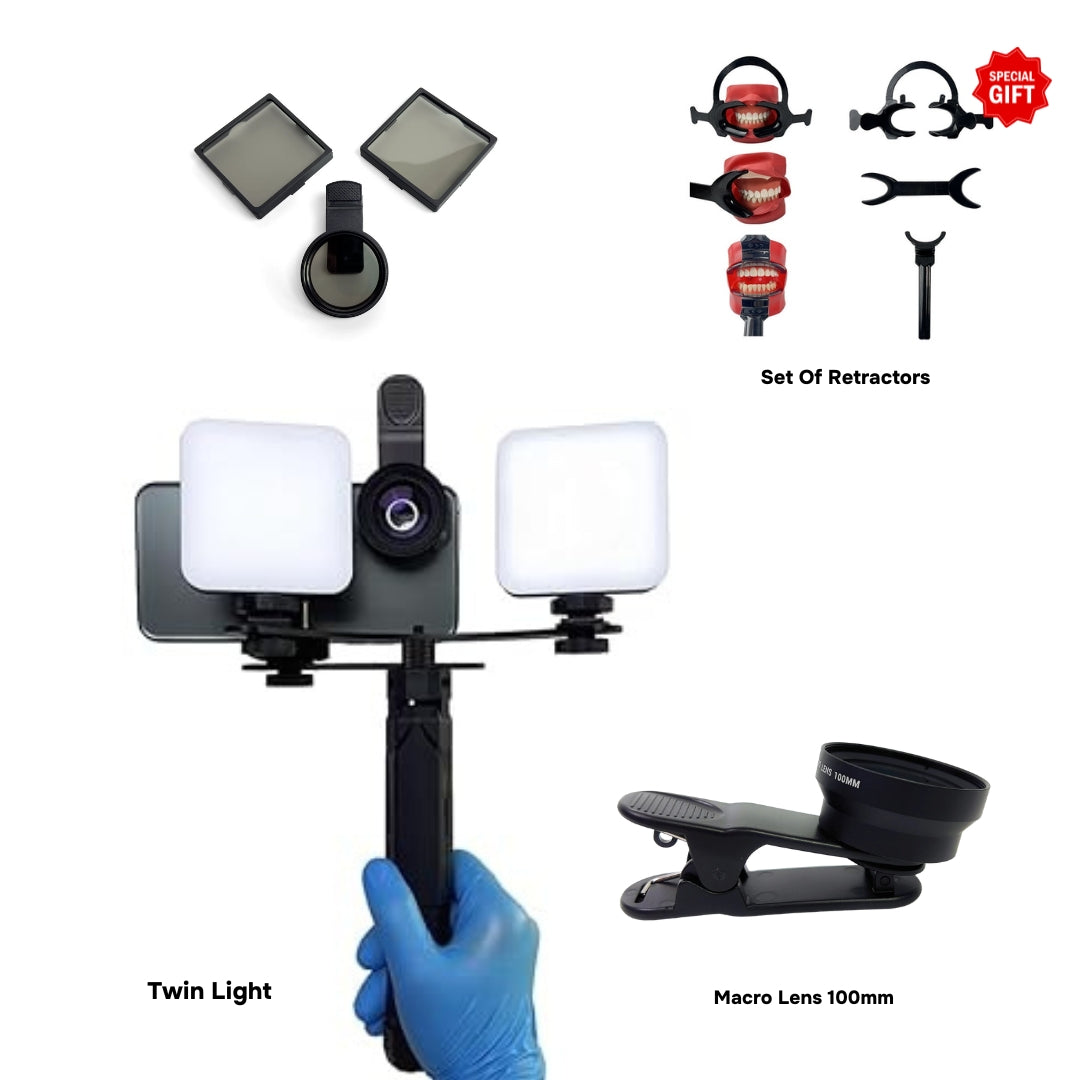
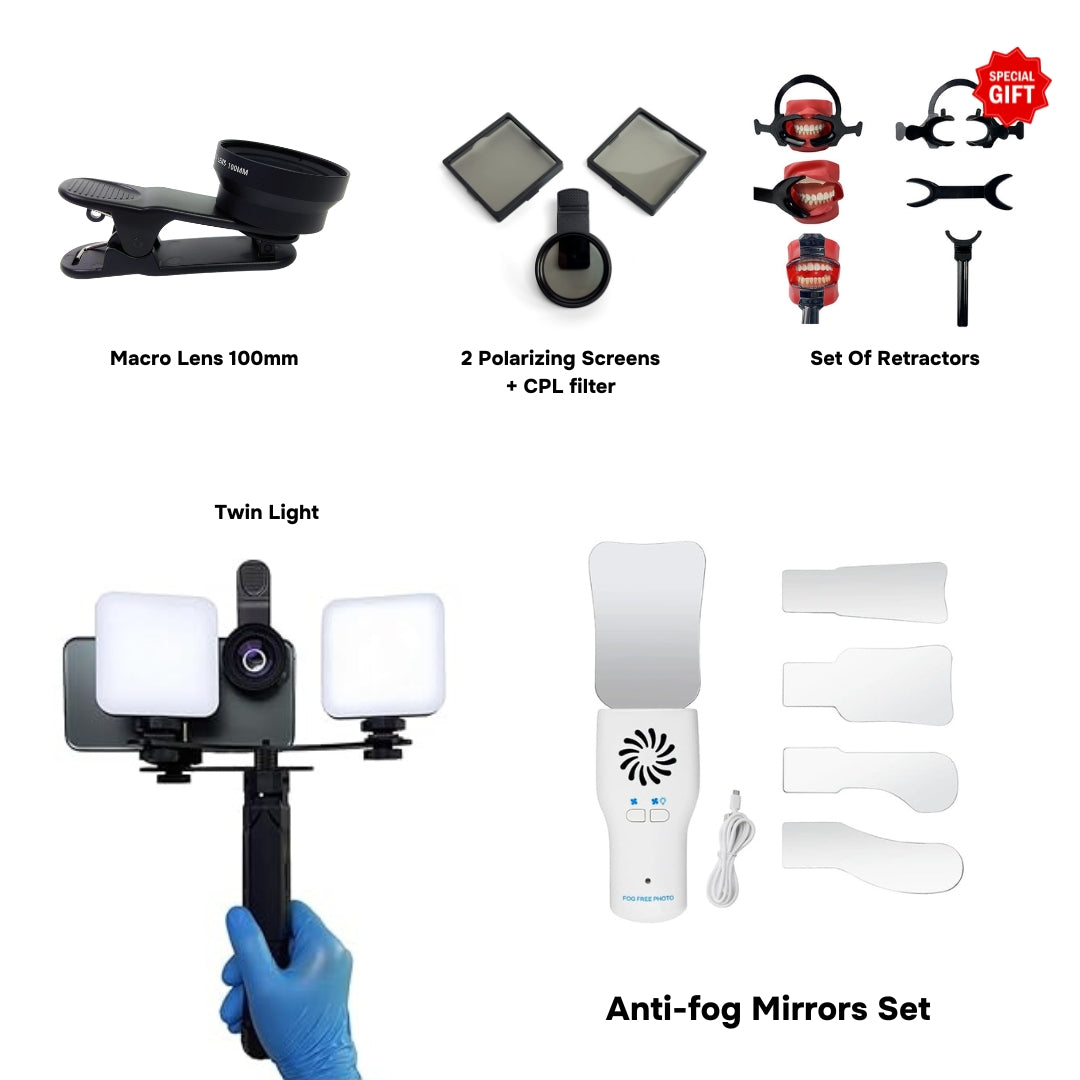
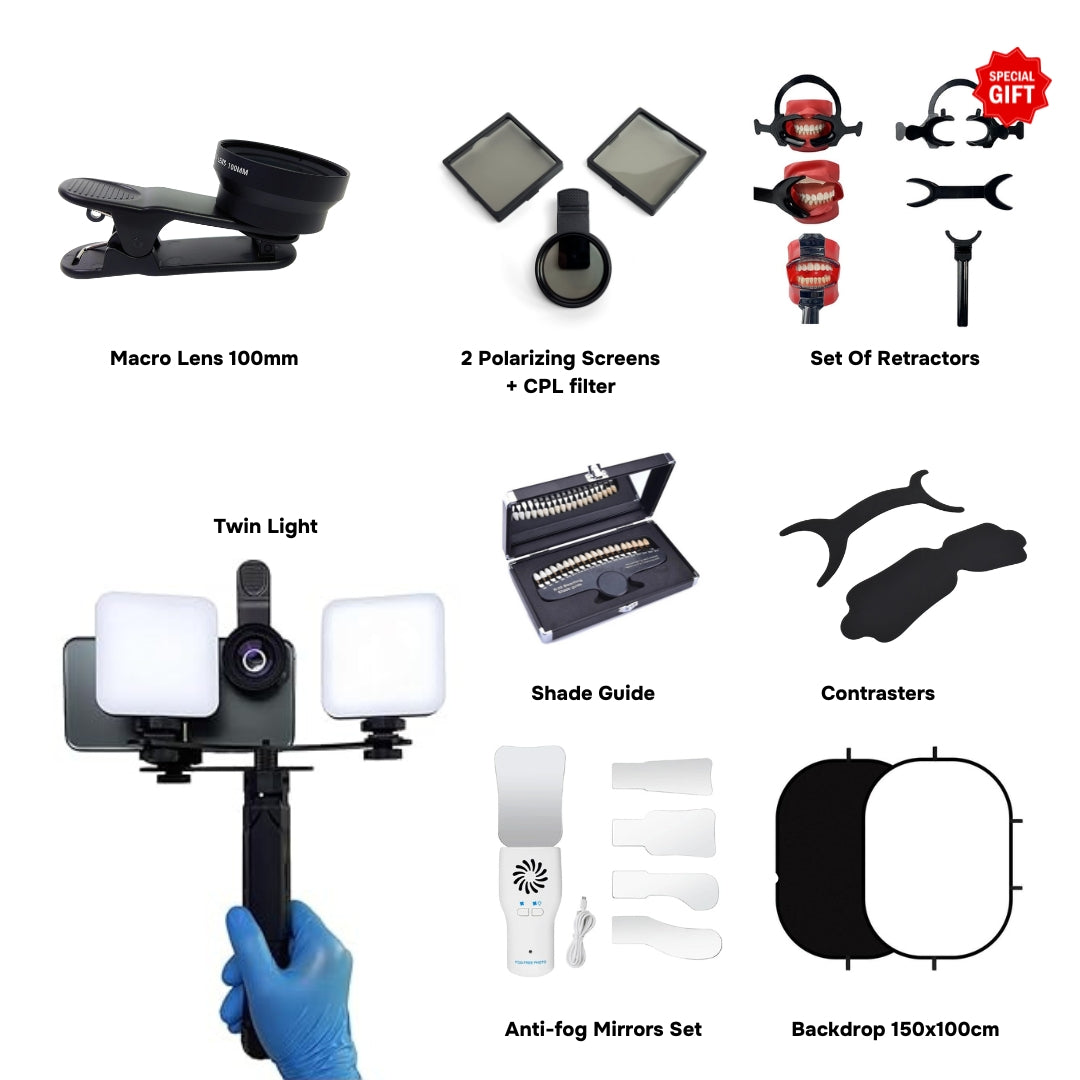
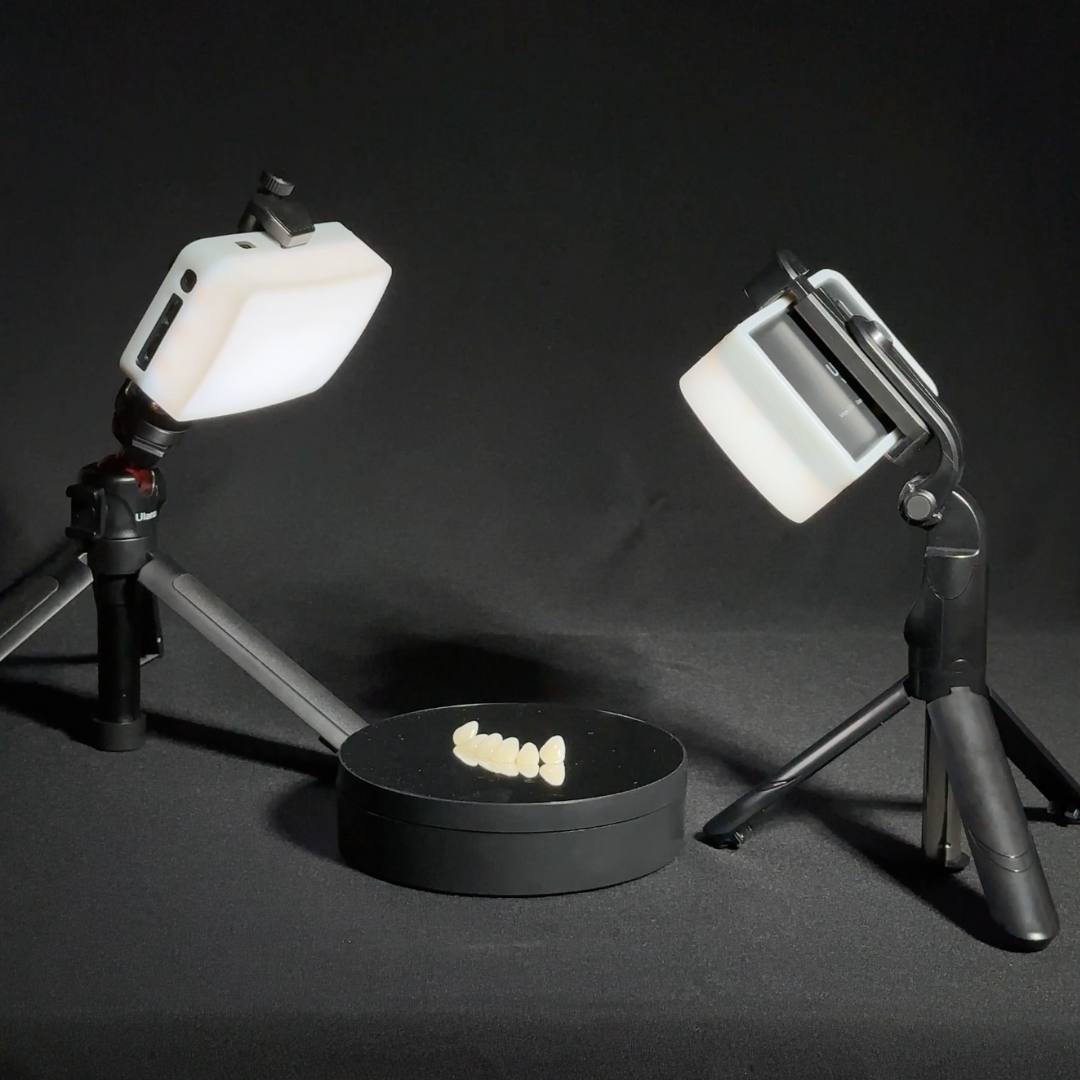
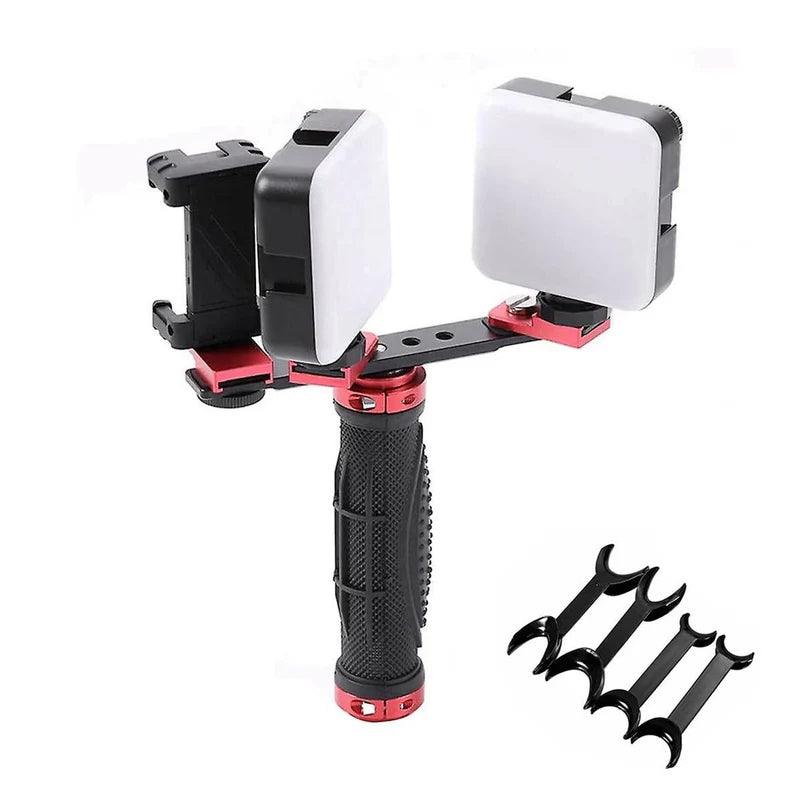
A twin flash consists of two adjustable light sources positioned on either side of the lens.
Benefits:
- Allows for directional lighting, creating depth and highlighting textures.
- Reduces glare and reflections when paired with polarizing filters.
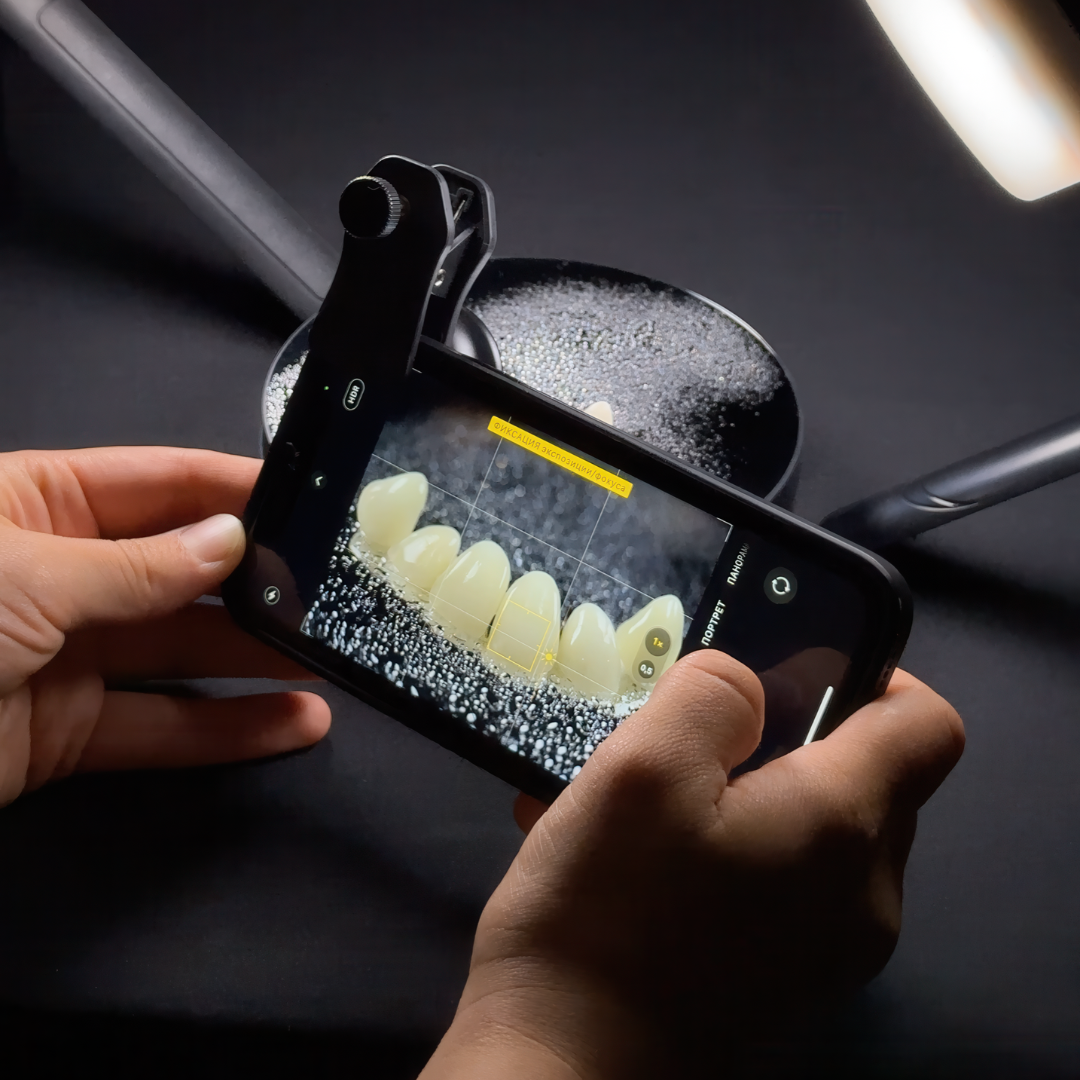
Recommended Use: Ideal for extraoral images, portraits, and aesthetic documentation, such as showing tooth restorations.
Supplementary Lighting Tips
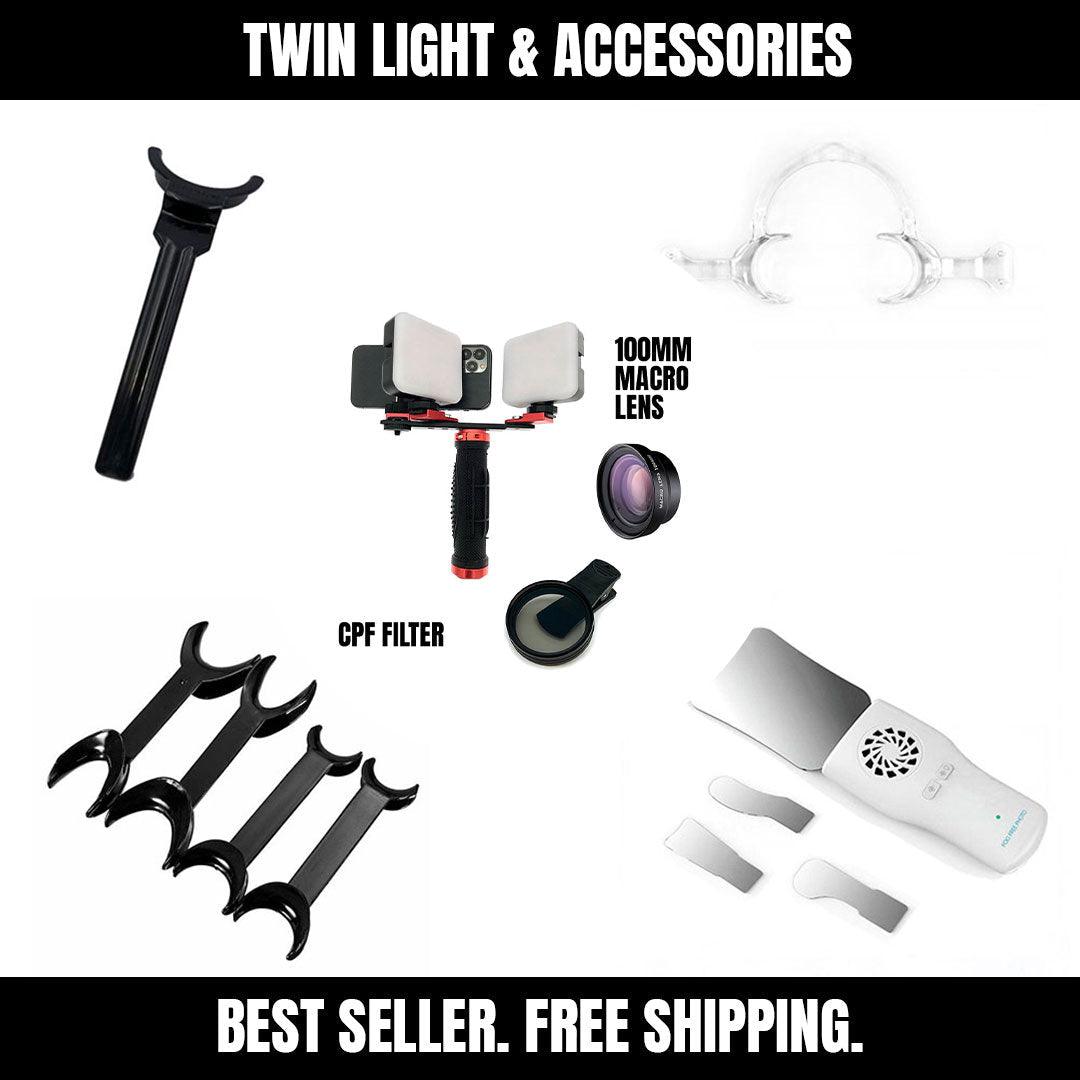
- Use Polarizing Filters: These reduce glare on teeth and soft tissues, improving image clarity, especially with twin flashes.
- Adjust Intensity: Many modern flashes allow you to control brightness to suit different shooting conditions.
- Combine Natural Light: When possible, combine flash lighting with natural daylight for soft and balanced images.
- Avoid Overexposure: Bright lighting can wash out fine details, making it essential to test and adjust your setup.
Recommended Lighting Equipment
For high-quality dental photography, investing in reliable lighting equipment is crucial. Some popular options include:
- Godox MF-R76 Ring Flash: Known for its even lighting and compatibility with various camera models.
- Canon MT-26EX-RT Macro Twin Lite: Offers precise control over light angles, perfect for advanced users.
- Yongnuo YN-24EX Twin Flash: An affordable option for those looking to experiment with directional lighting.
How to Choose the Right Lighting Setup
When selecting lighting for dental photography, consider the following:
- Type of Photography: Intraoral shots require ring flashes, while extraoral and portrait photography benefit from twin flashes.
- Budget: High-end lighting systems offer better durability and features, but budget options like Yongnuo provide excellent value for beginners.
- Compatibility: Ensure the lighting system is compatible with your camera and lenses.
Final Thoughts
Lighting is an essential component of dental photography, transforming ordinary images into professional-grade visuals. By choosing the right lighting tools, you can improve image clarity, enhance patient communication, and showcase your work with confidence. Whether you’re documenting cases, creating content for social media, or preparing educational materials, proper lighting ensures every photo meets the highest standards. Invest in quality lighting solutions today to elevate your dental practice.


