Correct camera settings play a crucial role in dental photography, ensuring professional, sharp images that enhance diagnostics, treatment planning, patient education, and marketing efforts. High-quality photos preserve natural colors, capture fine textures, and document clinical cases in detail. In this guide, we’ll break down the optimal camera settings for dental photography and share expert recommendations to help you achieve consistent, professional results in your practice.
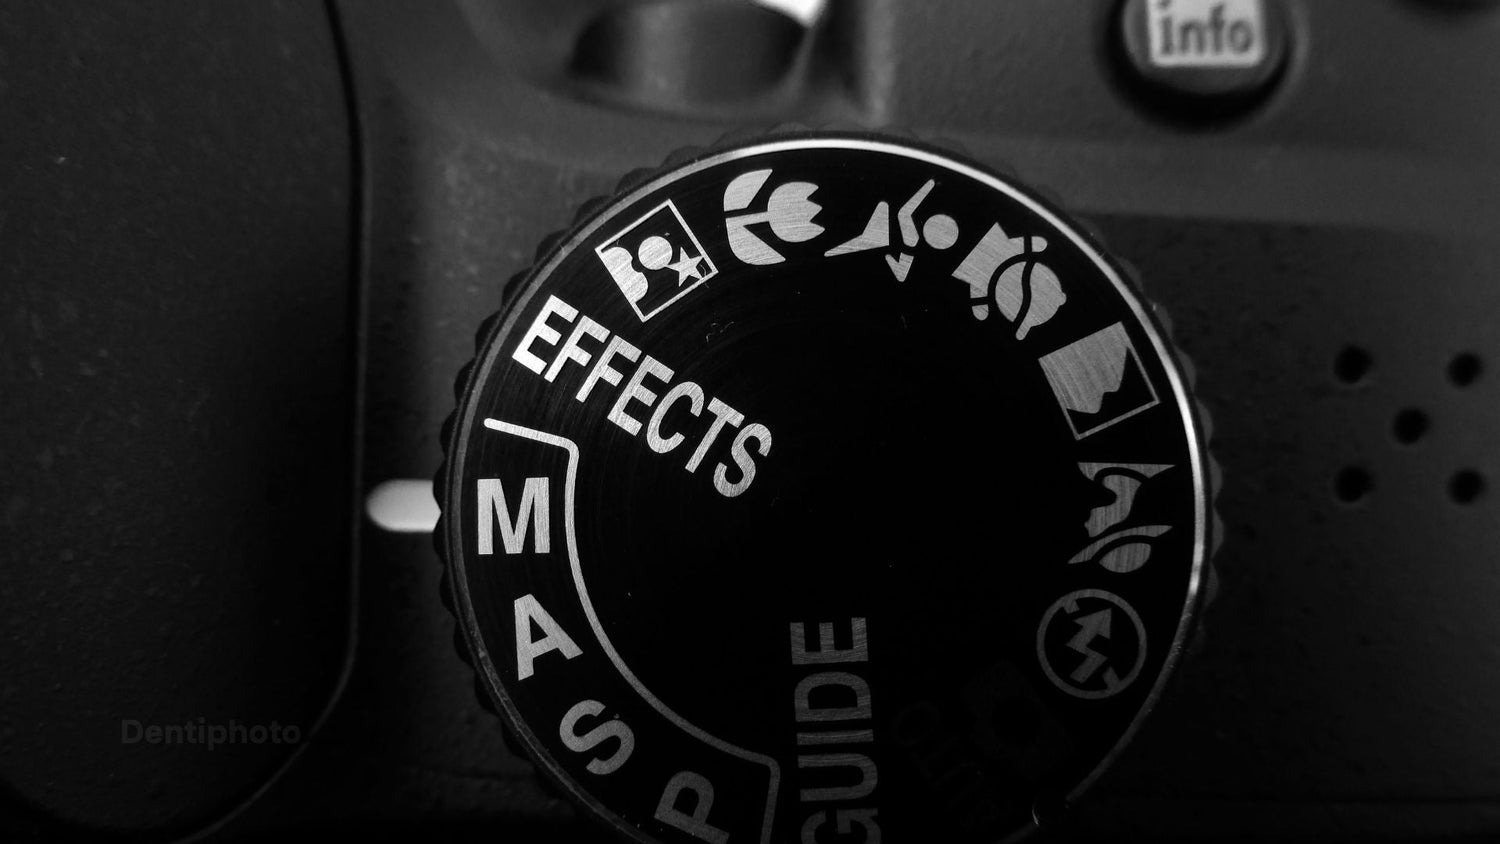
Shooting Mode: Always Use Manual (M)
Dental photography requires complete control over exposure, aperture, shutter speed, and white balance — elements that directly affect image quality. Automatic and semi-automatic modes are unreliable for dental photography, as they often produce inconsistent results. Manual mode ensures you have full control over every shot, delivering the accuracy required for clinical documentation and shade matching.
Optimal Shutter Speed for Dental Photography
Recommended Range: 1/125 to 1/200
This range offers the perfect balance between sharpness and proper flash synchronization. A fast enough shutter speed prevents motion blur, even if the patient moves slightly, while ensuring even exposure when working with dental flashes.
Best Aperture Settings for Dental Photography
Recommended Range: F16 to F32
A deep depth of field is essential for intraoral photos to ensure that all teeth — even molars at the back — remain sharp. Smaller apertures (higher F-numbers) maximize focus across the entire arch. For portrait or smile photos, you can open the aperture to F8 to F11 to create natural background blur while keeping the smile in sharp focus.
ISO Settings for Noise-Free Dental Images
Recommended Range: ISO 100 to ISO 200
The lower the ISO, the less noise and better detail your images will have — critical in macro photography, where capturing fine enamel and soft tissue textures matters. In cases with limited lighting, you can increase ISO slightly, but staying at or below ISO 200 ensures optimal quality.
White Balance: Manual Settings for Accurate Colors
Recommended Setting: Manual (K) or Daylight Mode (4800K-5500K)
Accurate color reproduction is critical, especially for shade matching and veneer cases. Manual white balance, set between 4800K and 5500K depending on your light source, ensures true-to-life colors. Avoid Auto White Balance (AWB), which frequently introduces unwanted color casts.
File Format: Use RAW+JPEG for Flexibility
For best results, save images in both RAW and JPEG formats. RAW preserves maximum data, allowing for extensive editing if needed. JPEG files are ideal for quick previews, sharing with labs, or attaching to patient records. This dual format workflow is the standard for efficient and high-quality dental documentation.
Autofocus Mode: One Shot or AF-S for Precision
Since dental photography focuses on static subjects (teeth and soft tissues), single-point autofocus (One Shot for Canon, AF-S for Nikon) ensures precise focusing. This is particularly important when using macro lenses where even slight misfocus can impact the final image.
Picture Style: Keep It Neutral with Standard (S)
The Standard picture style maintains neutral color tones and realistic contrast, which is essential in clinical documentation. For personal preferences, you can create a custom profile with slight boosts to sharpness and contrast for images that appear more refined straight out of the camera.
Disable Automatic Image Enhancements
For consistent results, turn off features such as Dynamic Range Expansion (D-Lighting on Nikon, ADL on Canon), Auto HDR, and Auto Contrast. These functions, while useful for general photography, can alter color consistency and exposure — both of which are critical in dental photography.
Conclusion: Mastering Camera Settings for Professional Dental Photography
Proper camera settings are the foundation for creating a high-quality dental photo archive. By using the recommended settings and controlling every aspect of the shooting process, you ensure clear, consistent images that are easy to edit and reliable for clinical documentation. Whether you’re new to dental photography or refining your technique, these settings serve as a reliable starting point to customize for your unique practice environment.
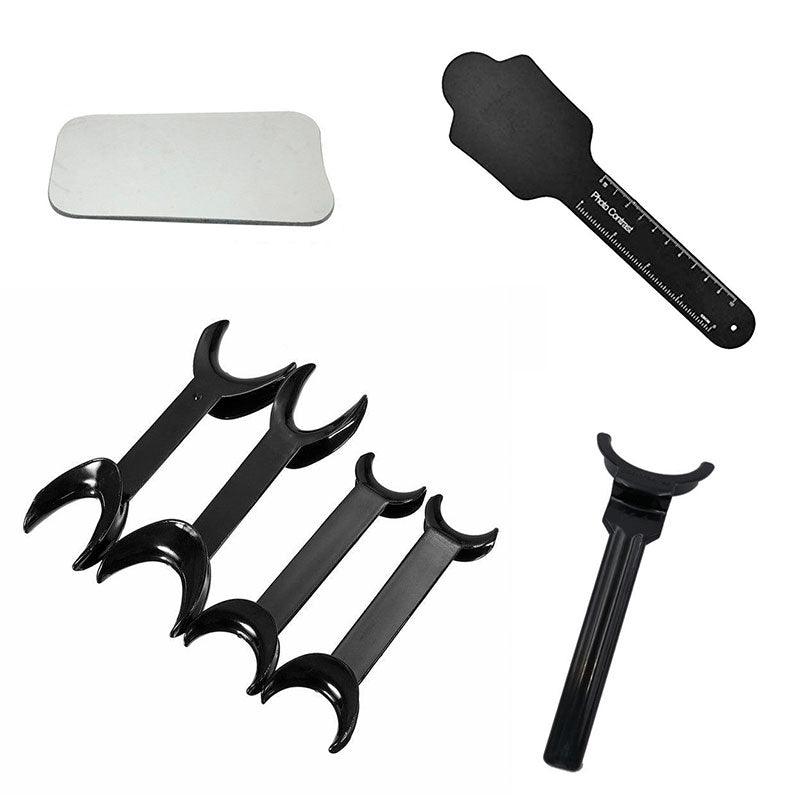
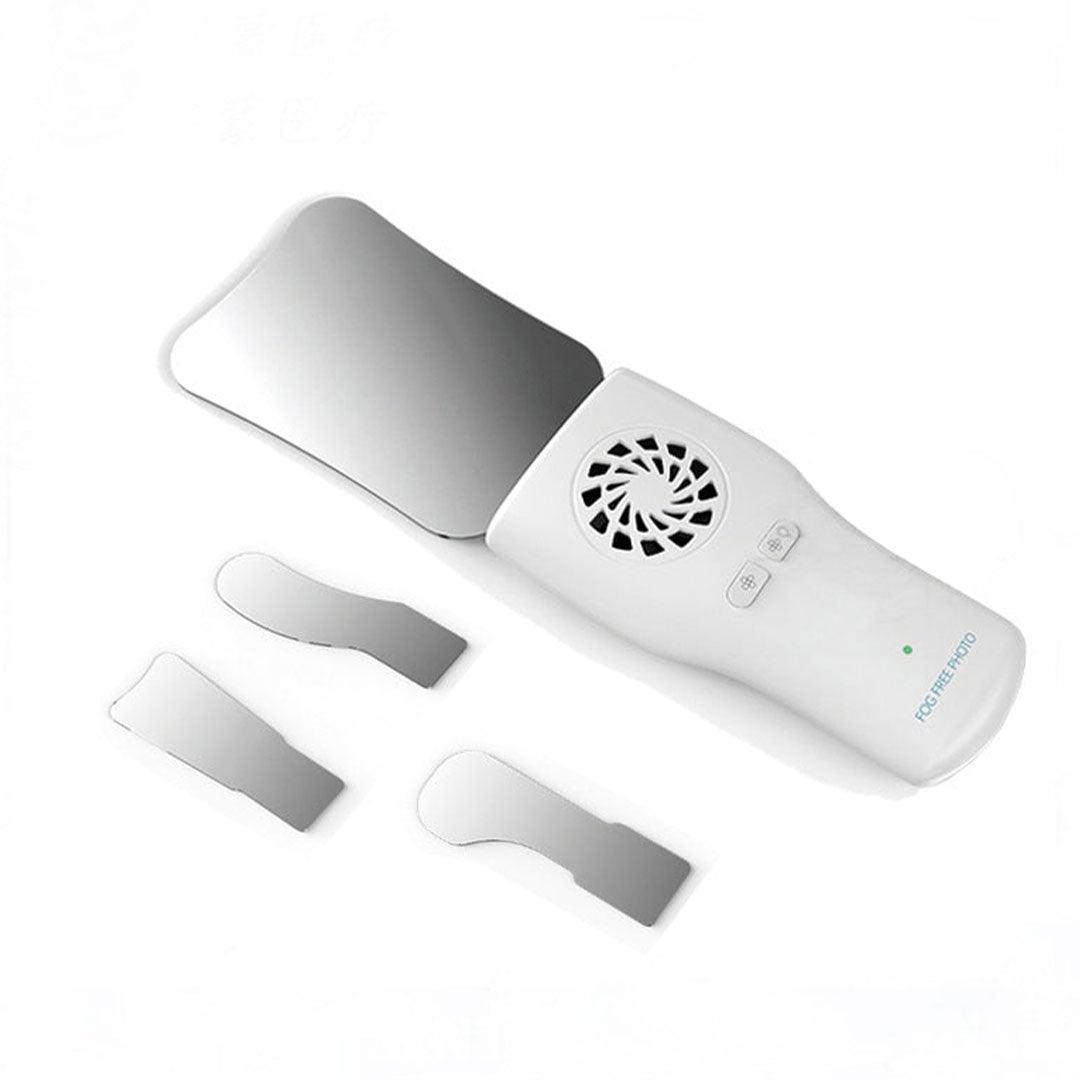
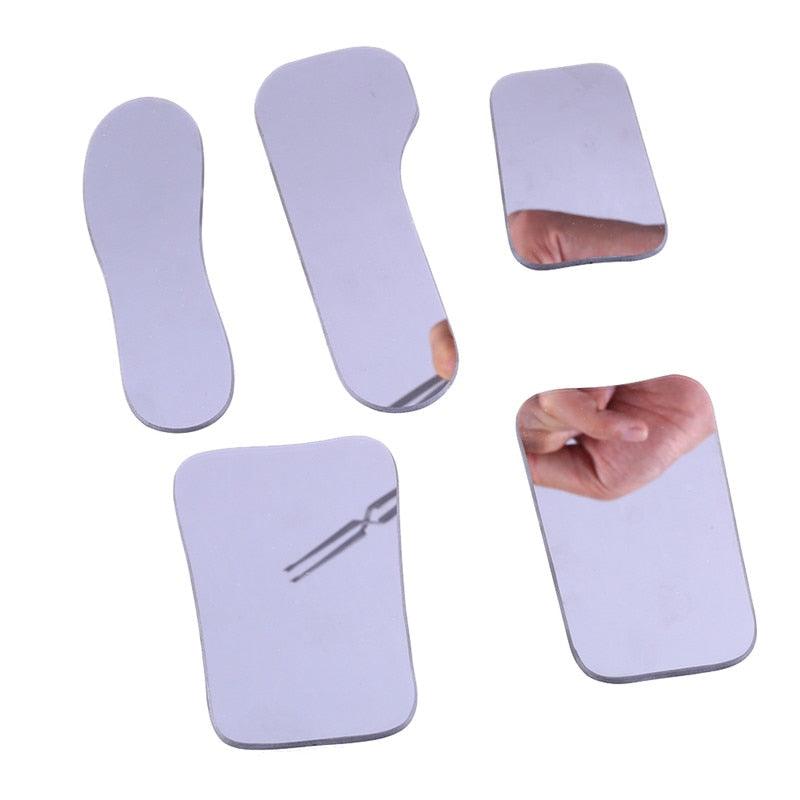
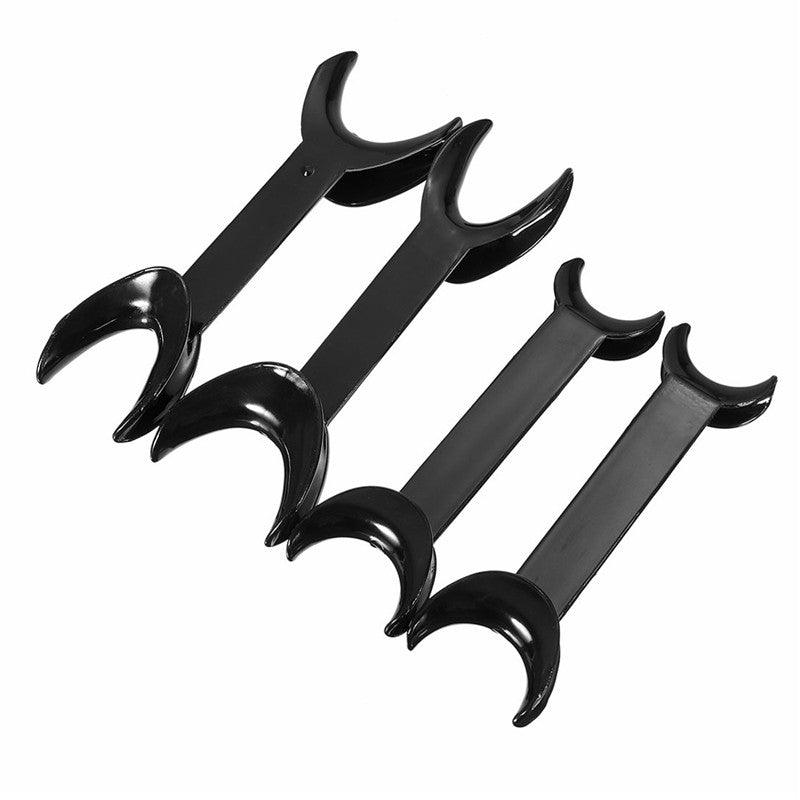
Exclusive Offer for Dental Photography Accessories
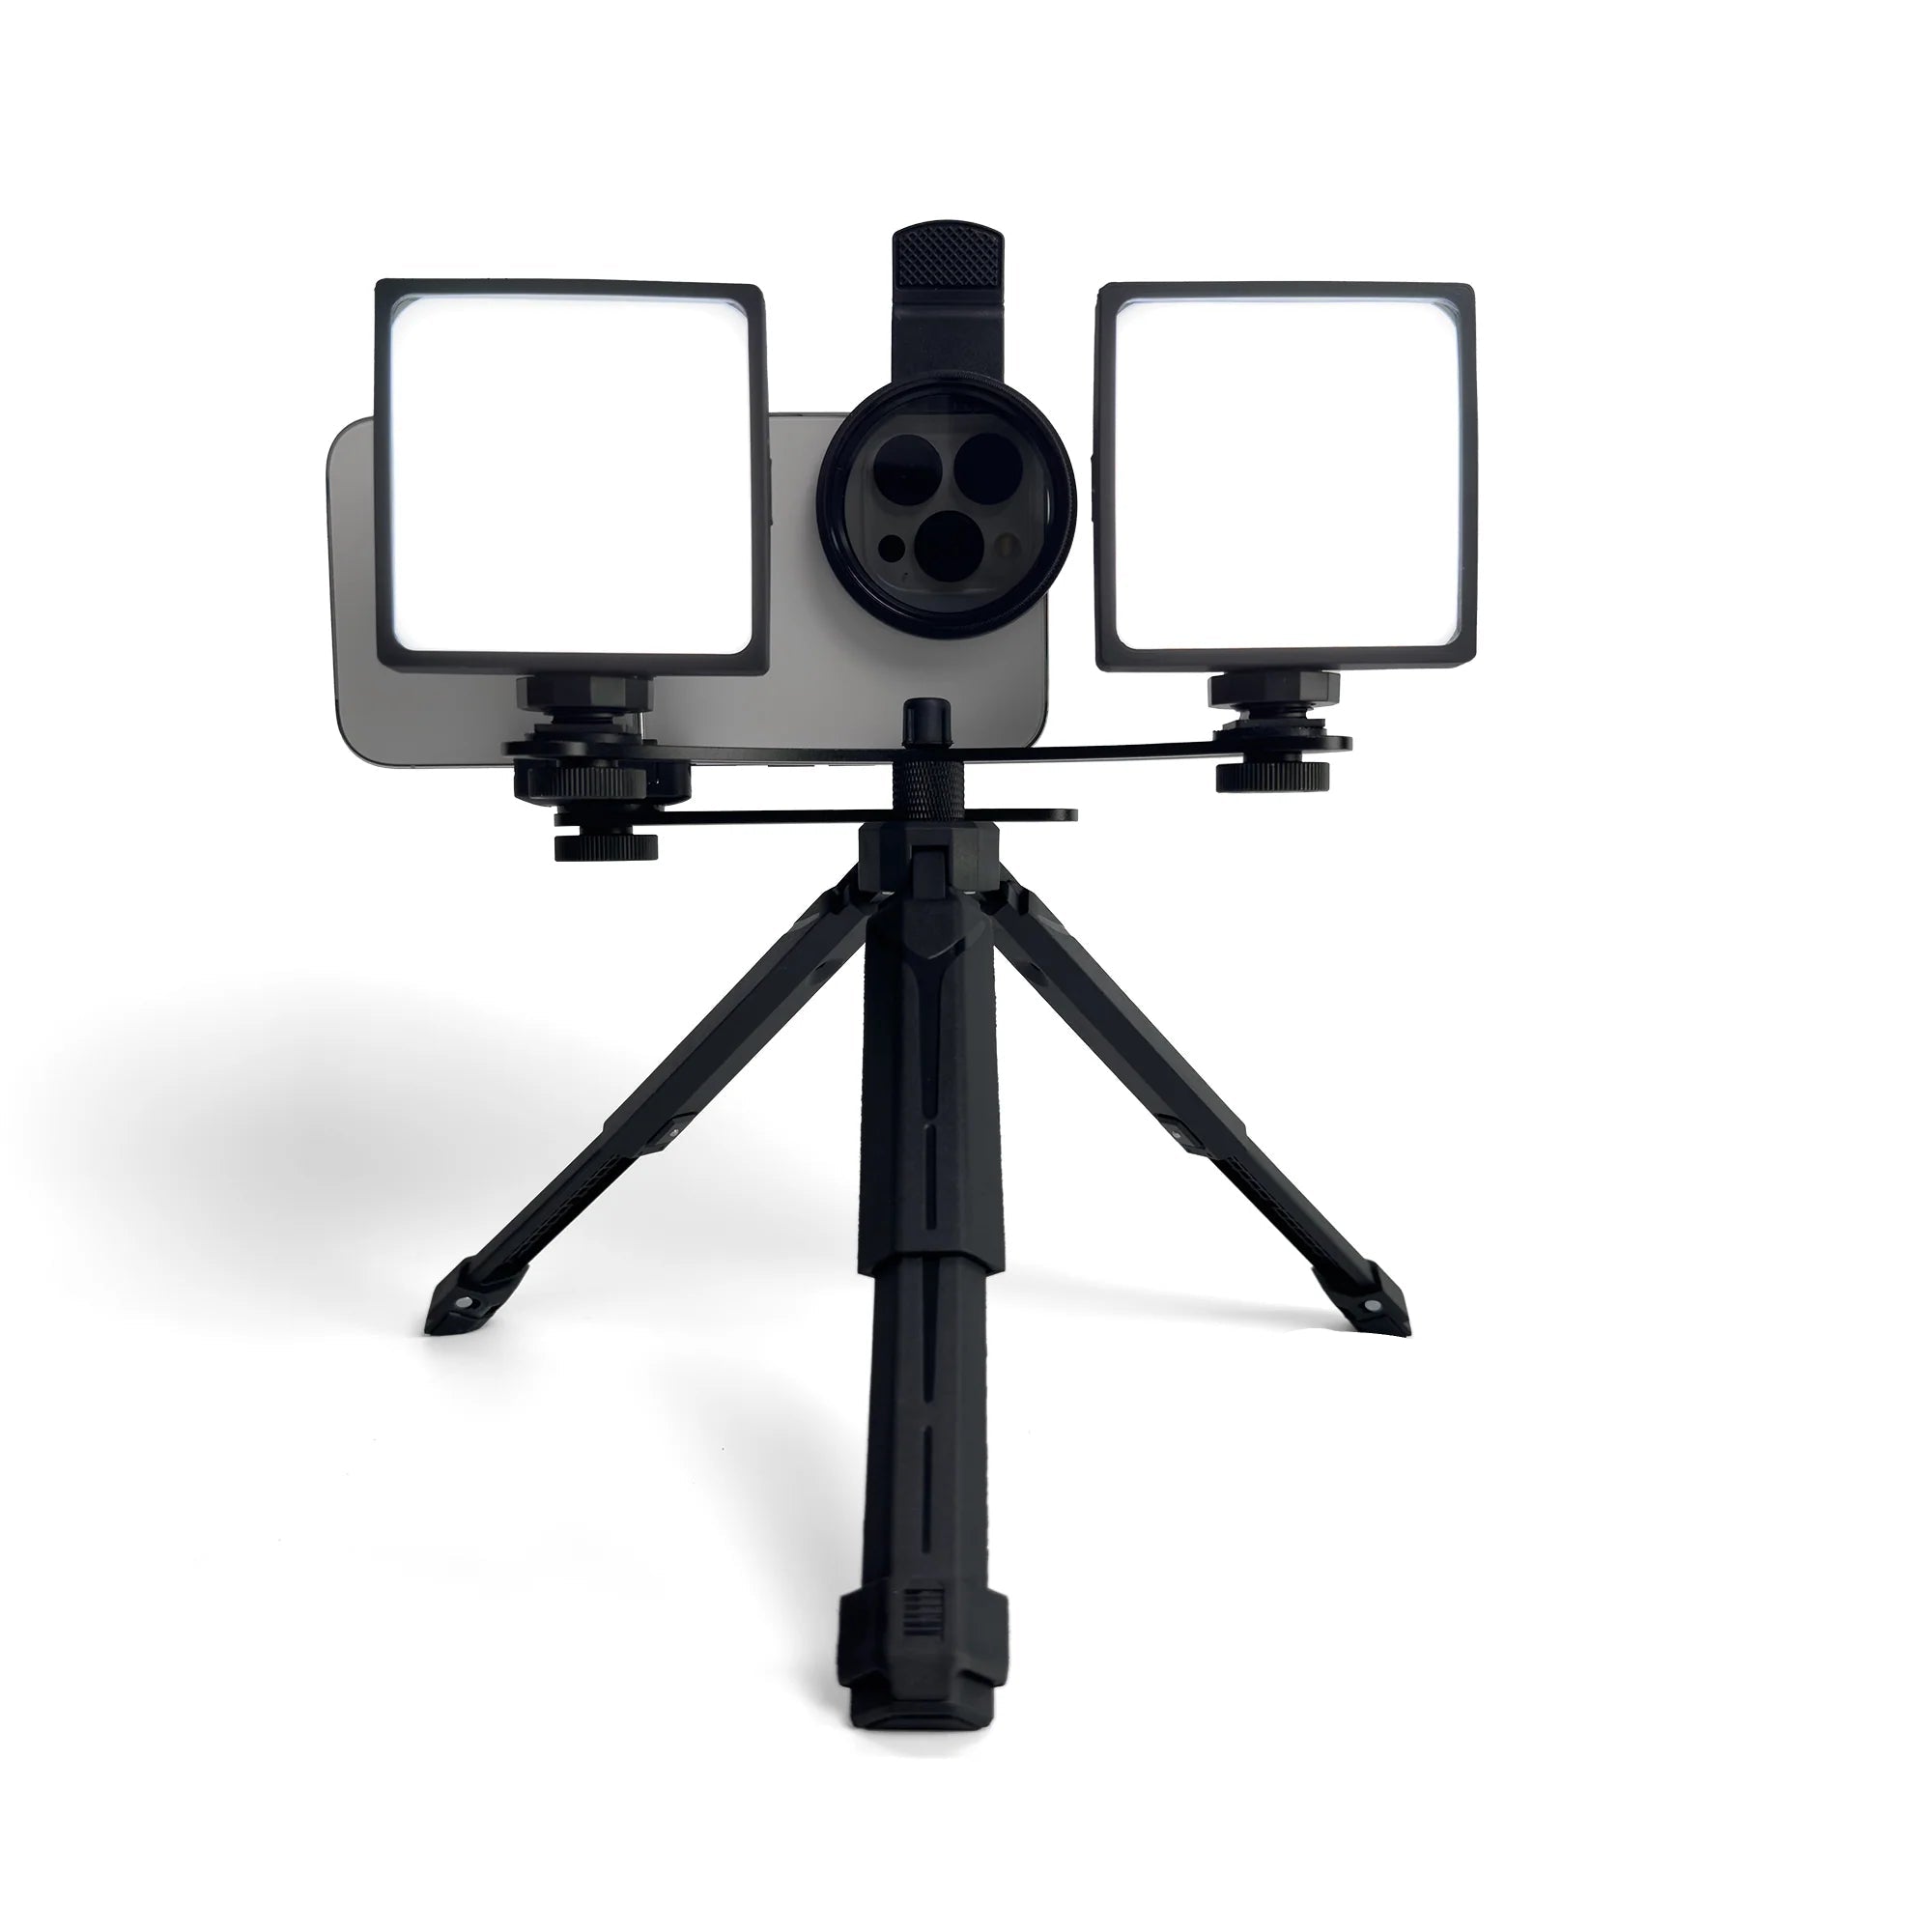
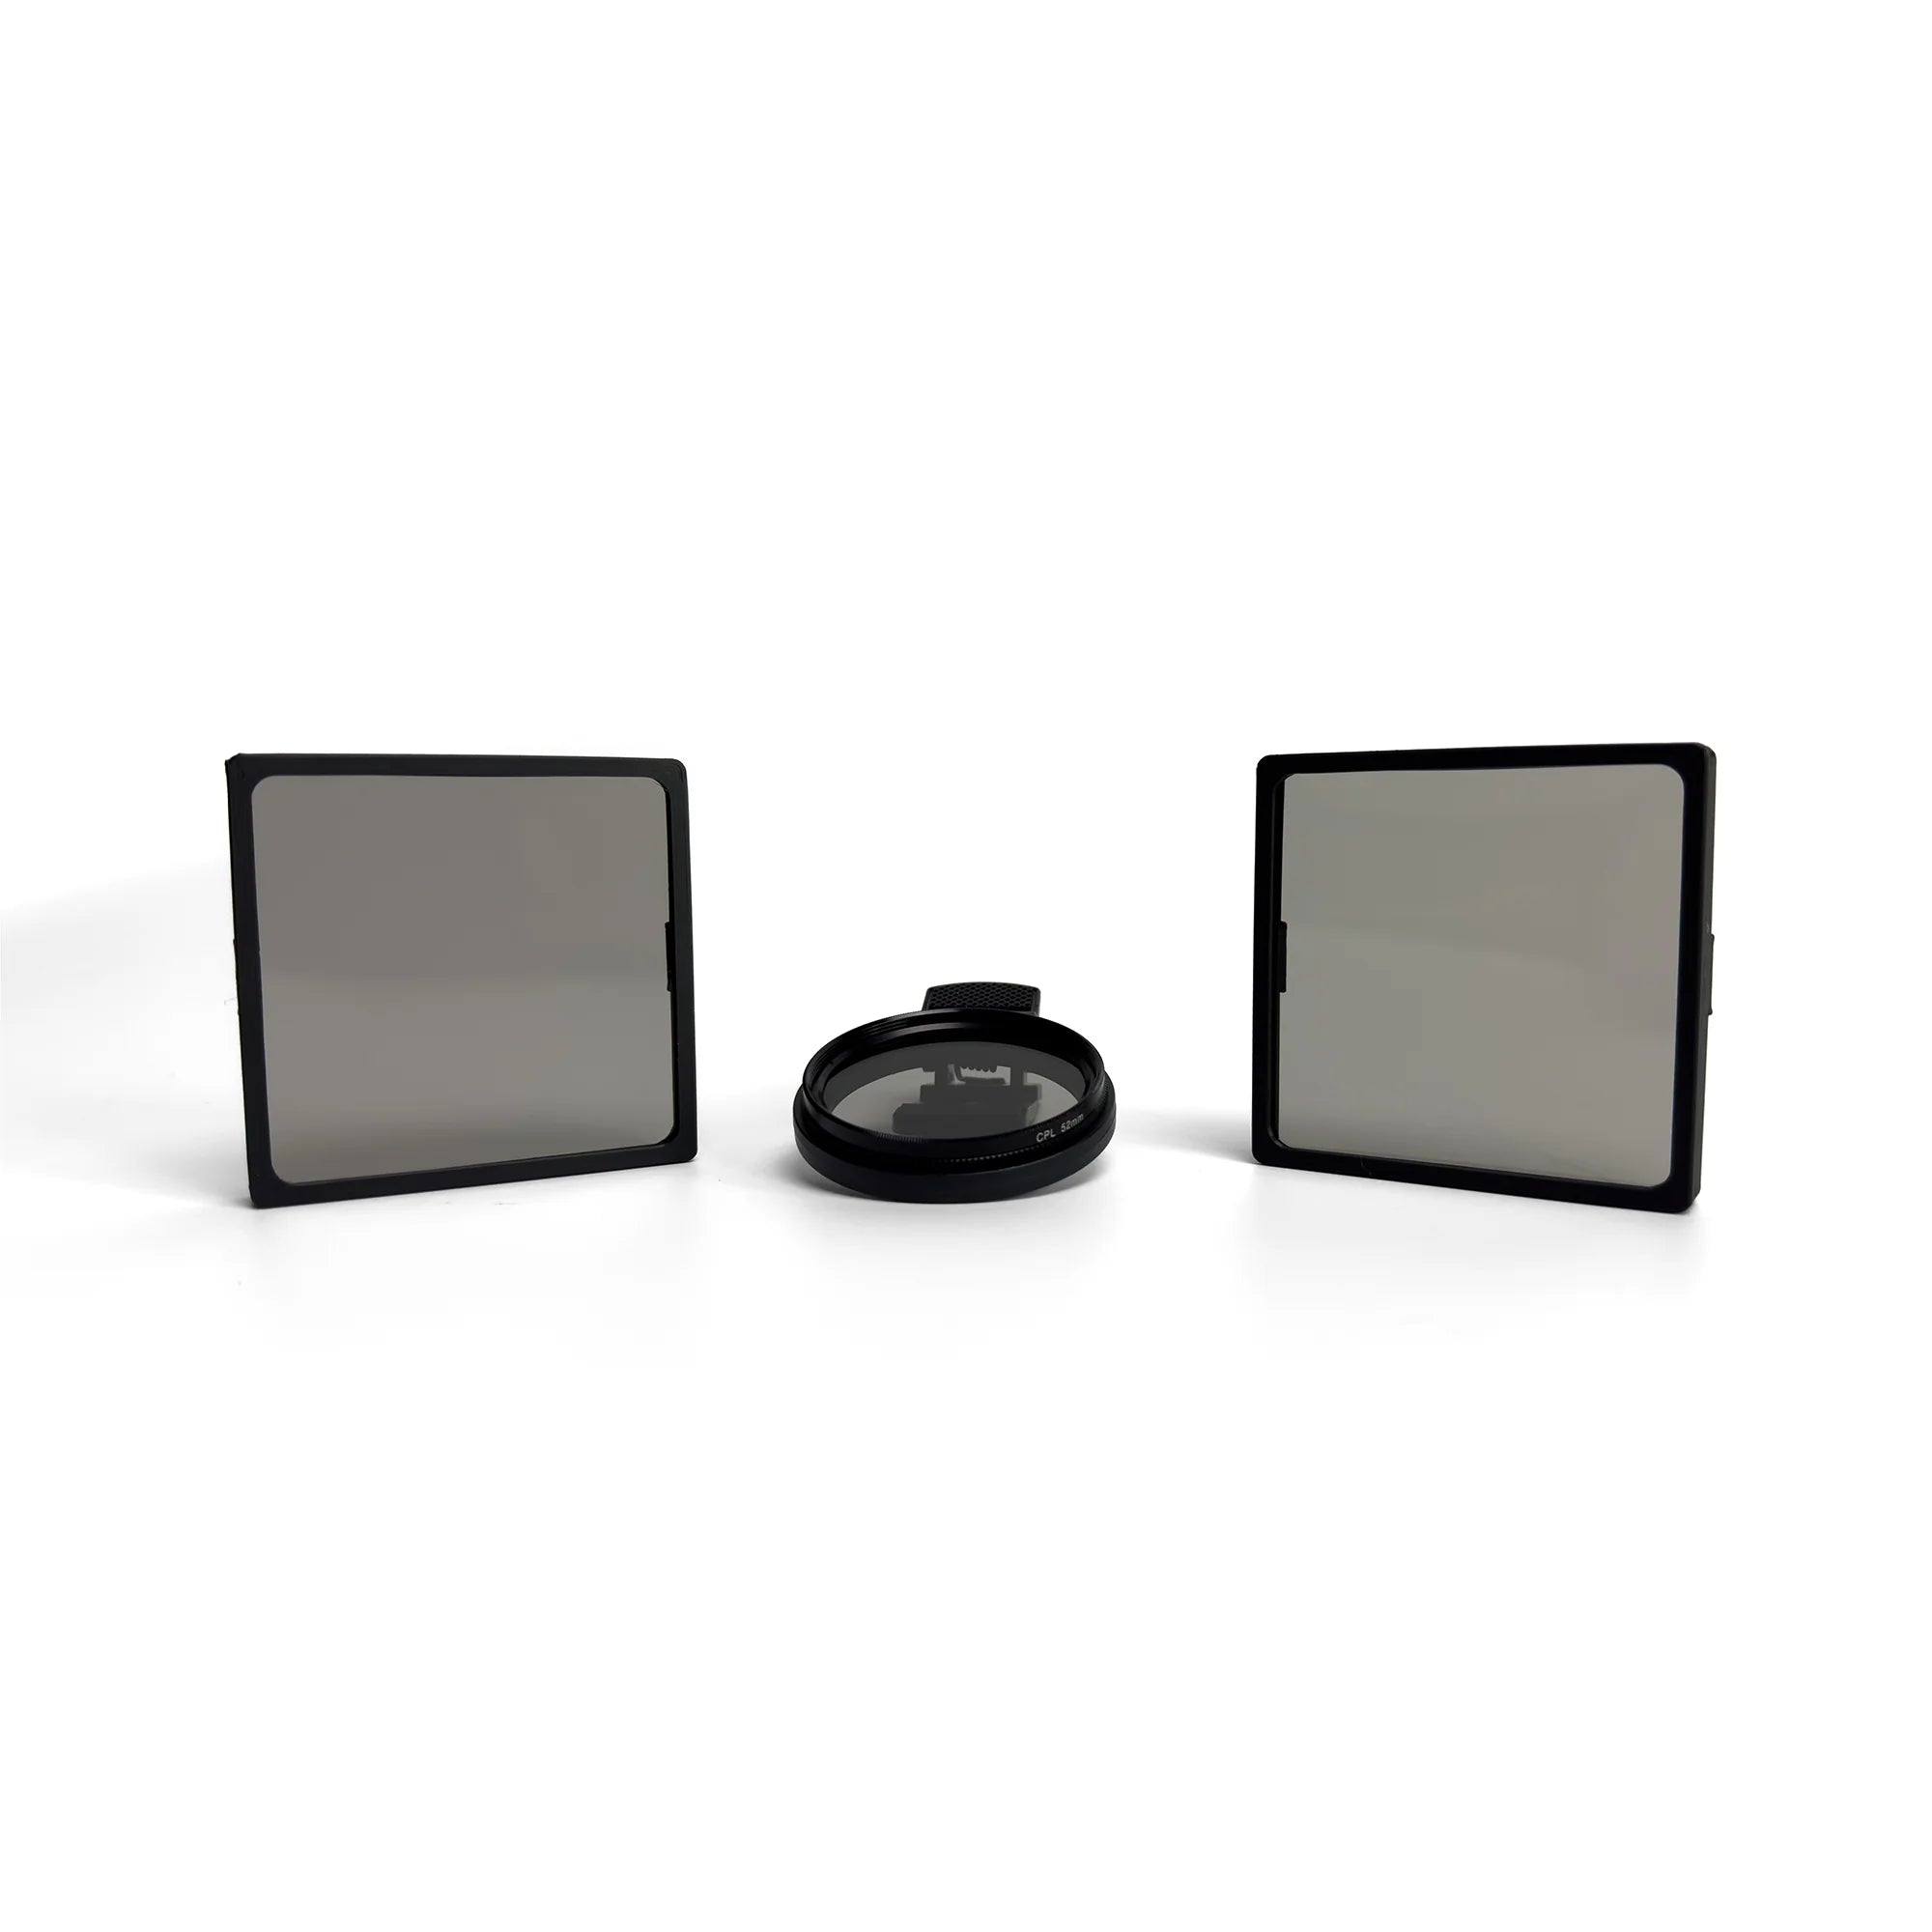
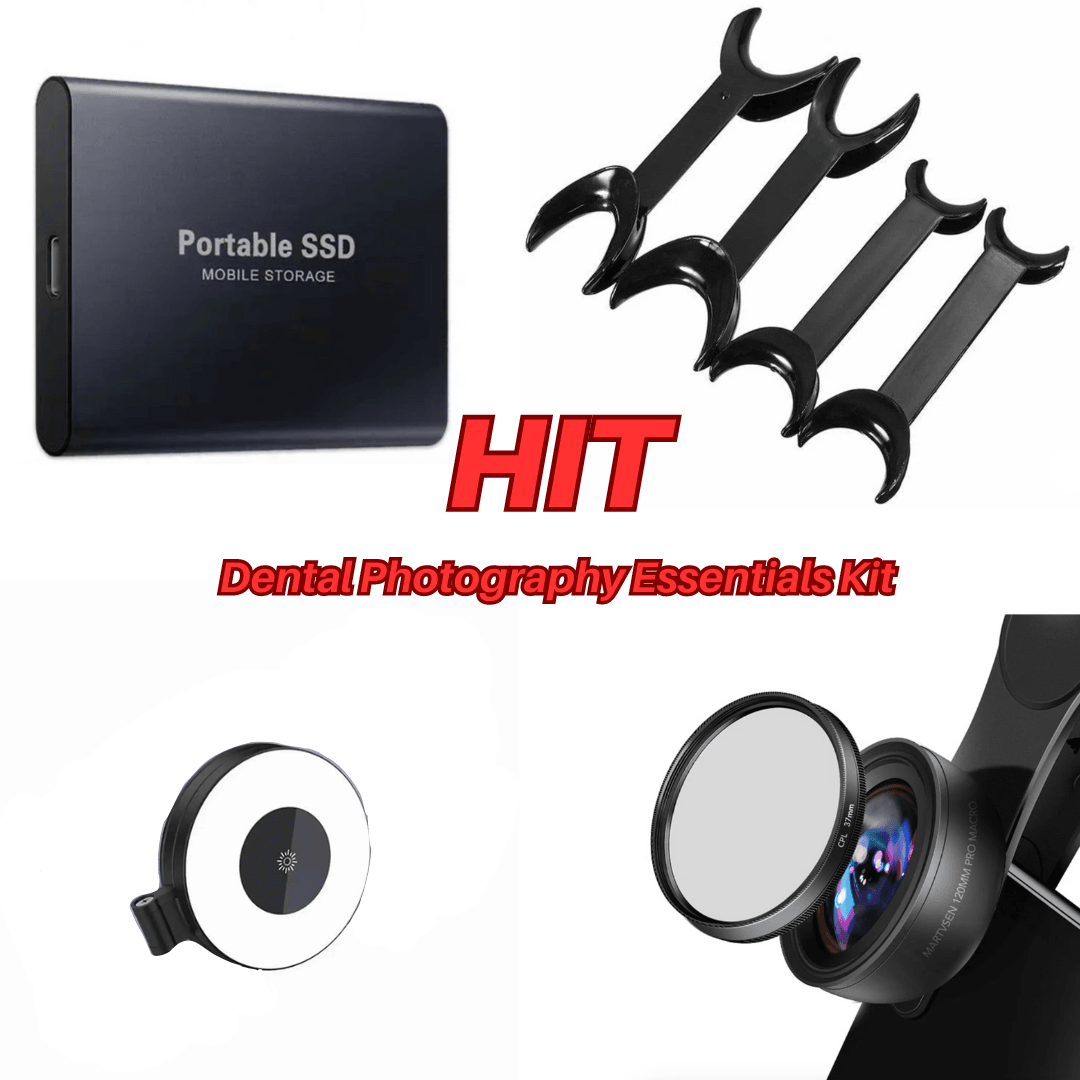
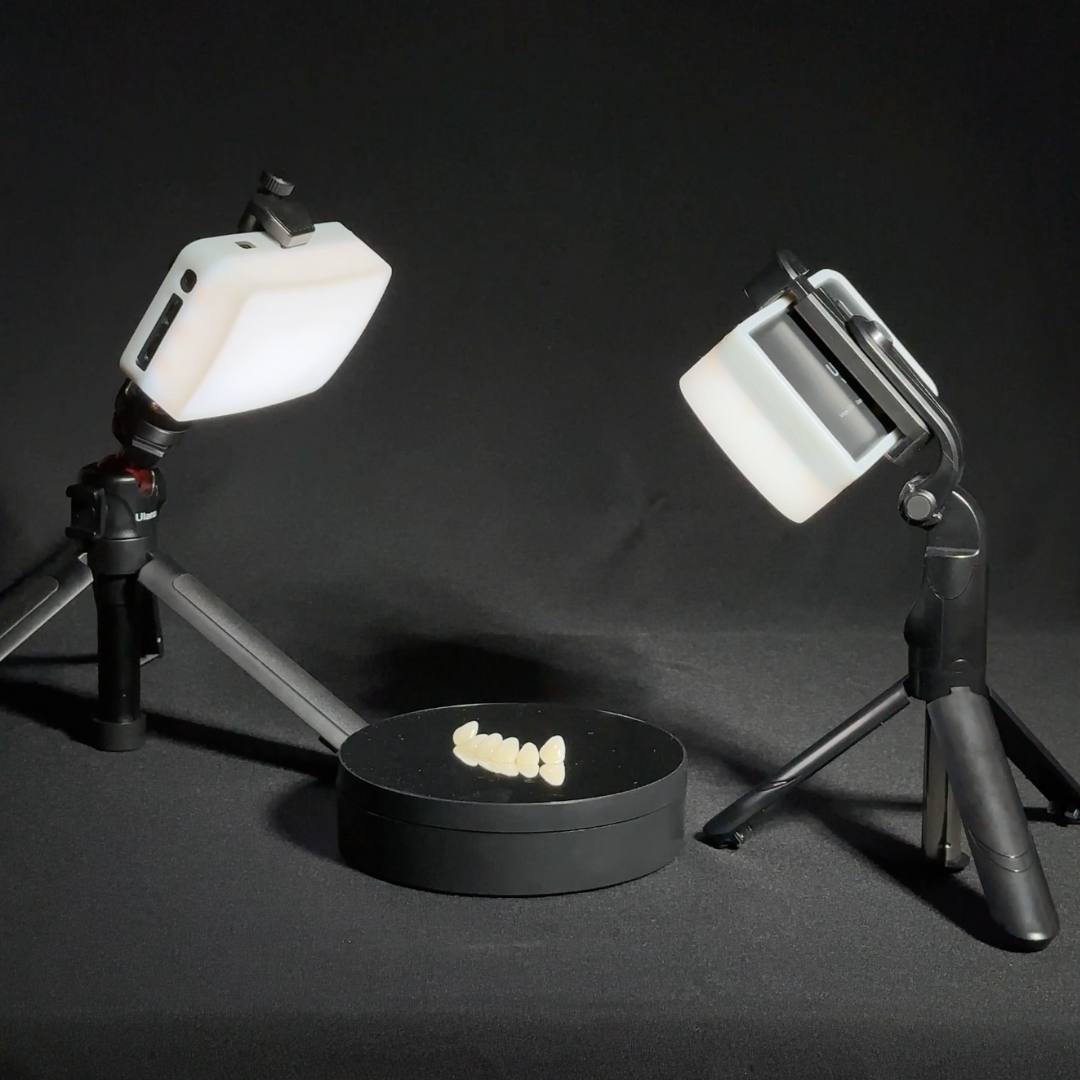
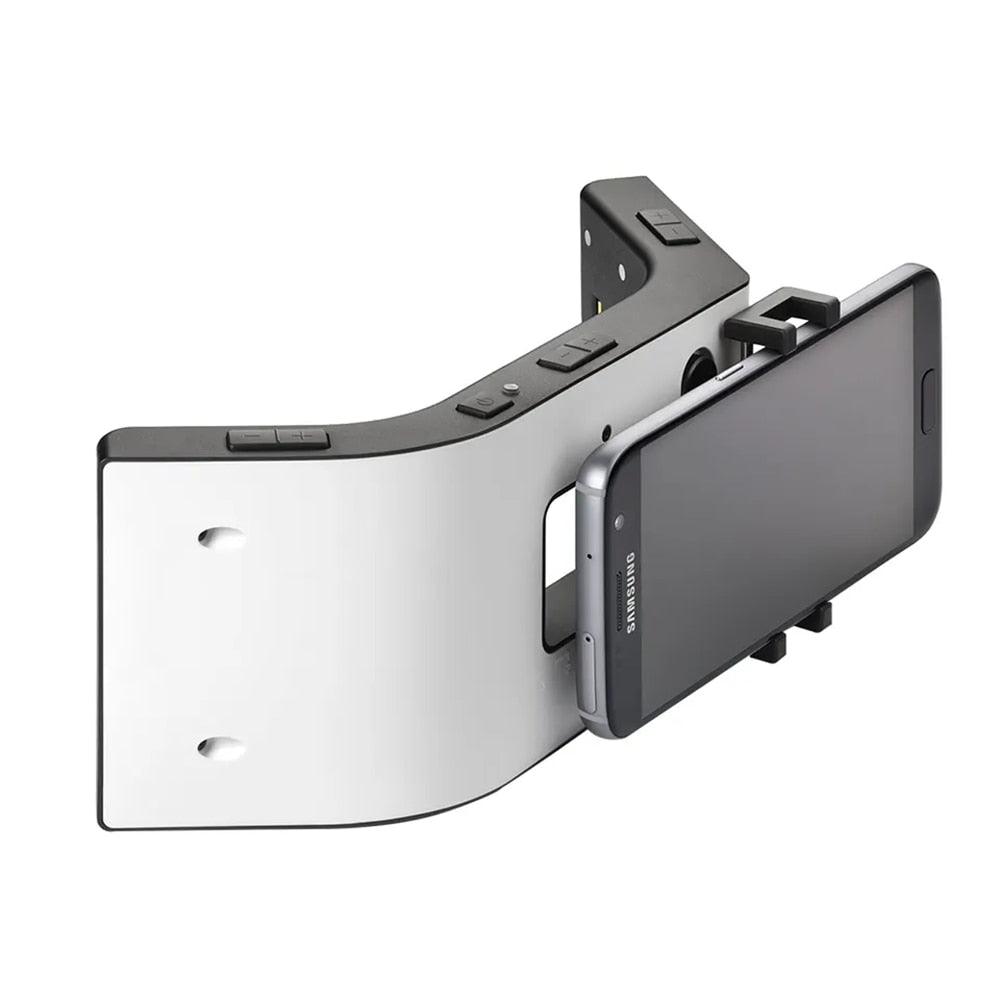
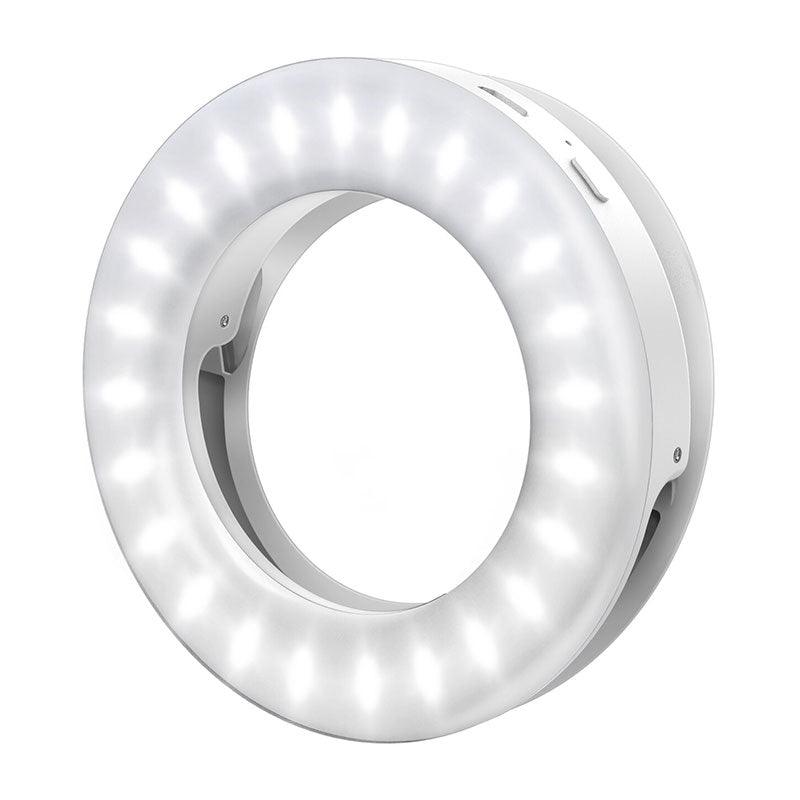
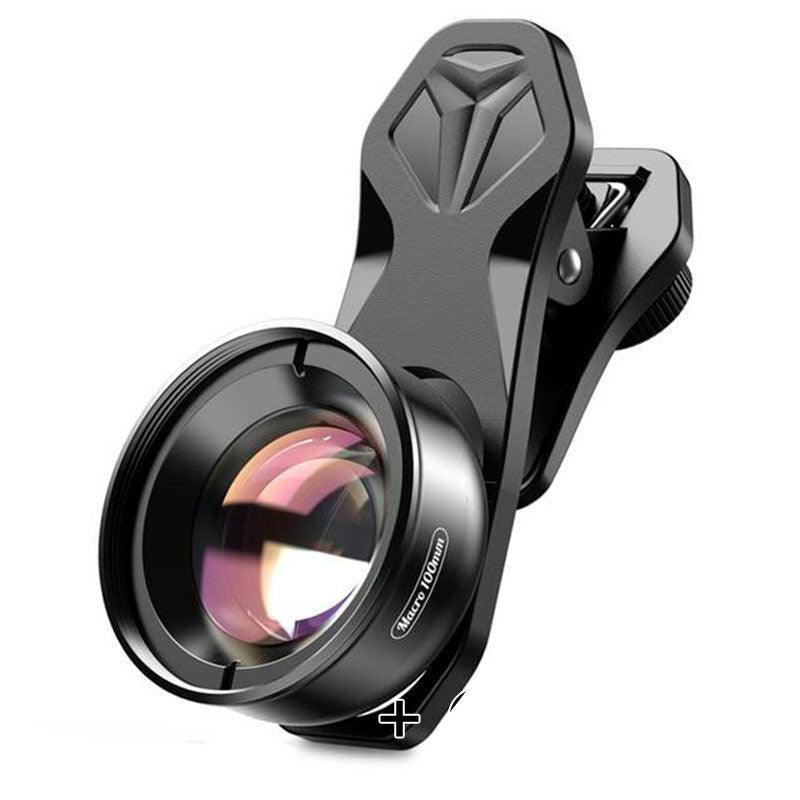
If you need high-quality accessories such as retractors, contrastors, or mirrors to complement your dental photography setup, visit our online store at dentiphoto.com. And if you’re just getting started with smartphone dental photography, check out our latest Dentiphoto Twin Light — a cutting-edge innovation for 2025. For all blog readers, we offer an exclusive 15% discount on your first order with promo code BLOG15.


