Portrait Photography for Dental Clinics
Background and Lighting:
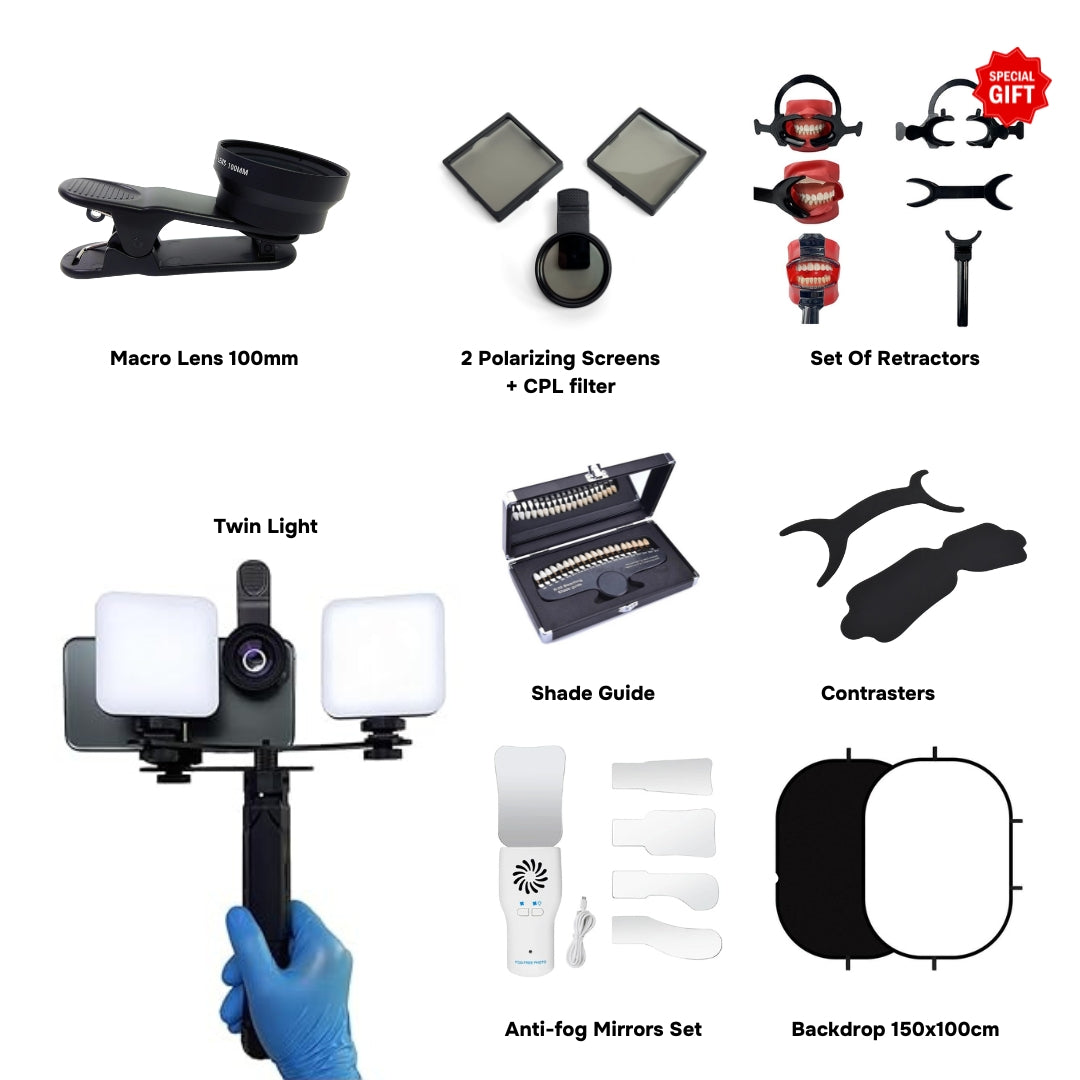
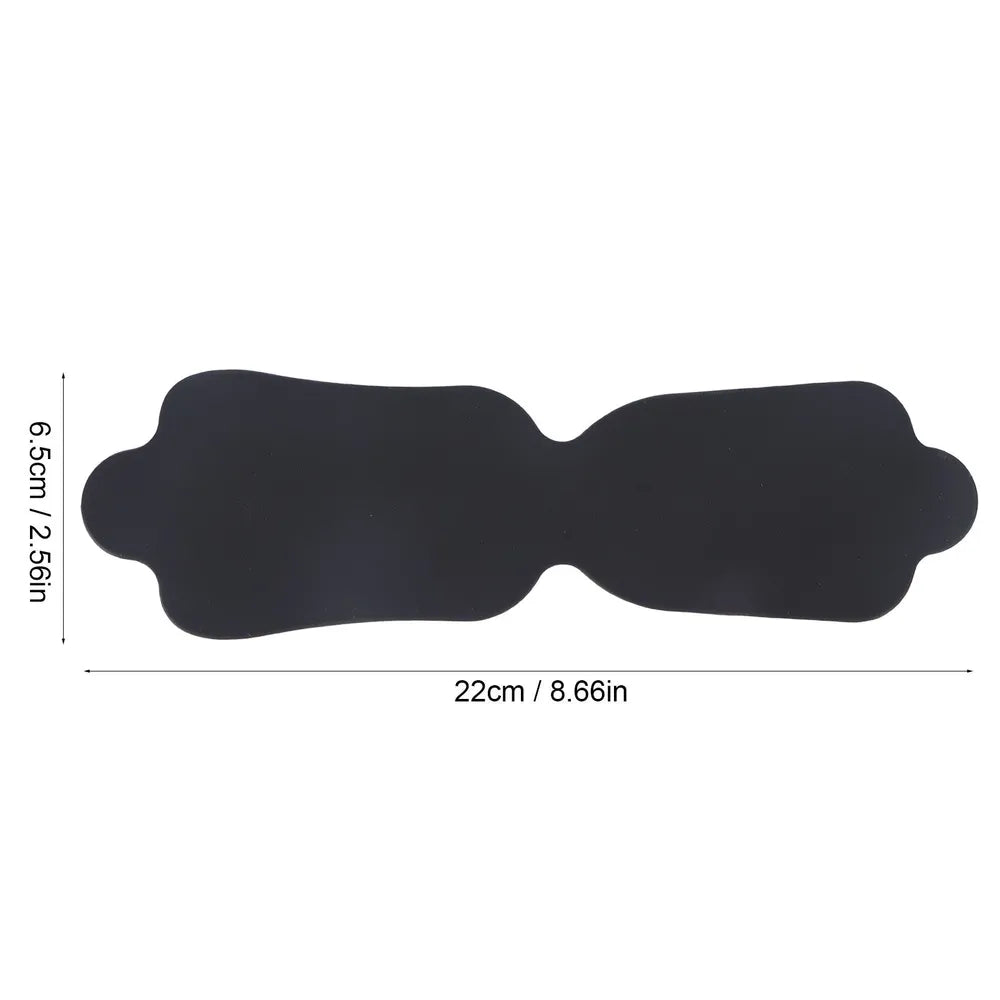
- Use a plain black or white background for a clean and professional look.
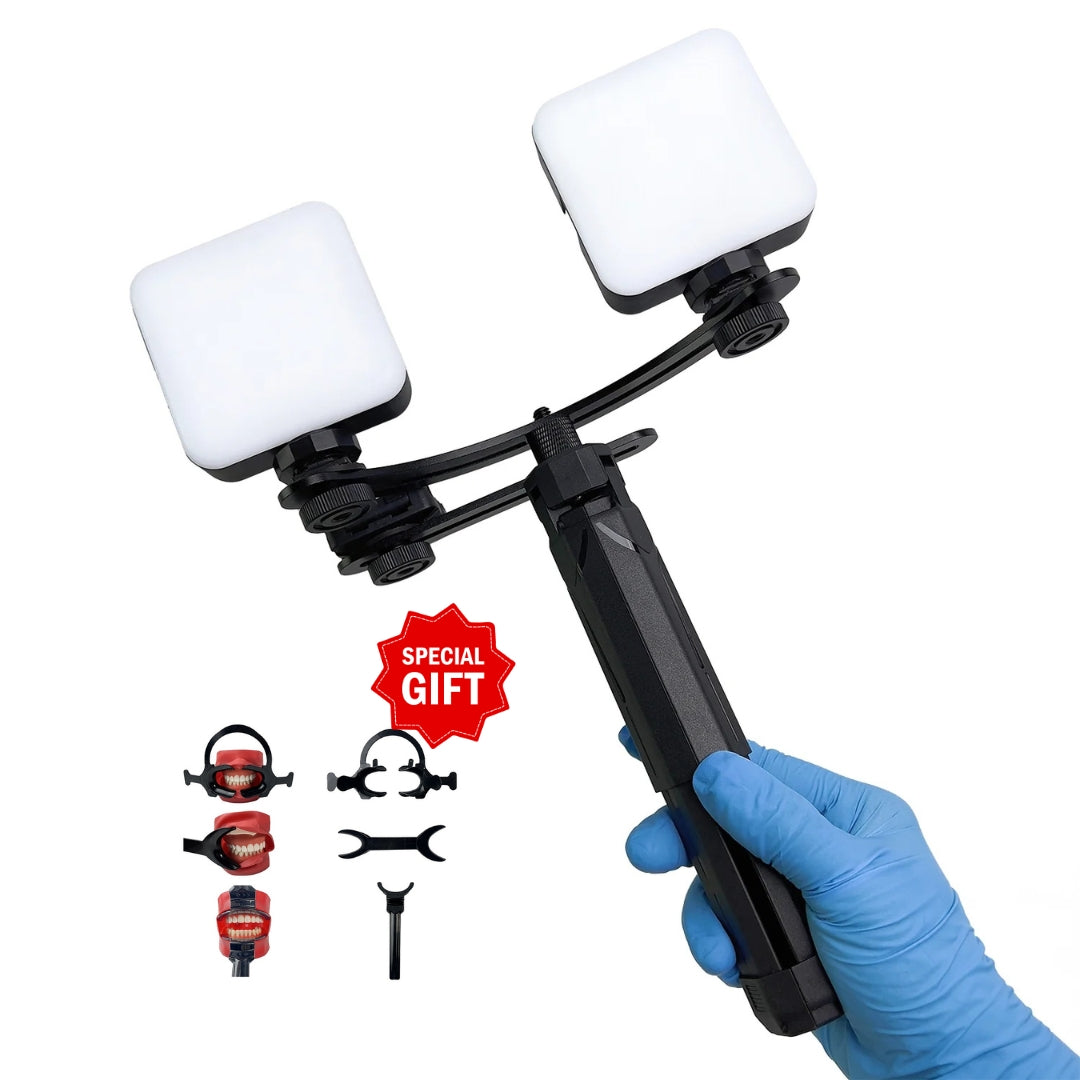
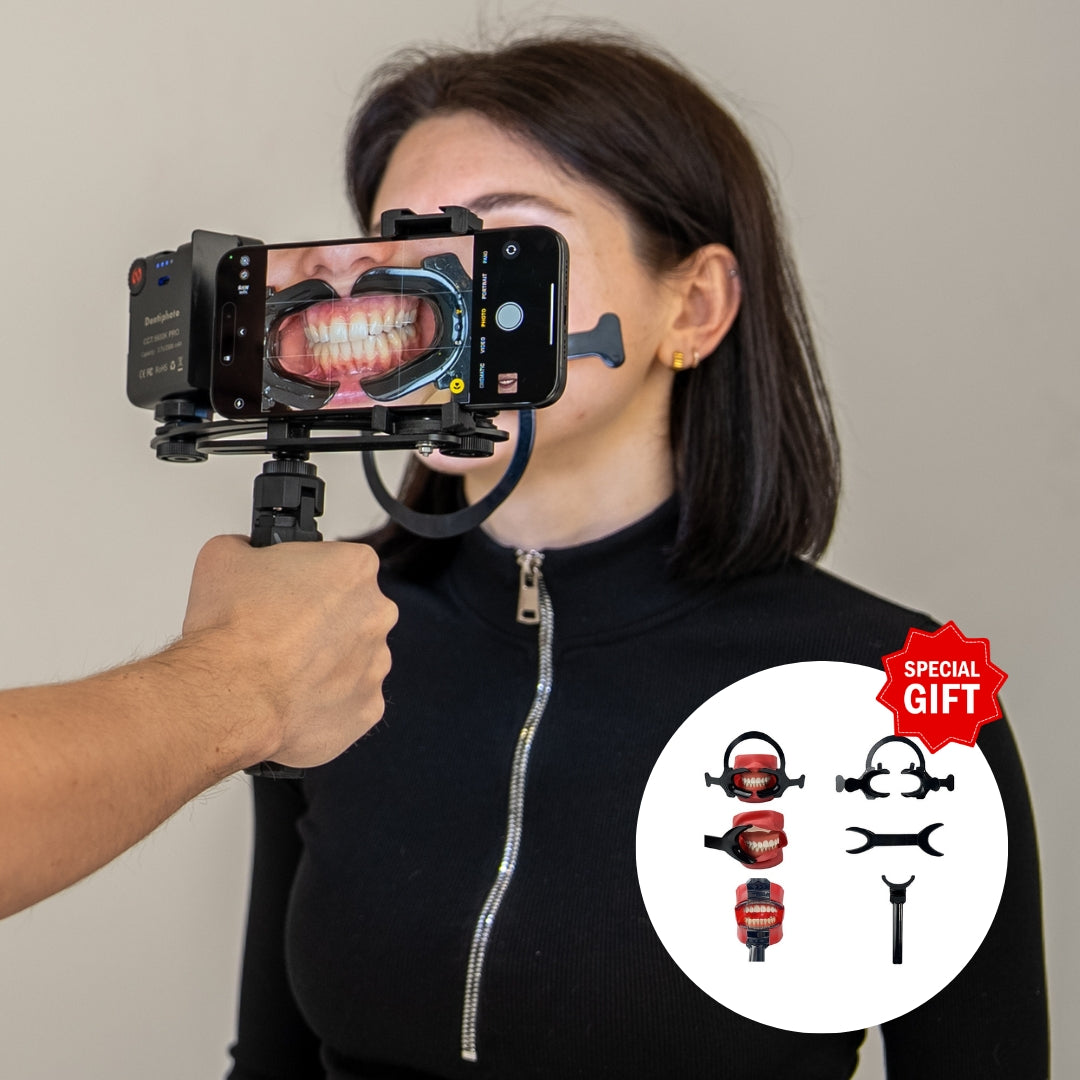
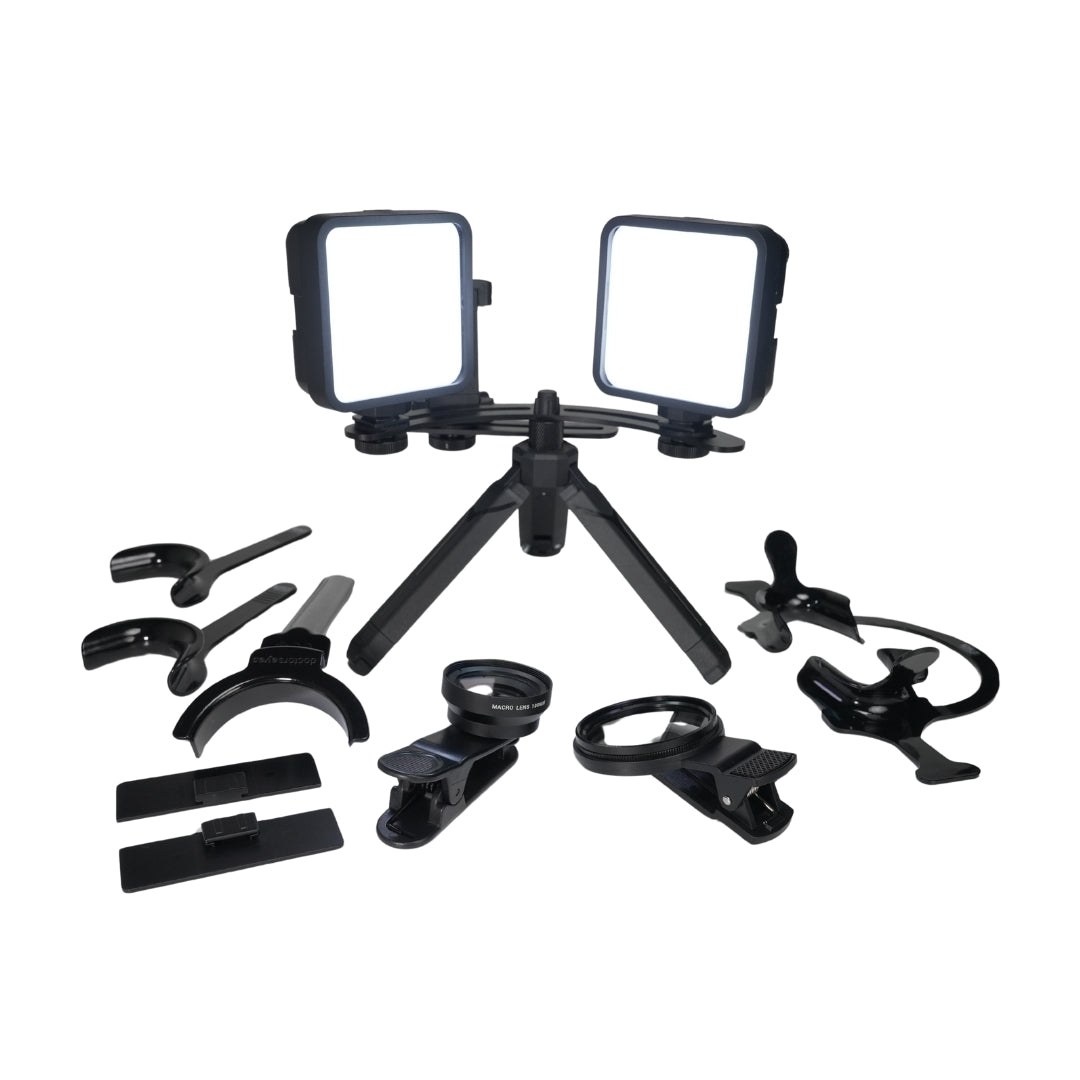
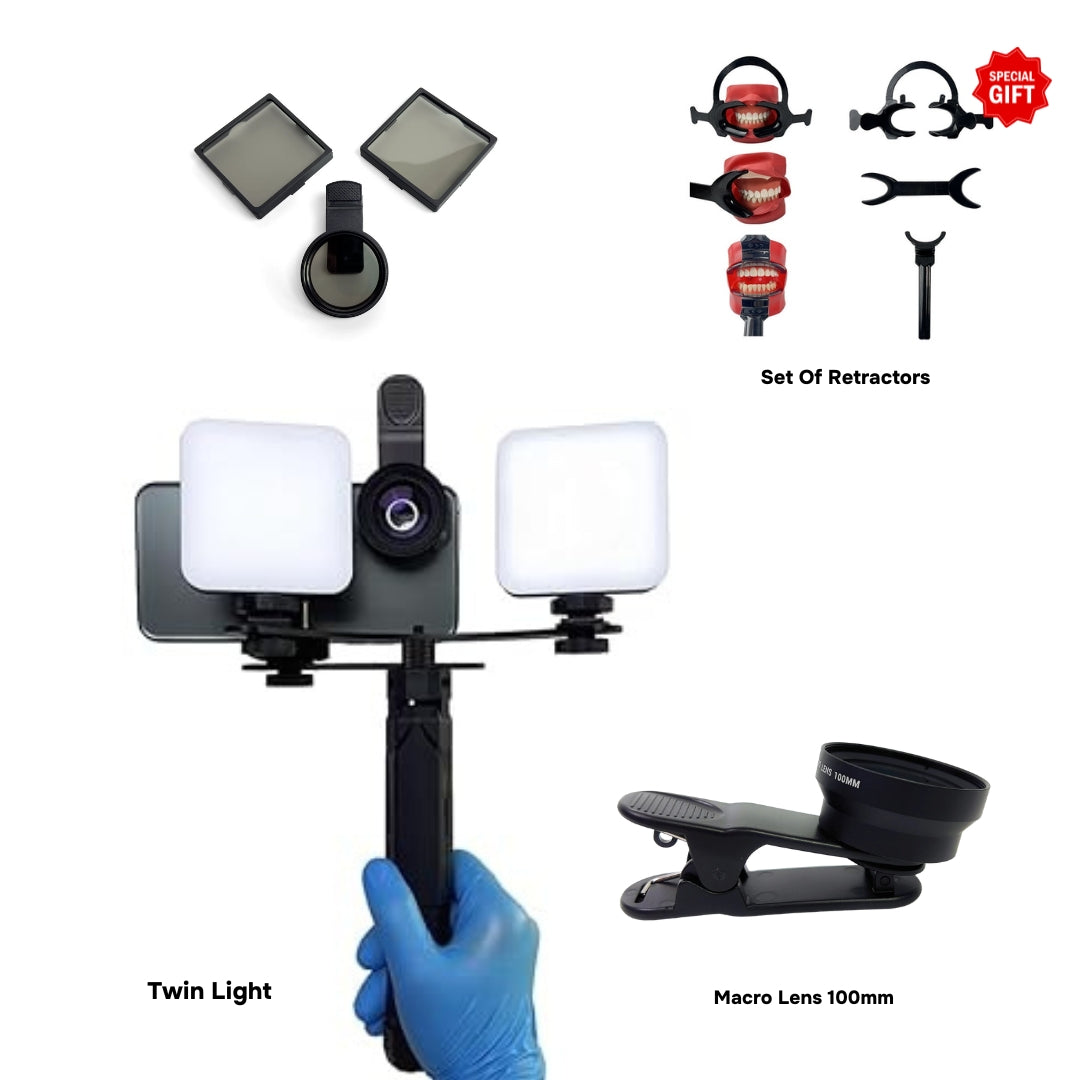
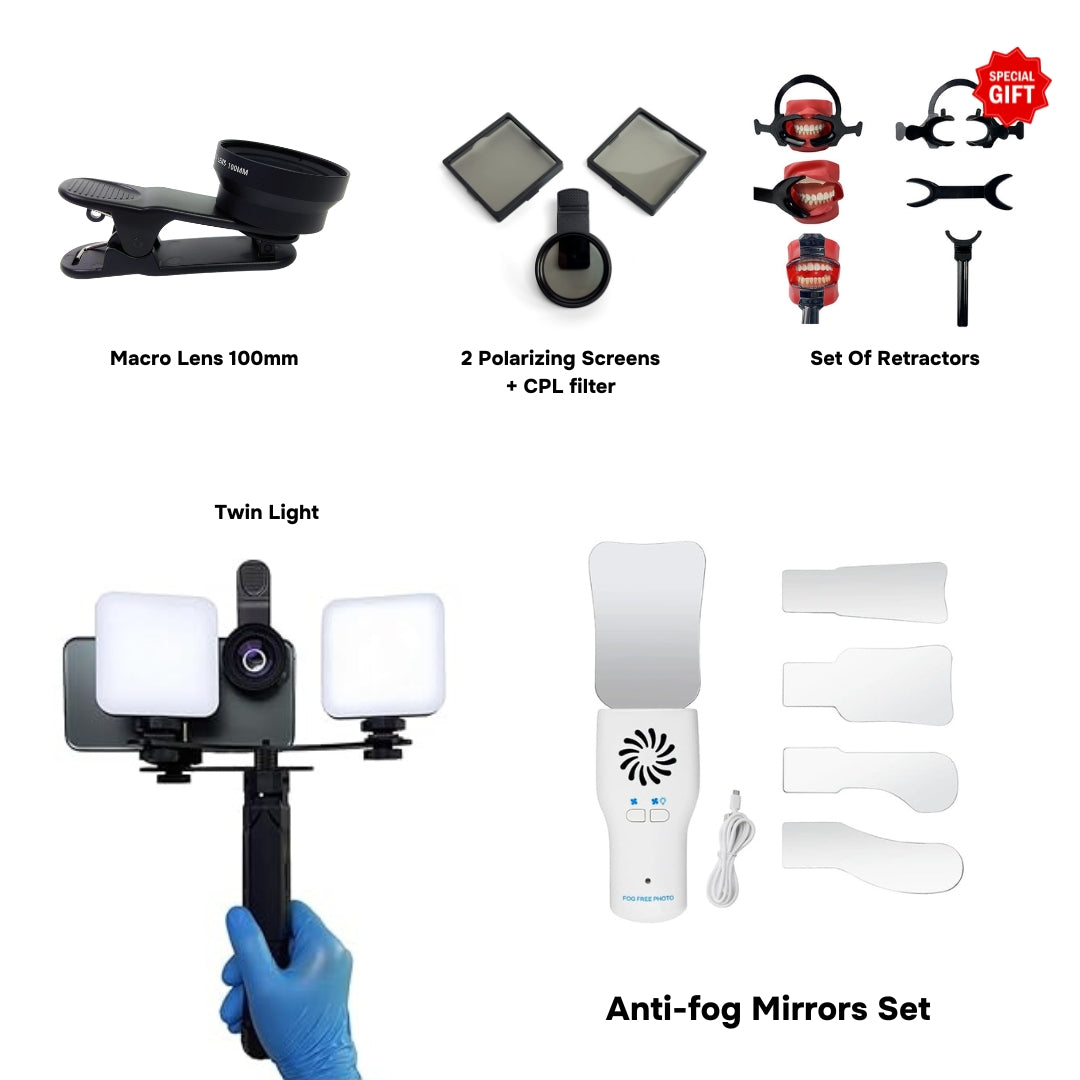
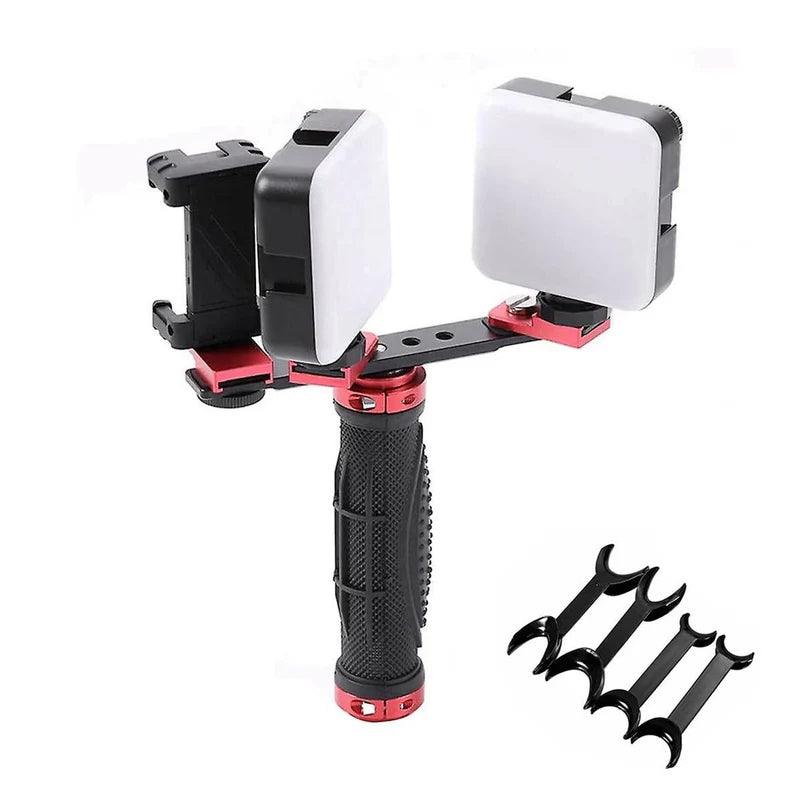
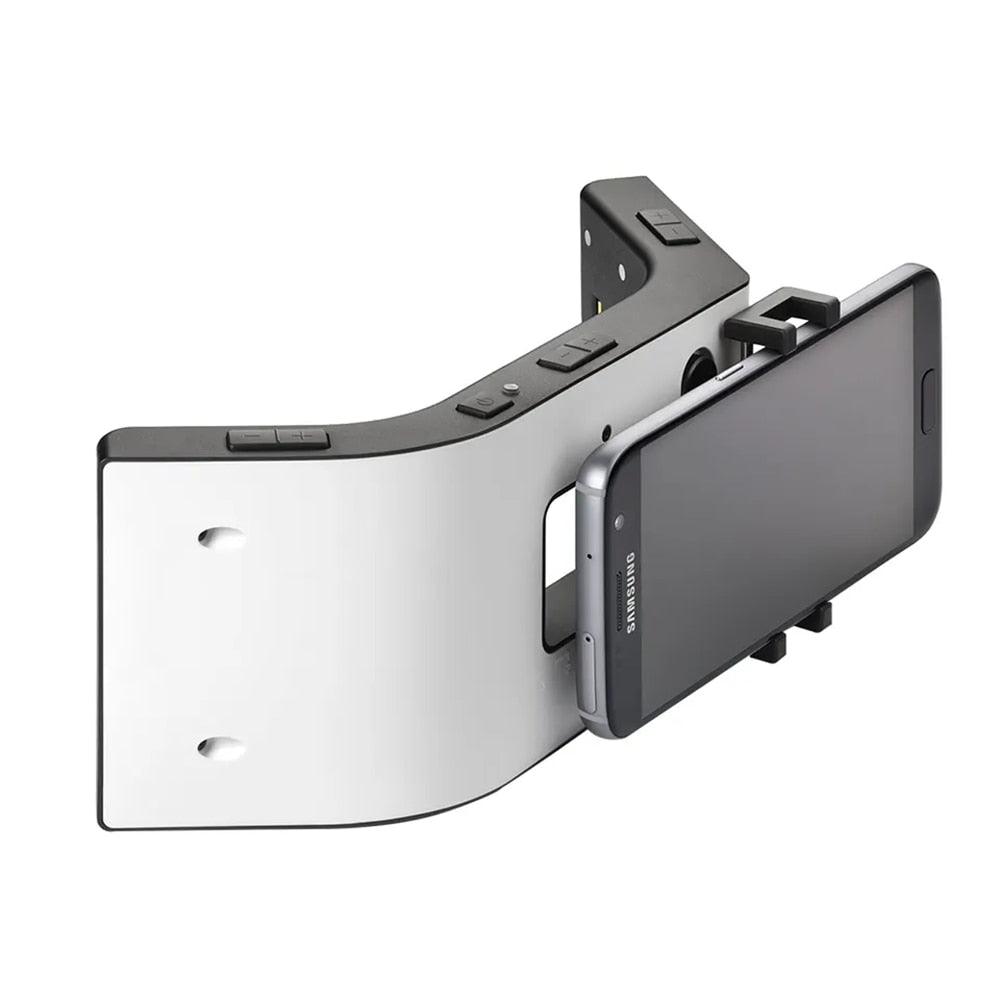
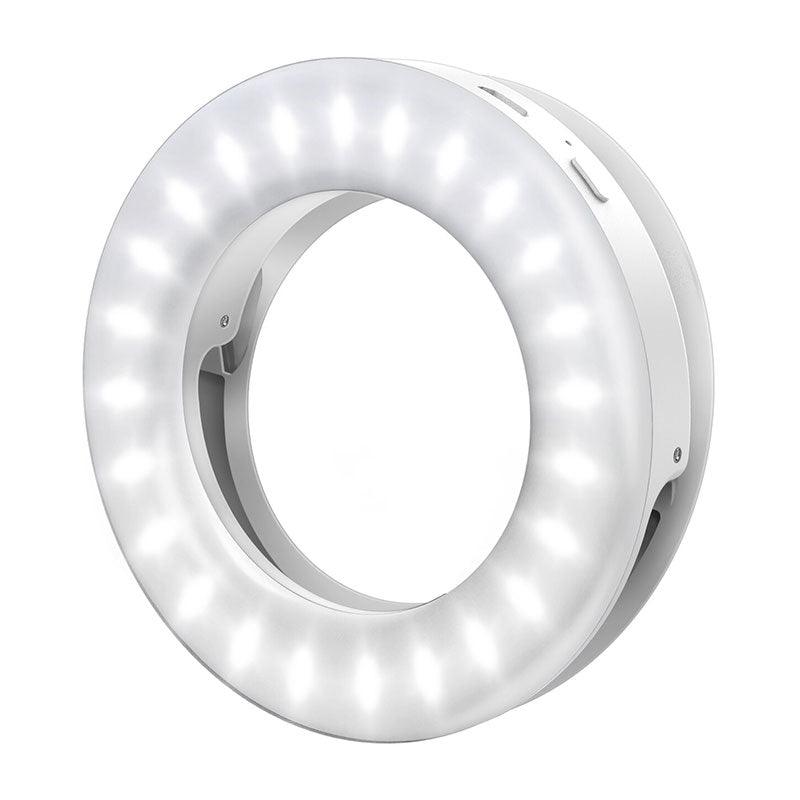
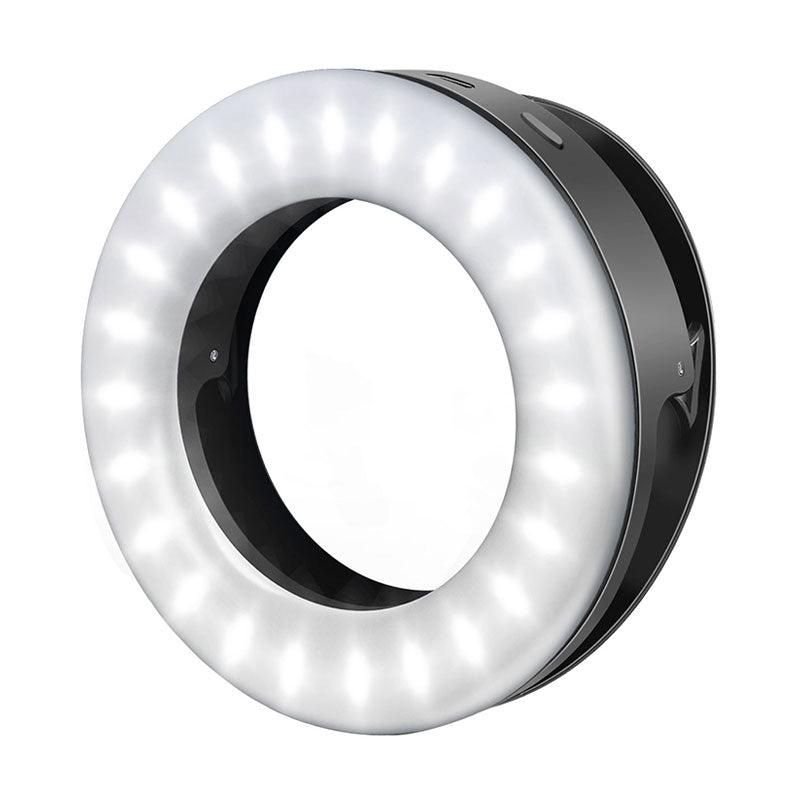
- Ideal lighting includes a ring light or twin light source. Natural sunlight can also work effectively if available.
Camera Settings and Tips:
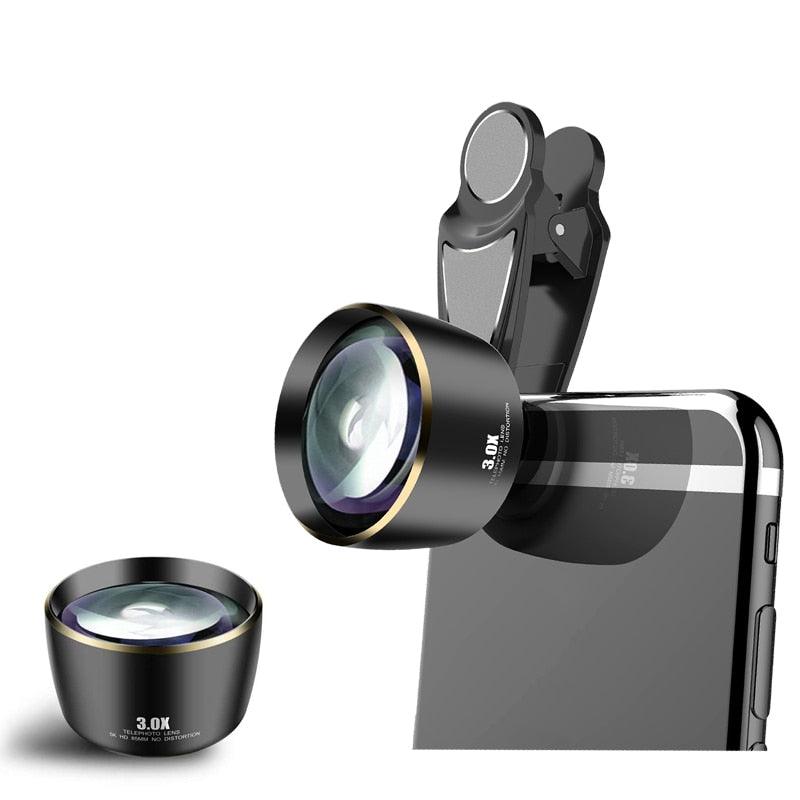
- On your phone, switch to the ‘X2’ zoom mode for clear portrait shots.
- Focus: Tap the screen to select the focus point, targeting the middle of the face for sharpness.
- Capture: Ensure even lighting and take the photo.
Tools:
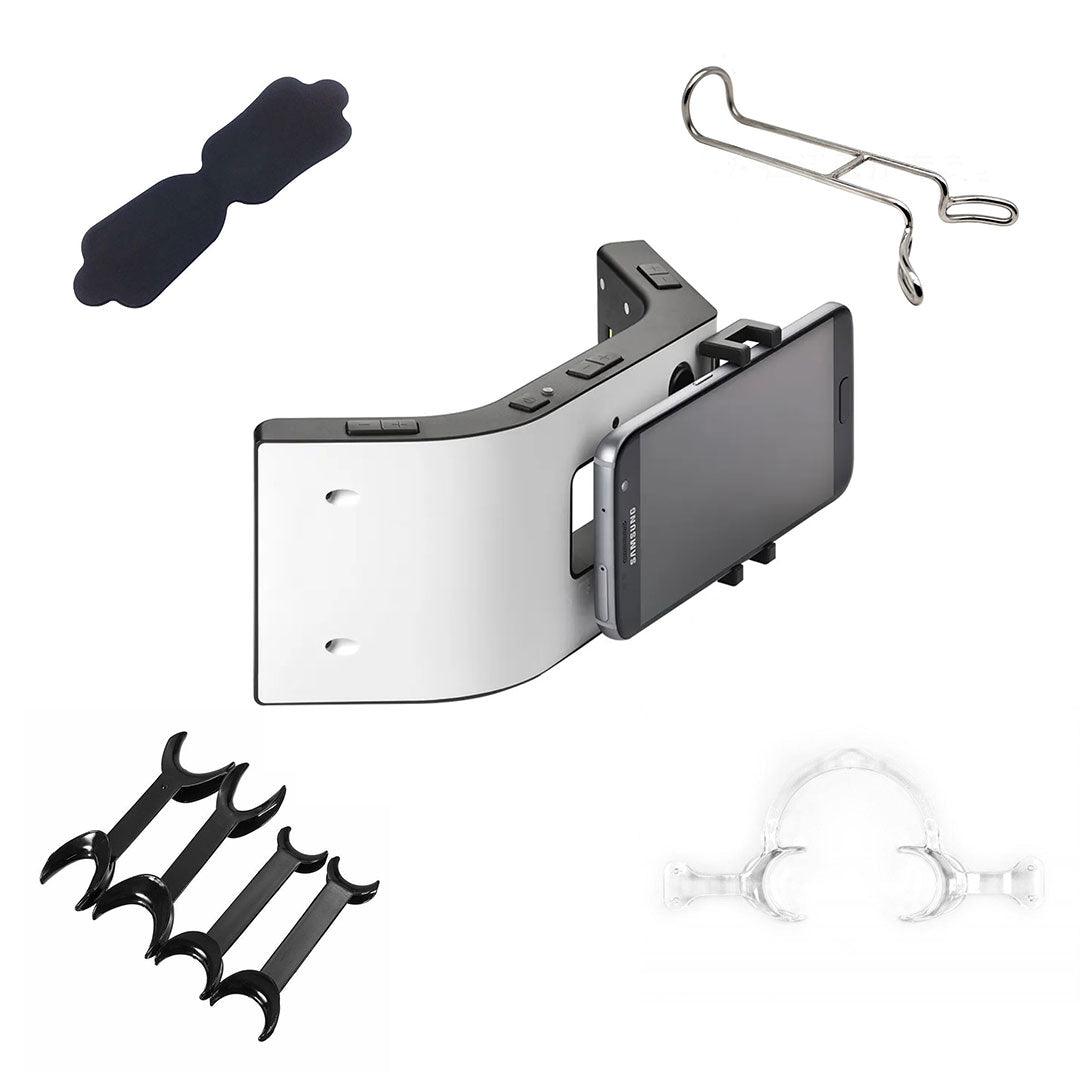
- Consider investing in professional backgrounds and lighting setups from trusted suppliers.
Intraoral Photography: Smile Zone
Essentials for Capturing Detailed Smile Images:
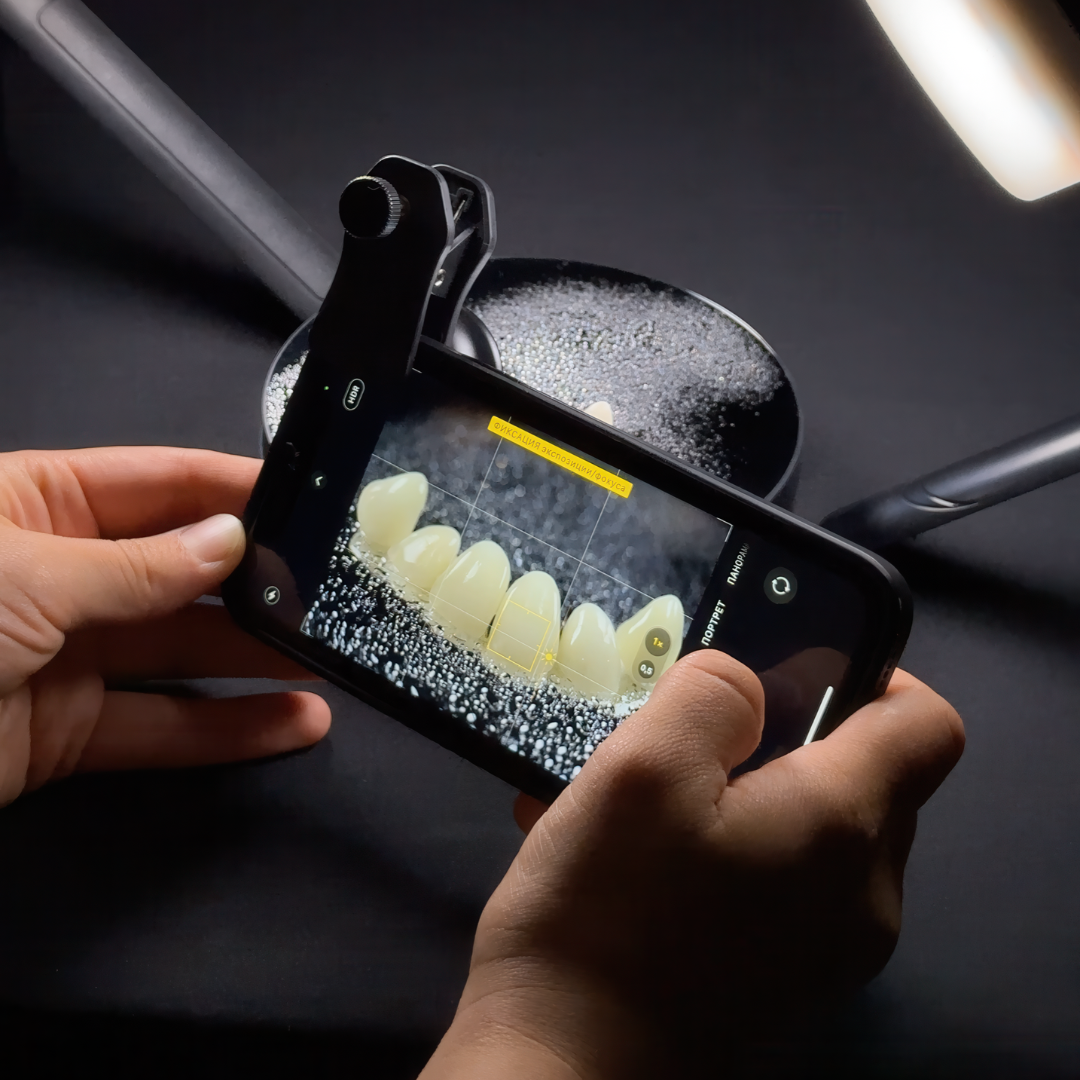
- Macro Mode: Use your phone’s macro setting if available.
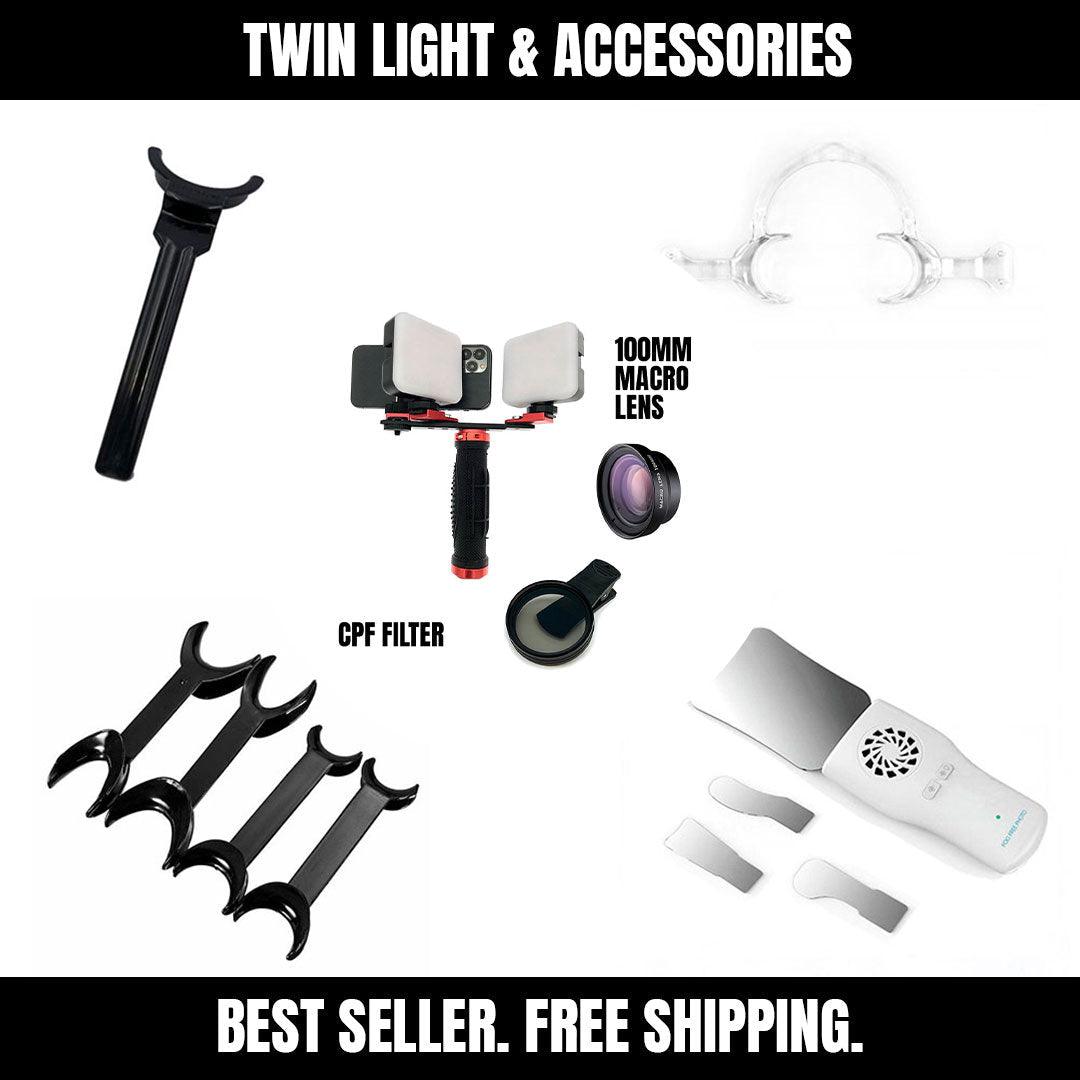
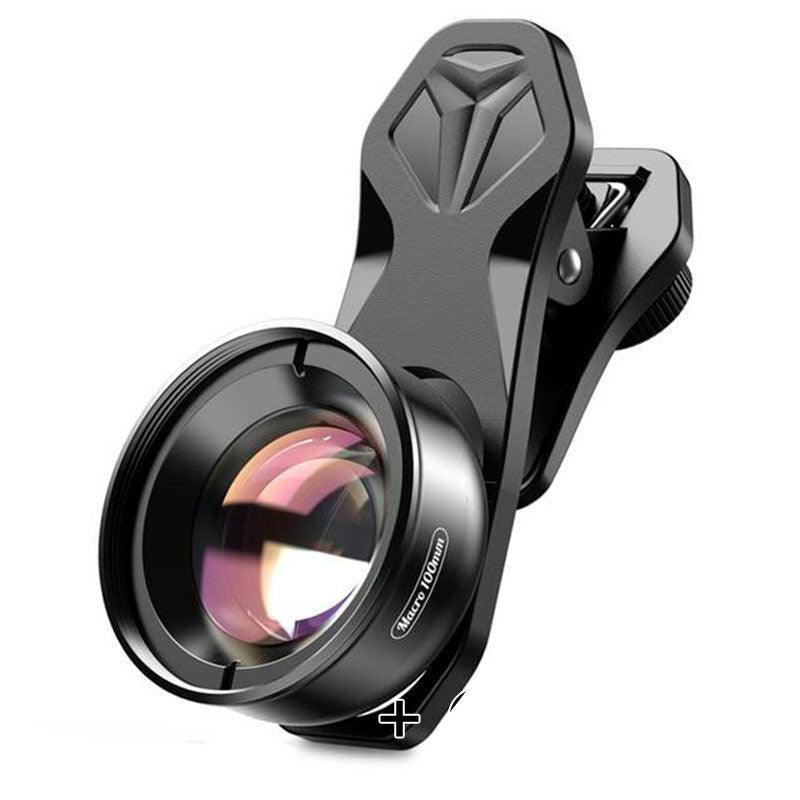
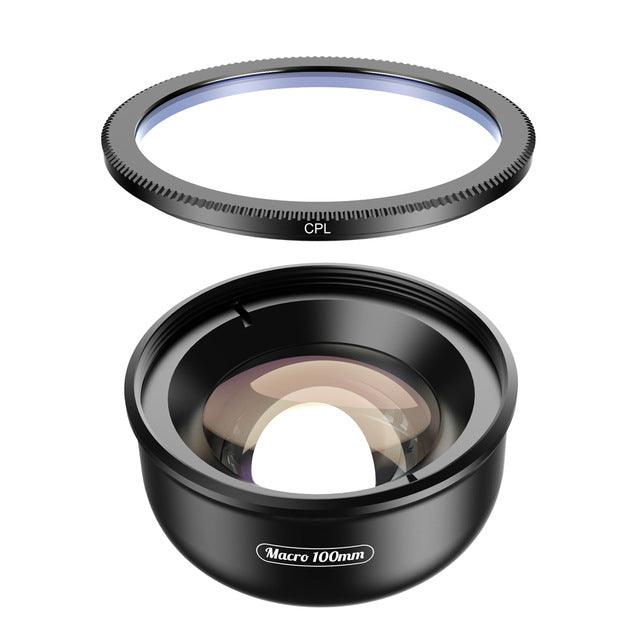
- Macro Lens Attachment: Attach a 100mm or 120mm macro lens to your phone's main camera (usually the bottom lens on newer iPhones).
Steps for Best Results:
- Position the phone close to the smile zone.
- Ensure proper focus by tapping on the desired area.
- Adjust macro mode manually if needed.
- Take the photo, ensuring proper lighting and minimal shadows.
Recommended Accessories:
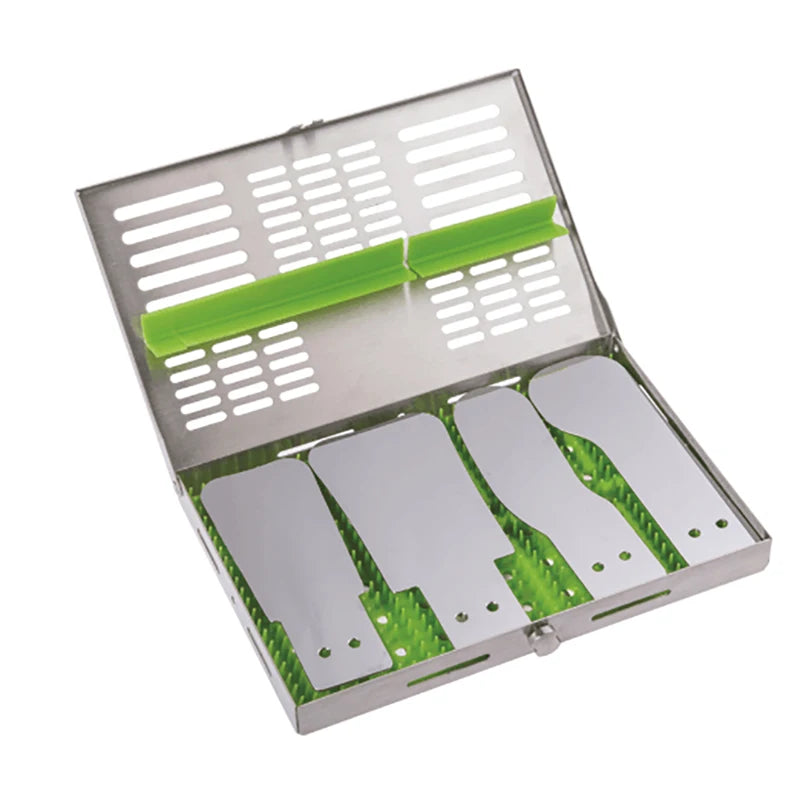
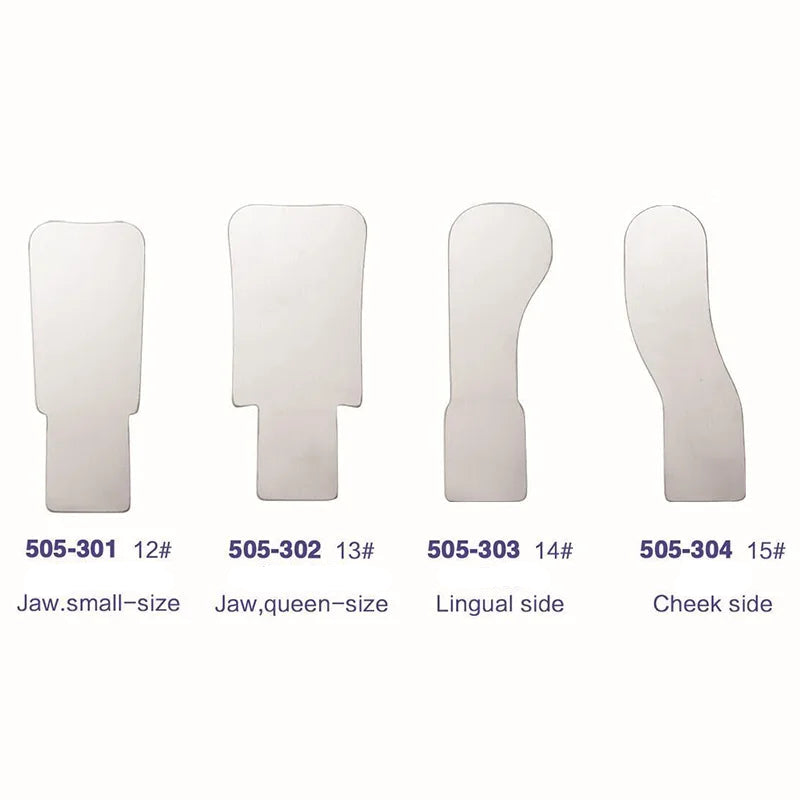
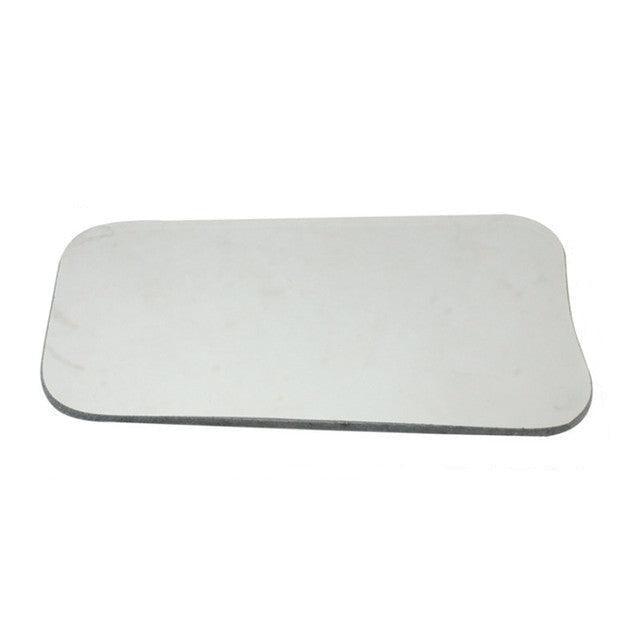
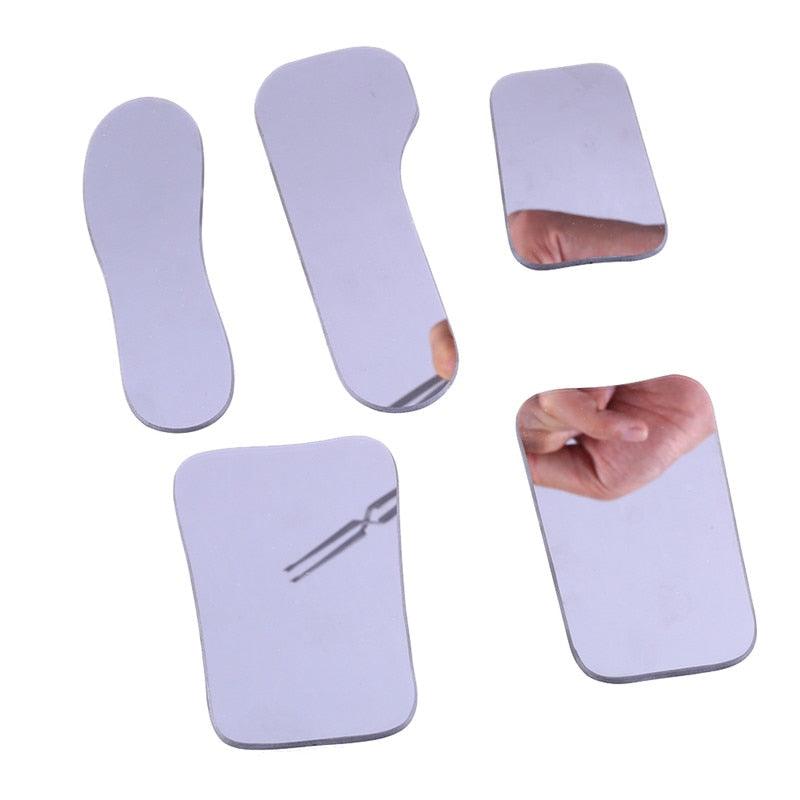
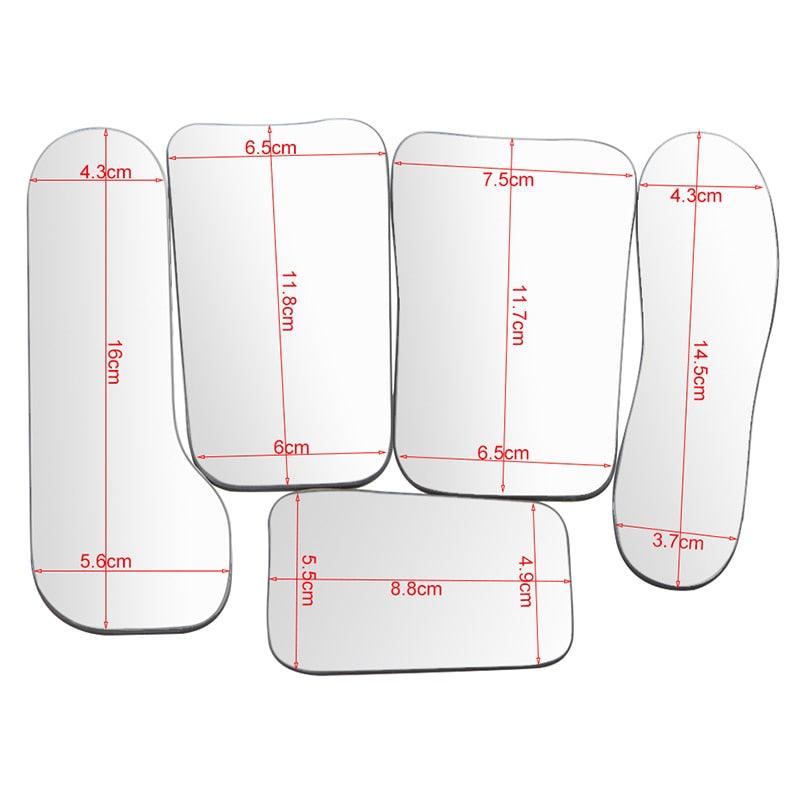
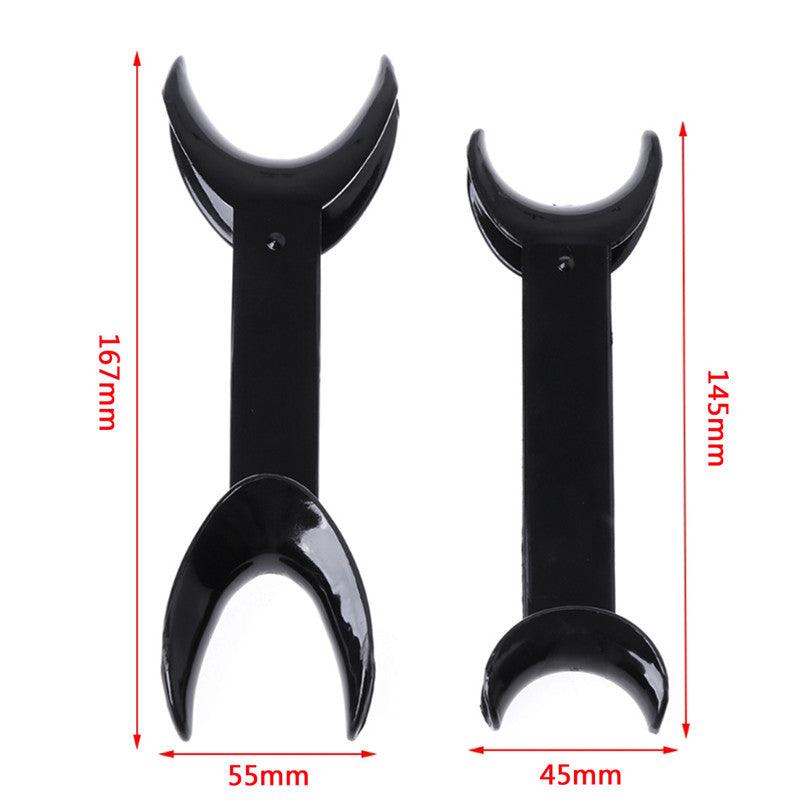
- High-quality retractors to improve visibility.
- Macro lenses designed for smartphones.
Vertical Photography for Social Media
Lighting and Orientation:
- Use a ring light or twin light for optimal results.
- Hold your phone vertically for social media-friendly images.
Photo Tips:
- Ensure the lighting highlights the subject evenly.
- Capture clear, focused images suitable for platforms like Instagram and Facebook.
Object Photography in the Dental Laboratory
Lighting for Detail:
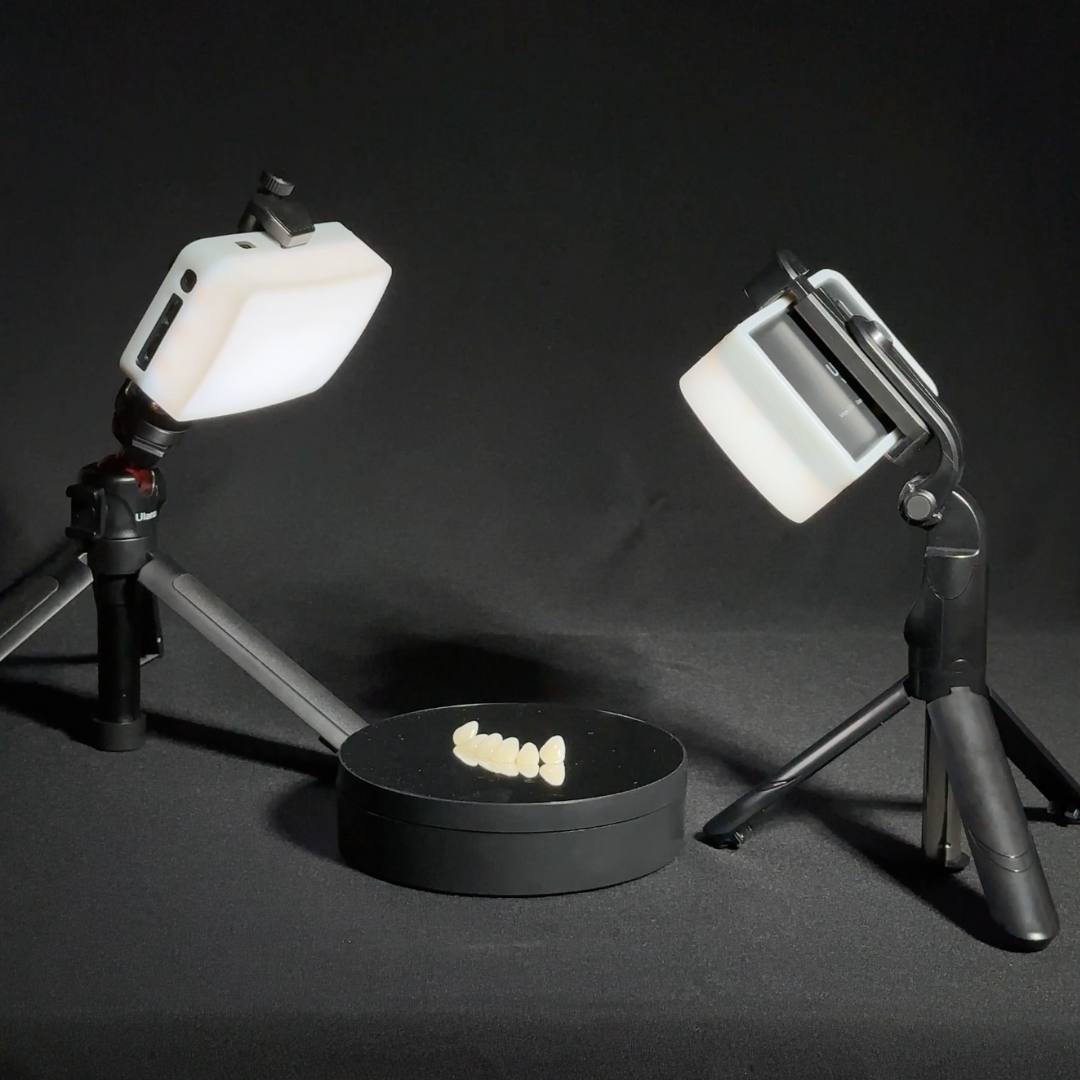
- Use soft boxes for diffused, even lighting.
- Place light sources on both sides of the object to emphasize texture and detail.
Macro Lens for Close-Ups:
- Attach a 100mm or 120mm macro lens to your smartphone for sharp close-up shots.
Additional Tips:
- Use a tripod to avoid blur.
- Choose a neutral background to ensure the object stands out.
Background Considerations
For both portraits and object photography, a plain, light-colored background is ideal to avoid distractions and focus on the subject.
By following these steps and investing in the right tools, dental professionals can achieve professional-grade photography, enhancing communication, documentation, and marketing efforts.


