Doctors' interest in dental photography is growing. Many dentists, before buying a photo kit, want to know if their camera can produce magazine-quality photos and make teeth look attractive. They often evaluate the number of megapixels, sensor size, and lens quality, but overlook the main secret to high-quality photos: light.
Even with the most expensive camera, without understanding proper lighting, results will be disappointing. Knowing how to use lighting accessories and techniques can create stunning images, even with modest equipment.
Modern dentistry heavily relies on photography for professional portfolios, communication, patient motivation, and documenting aesthetic transformations. Dental photography, a specialized genre, combines macro and micro photography, subject shooting, and portrait photography, requiring specific equipment and accessories.
Successful dental photography requires understanding camera principles and technical aspects. The process involves three main components: the camera, lens, and flash. The camera stores light via a light-sensitive sensor. A lens focuses light on the sensor, with macro lenses used for detailed images. The flash is crucial for providing sufficient light, especially since dental photography involves close-up shots with high aperture settings, making it hard for light to penetrate the lens without additional illumination.
Therefore, you have to use flashes.
Unlike constant light sources, flashes give a short but very powerful pulse of light. The flash allows you to receive directional, controlled light of the required intensity in order to properly illuminate the subject.
In dental photography, there are 5 levels of lighting complexity using different types of flash units and additional lighting accessories.
The first is an annular flash (Fig. 1). The simplest and most uncomplicated lighting option in macro photography. By arranging the ring flash bulbs around the front lens of the objective in a circular shape, good light coverage can be obtained at any scale, even at the largest. The ring flash is easy to operate and makes it easy to get reasonably good results (Fig. 2). It is also indispensable when registering occlusal photographs performed through a mirror (recording clinical cases of chewing teeth treatment, photographs of the entire dental arch, etc.) (Fig. 3).

Fig. 1. Ring flash.

Fig. 2. Close-up photography with ring flash.

Fig. 3. Occlusal photos with ring flash.
The main disadvantages of a ring flash are harsh shadowless illumination with the formation of bright highlights in the form of a ring on the tooth surface. Objects under the flash ring are often flat and expressionless. The disadvantages of the ring flash are especially acute when taking pictures of the front teeth.
The second level of illumination in dental photography includes the so-called bipolar flashes (Fig. 4). These units are equipped with twin emitters that attach directly to the front edge of the macro lens and are controlled by a single control unit. Flash heads can generally tilt at different angles to the subject. This type of lighting allows you to get a more attractive shape of the highlights, located on the lateral edges of the teeth, without obscuring important details (Fig. 5).

Fig. 4. Bipolar flash

Fig. 5. Photo with bipolar flash.
The disadvantage of bipolar flash is that the light is harsh and produces unnaturally bright highlights. In addition, dual-lamp systems also have a limitation on the maximum shooting scale: if the macro lens is too close to the surface of the object being shot, the light from the flashes may not be enough. When recording chewing teeth on a large scale, one of the bipolar flash lamps can fall into the dead zone (by the cheek, retractor or rubber dam), which will not allow obtaining a frame with a sufficient level of illumination.
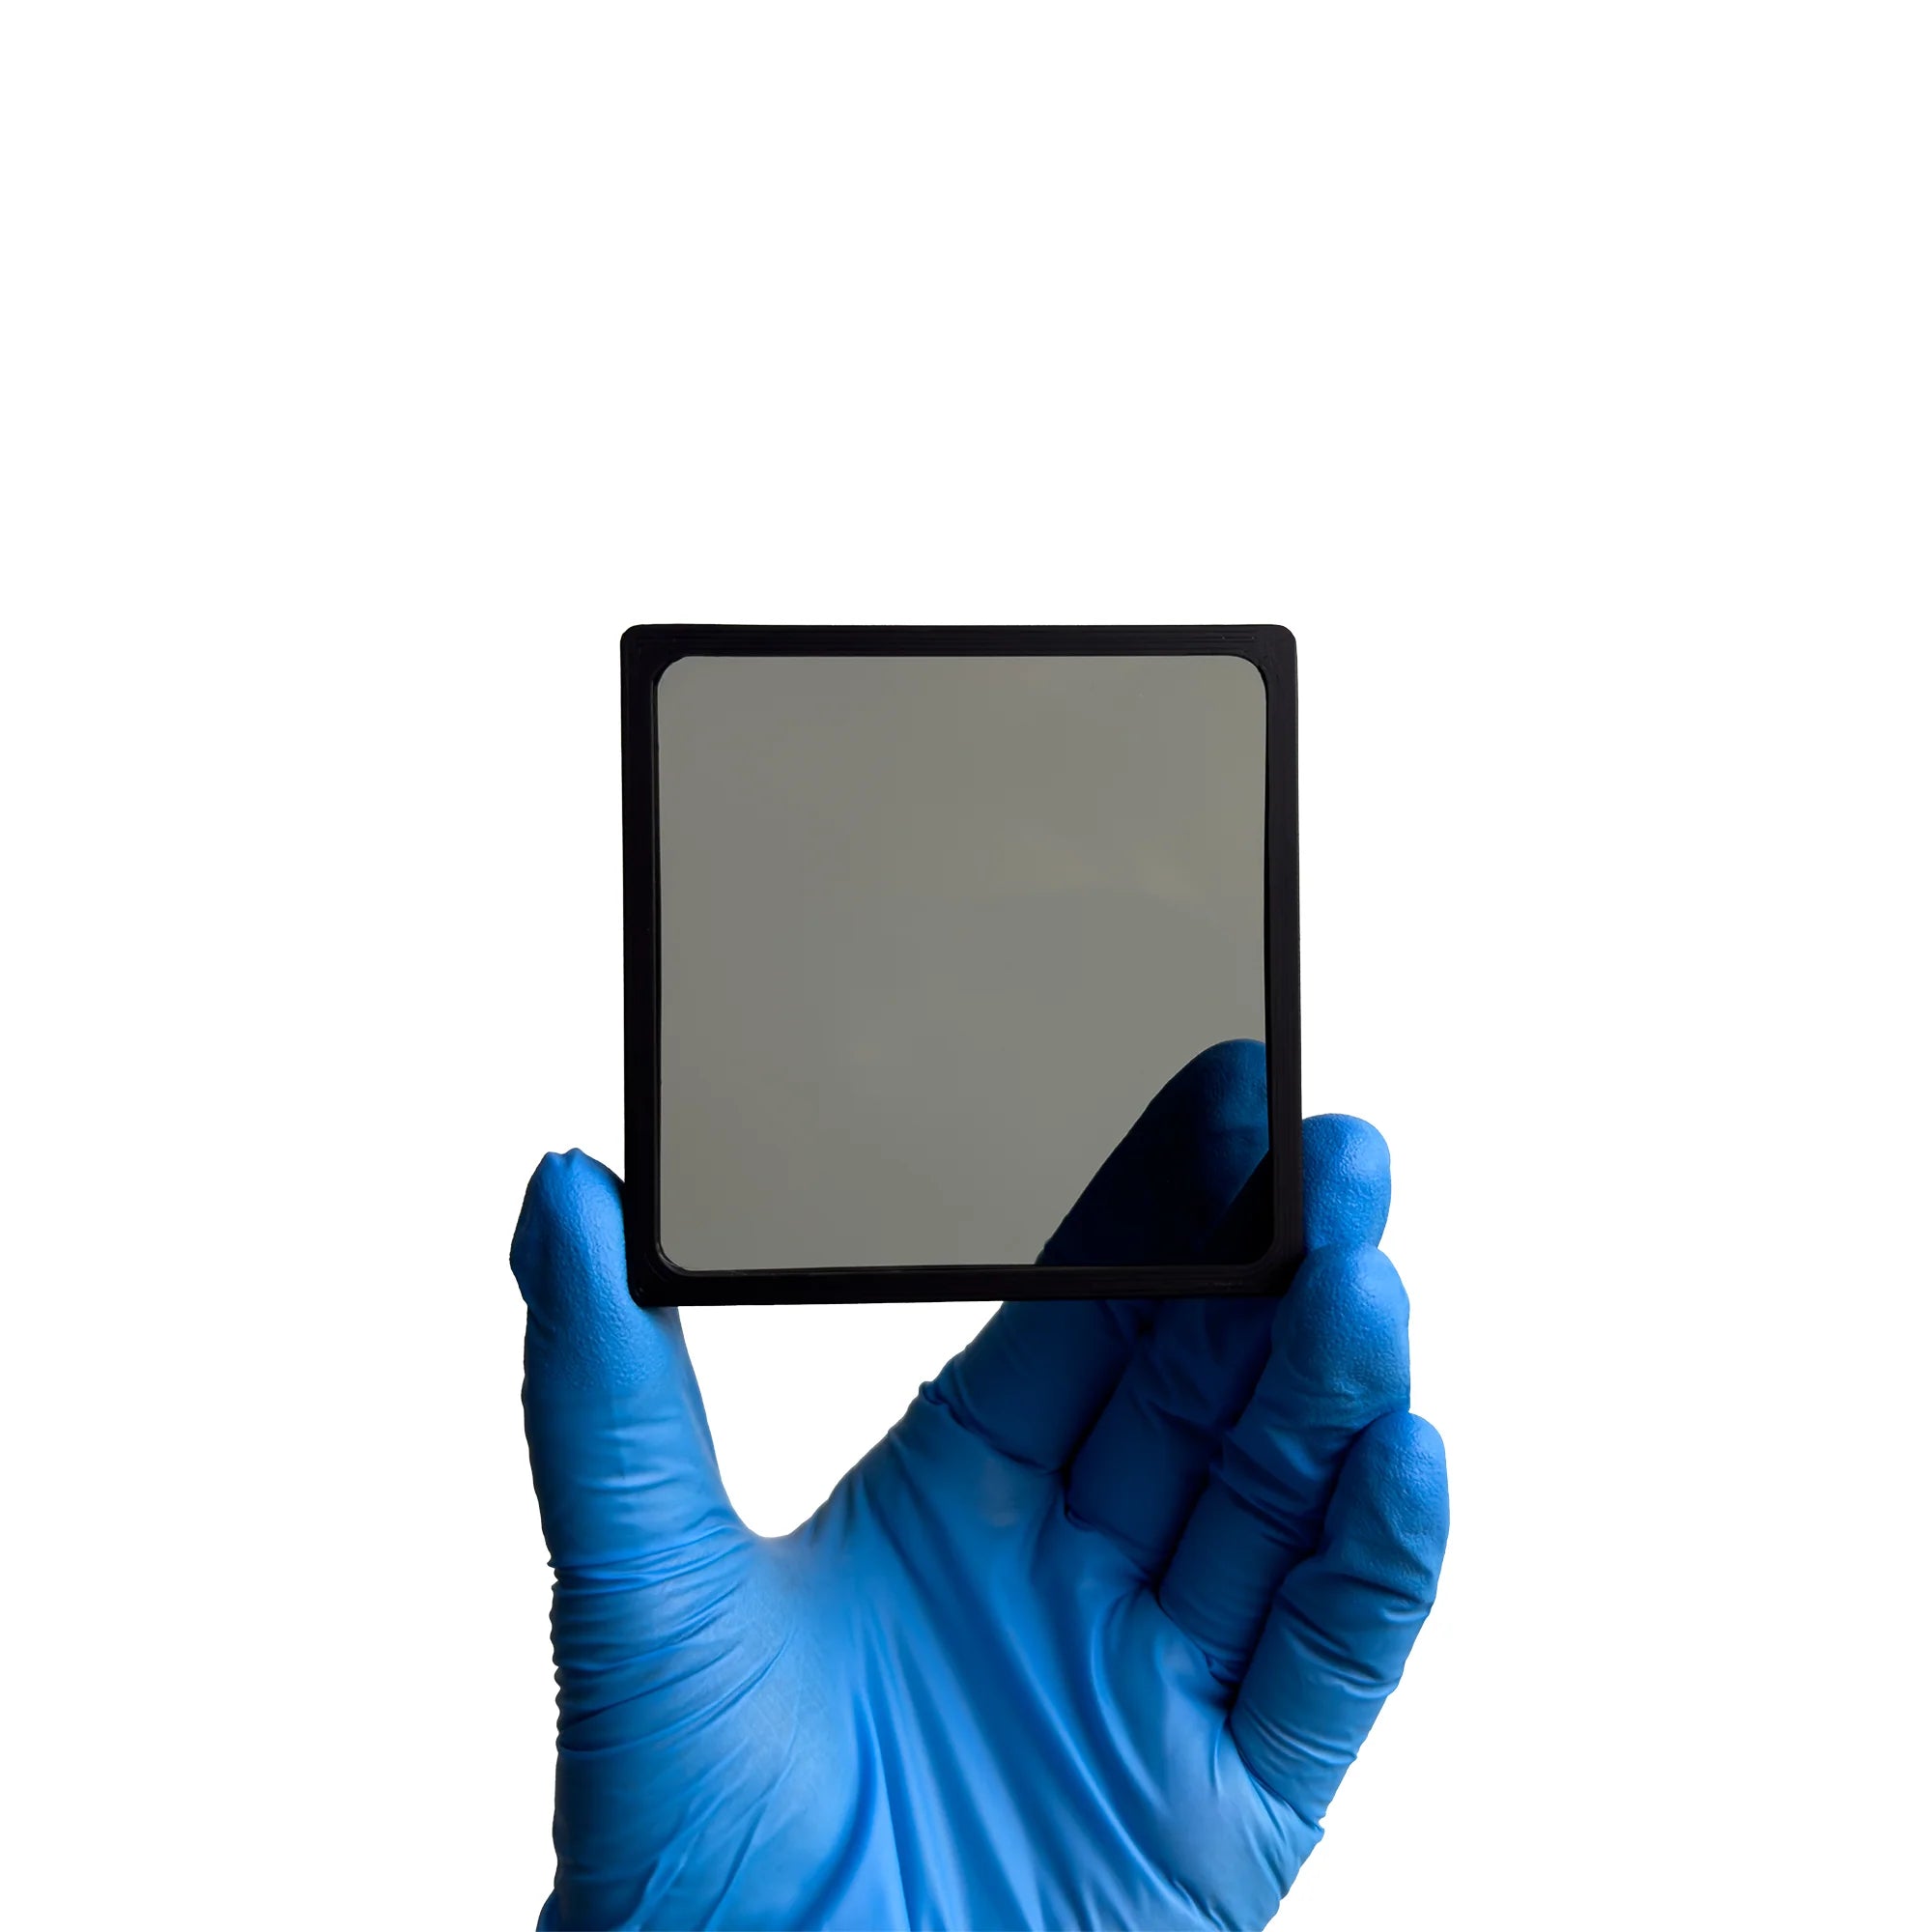
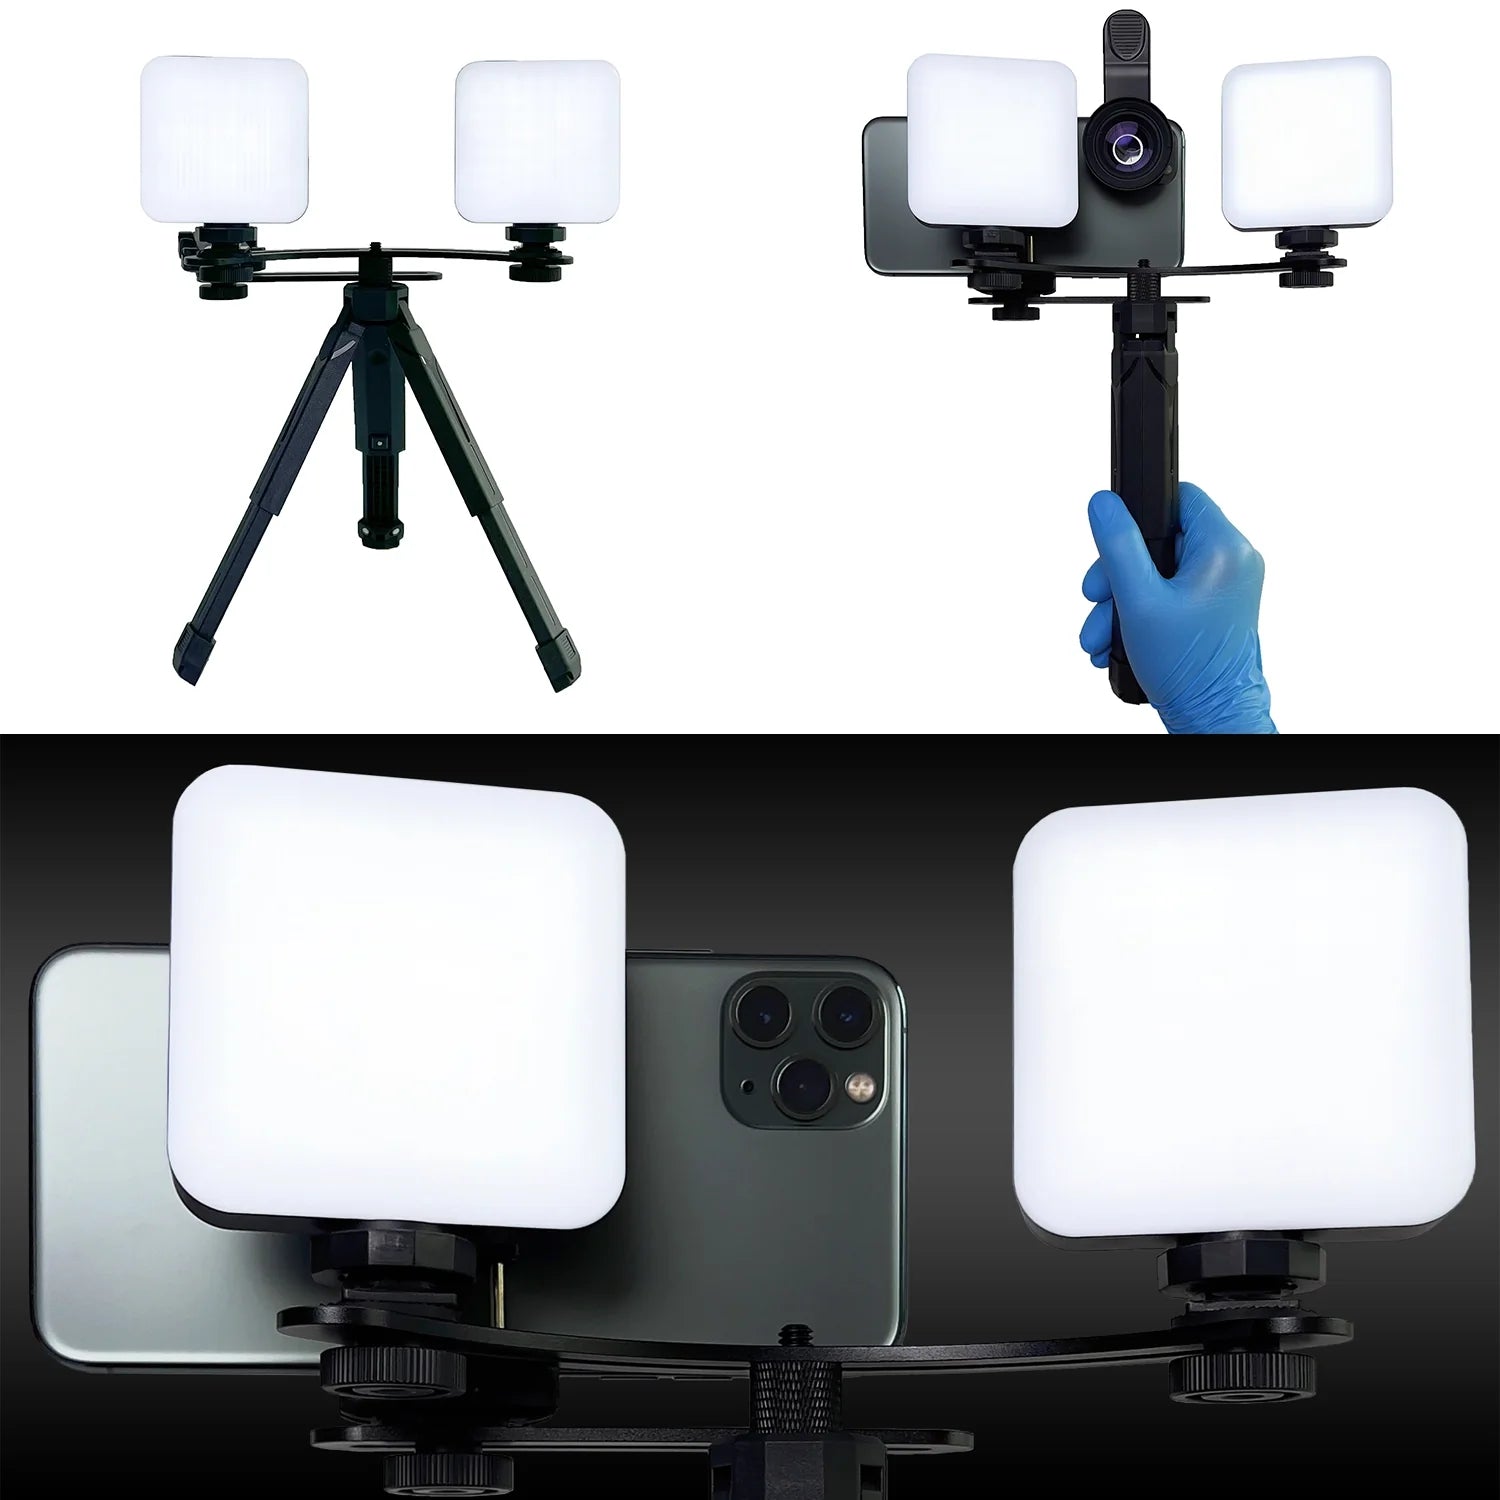
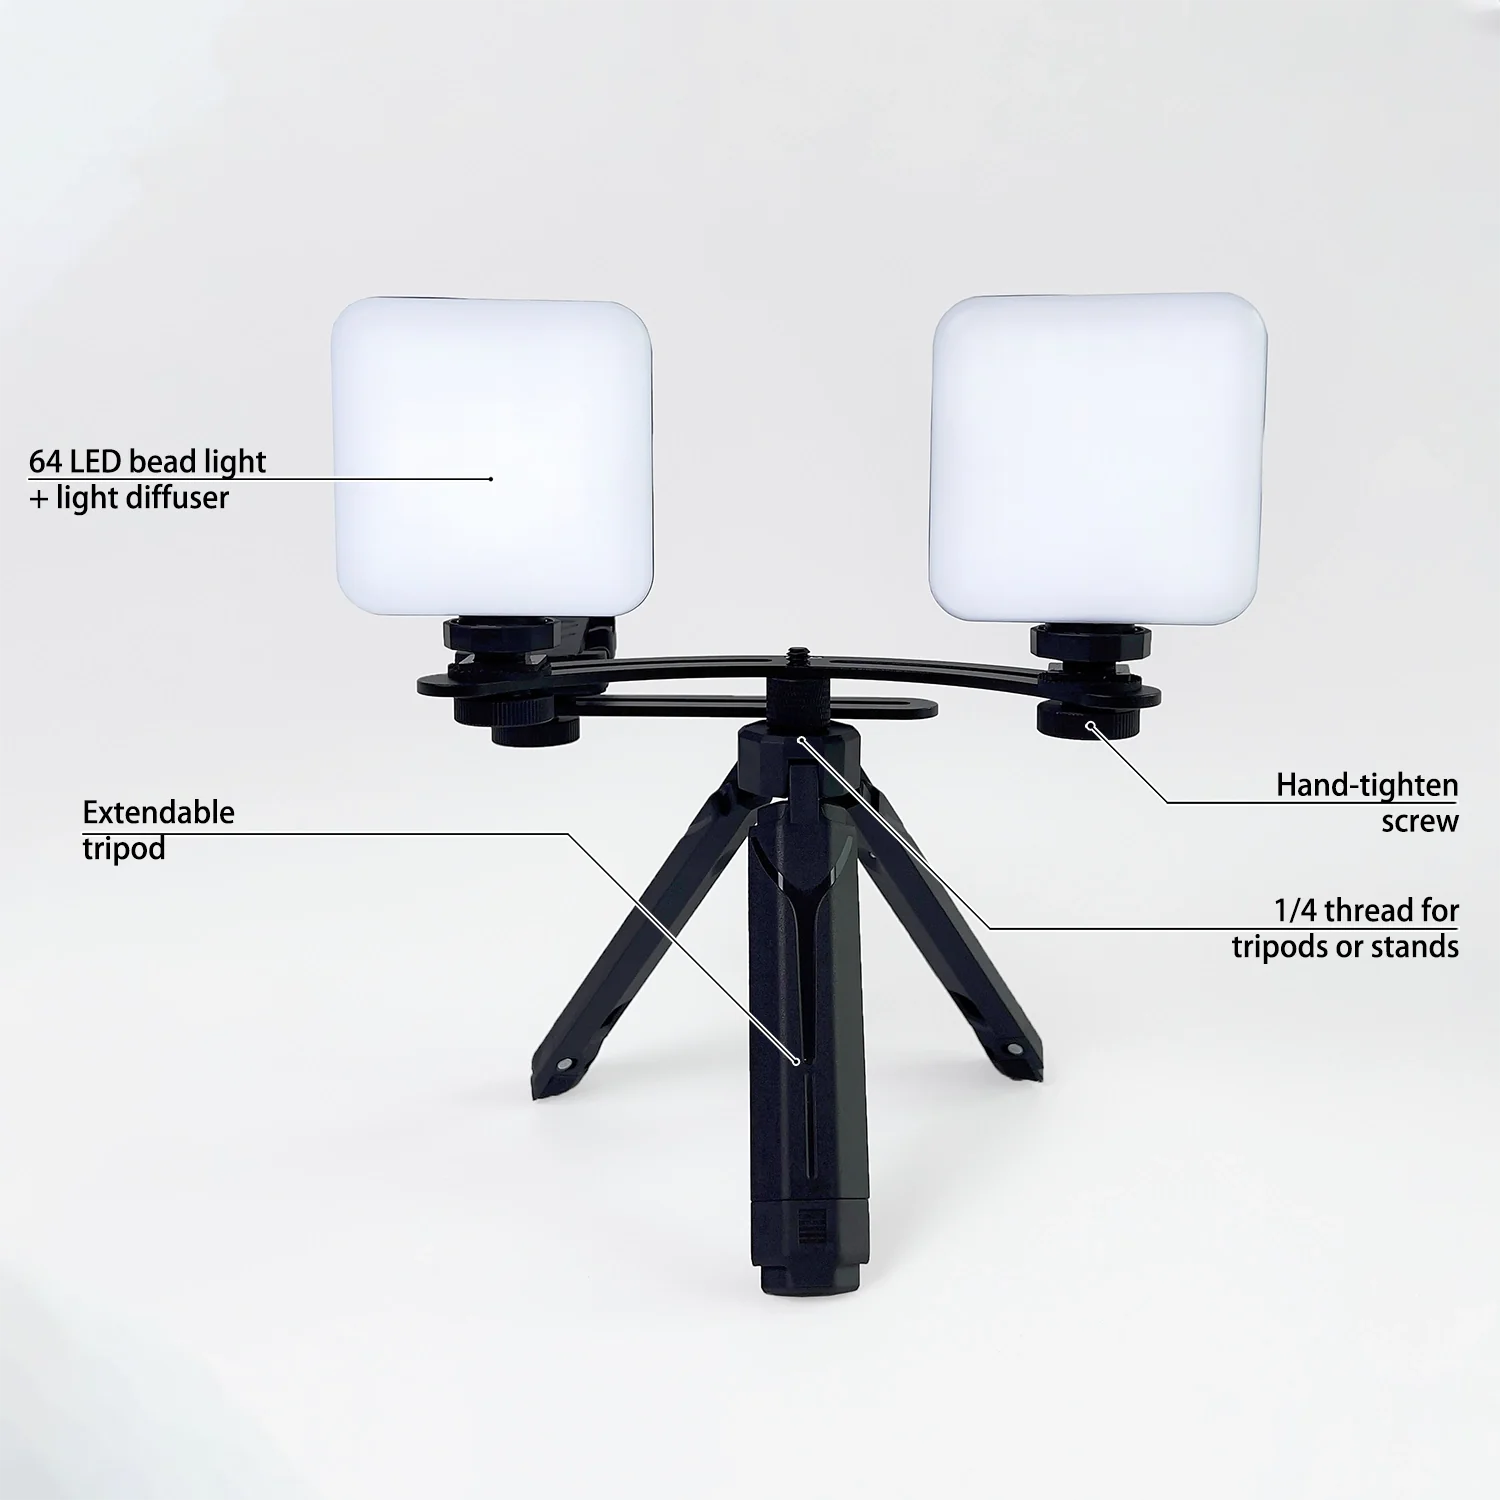
Lighting of the third level of complexity is a modified version of a bipolar flash, the emitters of which are mounted on a special movable bracket (Fig. 6). This allows you to more freely configure the position of the flash lamps in relation to the subject. In addition, special light modifiers can be installed on the flashes, which will soften its brightness and, accordingly, get a more attractive shape of highlights on the teeth. These accessories include bouncers and mini diffusers (fig. 7).
..... Registration for the online course (English)....
The principle of operation of the bouncer is that the light of the flash, falling on the white surface of the reflector, is partially scattered, weakens and becomes softer. Mini diffusers let a direct stream of light pass through the matte fabric, which also softens the glare (Fig. 8).
This lighting option has the potential not only for standard photo-recording, but also for the production of artistic photographs.

Fig 6 - 7. Mini diffuser + Dual bracket

Fig. 8. Photo using a mini-diffuser.
The disadvantage of a bipolar flash on a bracket is, first of all, that the freedom of spatial positioning of flash lamps is limited by the measure of the bracket's mobility. Such a system will be handy for capturing excellent shots from traditional angles with relatively simple lighting configurations. However, for those who want to go further, its capabilities will no longer be enough.
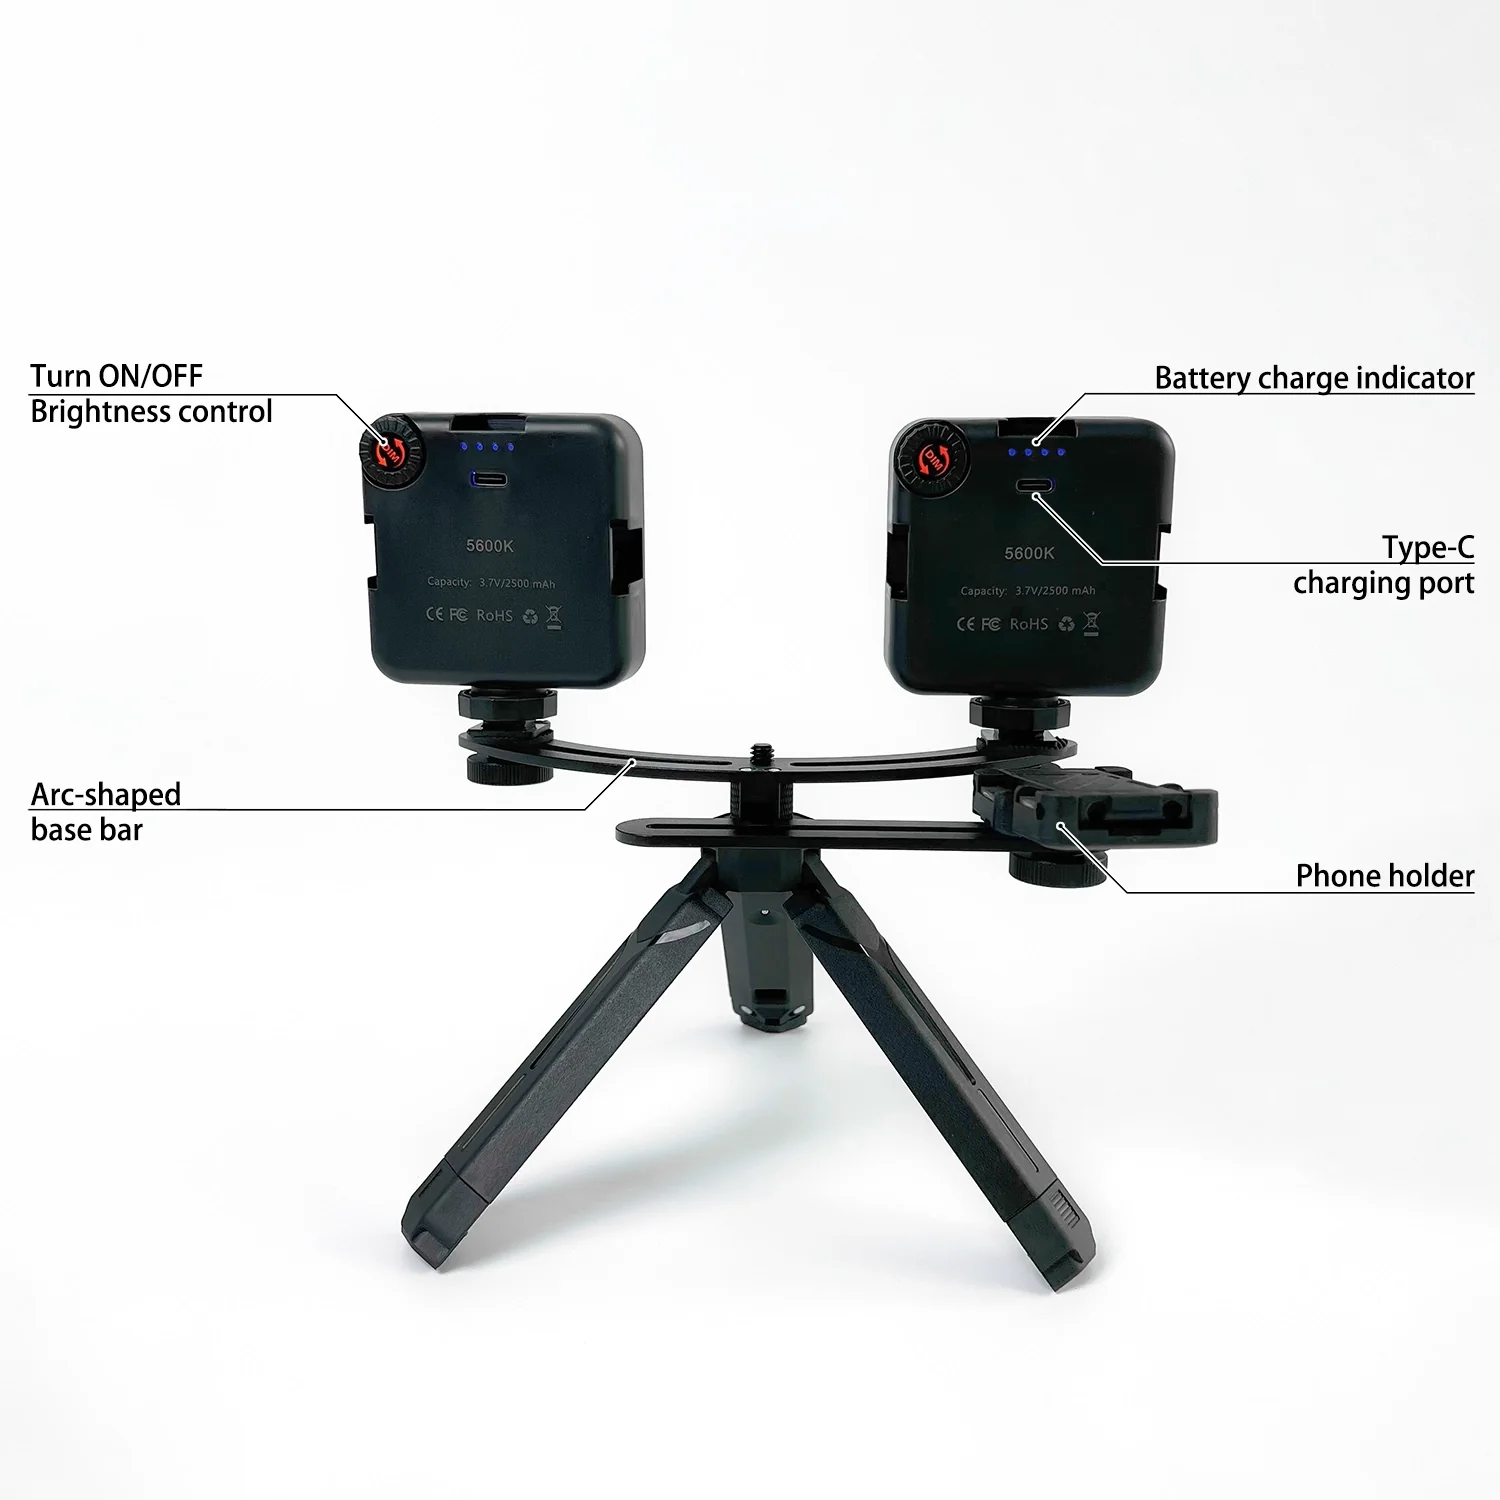
The fourth level of complexity of light in dental photography, which opens up wide possibilities for artistic photography and configuration of the most complex lighting schemes, is the remote bipolar system with mini softboxes (Fig. 9).

Fig. 9. Remote bipolar system with mini softboxes.
As light sources for this system, it is proposed to use on-camera flashes with a tilting head. The usual power of such flashes for dental photography is excessive, therefore, the parameter of the intensity of the light pulse should be reduced to 1 / 8—1 / 16 of the maximum.
To connect the flashes to the camera, you can use remote radio synchronizers, which provide accurate high-speed synchronization (about 1/300 s) at a distance of up to 100 meters, or use the built-in remote control mechanism found in some modern cameras.
In some cases, the remote connection type, rather, does not allow using the TTL automatic exposure metering mode, so the flash output settings must be set manually.
The lack of a bracket in such a system allows you to achieve the maximum degree of freedom, however, there is a need for the obligatory help of an assistant to position the flashes in the desired position.
Softboxes are an important element of the system. It is these accessories that allow you to get the most attractive, artistic picture with a beautiful form of highlights on the teeth (Fig. 10).

Fig. 10. Photo using softbox.
A few words about softboxes.
One of the main tasks of a photographer and an artist is to study the nature of light. Sometimes the light is harsh and produces a strong contrast (direct sunlight / flash), and in some cases the light is soft and diffused (lighting on a cloudy day, daylight falling from a window).
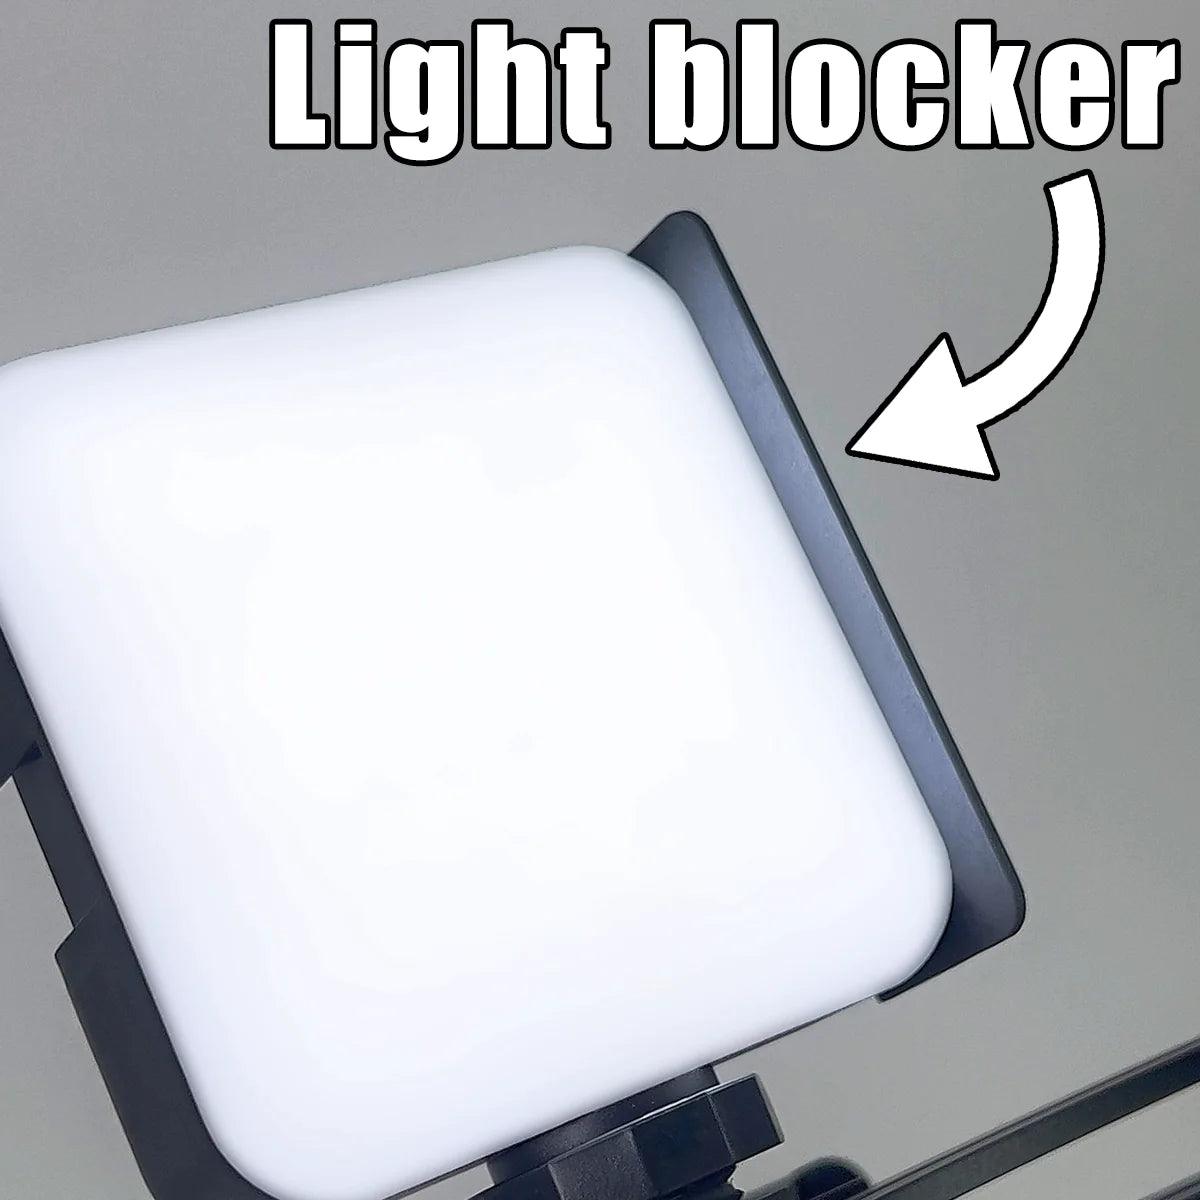
Softboxes have been designed to soften harsh lighting from small light sources (lamps, flashlights) and to reduce the contrast in the display of shadows and 'light spots'. As a result, these light modifiers help create soft, natural lighting for both people and objects such as teeth.
The principle of the softbox is as follows: the flash of the emitter is reflected off the silvery interior walls, passes through the inner partition, and then through the front screen to diffuse the light. It is precisely as a result of the diffusion of the pulse passing through two scattering webs that a soft, even light is obtained. The shape of the flare changes accordingly. Small softboxes about 25cm by 25cm are best for this version of lighting.
Among the disadvantages of the 4th level system is the absence of automatic TTL control, the need to manually adjust the flash power, the obligatory participation of an assistant, as well as the impossibility of taking occlusal photographs through a mirror - the specificity of this system makes it too inconvenient for this.
..... Registration for the online course (English)....
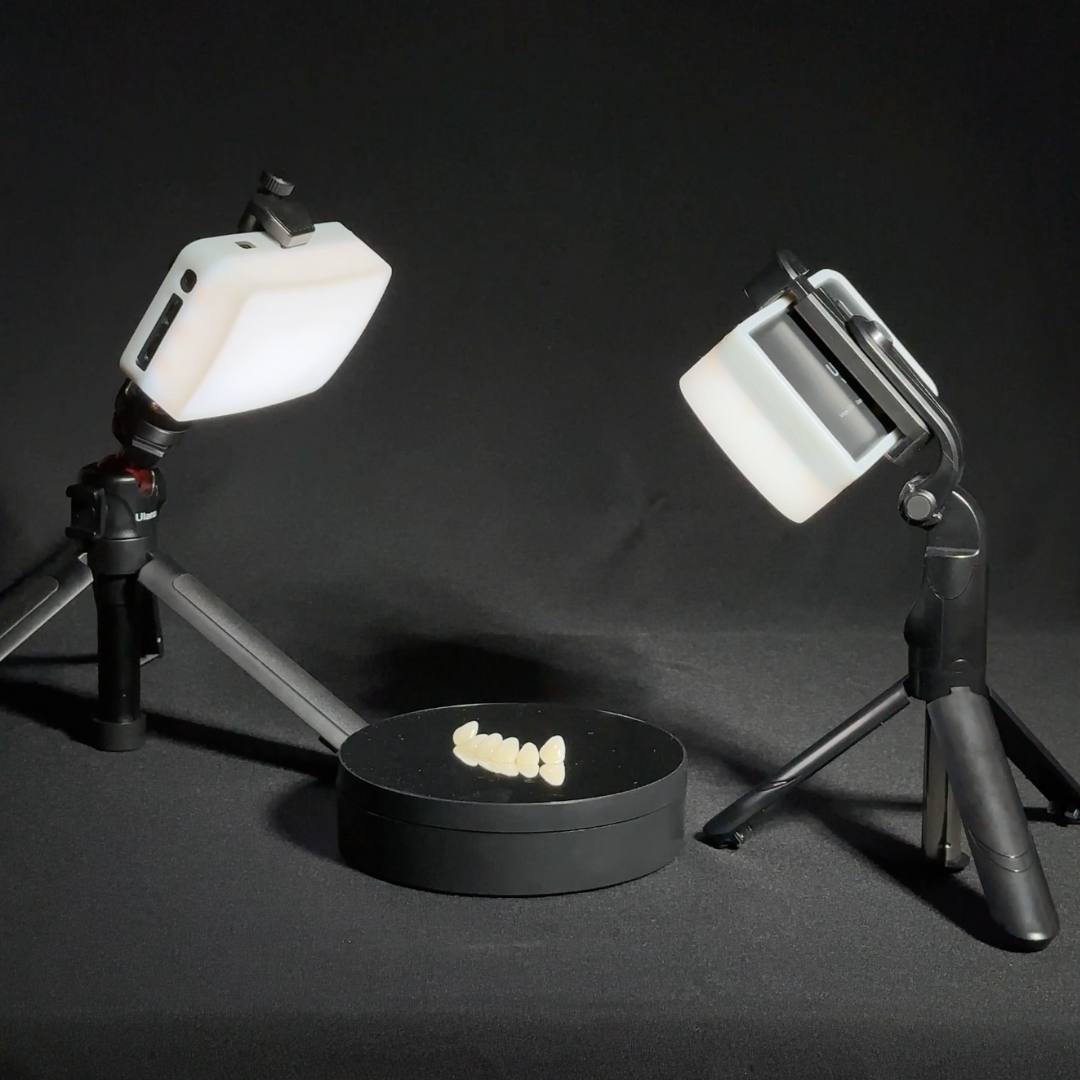
The last, and most creatively promising, is the fifth lighting level - bipolar flashes on stands with large softboxes (Fig. 12).

Fig. 12. Bipolar flashes on racks with large softboxes.
As emitters can be used studio flash lamps powered from the mains, or the same on-camera flashes as at the 4th level. The main difference of such a system is that larger softboxes (50 * 50 cm and more) are used for shooting. Considering the considerable dimensions of such light modifiers, it will be inconvenient for the assistant to hold them in his hands, so it is best to fix them on special stands.
Large softboxes allow for even softer and more diffused light, leaving pleasant, lively highlights on the teeth. Due to the greater distance between the inner and outer scattering screen, such modifiers give a cleaner luminous flux and uniformly bright light spots on the surface of objects. Reflection of a large softbox on enamel, restoration material or gums makes it possible to convey not only the optical structure and color of the image, but also its volume, texture, relief (Fig. 13).

Fig. 13. Photo using large softboxes.
Rule: the more the better.
The disadvantage of the fifth level system is, first of all, its cumbersomeness, which does not allow enough freedom to manipulate the position of the flashes. If studio flash tubes are used for shooting, this will add extra wires to connect them to the network. In the 5th level system, just like in the 4th level, it is not possible to shoot in the TTL automatic exposure control mode.
However, despite all the shortcomings, only the 4th and 5th level system has the potential to produce truly highly artistic photographs. The quality of the images provided by the use of light modifiers is worth any inconvenience.
In order to successfully use lighting systems of the 4th and 5th levels, you need to know the general principles of working with softboxes.
The larger the size of the light source, the larger the reflection trail and the softer the light.
..... Registration for the online course (English)....
The next two photos show lighting schemes using different sized softboxes. Alongside are examples of how the image changes (Fig. 14-15, 16-17).

Fig. 14. Lighting schemes using softboxes of different sizes and changes in the photo.

Fig. 15. Lighting schemes using softboxes of different sizes and changes in the photo.

Fig. 16. Lighting schemes using softboxes of different sizes and changes in the photo.

Fig. 17. Lighting schemes using softboxes of different sizes and changes in the photo.
The closer the light source, the more its reflection.
Many people believe that moving the softbox further away from the subject will result in softer and more diffused light. In fact, the light source becomes smaller and, therefore, the contrast is higher, thereby violating the basic rule of using a softbox.
When using a softbox for shooting, it is important to remember: the closer to the subject you place it, the softer the lighting will be (Fig. 18-19, 20-21).

Fig. 18. Changing lighting depending on the proximity of the location of the softbox.

Fig. 19. Changing lighting depending on the proximity of the location of the softbox.

Fig. 20. Change of lighting depending on the proximity of the location of the softbox.

Fig. 21. Changing lighting depending on the proximity of the location of the softbox.
The greater the angle of incidence of light on the teeth, the more contrasting shadows.
If the softboxes are positioned frontally to the patient's face, the light from them will fill the entire oral cavity, leaving almost no shadows. In this case, the image will turn out to be too soft and light (fig. 22, 23). If the flash is placed sagittally at a large angle to the surface, the light spots will shift to the lateral edges of the teeth and the most prominent relief details. This will make the shadows more contrasting. With such a configuration of the location of the flares, the surface texture is better seen (Fig. 24, 25).

Fig. 22. Photo in front of the softbox.

Fig. 23. Photo in front of the softbox.

Fig. 24. Photo with the sagittal arrangement of the softbox.

Fig. 25. Photo with the sagittal arrangement of the softbox.
By changing the arrangement of light sources, we can get a picture of the quality that we need, emphasize exactly those details of the object being shot that we want to show in the most favorable light.
Buy Photo Studio Kit
Art photography
Despite the existing opinions that the main and only purpose of dental photography should be the transmission of reliable information about the appearance and condition of the oral cavity organs, despite the fact that some experts tend to reduce the essence of dental photography to dry photo-recording, the interest of an increasing number of doctors is turning to side of artistic dental photography.
Art photography transcends limitations, transforming from a way of reflecting clinical reality into real art. The main difference between artistic photography is its place in our dental life. Such photographs are taken in order to post them on specialized Internet sites to demonstrate their professional level; for publications in print media; for magazine covers; as material for curricula, etc.
Those who are passionate about photography and strive to improve the quality of their images should know that to create such works, you do not need any super-expensive professional equipment. All that is needed is an understanding of the behavior of light. You need to know exactly how you can achieve the required lighting, how to position the light source relative to the subject, and what angle to choose at the same time.
In art photography, techniques that are outside the scope of classical dental photography are permissible. The main tool is still the softbox.


