
In der Dentalfotografie geht es für professionelle, hochwertige Ergebnisse über die Kameraeinstellungen hinaus. Eines der effektivsten Werkzeuge zur Verbesserung von Bildschärfe und Kontrast ist der Dentalkontraster . Dieses Zubehör ist unerlässlich, um störende Hintergrundfarben zu eliminieren, die Zahnanatomie hervorzuheben und die Gesamtdarstellung Ihrer klinischen Fälle zu verbessern.
Was ist ein Dentalkontrastmittel?
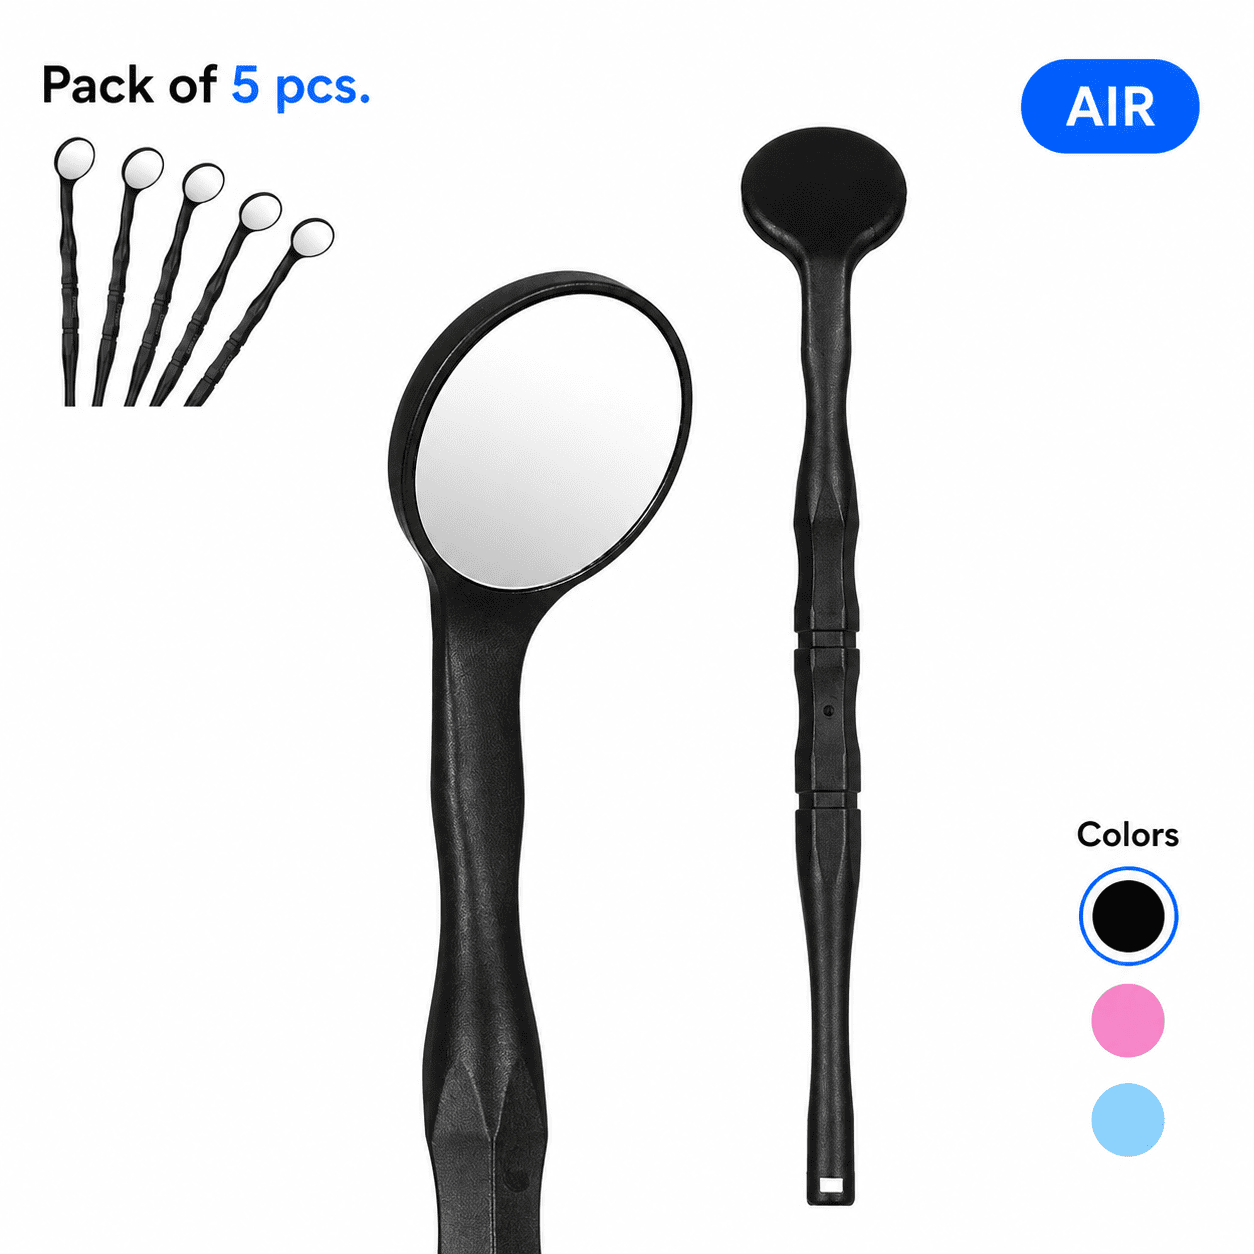
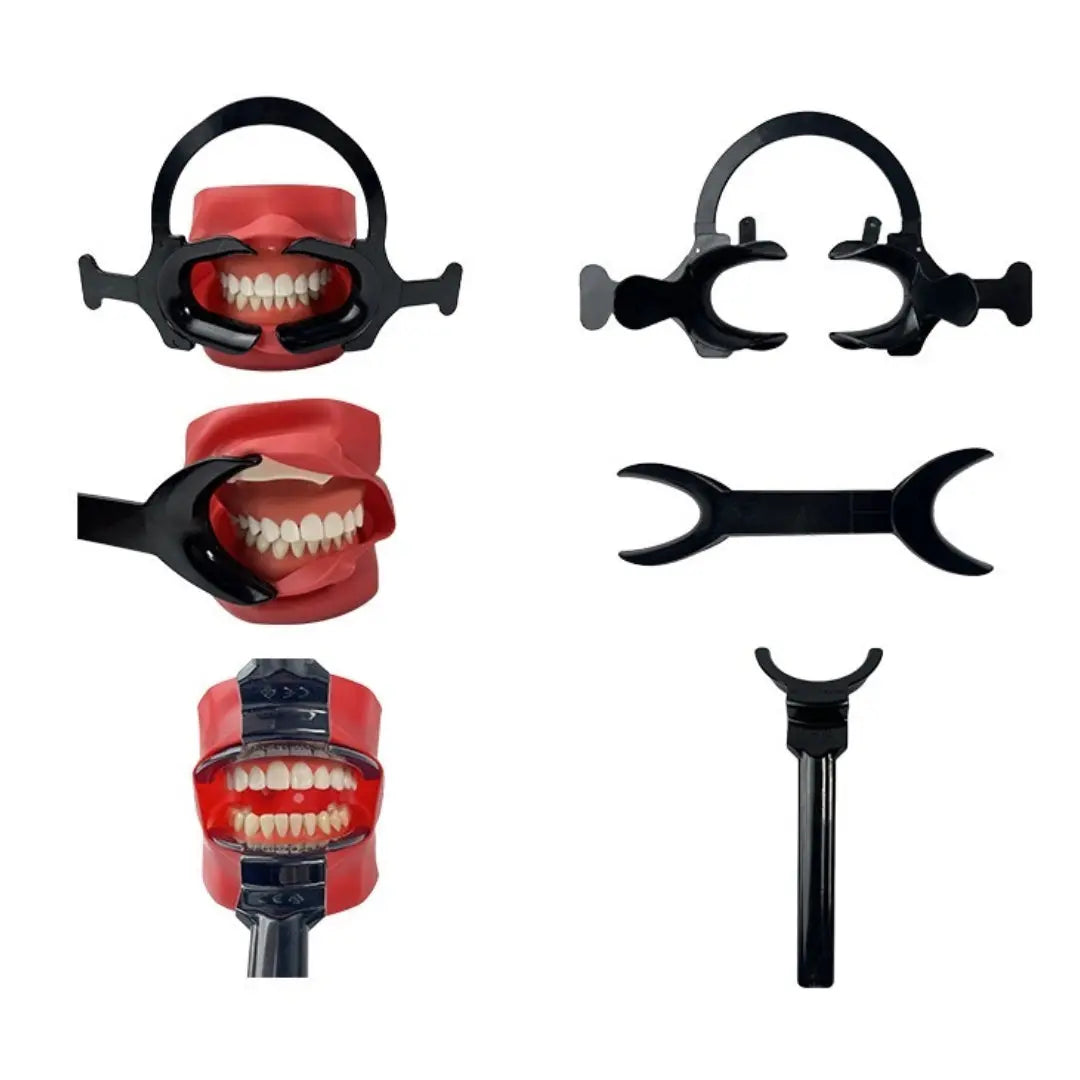
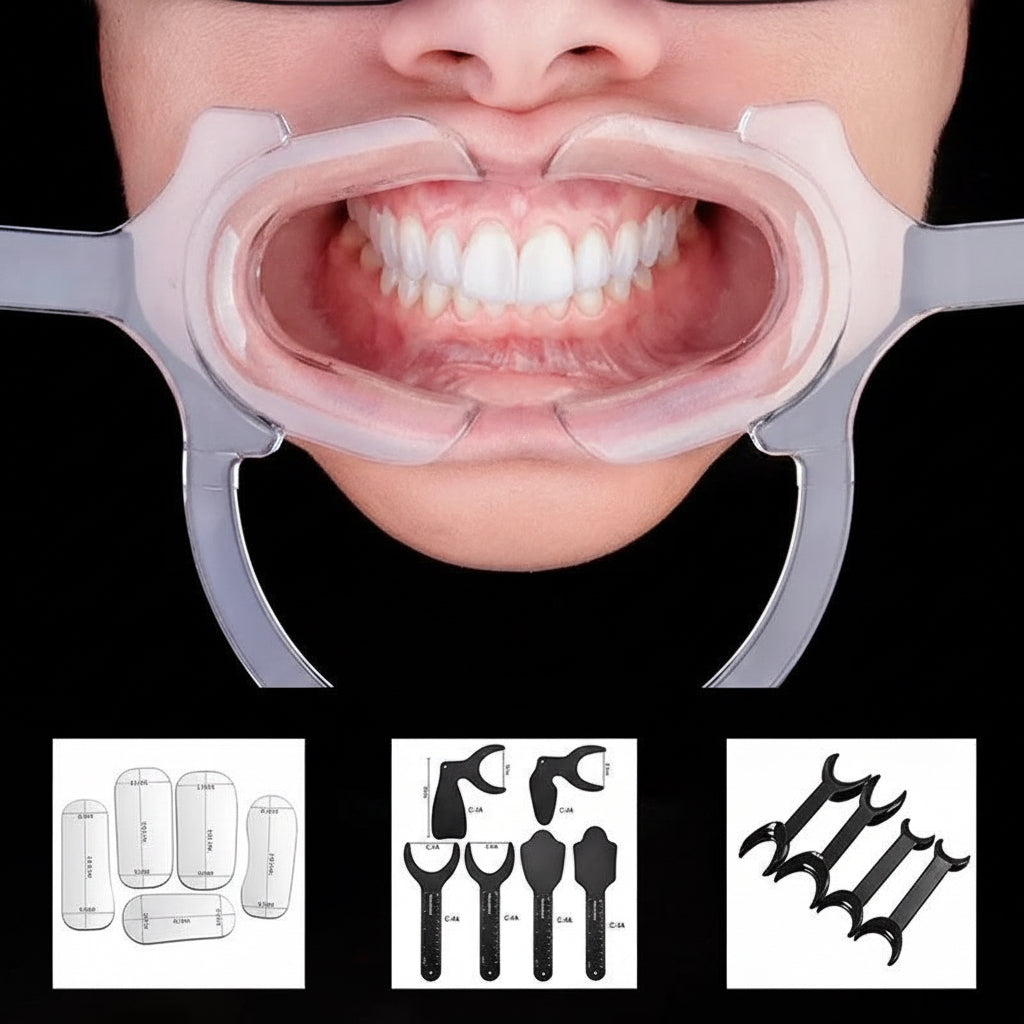
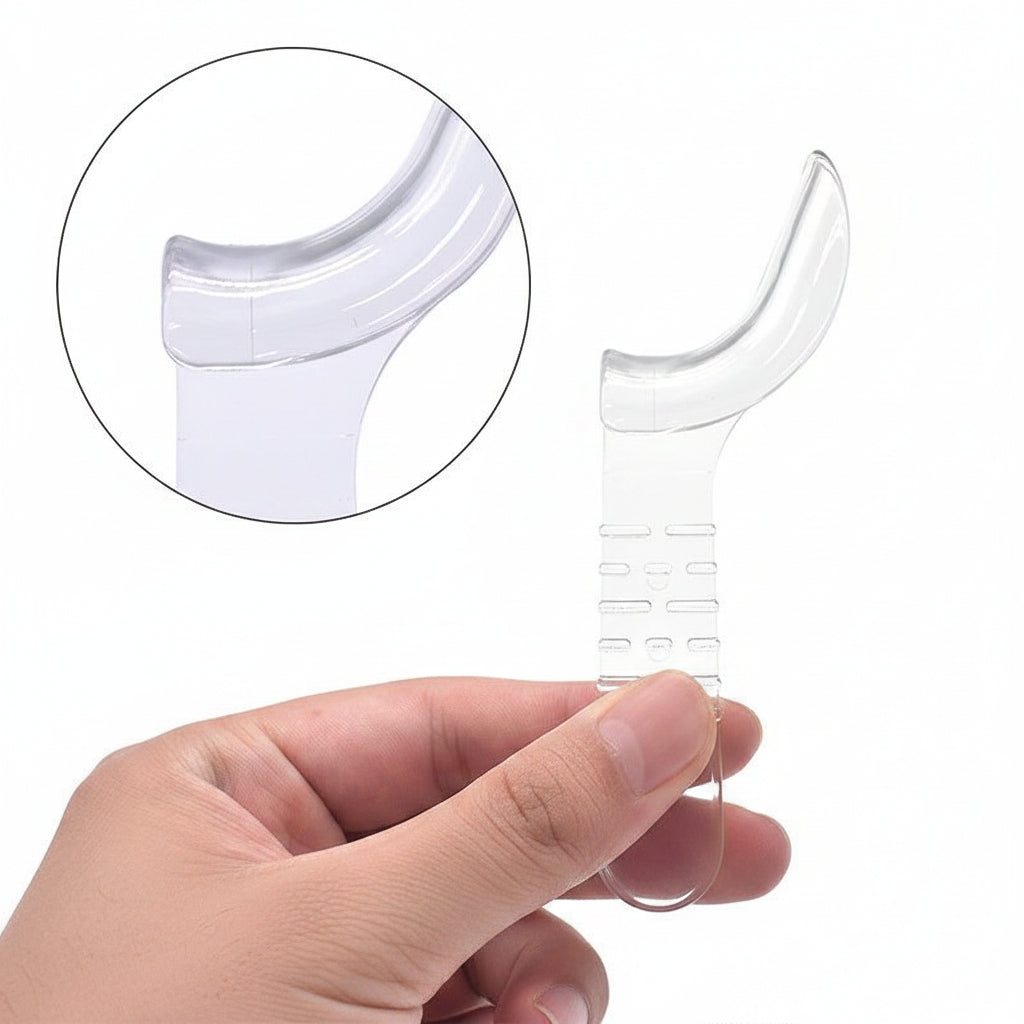
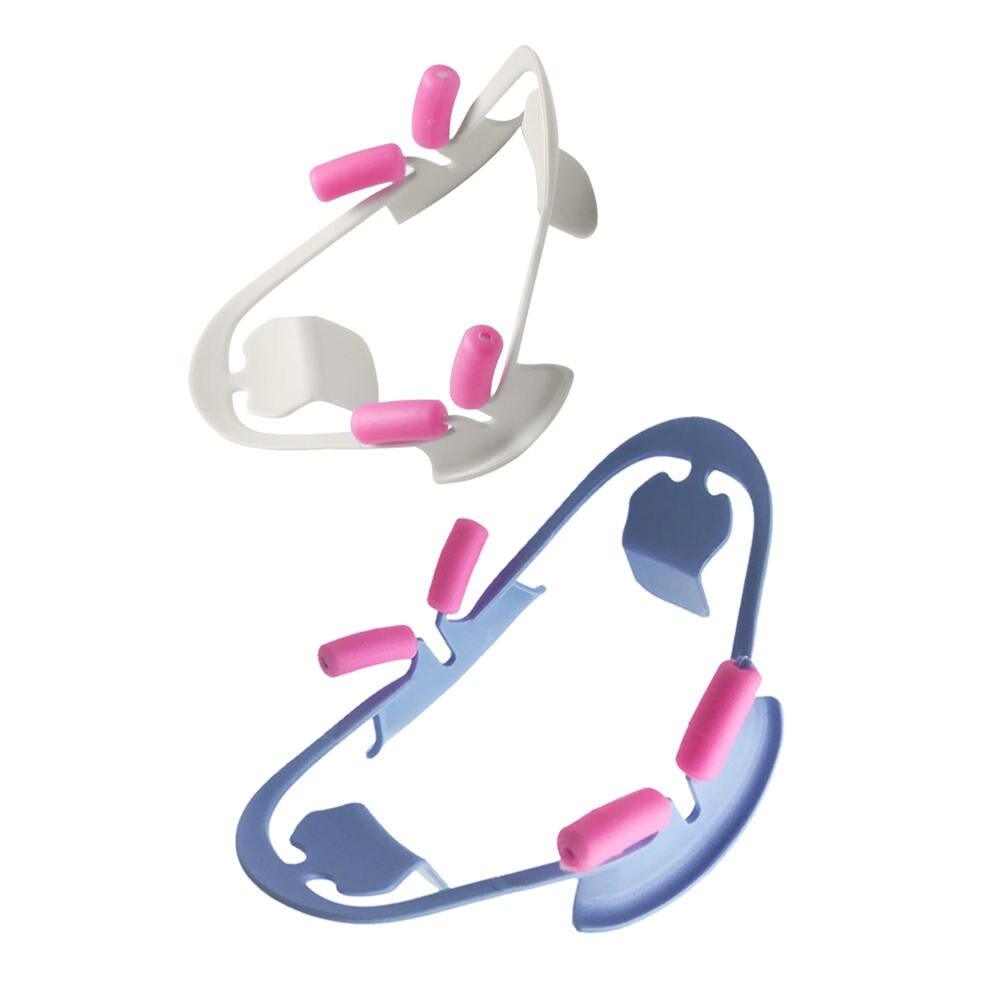
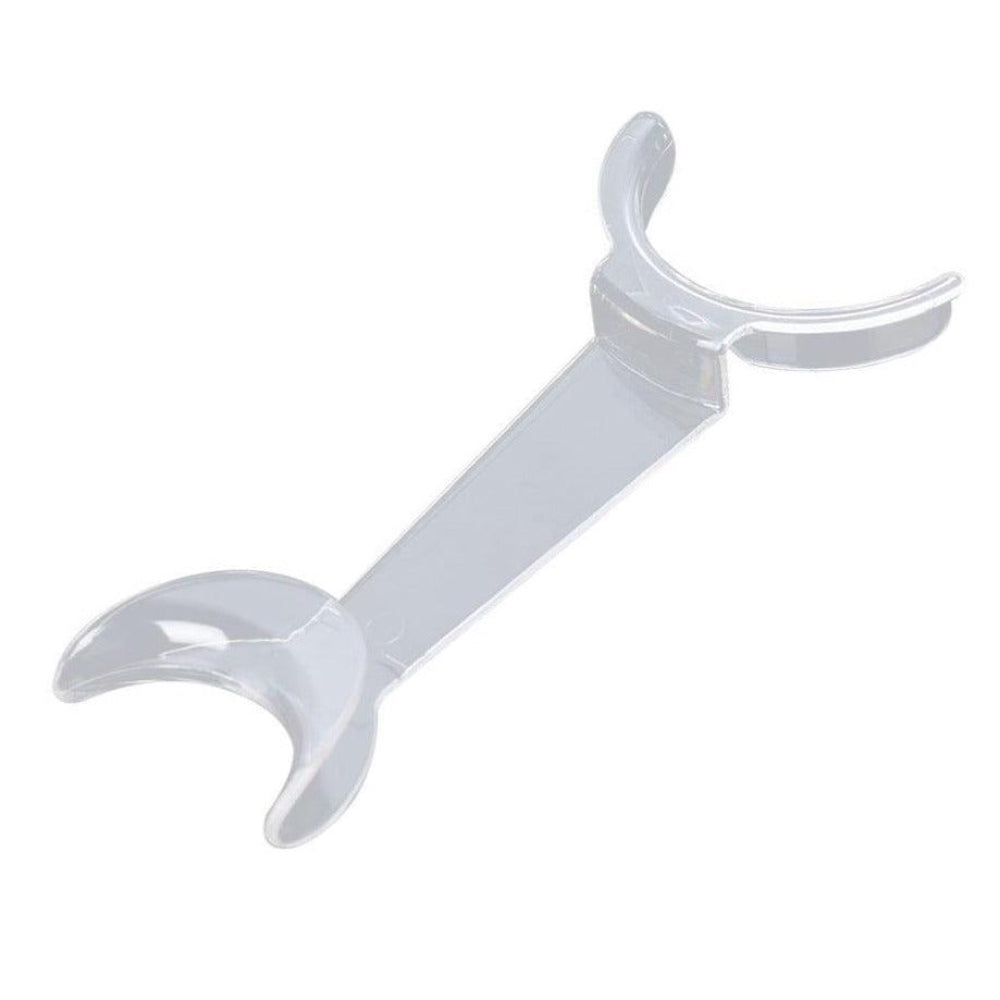
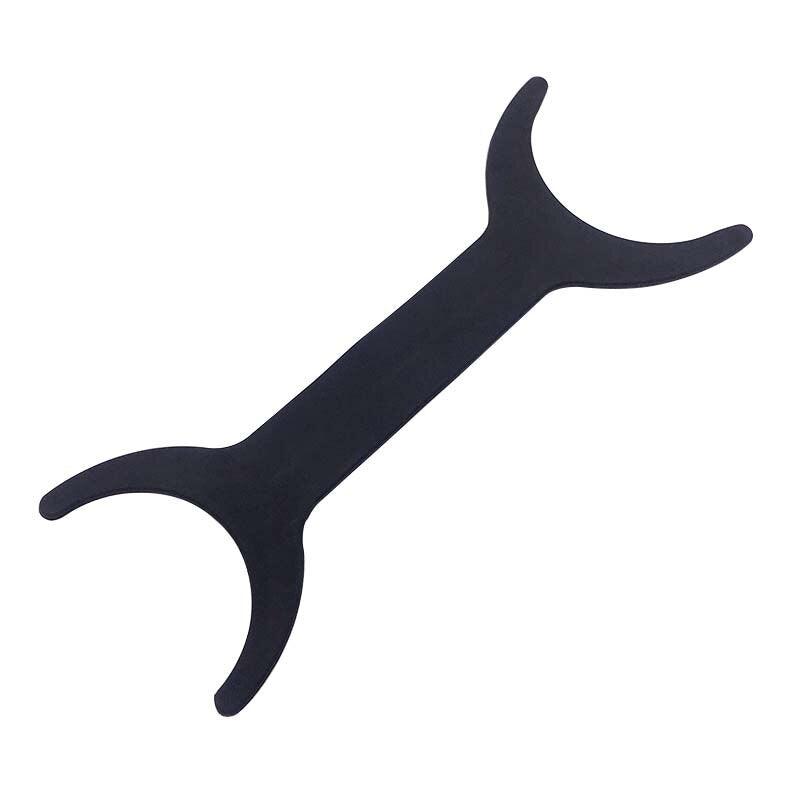
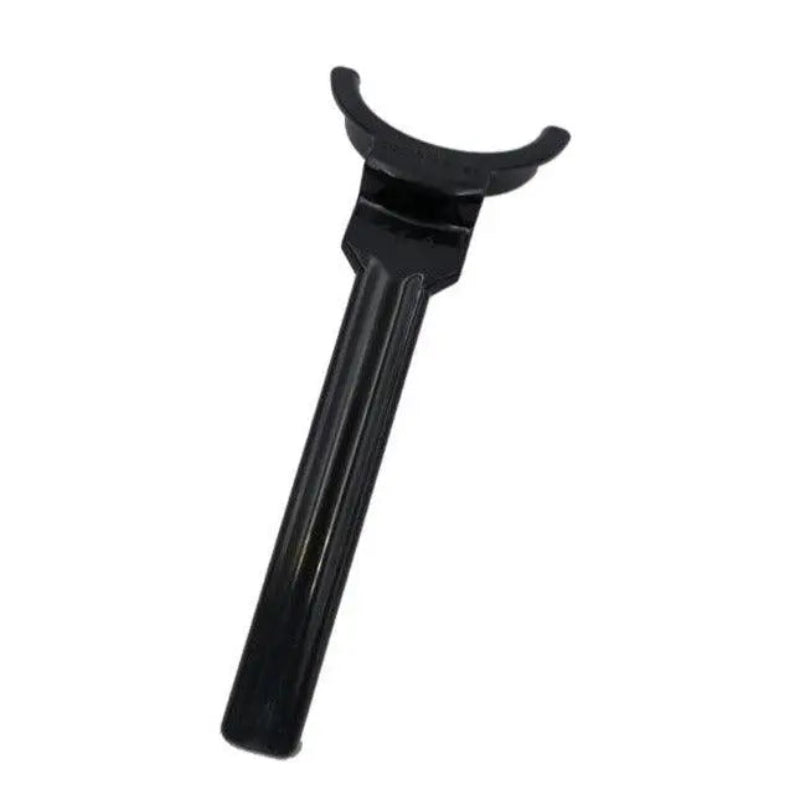
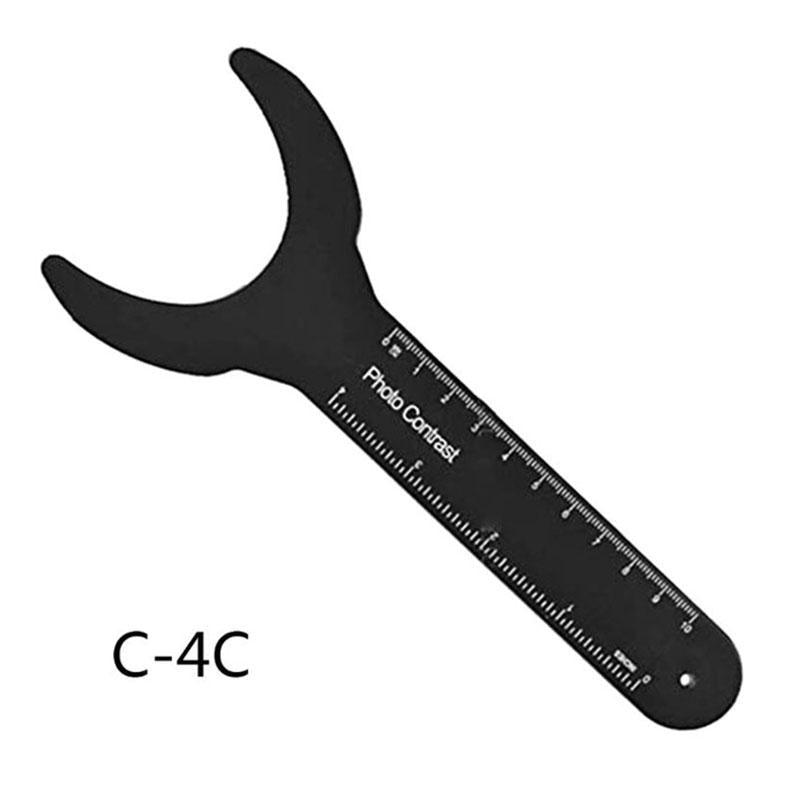
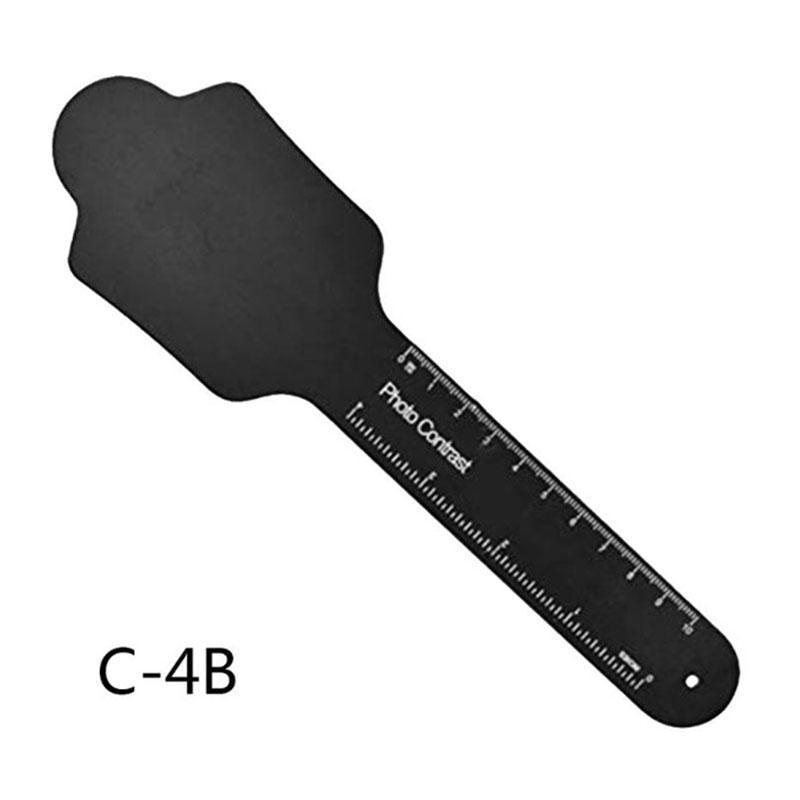
Ein Dentalkontraster ist ein schwarzer Hintergrund, der bei intraoralen oder extraoralen Aufnahmen verwendet wird. Durch die Platzierung hinter den Zähnen entfernt er visuelles Rauschen und hilft, Merkmale wie Form, Farbton, Transluzenz der Schneidekanten und innere Reflexionen natürlicher Zähne hervorzuheben. Ein guter Kontraster macht das Bild zudem sofort für klinische Präsentationen, Patientengespräche oder Social Media verfügbar – ohne Nachbearbeitung.
Arten von Dentalkontrastmitteln
Aluminium-Kontraster:
Aluminium-Kontrastmittel bestehen aus poliertem Metall und sind robust und verformungsbeständig. Sie können jedoch für den Patienten unangenehm sein und bei Aufnahmen, insbesondere bei starkem Blitzlicht, Lichtreflexionen verursachen.
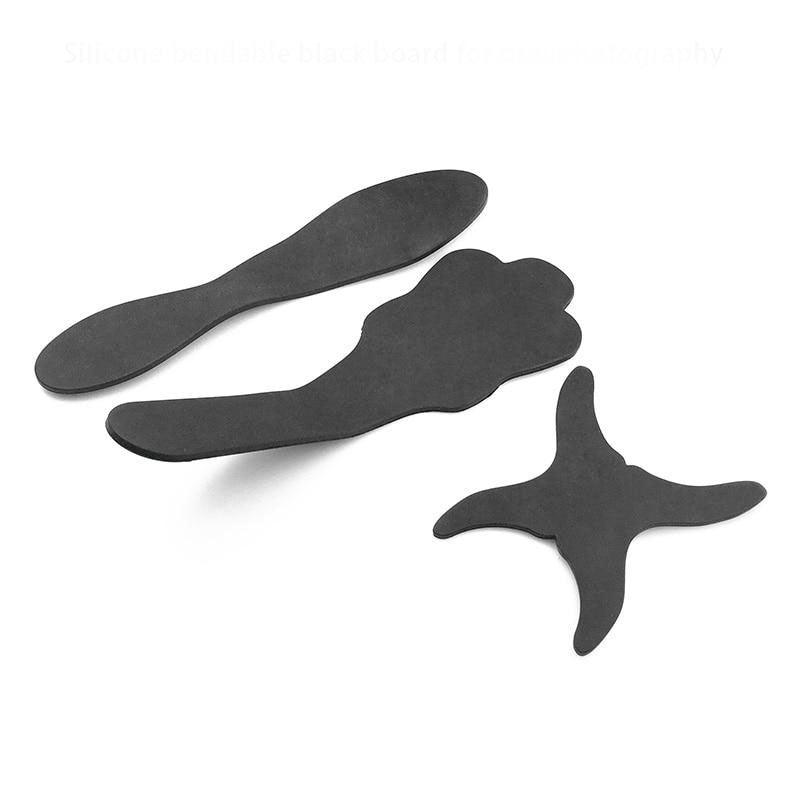
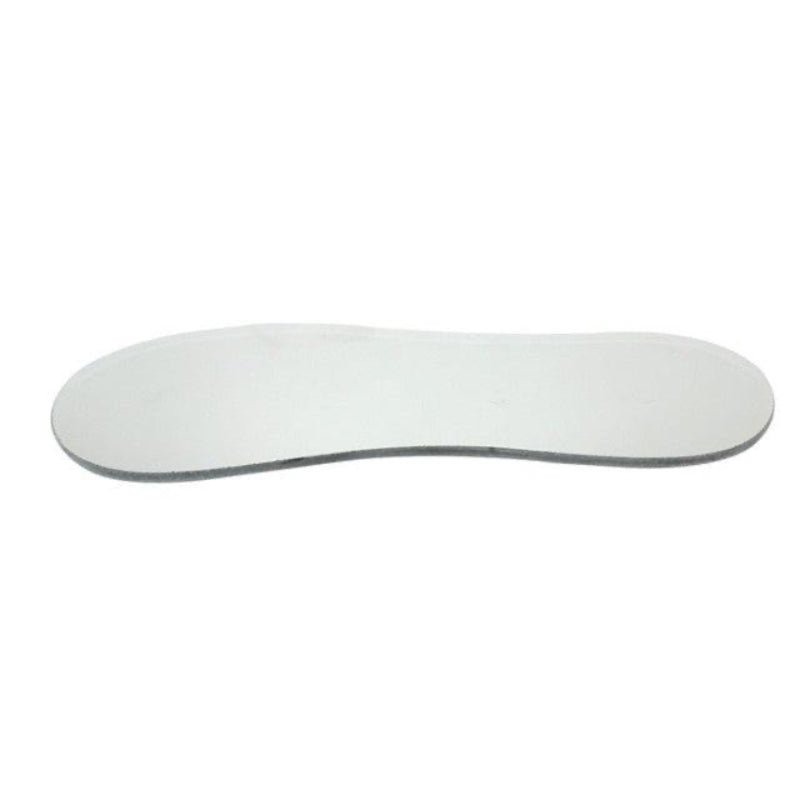
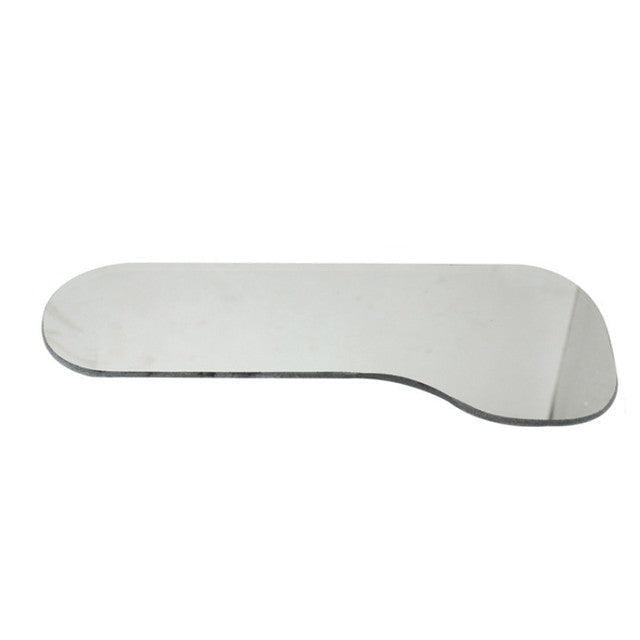
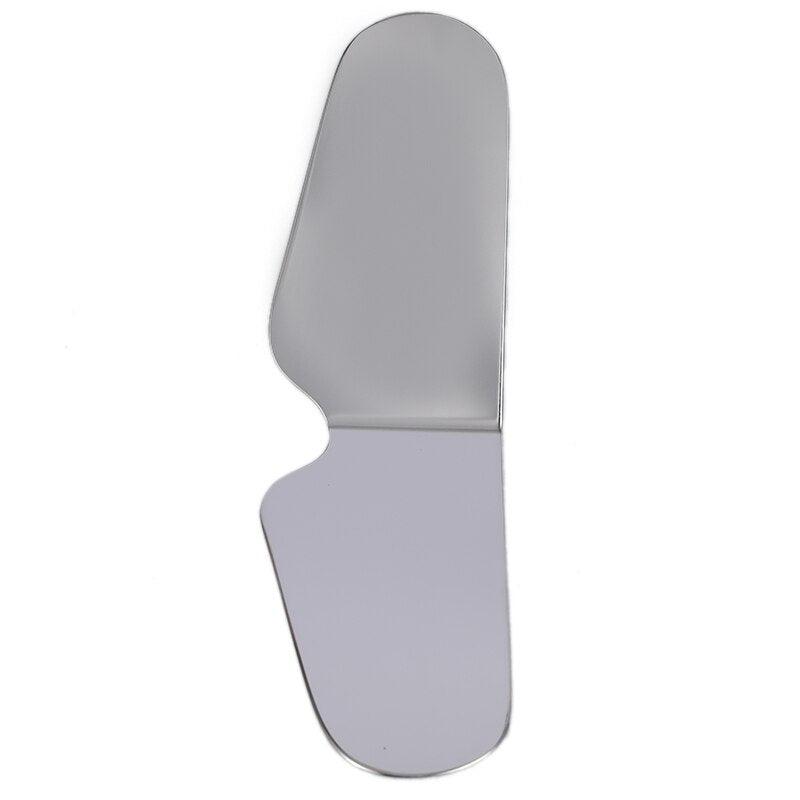
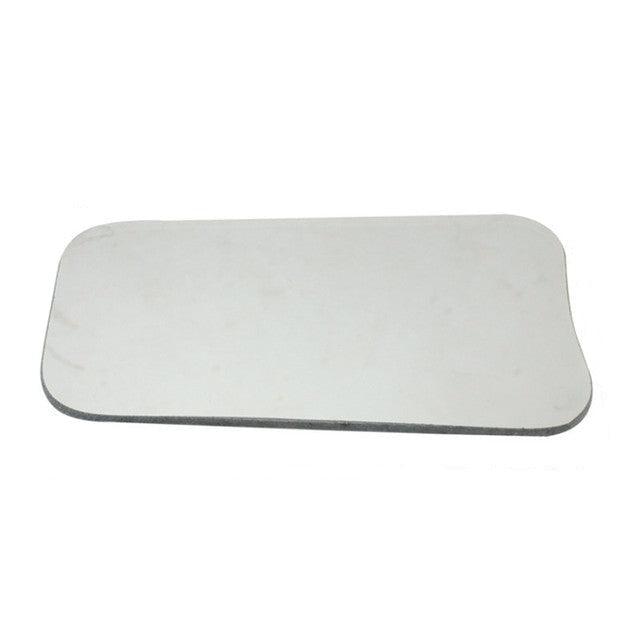
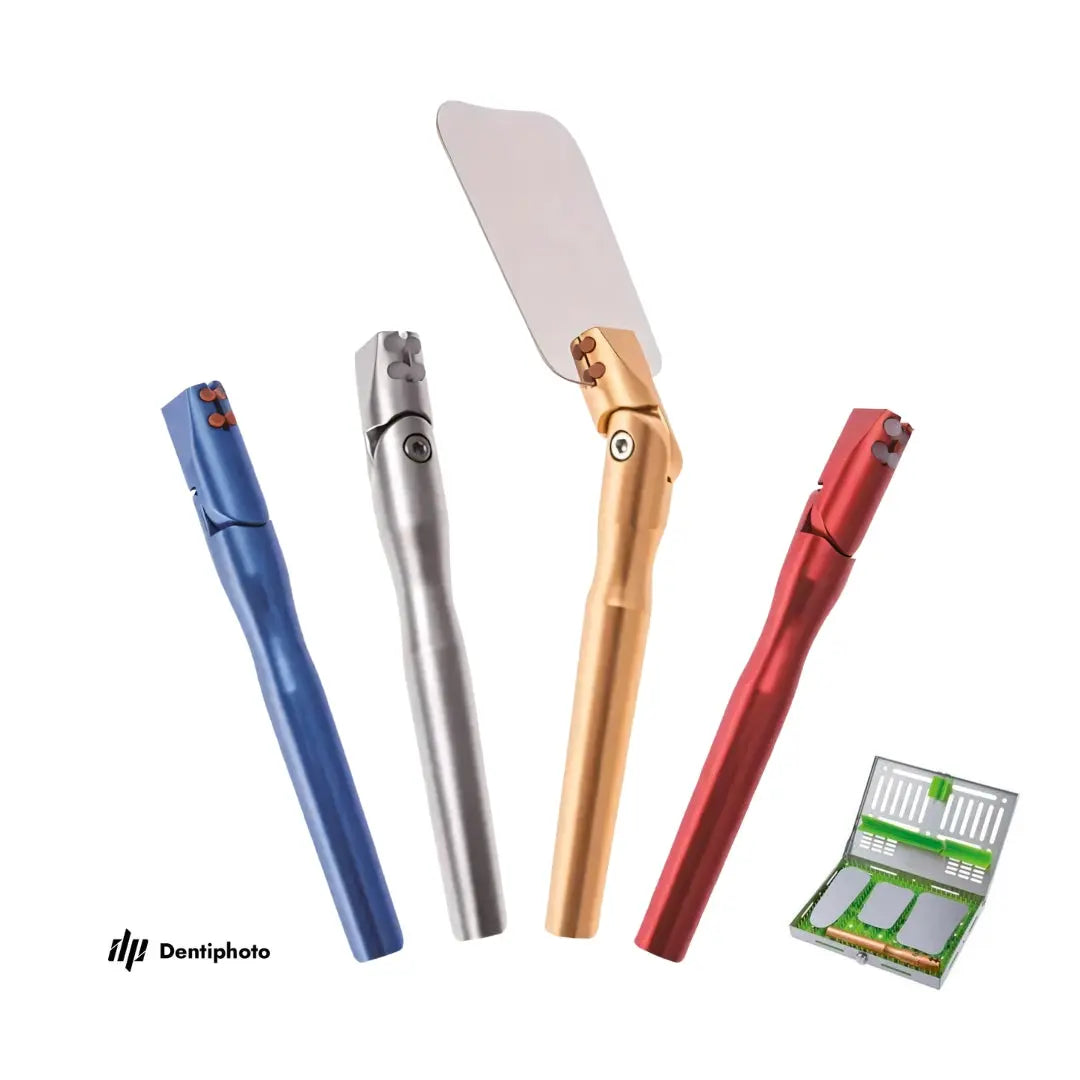
Kontrastmittel aus Silikon oder mit Silikonbeschichtung:
Diese sind die bevorzugte Wahl der meisten Fachleute. Matt, nicht reflektierend und leicht flexibel passen sie sich leicht der Form der Mundhöhle an, sind angenehmer für Patienten und eliminieren Blendeffekte. Ihre Weichheit ermöglicht eine bessere Positionierung und die Mitarbeit des Patienten während der Fotografie.
So wählen Sie den richtigen Kontraster
-
Entscheiden Sie sich für ein mattes Finish: Es hilft, Reflexionen zu reduzieren und sorgt für einen gleichmäßig schwarzen Hintergrund.
-
Wählen Sie flexible Designs: Kontrastmittel, die sich der Mundanatomie anpassen, bieten besseren Komfort und Kontrolle während der Aufnahme.
-
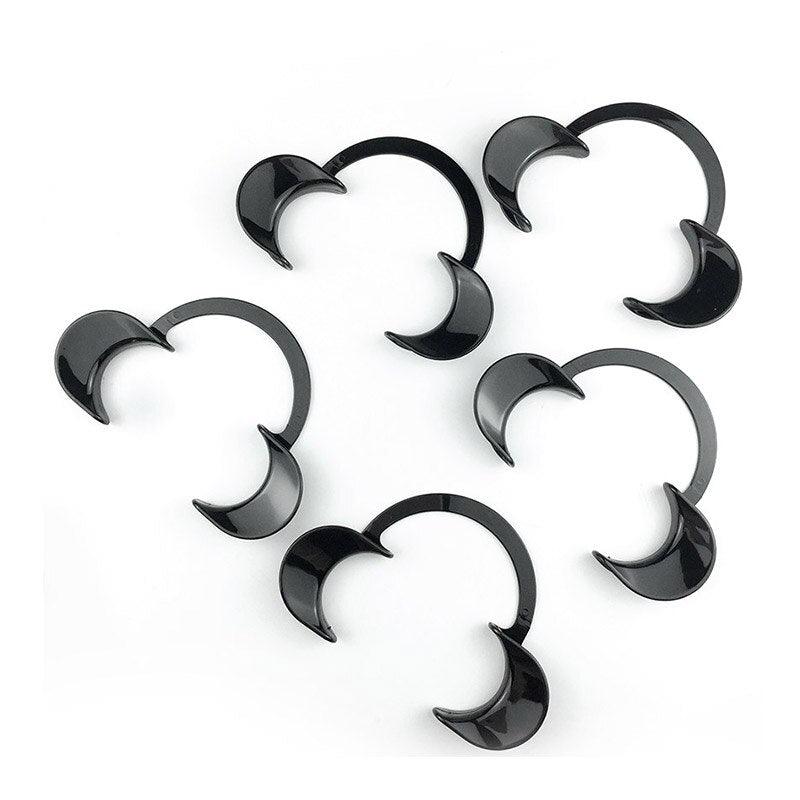
Wählen Sie die richtigen Formen: Halten Sie eine Vielzahl von Kontrastformen bereit, um verschiedene Aufnahmewinkel abzudecken – Vorderansicht, Okklusalansicht und Seitenansicht.
So reinigen und sterilisieren Sie Dentalkontrastmittel richtig
Die Sauberkeit Ihrer Kontrastmittel ist sowohl für die Hygiene als auch für die Bildqualität entscheidend. Hier ist eine Schritt-für-Schritt-Anleitung:
-
Desinfektion mit Alkohol:
Verwenden Sie unmittelbar nach Gebrauch Alkoholspray oder Alkoholtücher, um die Oberfläche zu desinfizieren. -
Gründlich ausspülen:
Spülen Sie das Kontrastmittel mit klarem Wasser aus, um alle Rückstände von Alkohol oder Mundflüssigkeit zu entfernen. -
Trocknen:
Lassen Sie es vertikal an der Luft trocknen oder verwenden Sie Druckluft. Vermeiden Sie das Trocknen mit einem Handtuch, da dies Fusseln hinterlassen oder die matte Oberfläche zerkratzen kann. -
Vermeiden Sie Trockentücher:
Verwenden Sie niemals Papiertücher oder trockene Tücher für matte Kontrastmittel. Diese können weiße Fasern hinterlassen oder die Textur beschädigen, was auf Ihren Fotos sichtbar wird. -
Autoklavieren:
Sobald die Kontrastmittel vollständig getrocknet sind, legen Sie sie in einen Autoklavenbeutel und sterilisieren Sie sie gemäß den Standardprotokollen. Die meisten Kontrastmittel aus Silikon sind autoklavierbar. Beachten Sie jedoch immer die Anweisungen des Herstellers.
Abschließende Gedanken
Dentalkontrastmittel sind einfache, aber leistungsstarke Werkzeuge, die die Ästhetik und Klarheit Ihrer klinischen Bilder sofort verbessern. Durch die Investition in hochwertige matte Kontrastmittel und deren ordnungsgemäße Pflege gewährleisten Sie saubere, ablenkungsfreie Fotos, die in Dokumentation, Ausbildung und Marketing hervorstechen.
Unabhängig davon, ob Sie mit einer DSLR oder mobiler Dentalfotografie fotografieren, kann die Verwendung des richtigen Zubehörs – wie z. B. Dentalkontrastmittel – einen erheblichen Unterschied in Bezug auf Qualität und Professionalität ausmachen.
Sonderangebot bis 3. Juni! Kaufen Sie 2 und erhalten Sie 3!
Wählen Sie ein beliebiges Produkt für die Dentalfotografie: Kontrastgerät, Spiegel oder Retraktor. Kaufen Sie 2 Stück und erhalten Sie 1 geschenkt! Die Aktion startet heute! Alle Produkte finden Sie hier.


