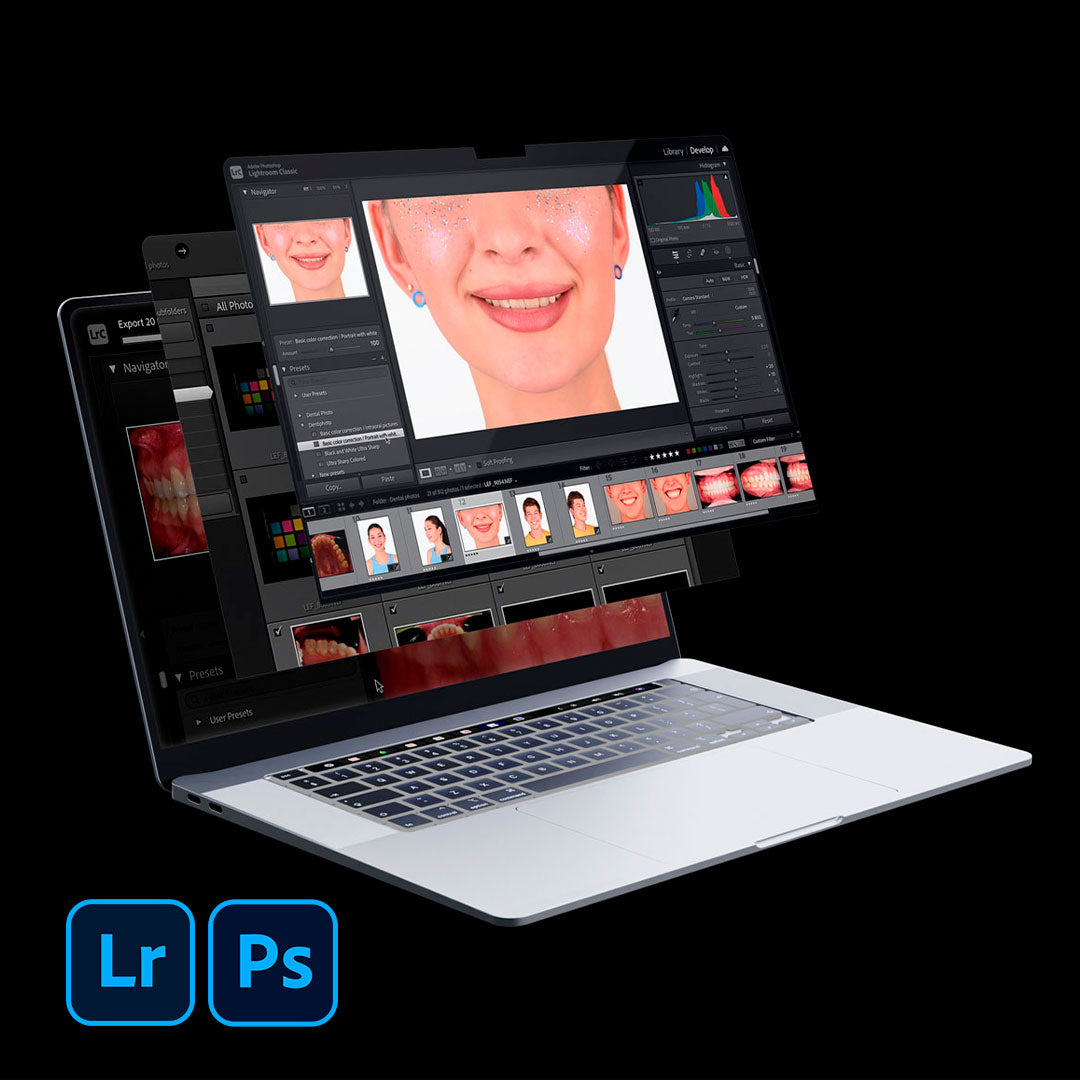
Shooting with a camera and directly transferring photos to a computer is becoming increasingly popular and convenient among photographers. This method allows instant viewing, editing, and saving of captured images without additional steps of transferring data from a memory card. For dentistry, this function is also convenient because the captured photos can be immediately shown to the patient and discussed, making the treatment plan clearer to them thanks to the visual component.
Let’s consider the pros and cons of shooting with a camera and transferring photos to a computer, as well as discuss the best software to use for this process.
Pros of Shooting with a Camera and Transferring to a Computer
1. Instant Access to Photos:
Captured images can be instantly viewed on the computer screen, allowing for an immediate assessment of the clinical case.
2. Convenience and Efficiency
No additional time is required to transfer images from the memory card, simplifying and speeding up the workflow.
3. Ease of Editing:
You can immediately start processing and editing photos using specialized programs on the computer. For example, you can immediately set the correct white balance during the photo protocol or color shooting. To do this, take the first shot with a gray card and edit the white balance on it. Subsequent shots will have the correct settings. You can read about this in our article “Gray Card. How to Work Quickly with White Balance.”
4. Reputation:
This method will pleasantly surprise your clients. They will appreciate the service and throughout the treatment will have a positive attitude towards the photo protocol and other digital diagnostic methods. This helps establish trust with patients, improve communication, and reduce anxiety from the initial visit.
Cons of Shooting with a Camera and Transferring to a Computer
1. Dependence on a Computer: For shooting, a computer (laptop) is required and must be near the shooting location.
2. Risk of Data Loss: Computer malfunctions can lead to data loss, including saved photos.
3. Mobility Limitations:
The need for a constant connection to a computer can reduce mobility during shooting. Not all cameras can connect to a computer or laptop via Wi-Fi, so a cable is needed, which further restricts movement. This issue can only be resolved with a fully equipped shooting location where everything is stationary.
Software for Shooting and Transferring Images to a Computer
One of the most popular and professional software solutions for shooting with a camera and transferring images to a computer is Capture One. This powerful software is designed for shooting, organizing, editing, and processing photos.
How Capture One Works
1. Connect your camera to the computer with a cable or via Wi-Fi. Suitable cables can be found on any marketplace or in specialized stores. Typically, cables are 5 meters long, enough to be mobile without getting tangled. One of the best options for quality connection between the camera and computer is the Tether Tools TetherPro cable. Compatible cameras: Canon, FujiFilm, Leica, Nikon. Each manufacturer has several cable options, so you will definitely find the right one for your camera and laptop, as manufacturers have provided for USB and USB-C connectors.
To be more mobile, you can initially choose a camera with the ability to connect to a laptop via Wi-Fi. This doesn’t have to be a very expensive camera. Nowadays, every popular camera manufacturer offers many models equipped with Wi-Fi modules. Canon, Nikon, Sony, Fujifilm, Olympus, and Panasonic—all offer models based on your preferences and budget. You can always check if the camera you want or the camera you have has a Wi-Fi module by looking at the camera’s interfaces.
2. Launch Capture One on the computer.
3. Set the shooting parameters on the camera and select the image transfer mode to Capture One.
4. Take the photos you need to transfer to the computer, and they will instantly appear on the screen in Capture One.
5. You can start viewing, editing, and processing photos directly in the program without saving them separately. Using Capture One for shooting with a camera and direct photo transfer to the computer can significantly speed up and simplify your workflow, ensuring high-quality processing and editing of images.
The program will make it easier for you to work with camera settings, as you can adjust the aperture, shutter speed, etc., through the laptop. This way, you won’t lose focus and built-in composition, which is extremely convenient for macro photography.
It is easiest to start using Capture One by following the program’s instructions and adjusting the shooting and photo transfer parameters to suit your needs and preferences.


