The basic settings of the camera play an important role in obtaining high-quality dental photos. In this article, we will look at some useful life hacks that will help you set up the camera correctly, select the appropriate mode, and set the exposure and shutter speed correctly.
1. Select the correct camera mode.
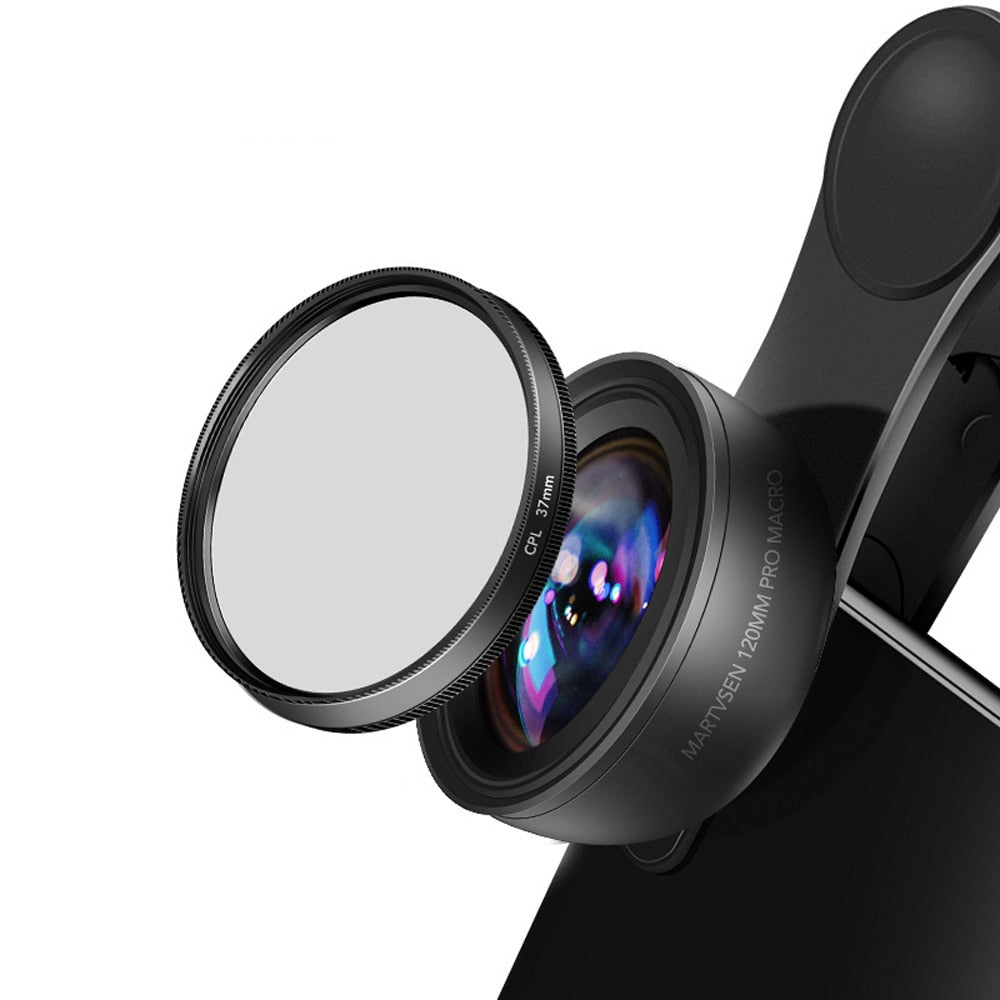
When it comes to dental photography, portrait or macro mode is usually the best choice. Portrait mode will help you focus on your teeth and create a blurry background, which makes the picture more impressive. The macro mode is ideal for photographing details such as caries or canals.
2. Set the correct exposure.
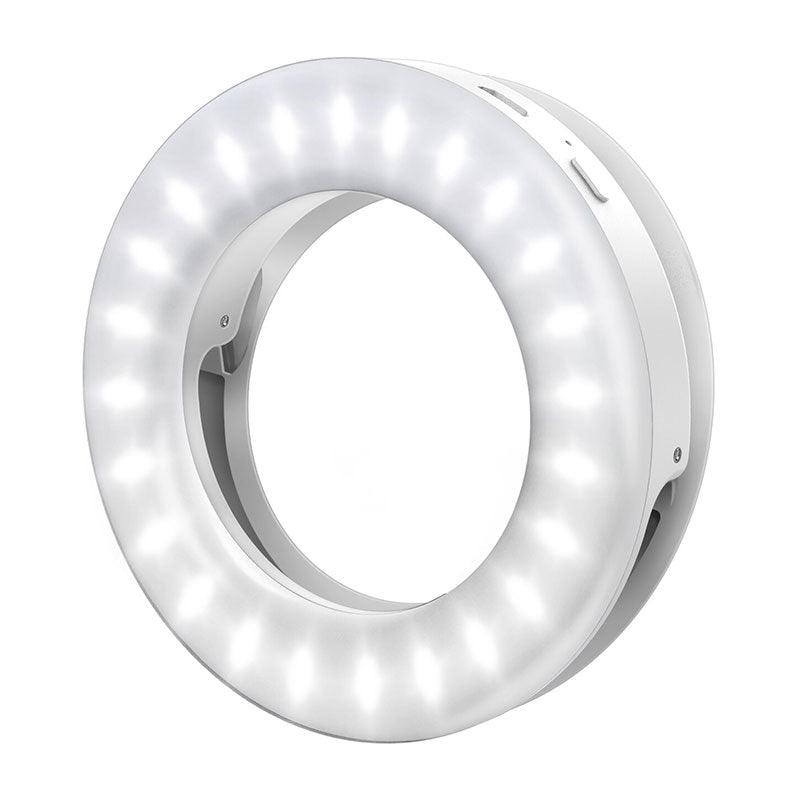
Exposure is the brightness and contrast of the image. In dental photography, it is significant to achieve uniform and good lighting. Exposure compensation (EV) can be used for this. If the picture turns out to be too dark, increase the EV; if it is too bright, decrease it. Experiment with exposure to find the optimal setting for this shooting.
3. Set the correct shutter speed.
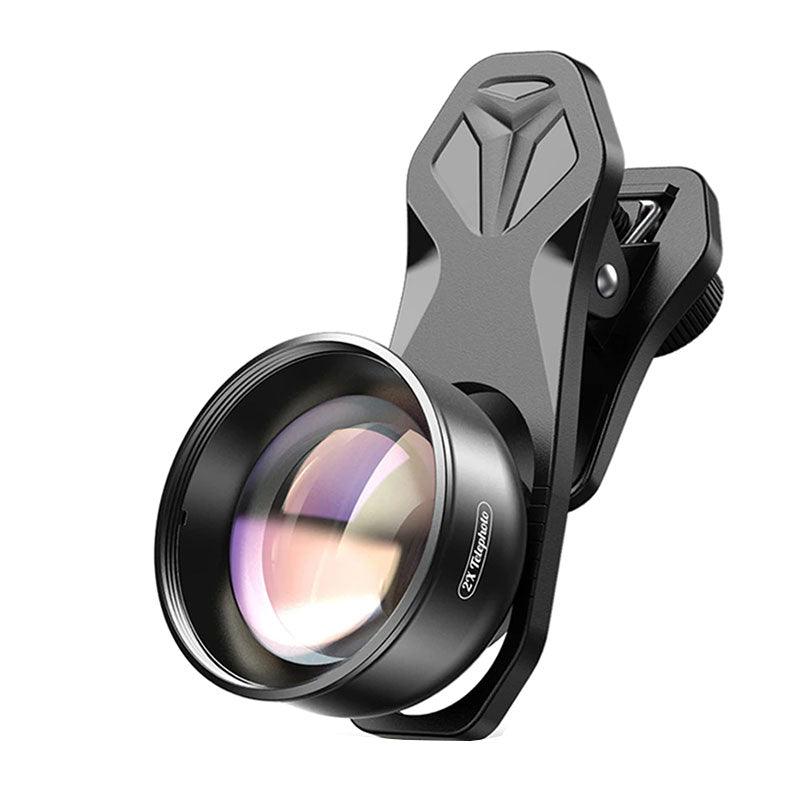
The shutter speed determines how long the camera shutter will be open. For dental photography, it is recommended to use a shutter speed from 1/60 to 1/200 seconds for static objects and from 1/250 and higher for capturing movement or shooting in low light conditions. A higher shutter speed will help to avoid blurring the image.
4. Adjust the white balance.
White balance affects how colors are displayed in the image. In dental photography, it is important to achieve accuracy and precision in color. You can use automatic white balance adjustment or manual adjustment, comparing shades with those that you see live, to get the most accurate display of colors.
5. Use the simulator again to adjust the focus.
You have the opportunity to use a simulator or a model of teeth to test focus and depth of field before a photo shoot. Make sure that the teeth in the picture are clear and detailed. Try changing the focal length to find the optimal value.
6. Use the exposure and shutter speed manuals.
Your camera can be equipped with manual exposure and shutter speed control functions. This allows you to fully control the parameters of the photo. Take a look at the camera manual and learn how to adjust the exposure and shutter speed manually.
Setting up a camera for dental photography may seem like a daunting task, but with knowledge of the basic settings and the use of these life hacks, you can achieve high-quality and informative images. Experiment with different modes and settings to get the best results for each specific situation.


