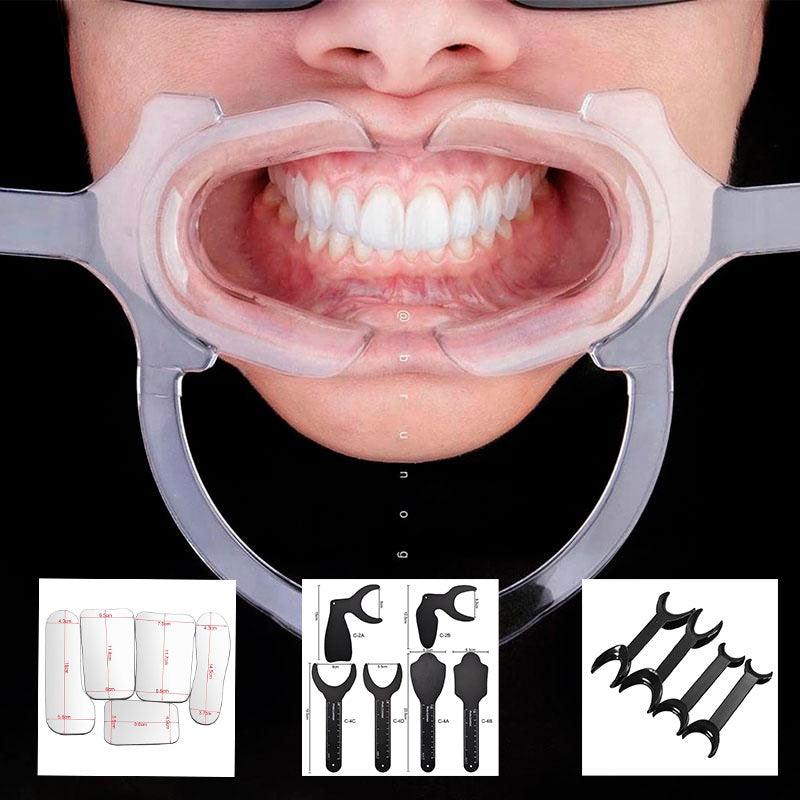
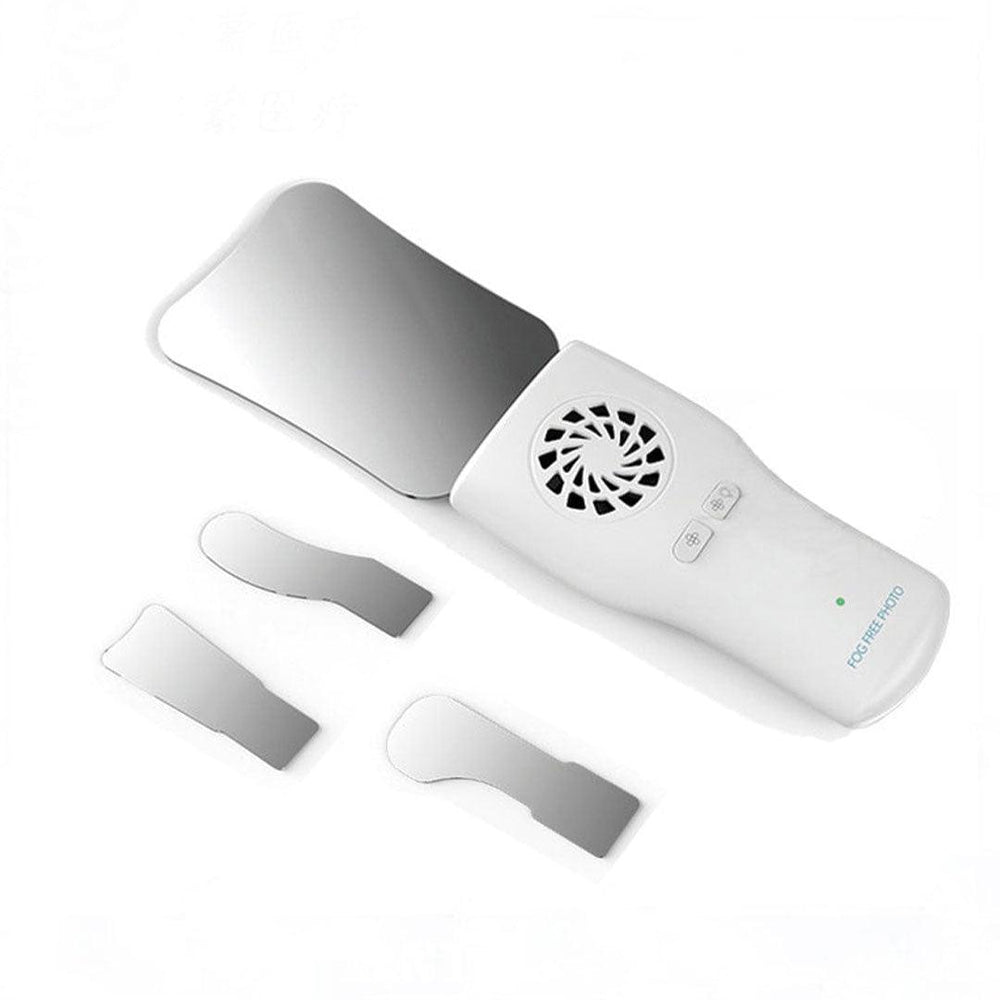
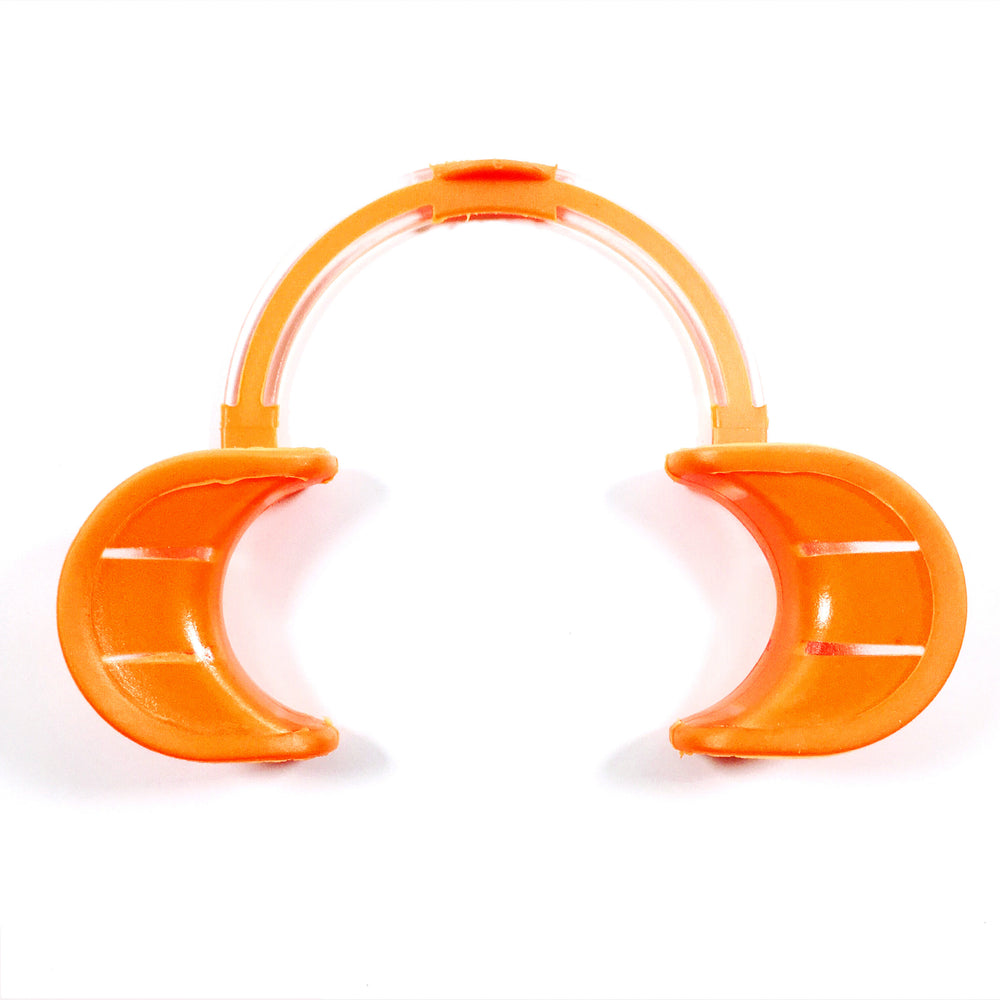
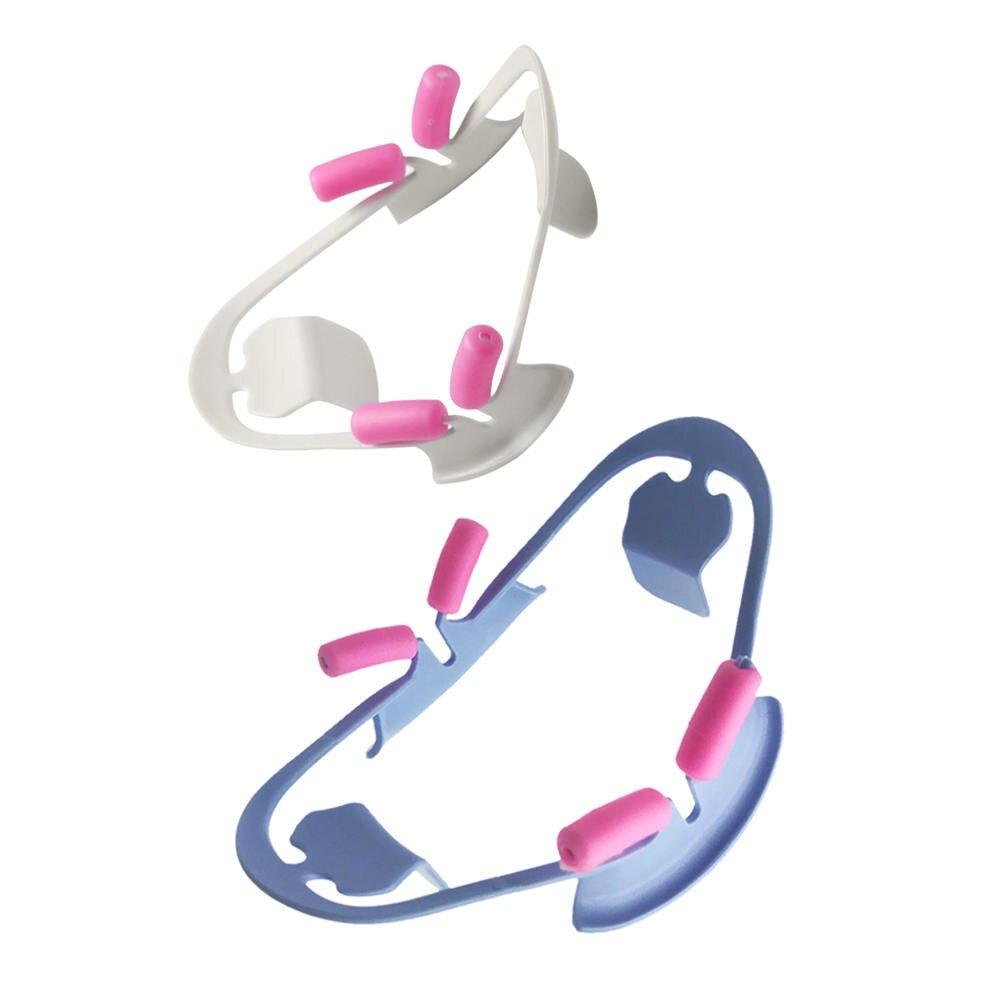
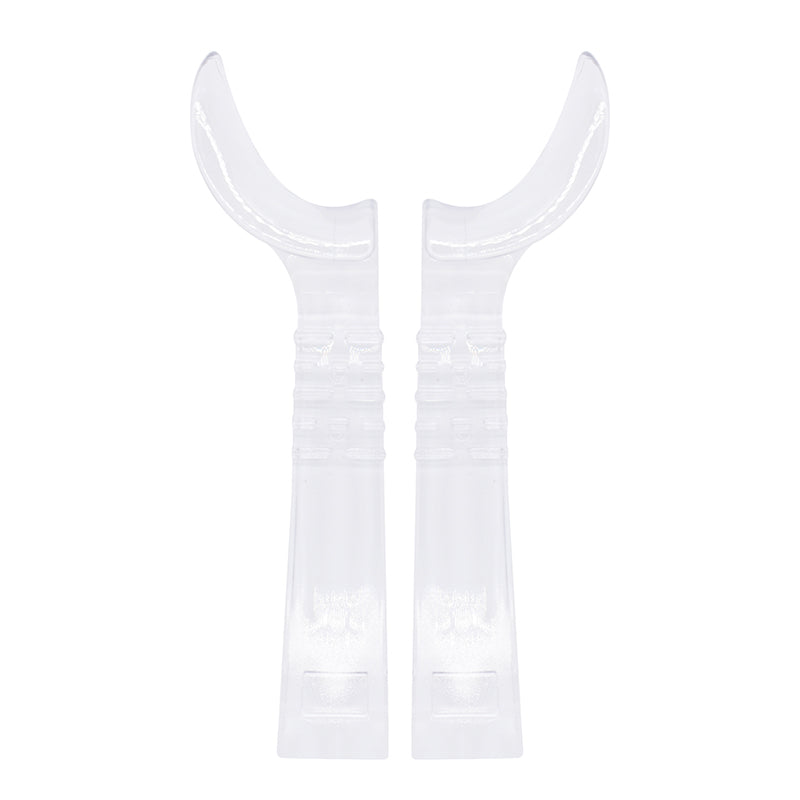
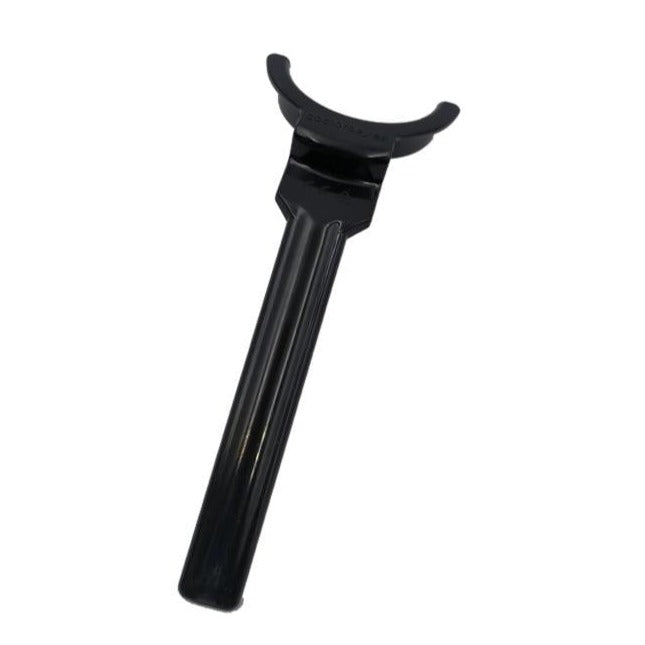
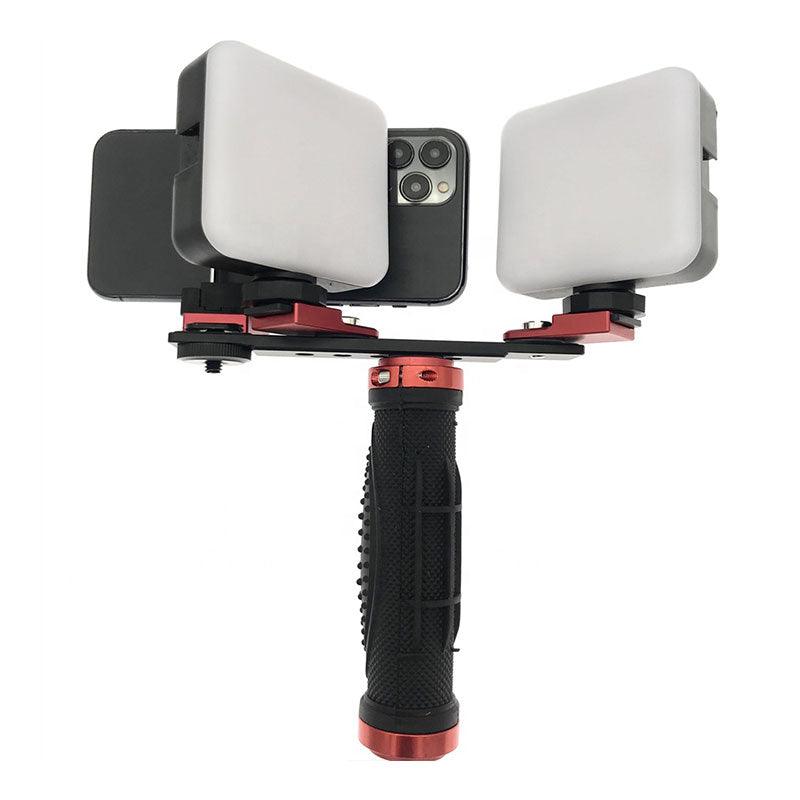
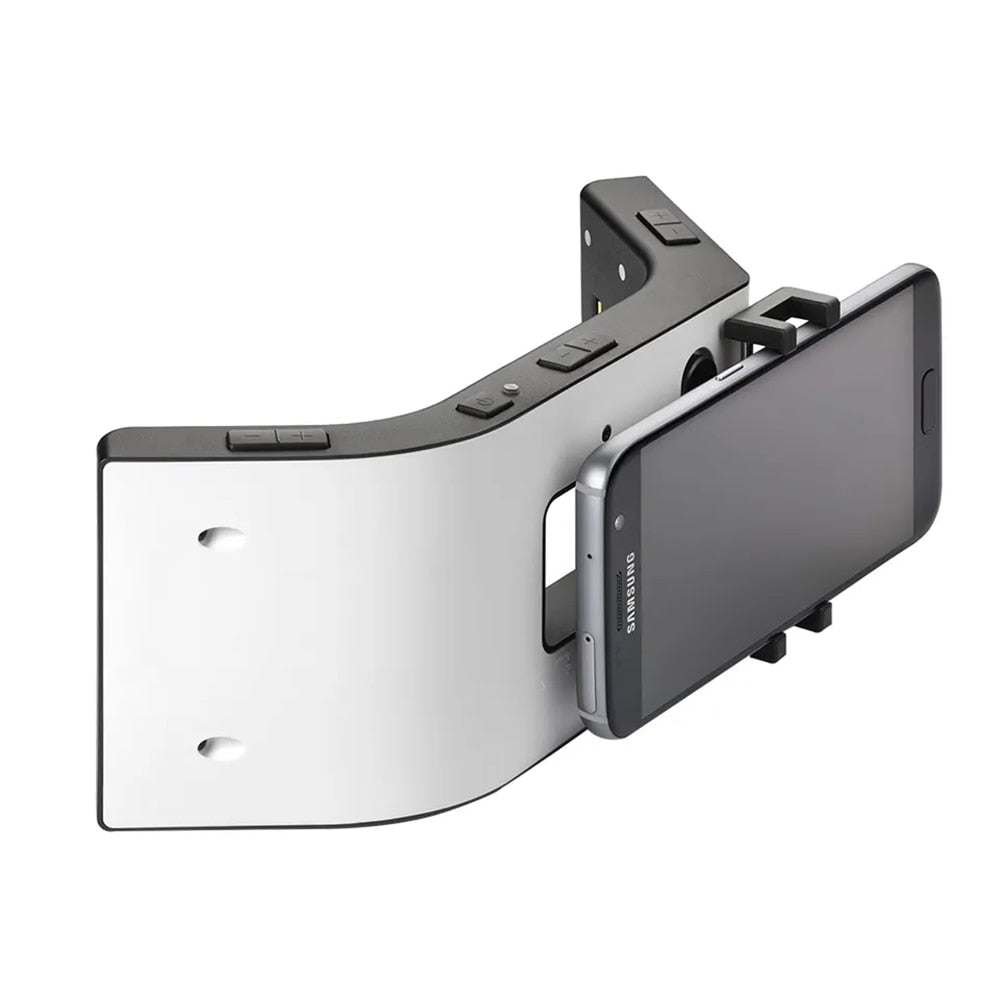
Lighting mastery is at the heart of exceptional dental photography, and the strategic use of reflectors and diffusers is a game-changer in achieving stunning results. By harnessing these tools, dental professionals can manipulate light, control shadows and highlights, and create captivating images that showcase dental subjects with precision and artistic finesse. In this article, we'll delve into the artful use of dental reflectors and diffusers, offering life hacks to elevate your lighting skills and create captivating dental imagery.
Unveiling the Power of Reflectors and Diffusers:
Reflectors and diffusers are indispensable tools in photography, allowing for the manipulation of light quality and direction. In dental photography, they play a pivotal role in achieving even and controlled lighting, enhancing textures, and emphasizing critical details.
1. Reflectors: Shaping and Enhancing Light.
Reflectors bounce light onto the subject, filling in shadows and creating a pleasing, diffused illumination that adds depth and dimension to dental images.
Life Hacks for Effective Use of Reflectors:
1. Positioning.
Place the reflector opposite the main light source to bounce light onto the subject's shadowed side.
2. Adjusting Angles.
Tilt the reflector to control the intensity of reflected light. A steeper angle provides more fill, while a shallower angle creates subtler highlights.
2. Diffusers: Softening and Diffusing Light.
Diffusers scatter and soften light, reducing harsh shadows and creating a soft, flattering illumination that minimizes distracting reflections and highlights.
Life Hacks for Effective Use of Diffusers:
1. Size Matters.
Opt for larger diffusers to create a broader, more even illumination that envelops the dental subject.
2. Close Proximity.
Position the diffuser close to the subject to achieve a soft and natural-looking light that flatters dental textures.
Creative Applications with Reflectors and Diffusers:
1. Creating Catchlights.
Reflectors can be used to introduce catchlights in the eyes, adding life and dimension to dental portraits.
2. Balancing Contrasts.
Diffusers help balance the contrast between highlights and shadows, creating a more harmonious and aesthetically pleasing composition.
Life Hacks for Balancing Reflectors and Diffusers:
1. Experiment.
Test various combinations of reflectors and diffusers to achieve the desired balance of shadows and highlights.
2. Minimalistic Approach.
Begin with a single reflector or diffuser and gradually introduce additional ones as needed to avoid overcomplicating the setup.
Practical Considerations and Tips:
1. Diffusion Materials.
Use commercial diffusers or DIY alternatives like white bedsheets or shower curtains for a soft, even light.
2. Reflective Surfaces.
Employ white or silver reflectors for a neutral fill, while gold reflectors introduce a warm, inviting glow.
3. Distance and Intensity.
Adjust the distance between the reflector/diffuser and the subject to control the intensity of the reflected/diffused light.
The artful use of dental reflectors and diffusers is a gateway to mastering lighting in dental photography. By understanding their functions and following the life hacks shared in this guide, dental professionals can manipulate light, control shadows, and create captivating images that showcase dental subjects with finesse. Remember, the strategic use of reflectors and diffusers empowers you to capture dental imagery that not only communicates clinical details but also engages viewers with compelling aesthetics.


