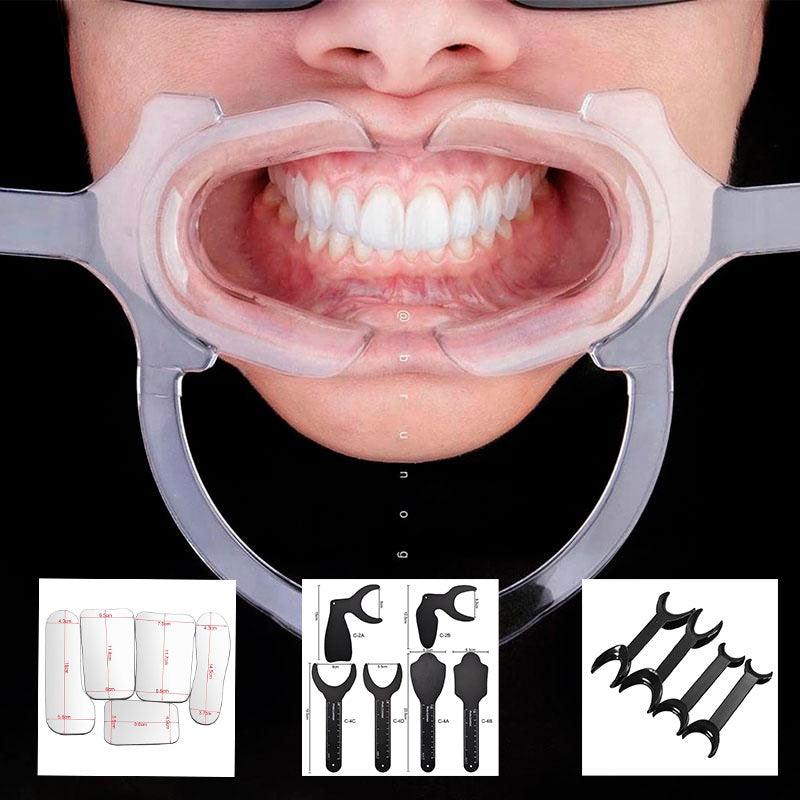
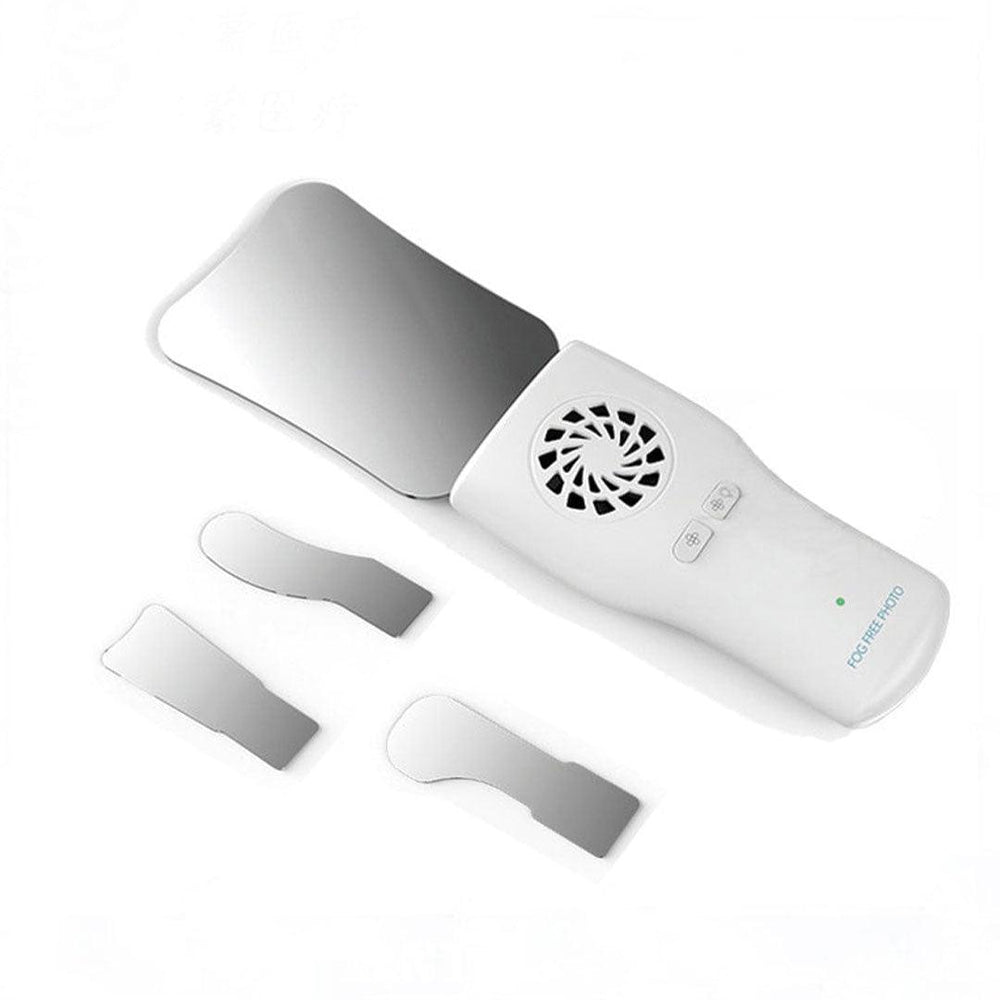
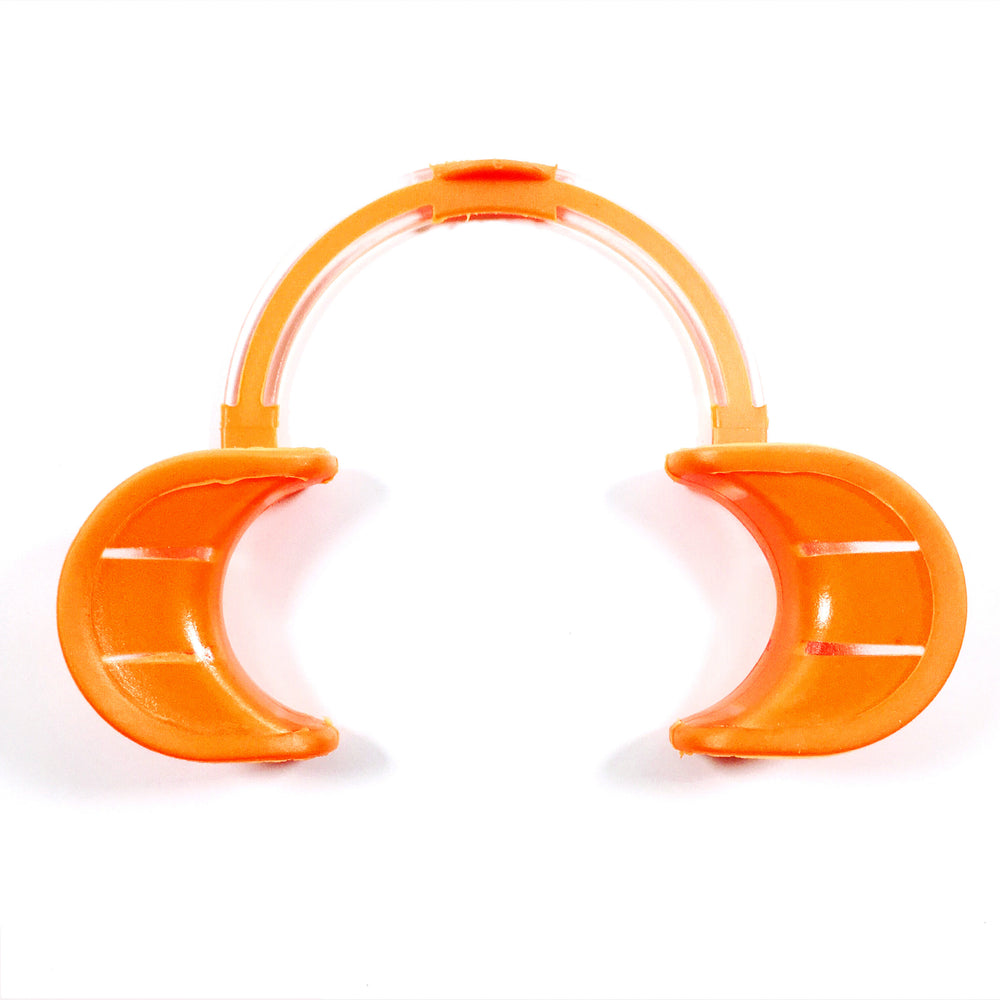
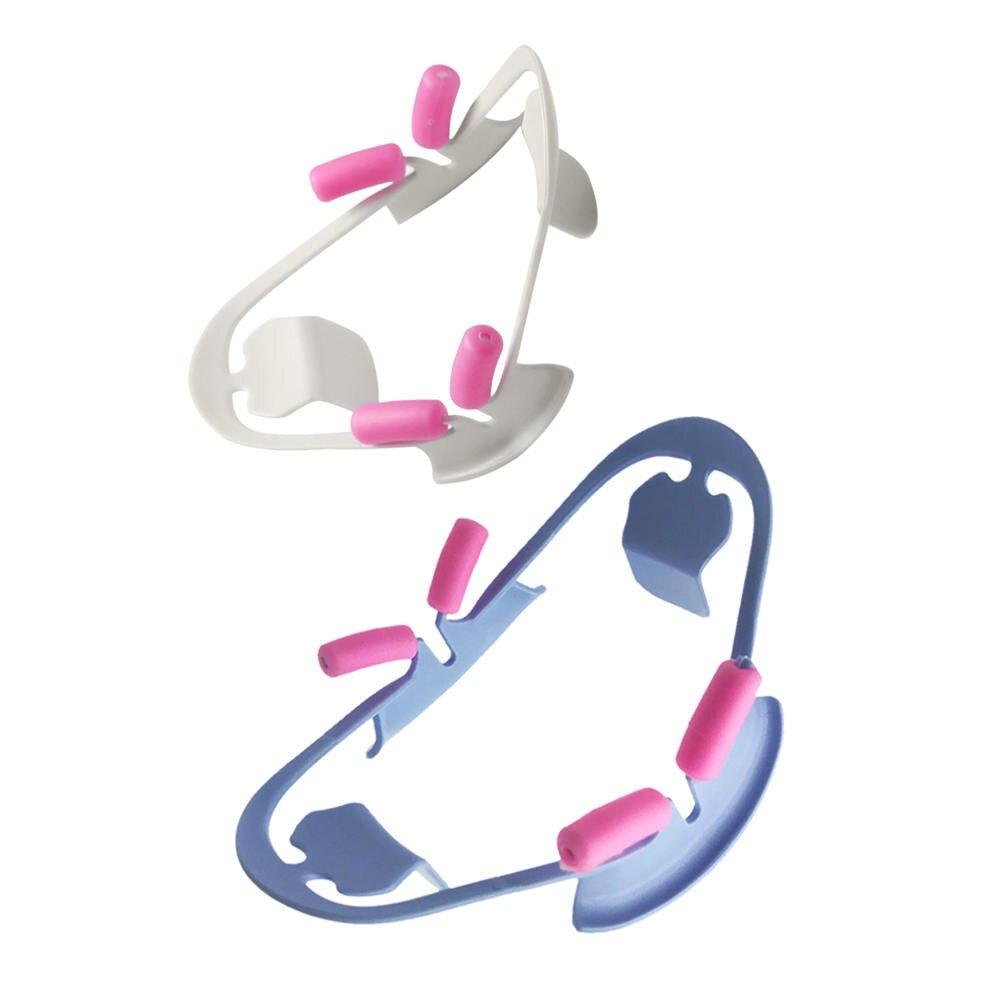
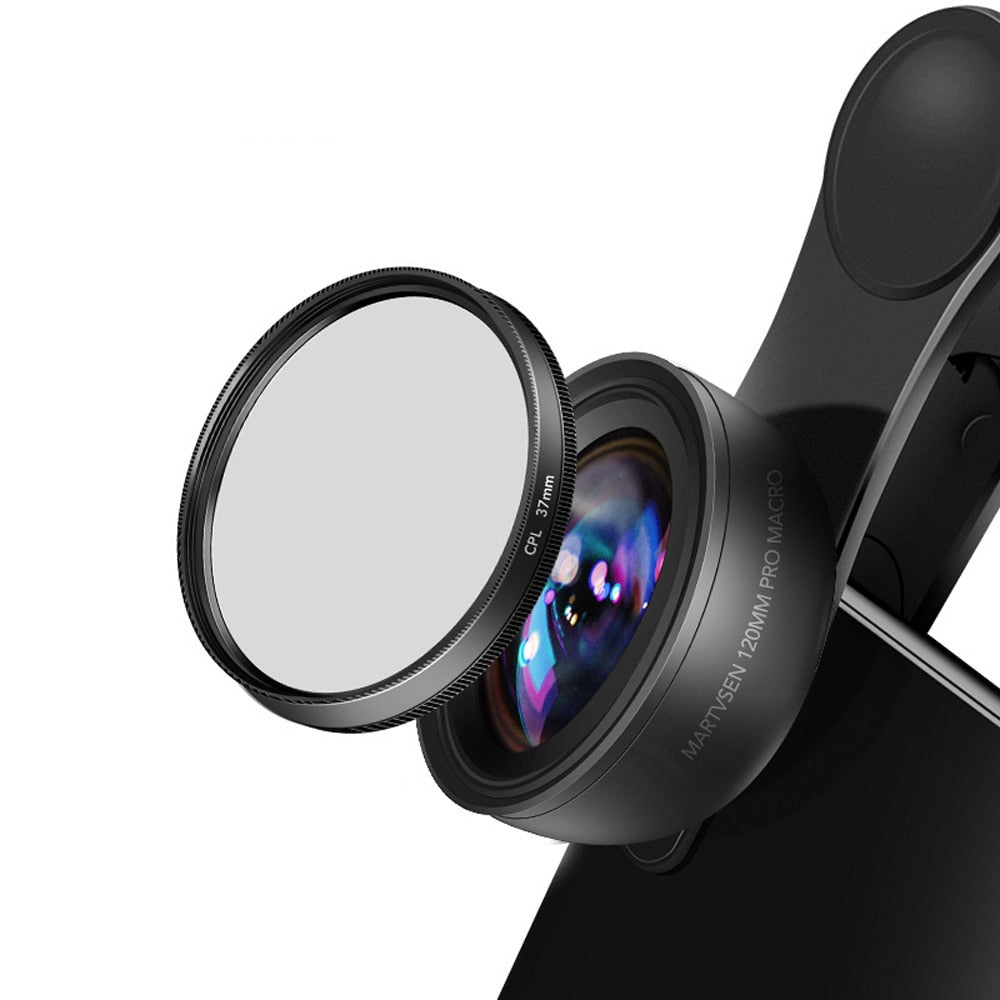
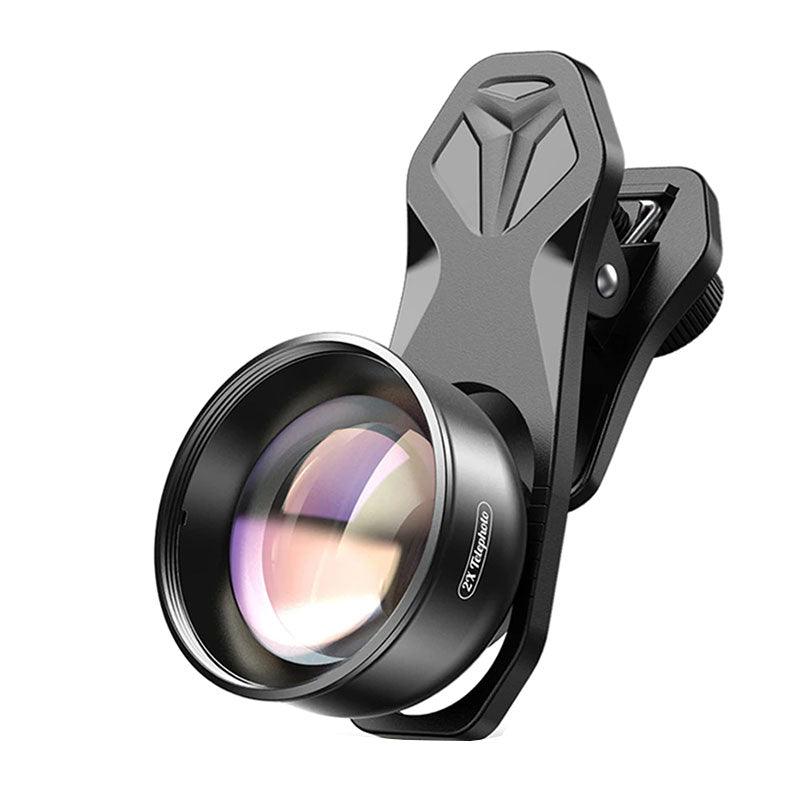
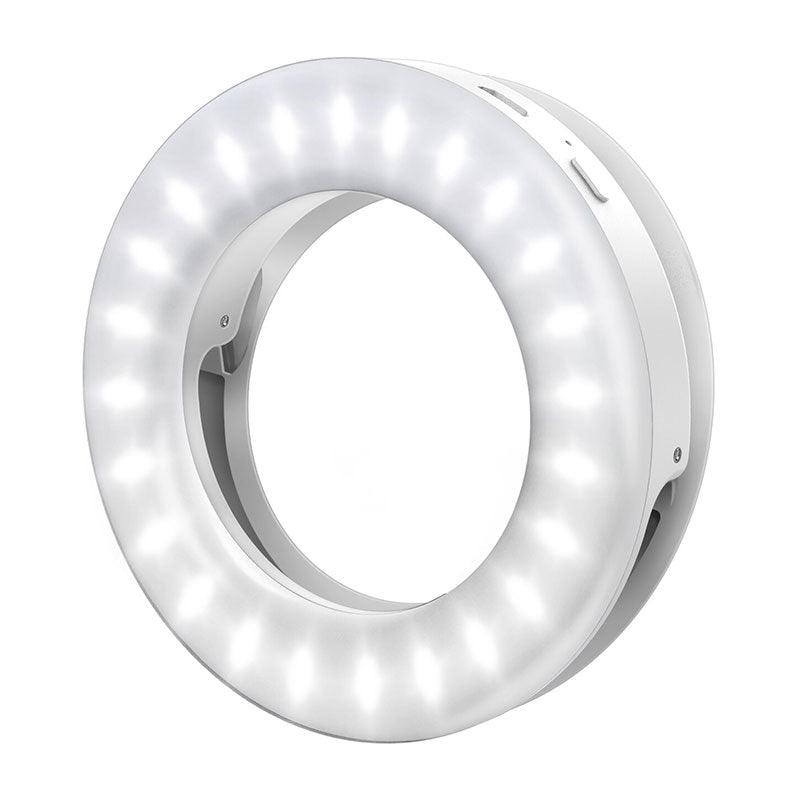
Nowadays, dental photography plays an important role in dentistry. It allows dentists to take detailed photographs of teeth, gums, and other structures of the oral cavity for diagnostic and educational purposes, as well as to create a high-quality portfolio. Choosing the right equipment for dental photography is a key aspect of preparing for a successful shoot. In this article, we will look at several life hacks that will help you make the right choice of equipment for a dental photo shoot.
1. Identify your needs. Before choosing the equipment, ask yourself the following questions: What types of photos do you plan to shoot? What is your budget? Which system is most convenient for you? Define your needs more carefully to choose the equipment that meets them.
2. Explore the market.
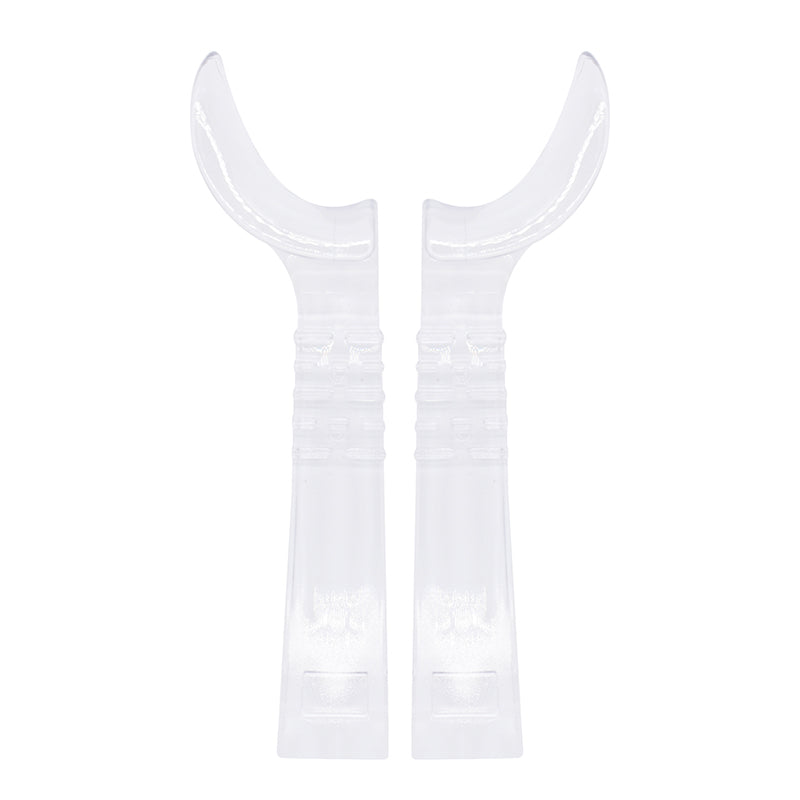
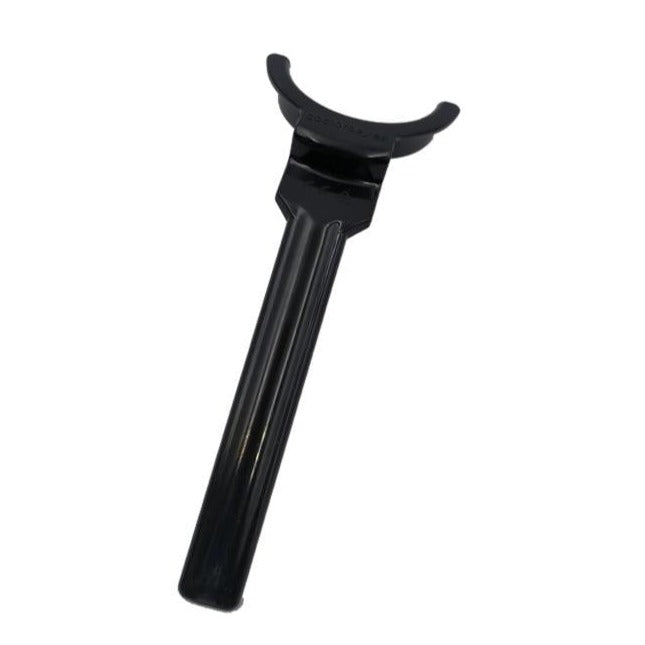
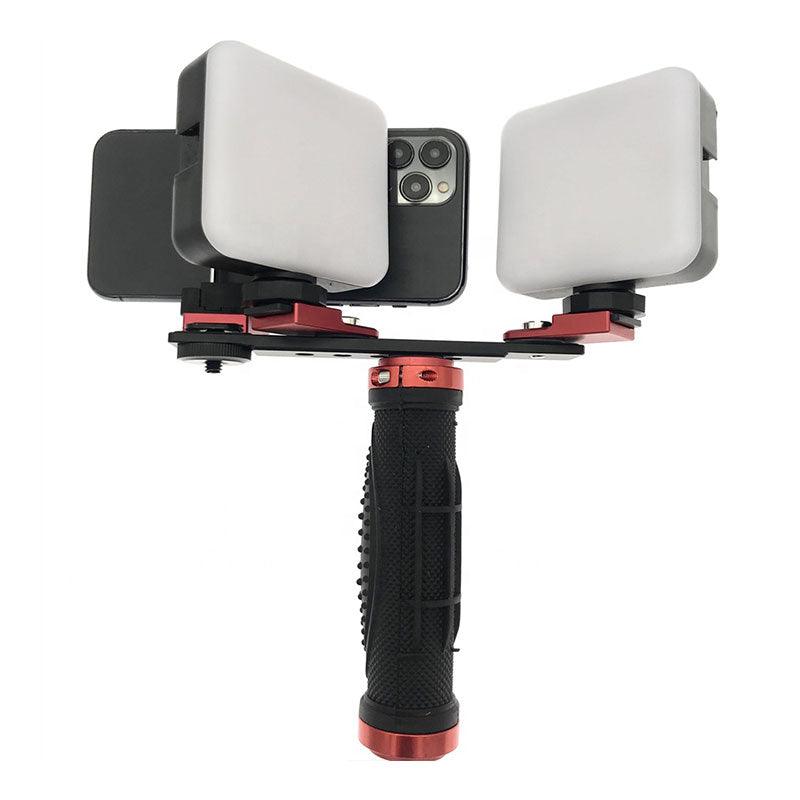
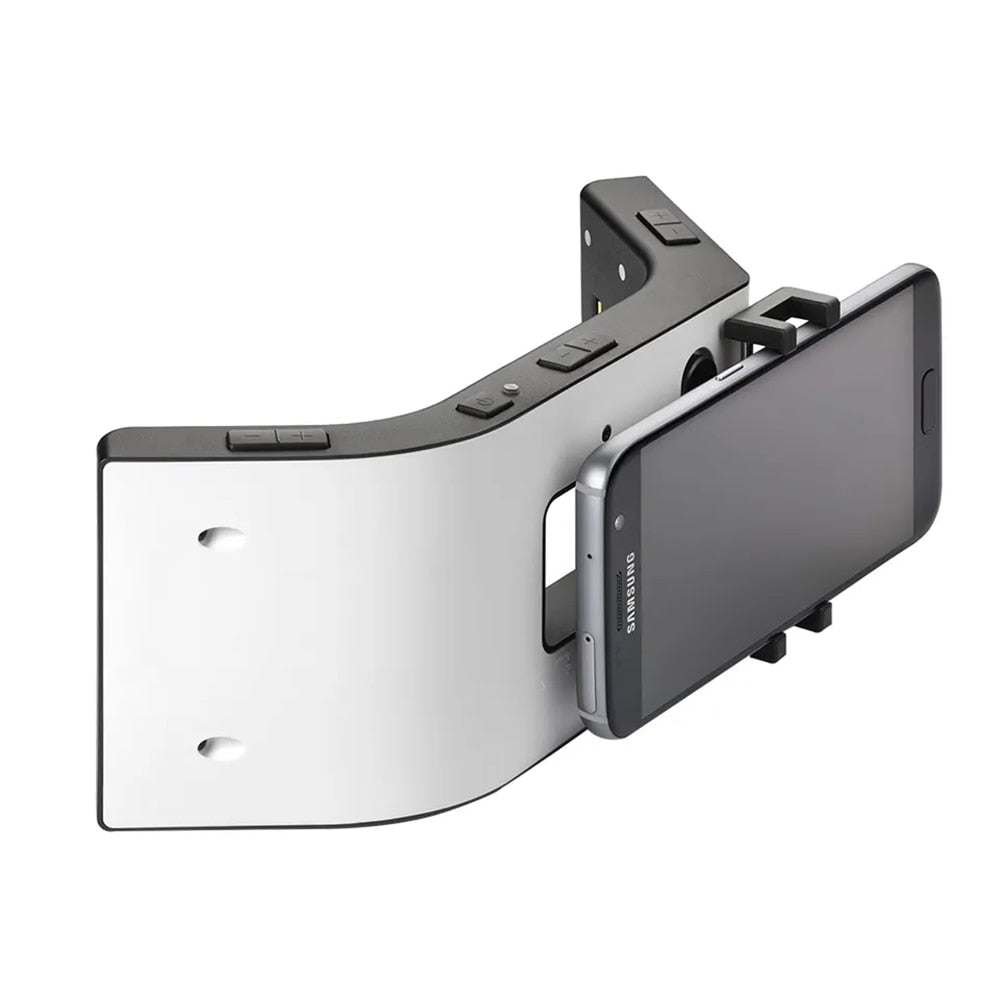
With a clear idea of your needs, start exploring the options available on the market for dental photo shoot equipment. It is important to familiarize yourself with the various models of cameras, lenses, and lighting systems in order to choose the best option for your tasks.
3. Prioritize image quality.
Image quality is a key factor when choosing equipment for a dental photo shoot. Pay attention to the resolution and detail of the images, as well as the ability to control exposure settings and color balance. The higher the image quality, the better your portfolio and the possibility of detailed diagnostics will be.
4. Weigh the usability.
In addition to the image quality, pay attention to the convenience of using the selected equipment. You should feel comfortable while shooting, so choose equipment with convenient and intuitive settings. Also pay attention to the weight and size of the equipment so that it is light and portable.
5. Try the equipment before buying.
If you have the opportunity, try using the equipment before making a final purchase decision. The opportunity to test the camera, lenses, and lighting systems will help you evaluate their performance in real-world conditions and make a more informed choice.
6. Pay attention to the additional functions.
Additional equipment functions can greatly facilitate your work and expand your capabilities in dental photography. For example, some cameras have the function of autofocus on teeth, presets for various types of images, and the ability to wirelessly transfer images to a computer. Explore these features and choose the hardware that suits your needs.
Choosing equipment for a dental photo shoot can be a difficult process, but with the right life hacks and thorough market research, you can find the best equipment for your practice. Remember that each dentist may have unique needs, so it is important to consider individual requirements and capabilities before choosing.
We hope that these tips will help you choose the right equipment for a dental photo shoot and contribute to creating an impressive portfolio. Good luck in your professional activities!


