In dental photography, proper lighting plays an important role. It helps to create bright and clear images of teeth and the oral cavity. Flash and light filters are useful tools to help you achieve optimal lighting and improve the quality of your shots. In this article, we will share lifehacks for using flash and light filters for a dental photo shoot.
Using the flash:
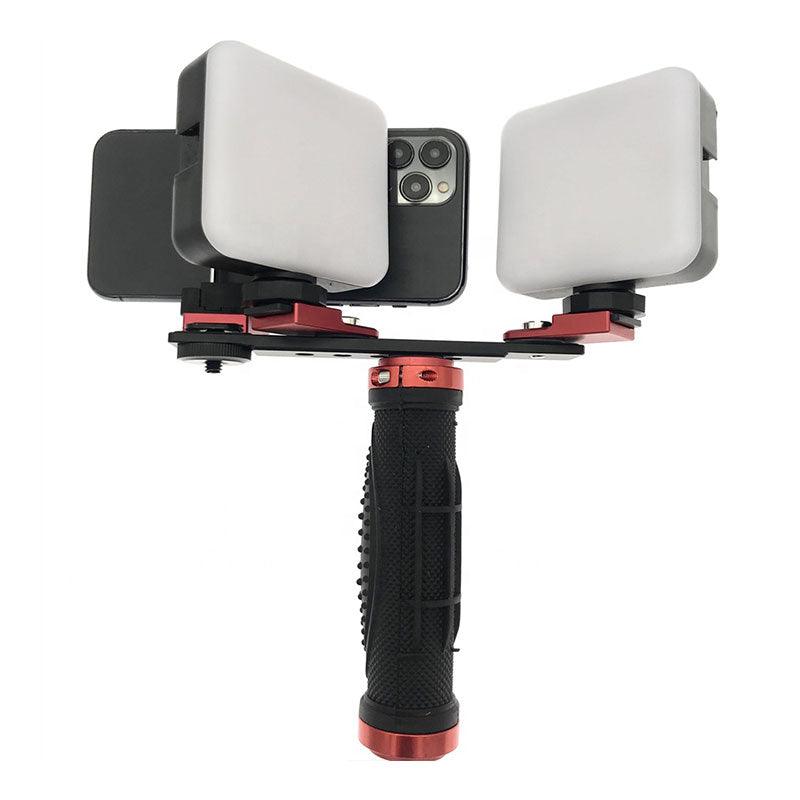
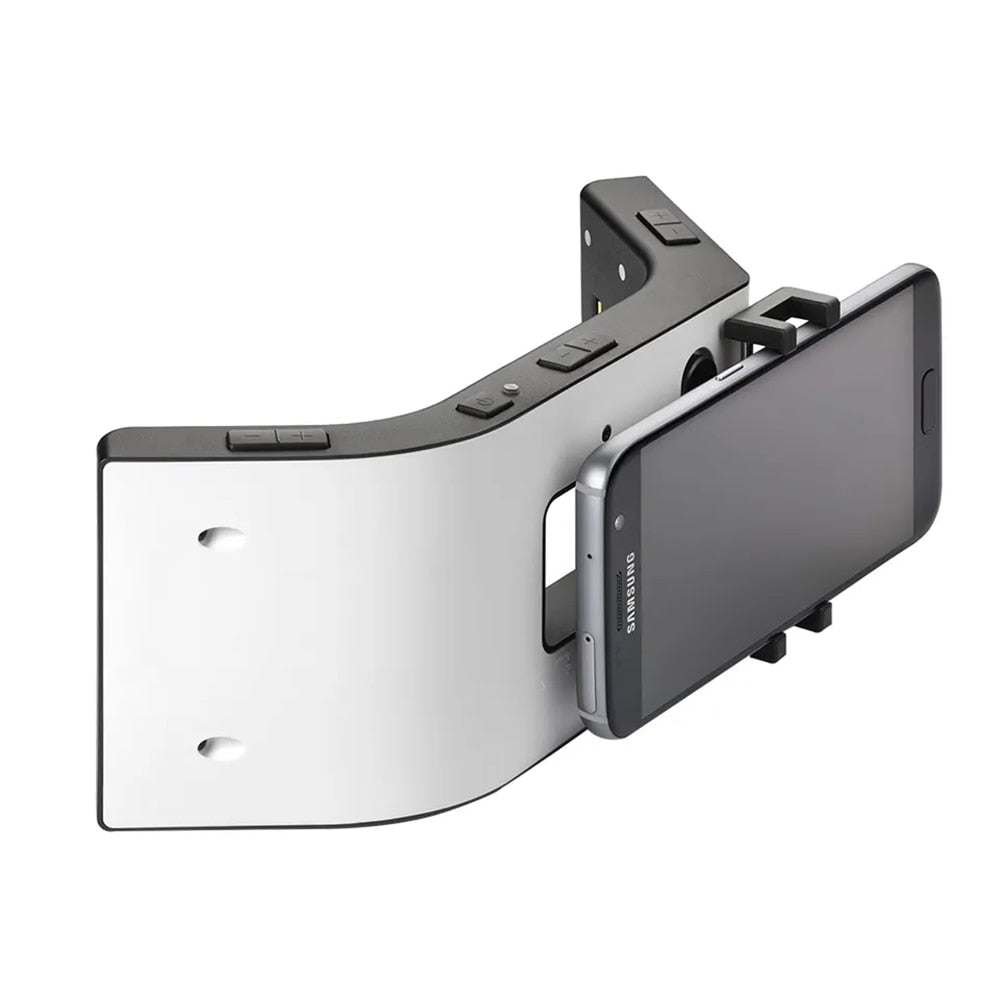
The flash plays an important role in dental photography, especially in situations where access to natural light is limited or when additional illumination is required to eliminate shadows. Here are some life hacks for using flash for a dental photo shoot:
1. Avoid direct light: direct light from the flash can create harsh shadows and reflections on the teeth. To avoid this, use a reflective surface or a diffuser to disperse the light. This will help to create a softer and more uniform lighting.
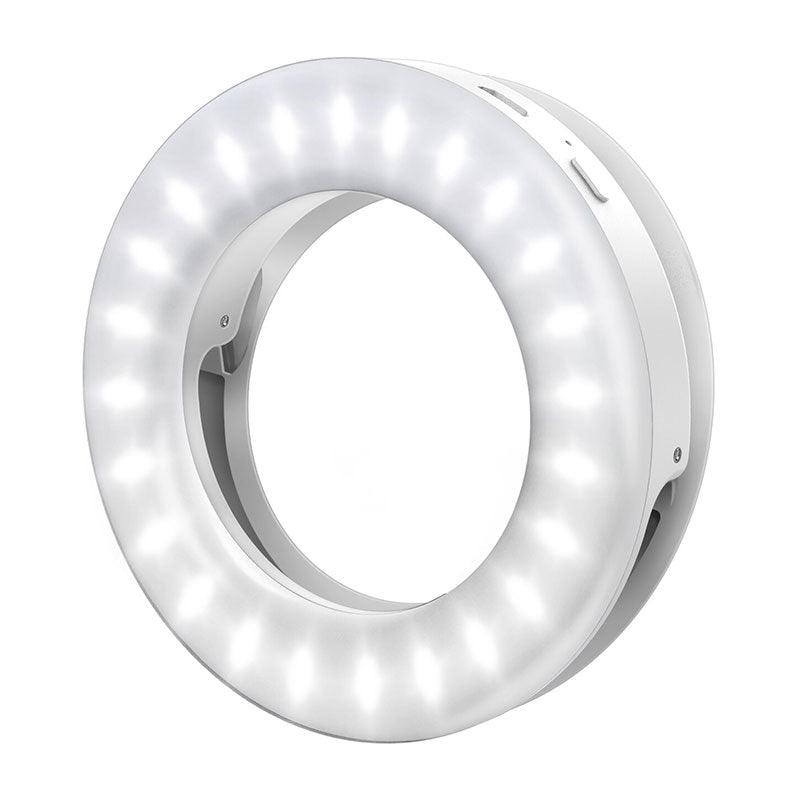
2. Use LED Flash lights: LED flash lights differ from traditional flash lights in that they offer more natural light illumination. They provide more accurate color reproduction and allow you to more accurately convey the details of the structures of the teeth and oral cavity. Consider using an LED flash to create natural lighting for your shots.
Using light filters:
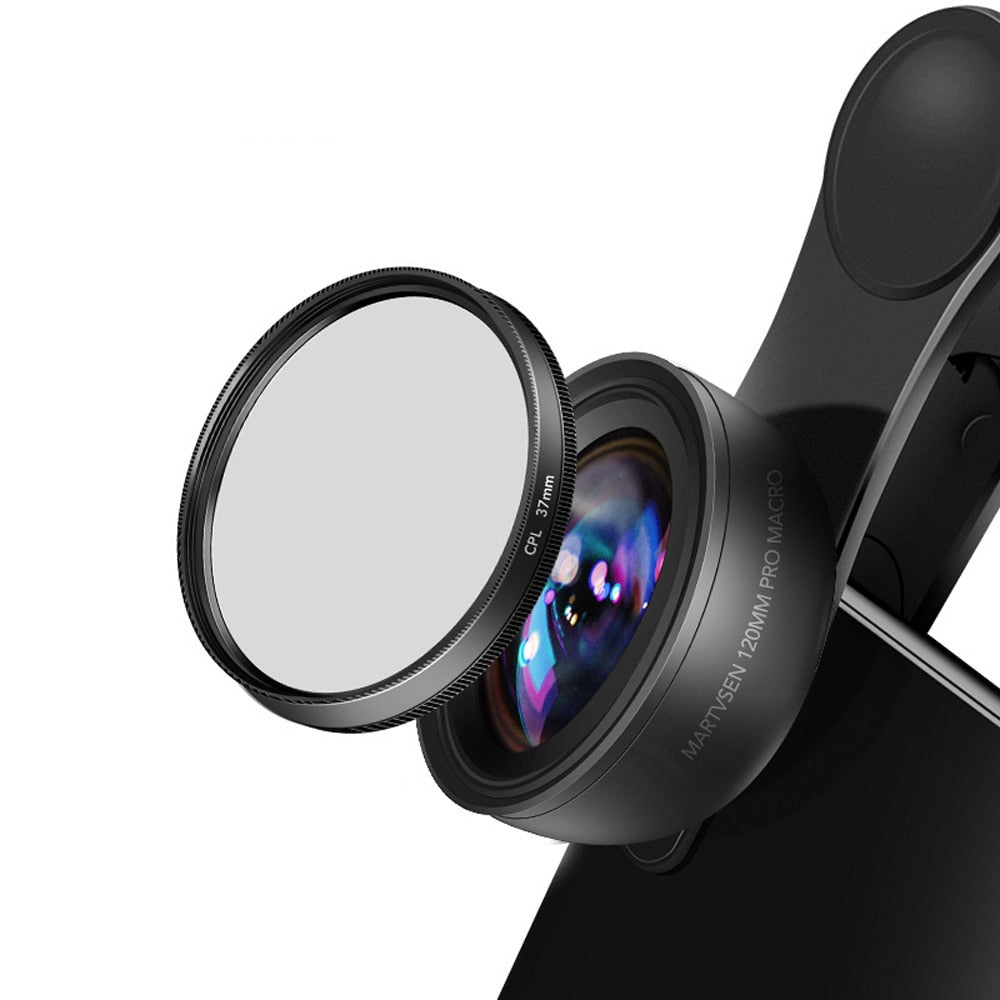
Light filters are transparent filters that are put on the camera lens and used to change the color temperature and control the white balance. They are useful tools for dental photography. Here are some lifehacks on using light filters for dental photography:
1. Refine White Balance: Using light filters can help you improve white balance and achieve more accurate color rendering in your photos. Different light filters can give images a warm or cold shade, depending on your preference and the lighting of the object.
2. Use polarizing filters: Polarizing filters will help eliminate unwanted reflections from teeth and other objects in the oral cavity. They will also help to improve the color saturation and increase the contrast in your pictures.
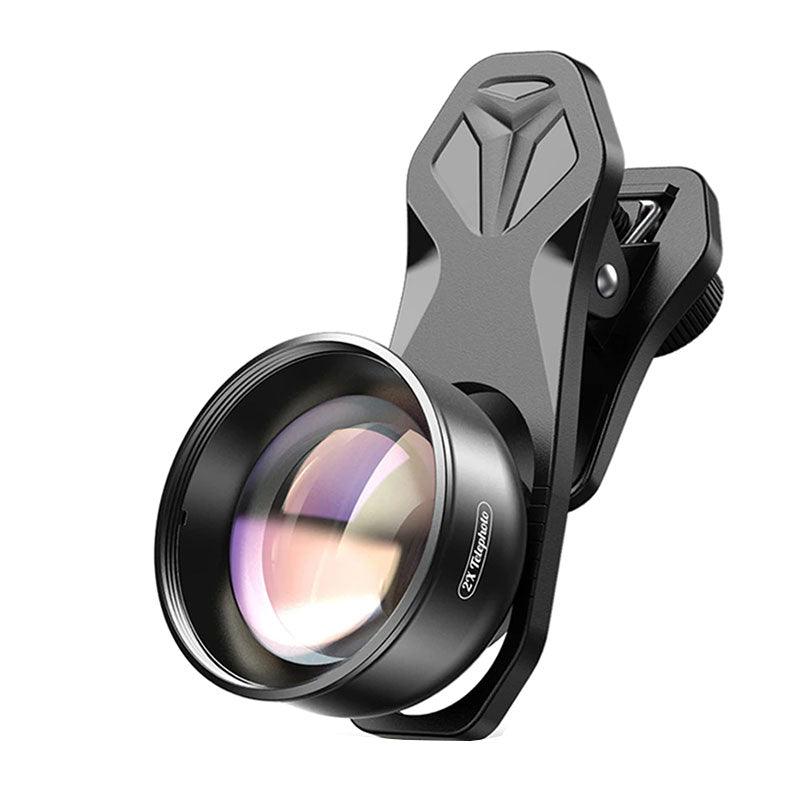
3. Try different filters: Experiment with different light filters to achieve the desired effects and convey the necessary atmosphere in your pictures. They can add interesting color accents or create special effects in your dental photo shoot.
The use of flash and light filters is preferable in a dental photo shoot when standard natural lighting may be limited or insufficient. They will help you control lighting, improve color reproduction and achieve high-quality photos of teeth and oral cavity. Experiment with different tools, try different settings and choose the lighting methods that best suit your needs and style of photography.


