


Two dentists, the same skills and the same prices — one is booked out for weeks, the other has gaps. In 2026 the difference is rarely clinical. It's whether the dentist can show their work: sharp before-and-afters, honest case photos, content patients trust and share. That one habit drives case acceptance, referrals and new patients from Instagram and Google.
The good news: you don't need a $2,000 DSLR rig. A modern smartphone and five inexpensive accessories will give you clinical-grade images. This guide walks through the five tools that matter — what each one does, what to look for when buying, and three options at different budgets.
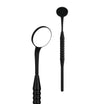
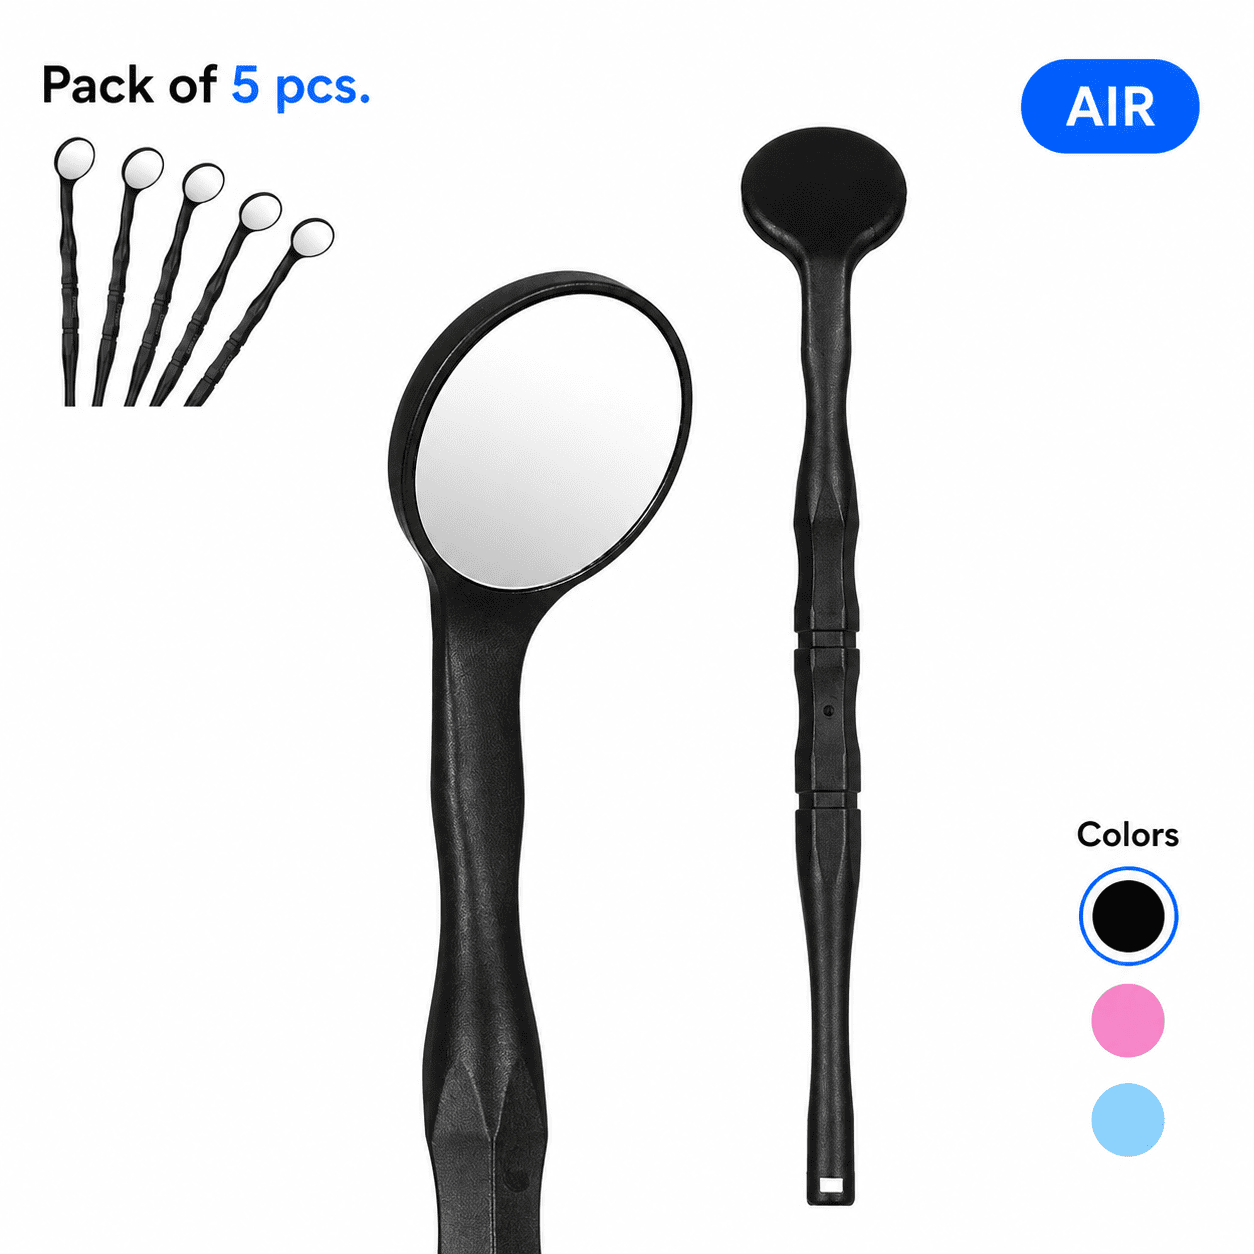
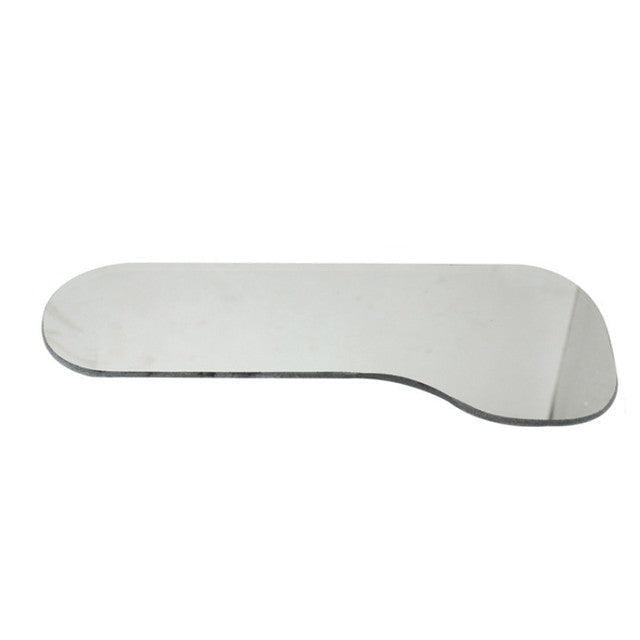
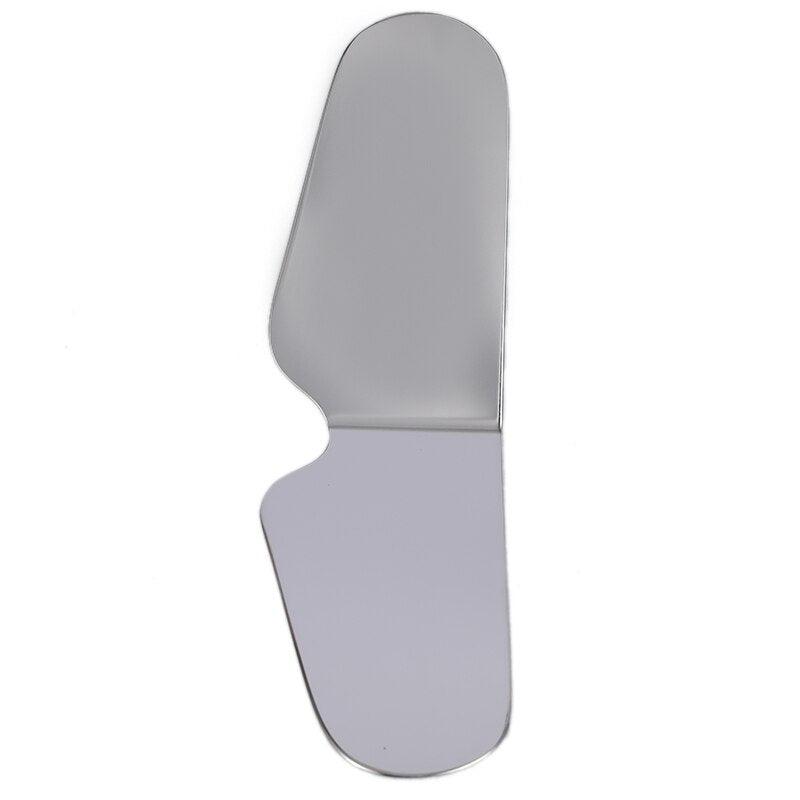
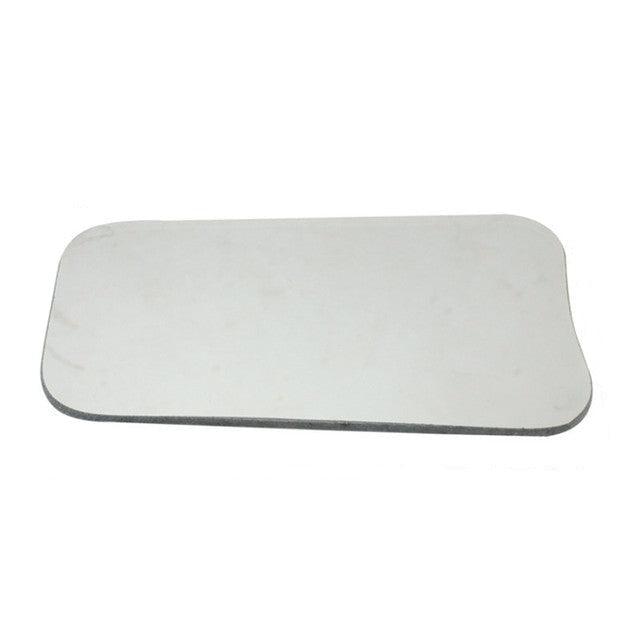
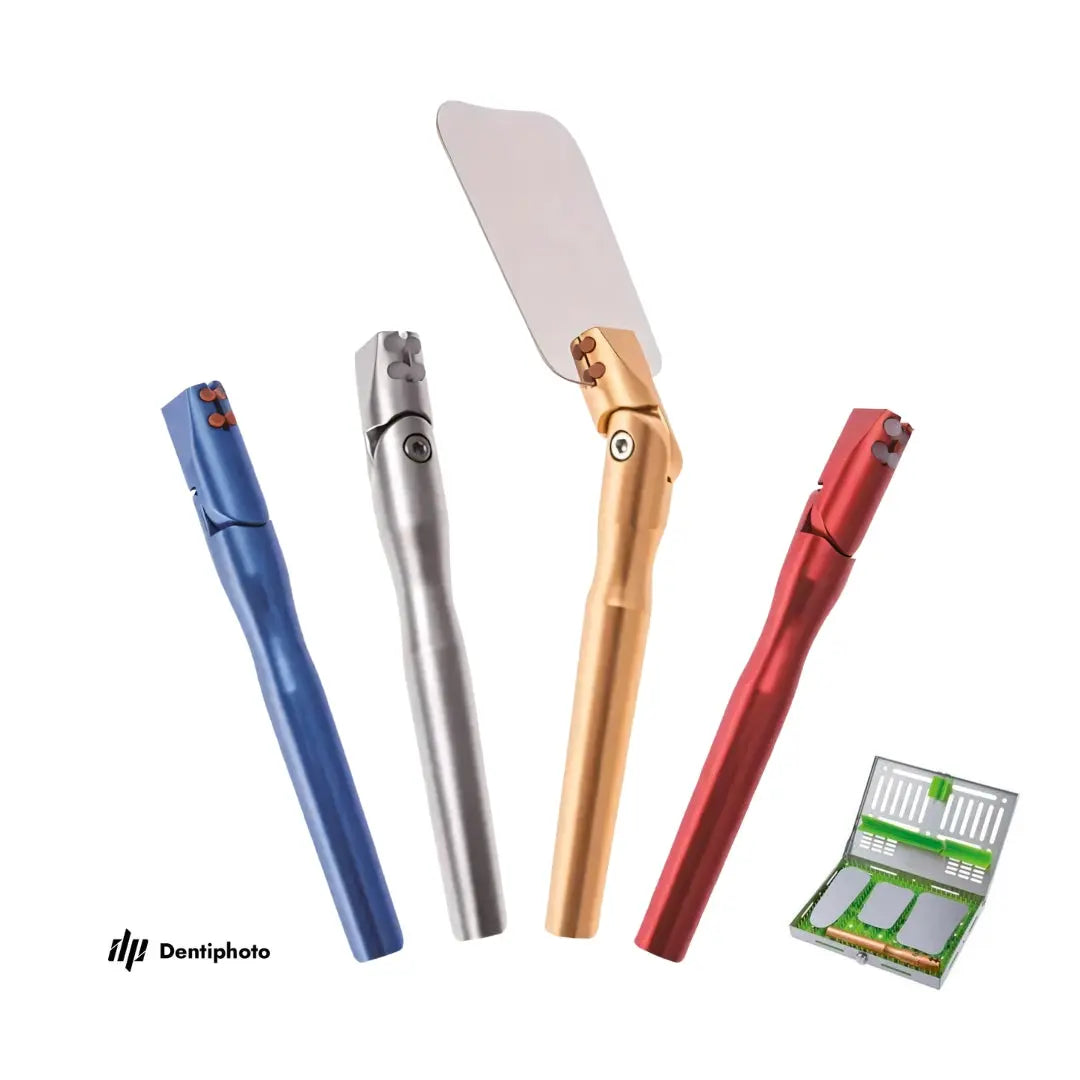
1. Intraoral mirrors — to shoot what you can't see directly
Occlusal (biting-surface) and lingual views are impossible to photograph head-on — the camera physically can't get there. A mirror reflects the image back to the lens. But mirror quality makes or breaks the shot:
- Ghosting: cheap double-sided mirrors produce a faint second reflection that blurs every detail. A front-surface mirror gives one crisp image.
- Fog: the patient's warm breath condenses on the mirror in seconds. For high volume, an anti-fog (fan/heated) mirror saves constant reshoots.
- Color & glare: a high-reflectivity, anti-glare coating keeps shade true — critical for restorative documentation.
What to look for: front-surface, 95%+ reflectivity, anti-glare coating, autoclavable. Add anti-fog if you shoot all day.

UltraClear Dental Mirror — Black Line, 24 mm
Anti-glare, autoclavable stainless mirror with true 1:1 color and zero ghosting. The cheapest single upgrade to sharper photos.

Ultra HD Reflector Pro — Full Mirror Kit
A complete set of HD reflector mirrors covering every intraoral view — high reflectivity and distortion-free color in one box.

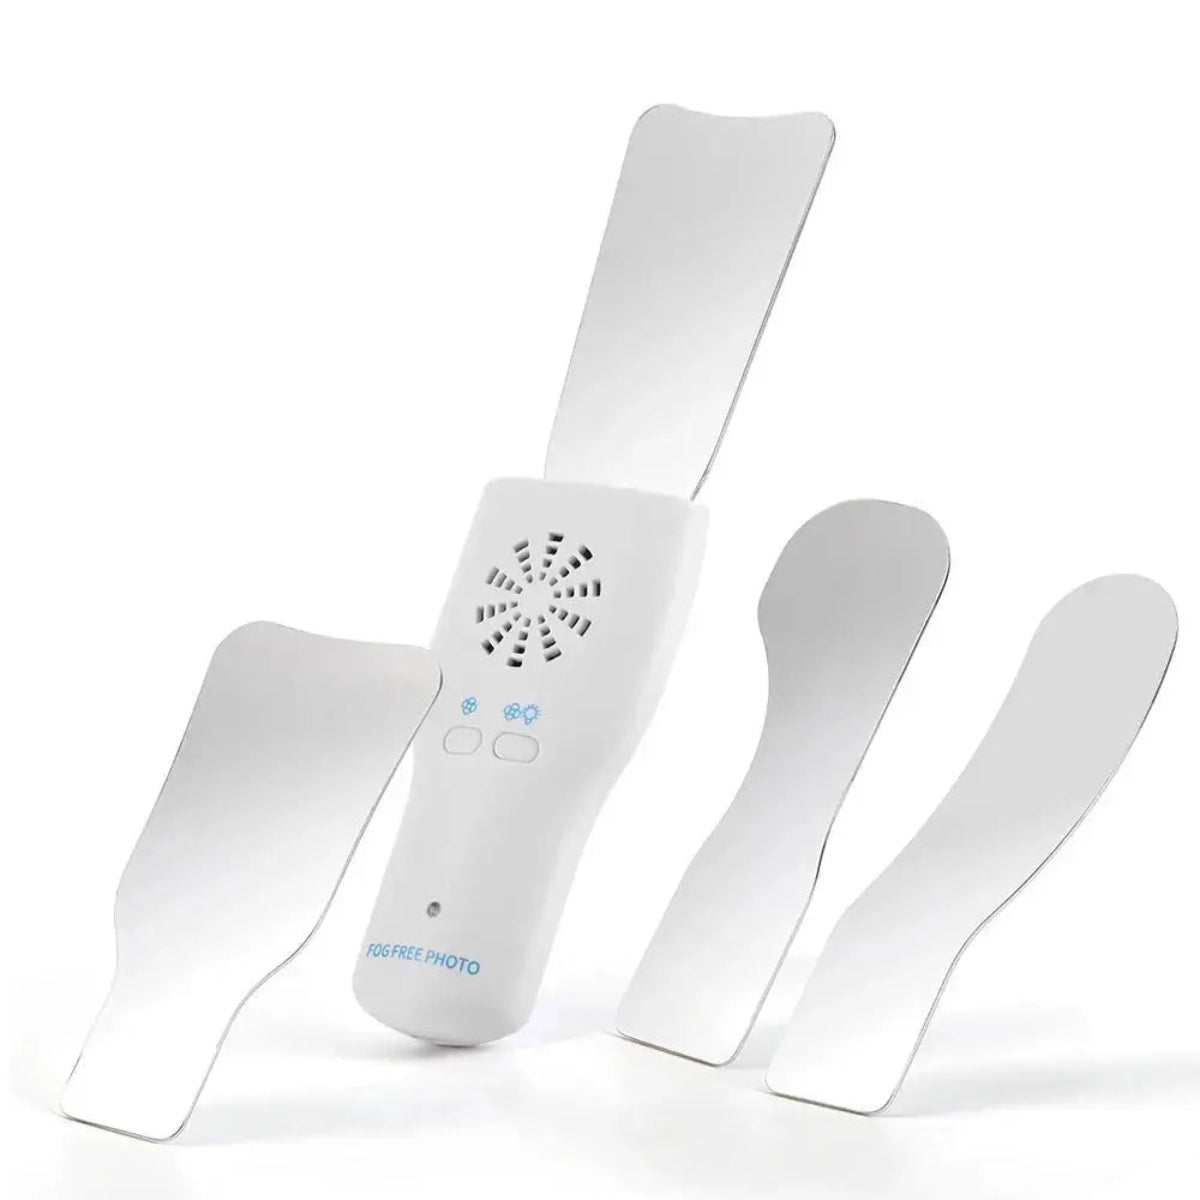
Anti-Fog Mirror for Dental Photography
Built-in fan clears fog in ~5 seconds, surface LED kills shadows. Includes 4 interchangeable mirrors (occlusal adult/child, buccal, lingual).
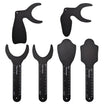
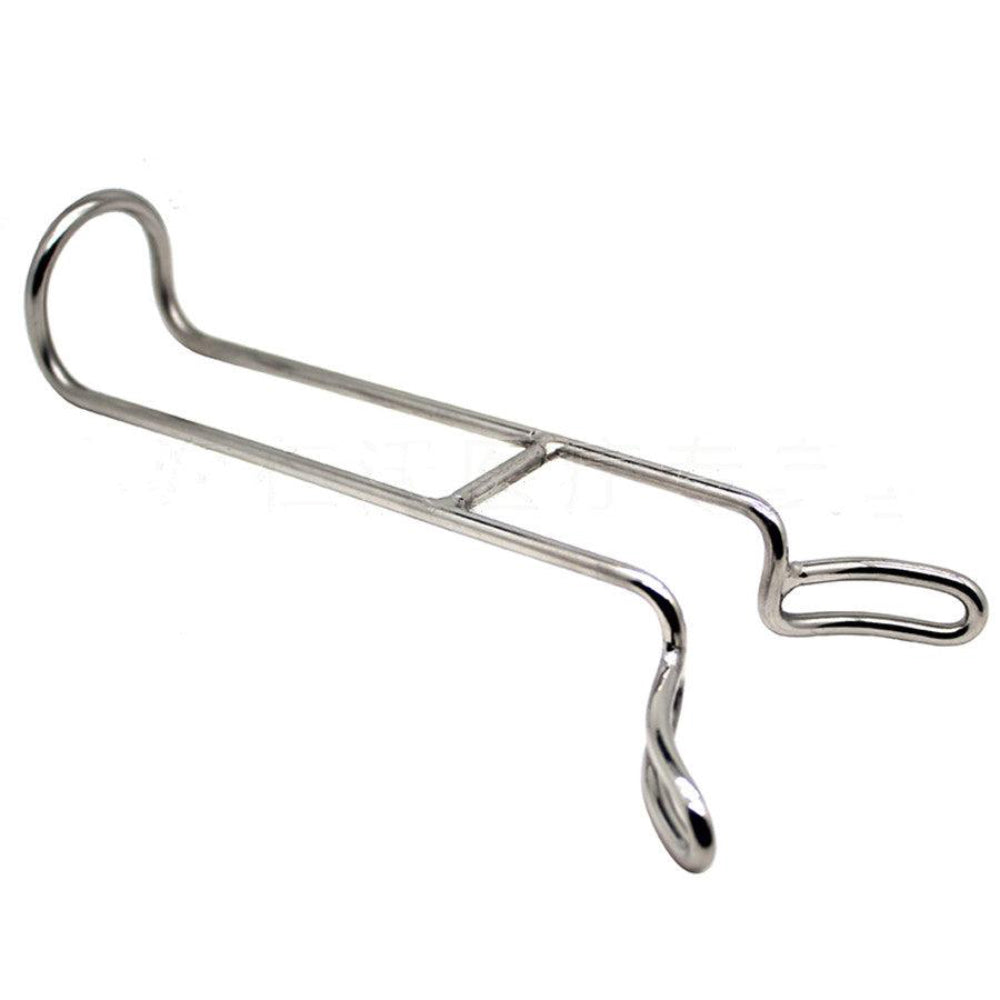
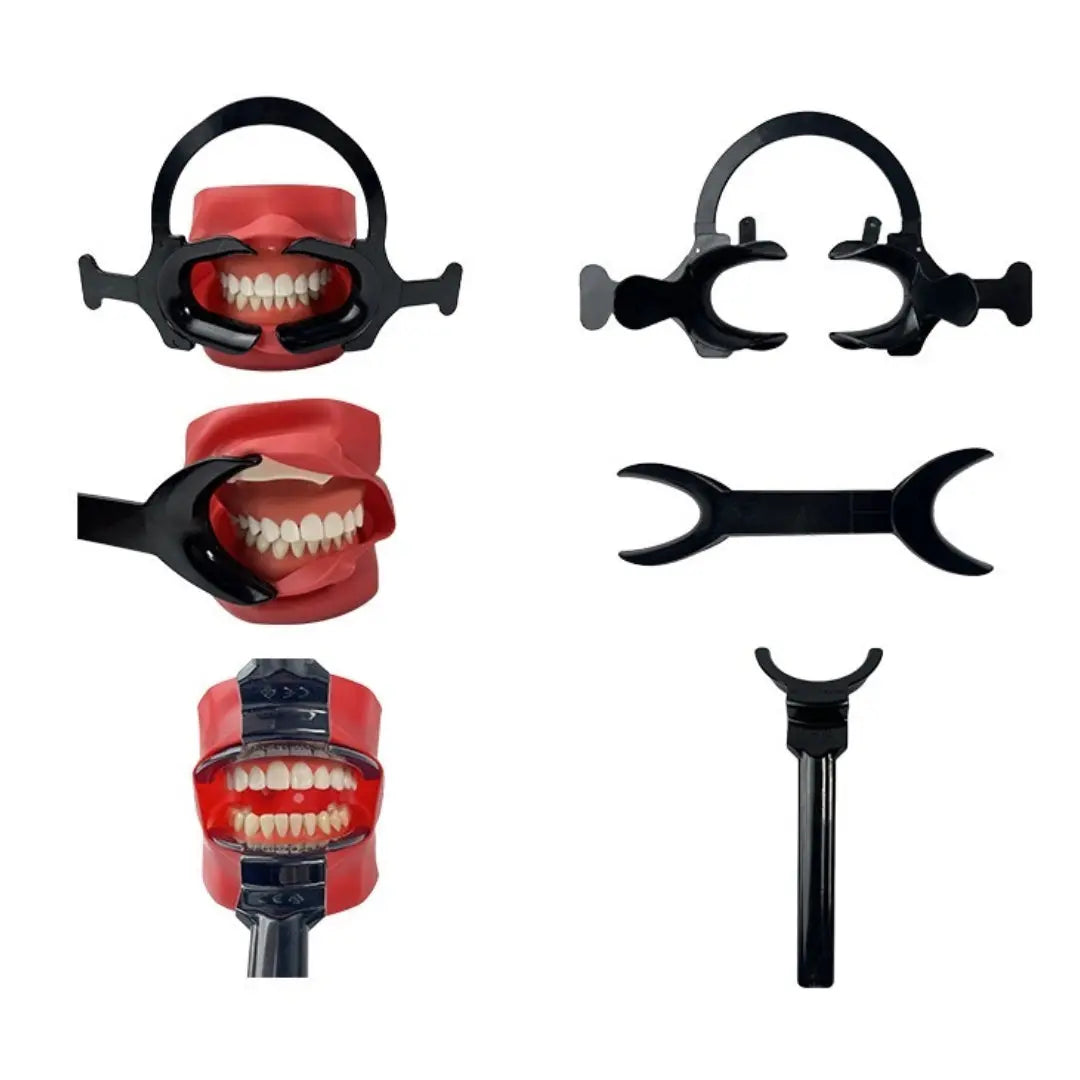
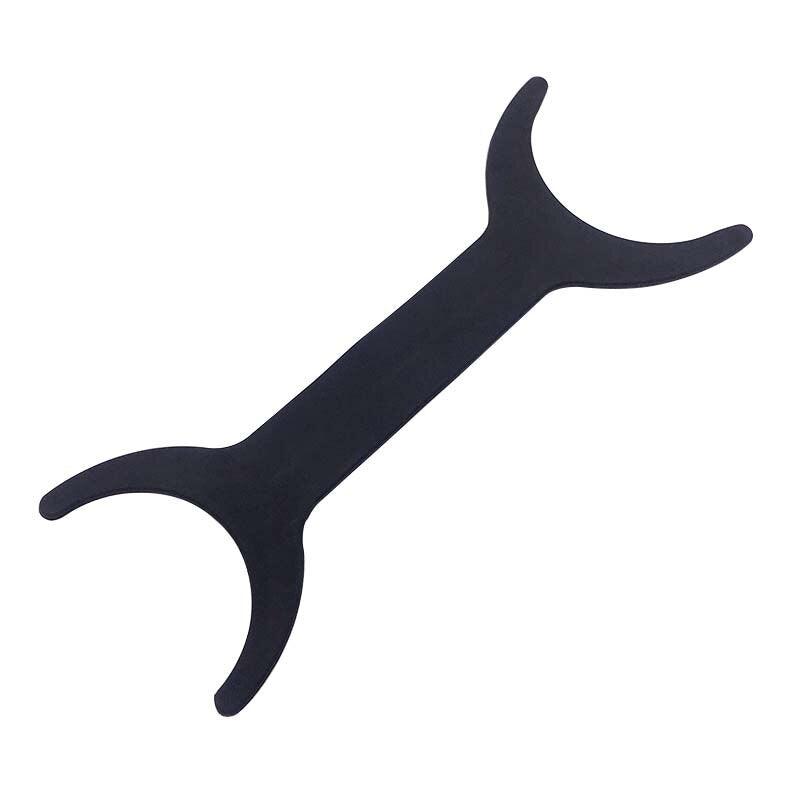
2. Retractors — to get lips and cheeks out of the frame
Soft tissue is the enemy of a clean dental photo. Lips and cheeks crowd the teeth and cast shadows. Retractors hold them back so the dentition is the whole story — and different views need different shapes: wide T-shapes for frontal smiles, single-side retractors for lateral views, and occlusal retractors that clear the lips for mirror shots.
What to look for: a set that covers frontal, lateral and occlusal; smooth atraumatic edges for patient comfort; autoclavable. Black versions add extra contrast at the edges of the frame.

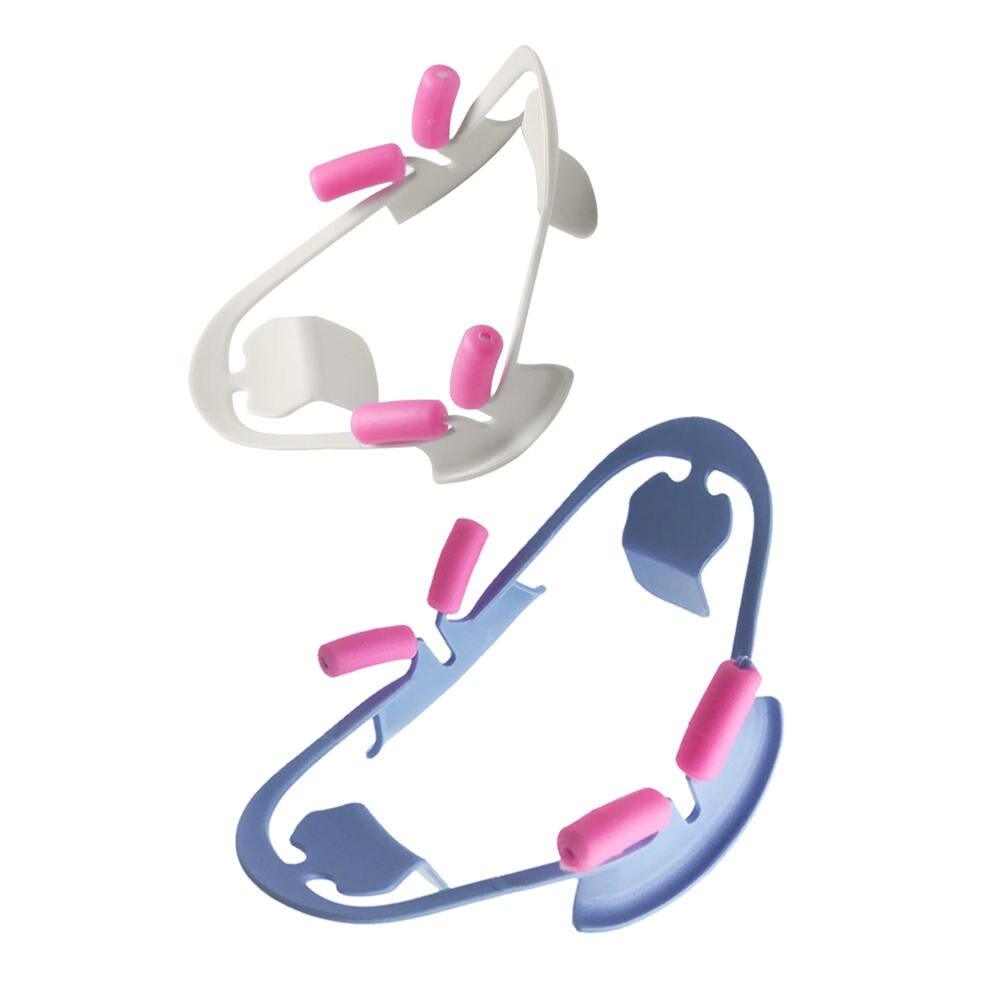
3D Dental Retractor
Three-dimensional design holds lips and cheeks back wider and more comfortably than flat retractors. Reusable, autoclavable, available in single pieces or sets.

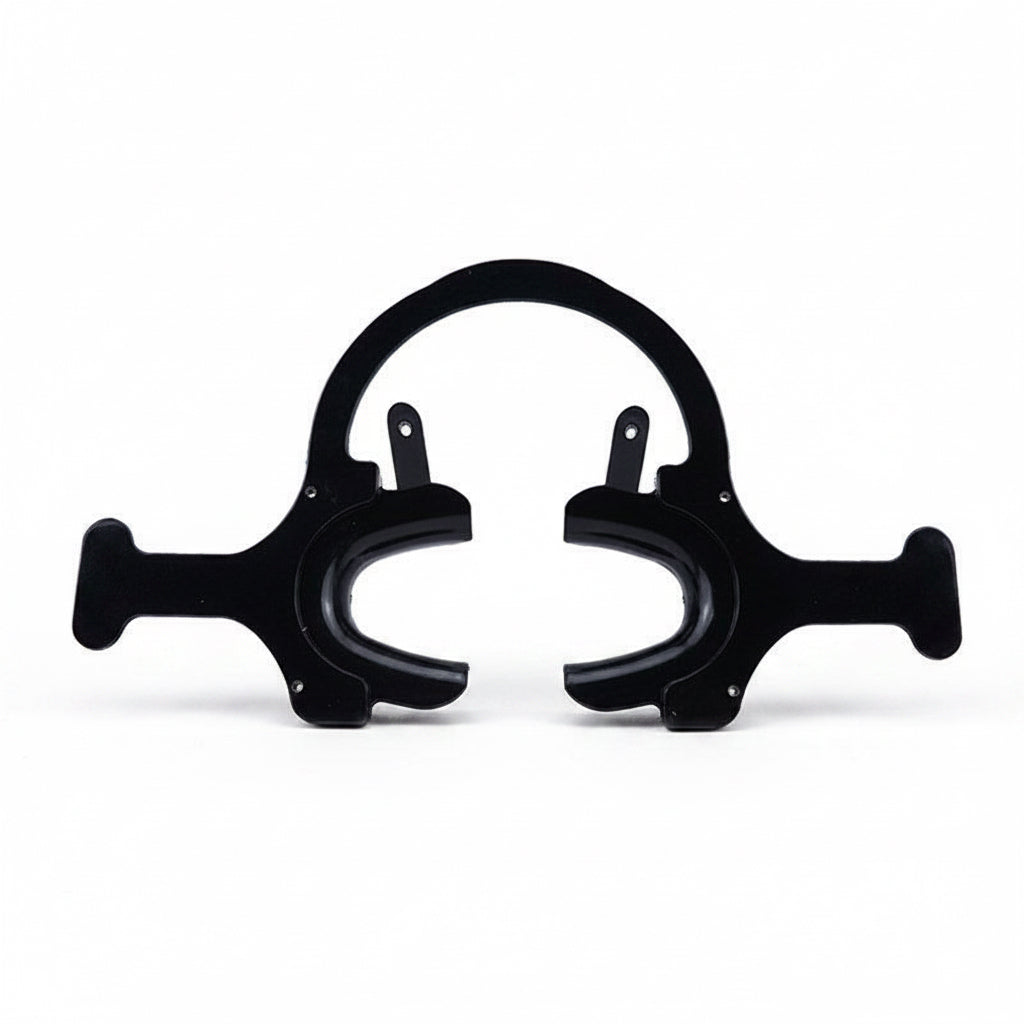
Set of Black T-Shape Retractors — 4 pcs
2 large + 2 small, black for extra contrast at the frame edges. Stable, wide retraction for frontal and lateral smile photography.

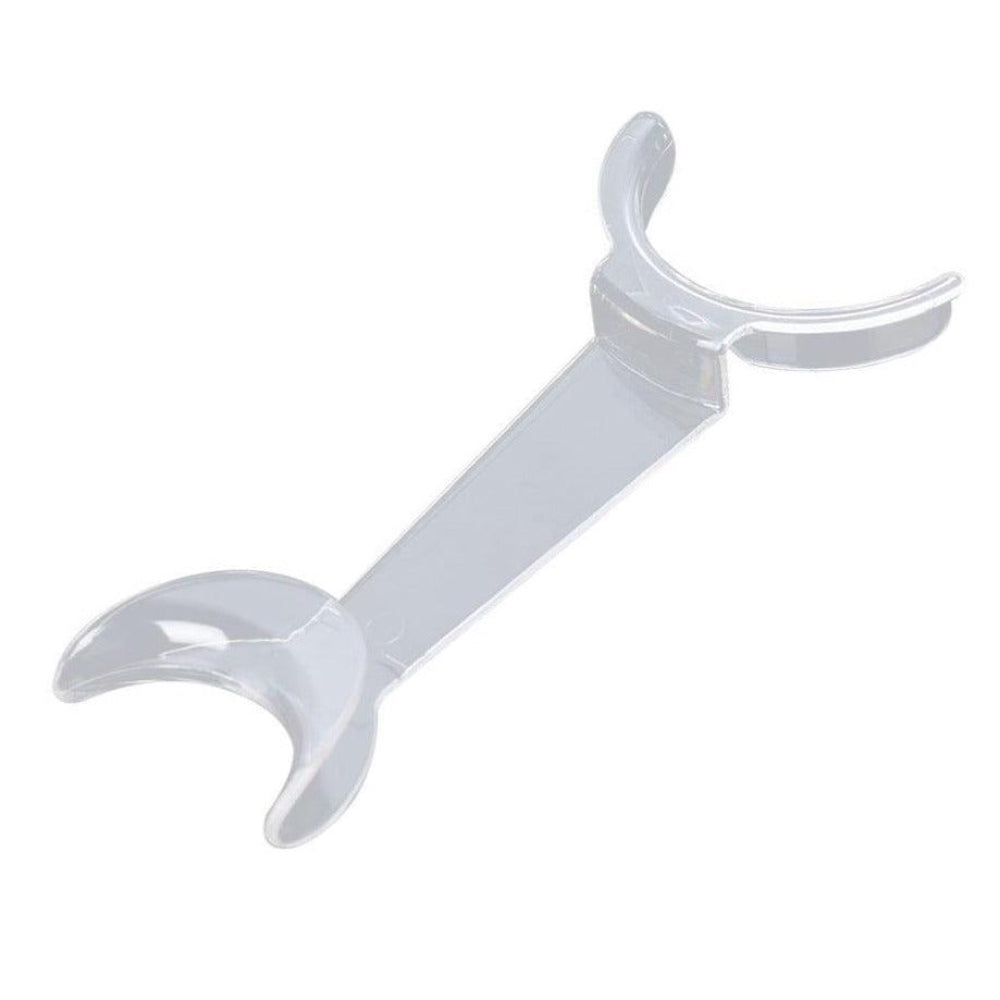
Set of Retractors for Dental Photography
Four autoclavable retractors (2× T-shape, 1× C-shape, 1× occlusal) for frontal, lateral and occlusal photography in one kit.
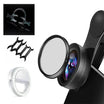
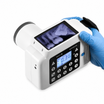
3. Optics — a macro lens for true detail
This is the piece most people skip — and it's why phone photos look "off." A phone's built-in camera adds barrel distortion up close (teeth bow outward) and can't focus tightly enough for real 1:1 detail. A clip-on macro lens fixes the focus distance and removes the distortion, while a CPL filter cuts the glare bouncing off saliva and enamel so shade and texture read true.
What to look for: ~100 mm focal length (comfortable intraoral working distance), an included CPL filter, a universal clip — and check compatibility with your phone model.
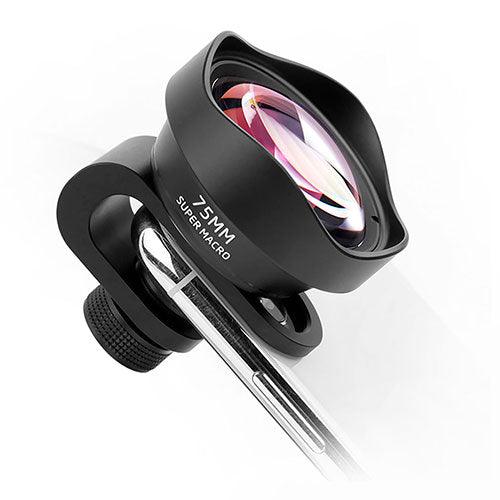
Phone Macro Lens 75 mm
4 optical elements with 8-layer anti-reflective coating for high-contrast detail shots. A shorter working distance ideal for anterior close-ups.
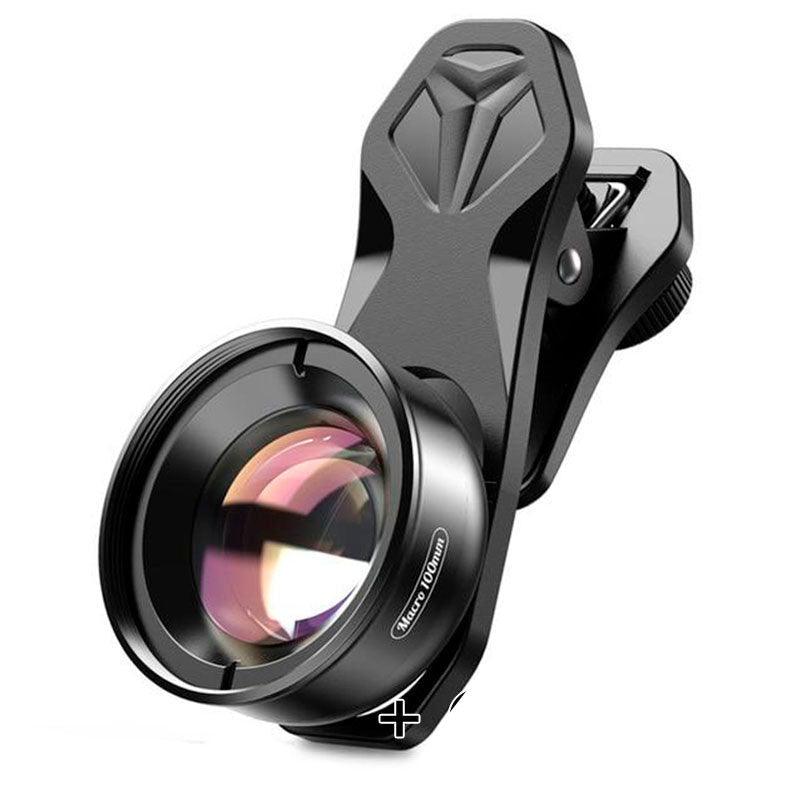
Phone Macro Lens 100 mm
Clips onto any smartphone, removes barrel distortion, includes a CPL filter to kill glare. The part that makes phone photos look "real-camera" sharp.

Macro Lens 120 mm
The extra 20 mm gives more space between phone and patient — easier to position lighting and retractors, same sharp magnification.
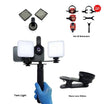
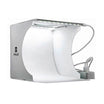
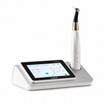
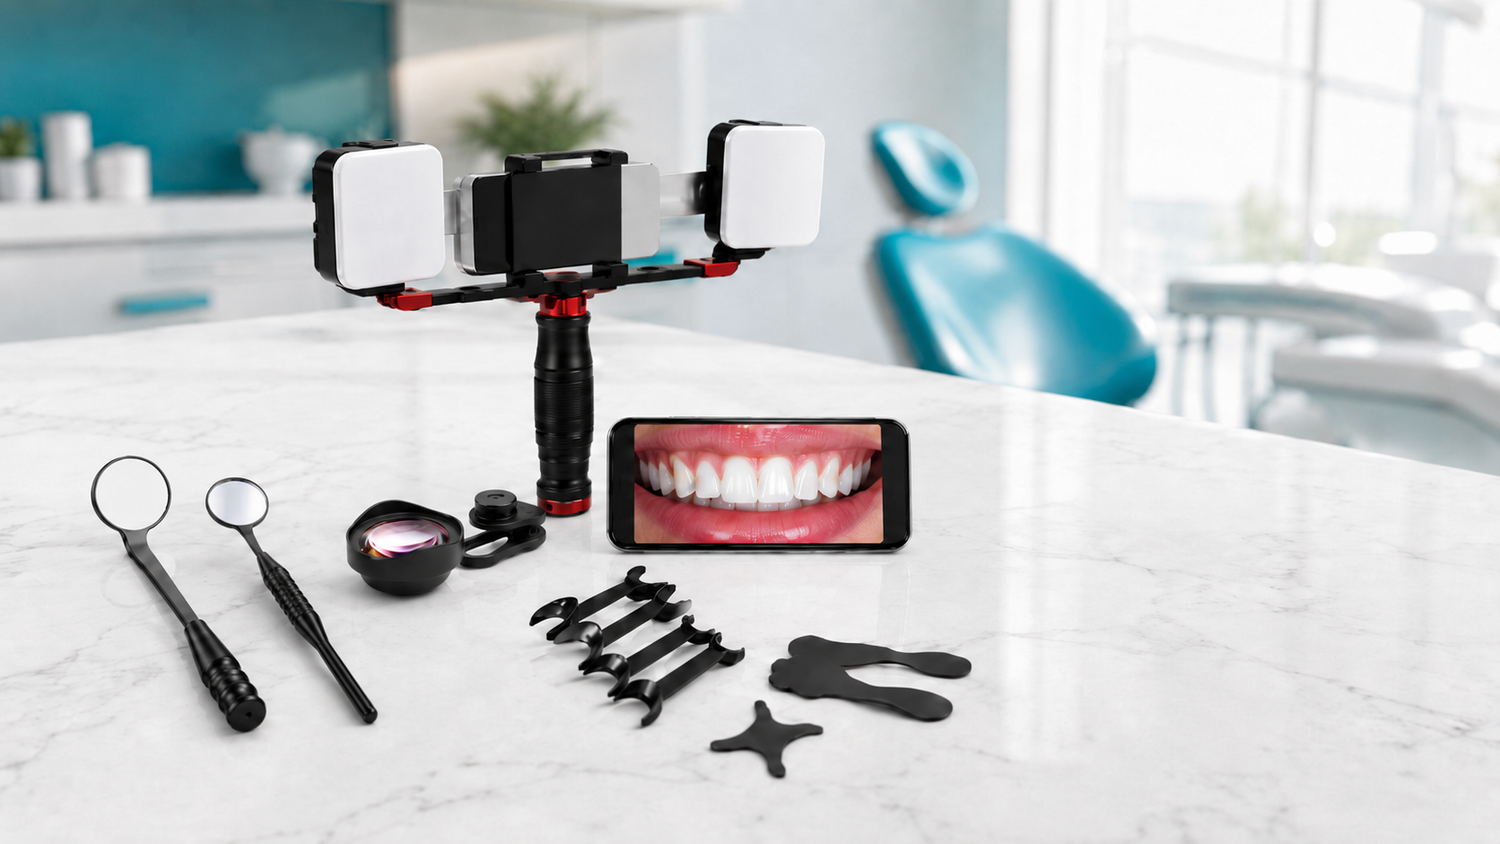
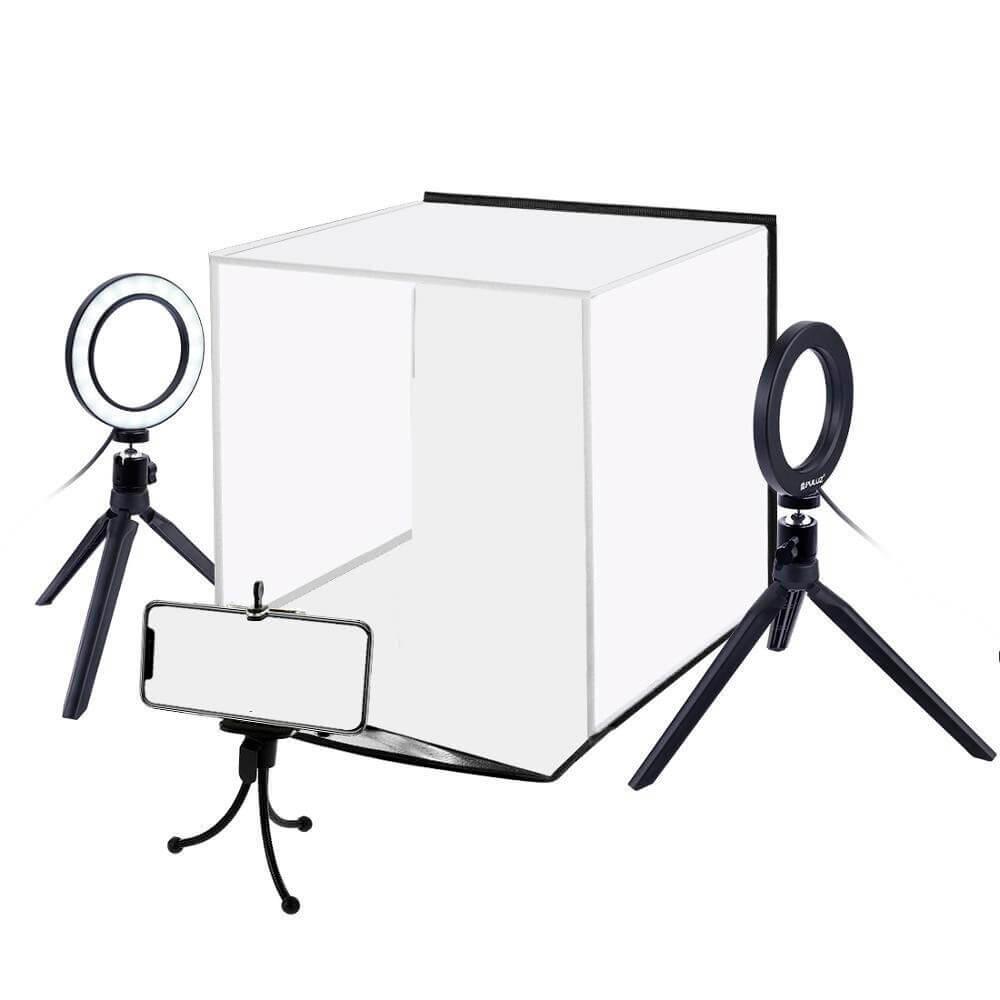
4. Lighting — for shadow-free, true-color shots
The overhead operatory light is the wrong tool for photography: it throws harsh shadows into the mouth and its color temperature skews your shade matching. A dedicated, diffused, daylight-balanced light (5500–5600 K) gives even illumination and accurate color. Two side lights (a "twin" setup) eliminate shadows from every angle; a single bar/ring light is the simplest upgrade.
What to look for: 5500–5600 K daylight temperature, diffusion, adjustable brightness, rechargeable — and dual sources if you want truly shadow-free results.

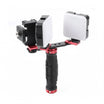
Twin Light Kit for Mobile Dental Photography
Two positionable LEDs (up to 6000 lumens each, 5600 K daylight) remove shadows from every angle. Includes phone holder, diffusers and case.

Ultra Light — 100 W, 5500 K
128 LED beads, 100 W of daylight-balanced output, adjustable groups, only 219 g. Studio-quality color consistency on every case.

Dentiphoto Twin Light (with Macro & CPL)
Dual LEDs bundled with a 100 mm macro lens and CPL filter — a full plug-and-play mobile setup for shadow-free, color-accurate shots in under a minute.
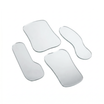
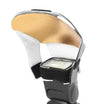
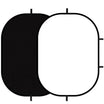
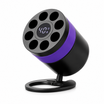
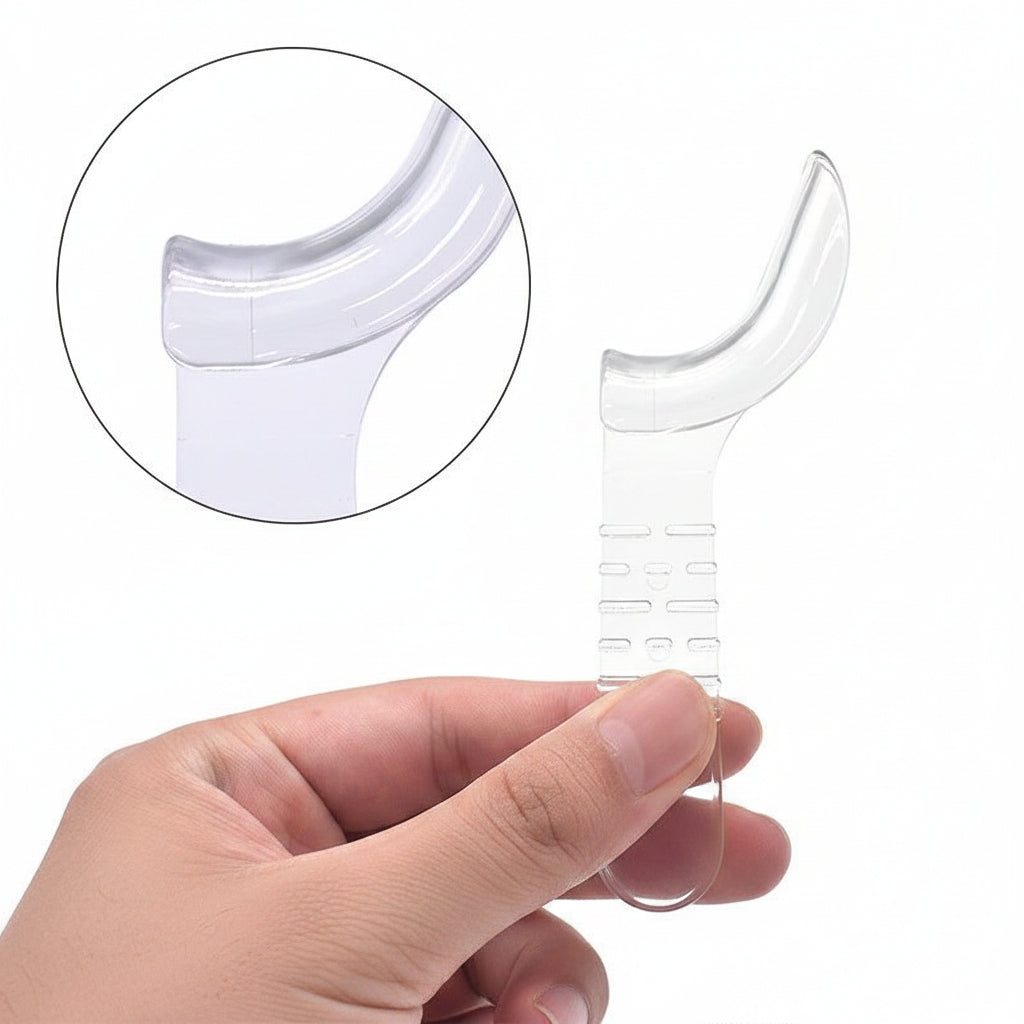
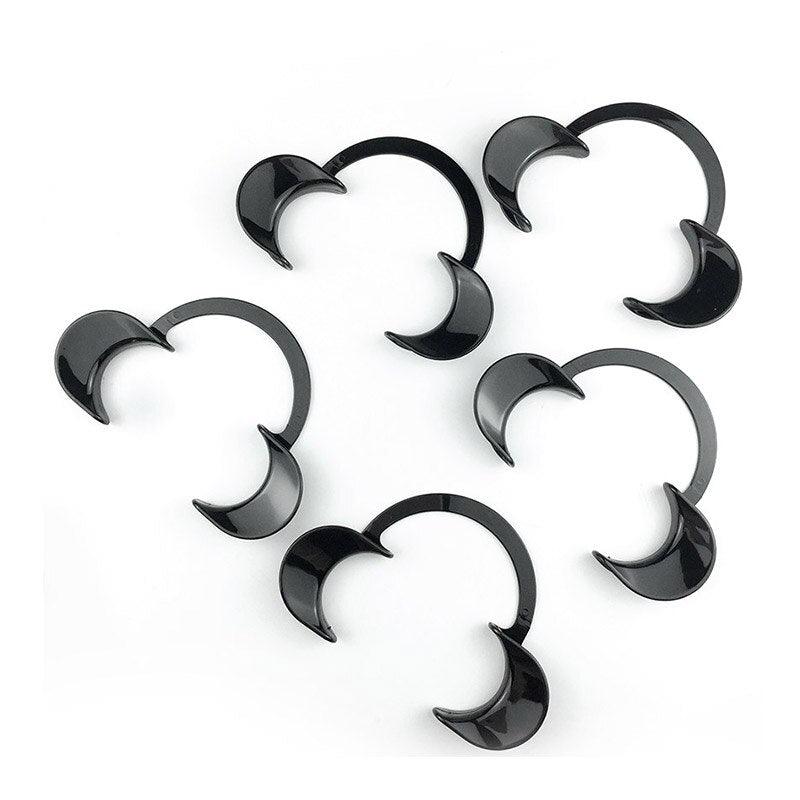
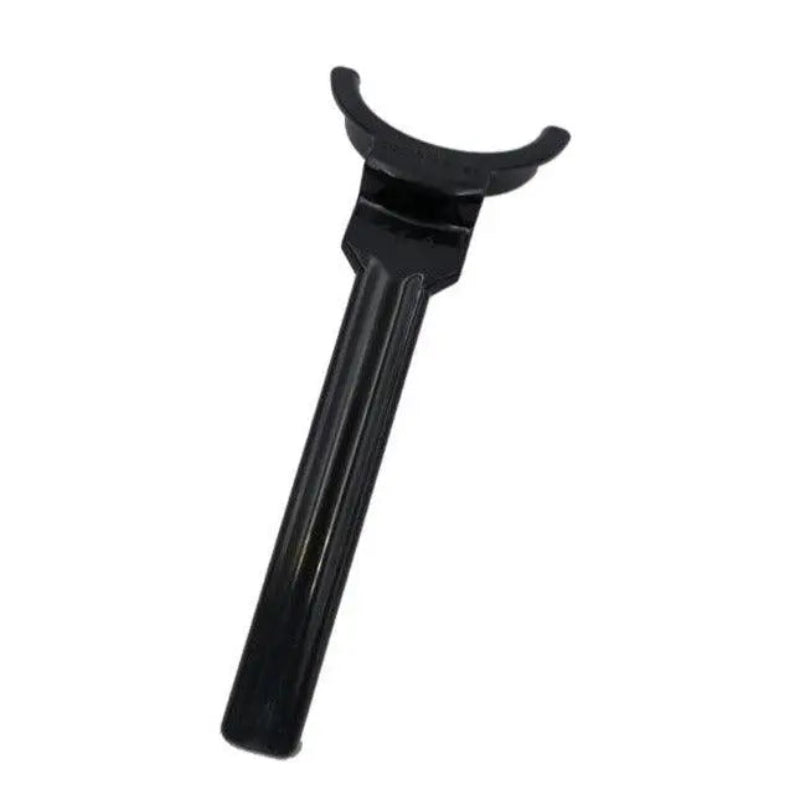
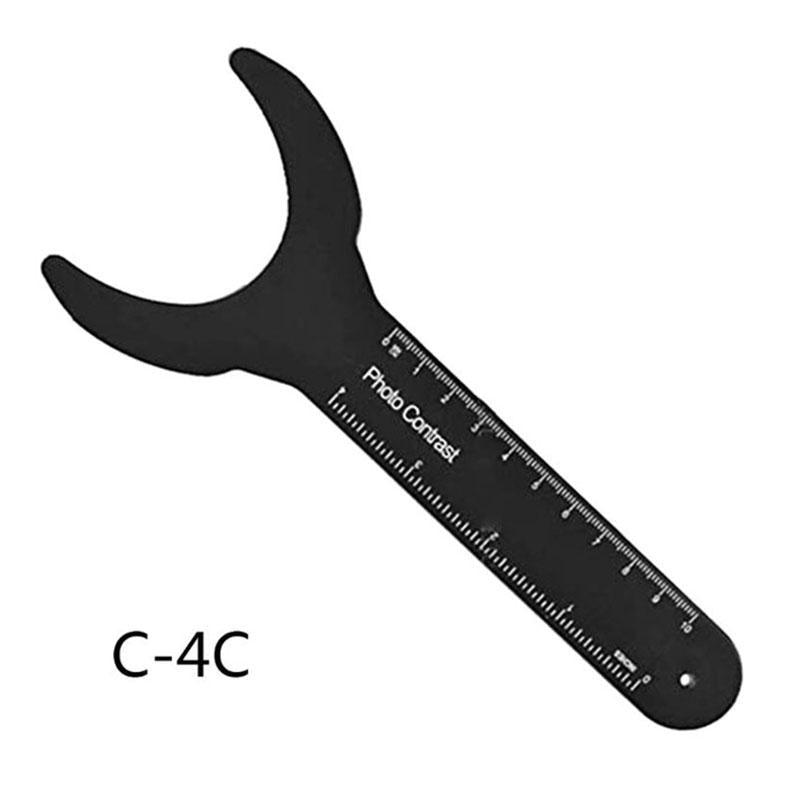
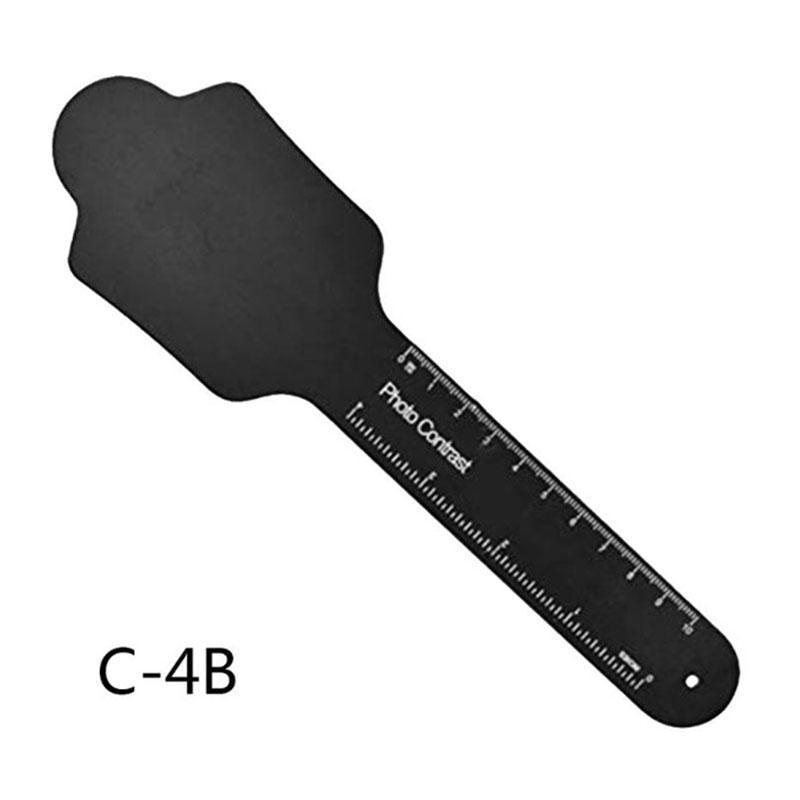
5. Contrasters — the secret behind "publishable" photos
This is what separates a snapshot from a portfolio photo. Even with retractors, the tongue, palate and lips sit behind the teeth and create a busy, distracting background that hides incisal translucency and true shade. A matte-black contraster placed behind the teeth isolates them against a clean black field — instantly making restorations, veneers and natural enamel pop. For anterior and aesthetic cases, it's non-negotiable.
What to look for: matte, non-reflective black; autoclavable; shapes for each zone (anterior, occlusal, lateral) — or a full set so you're covered for any view.
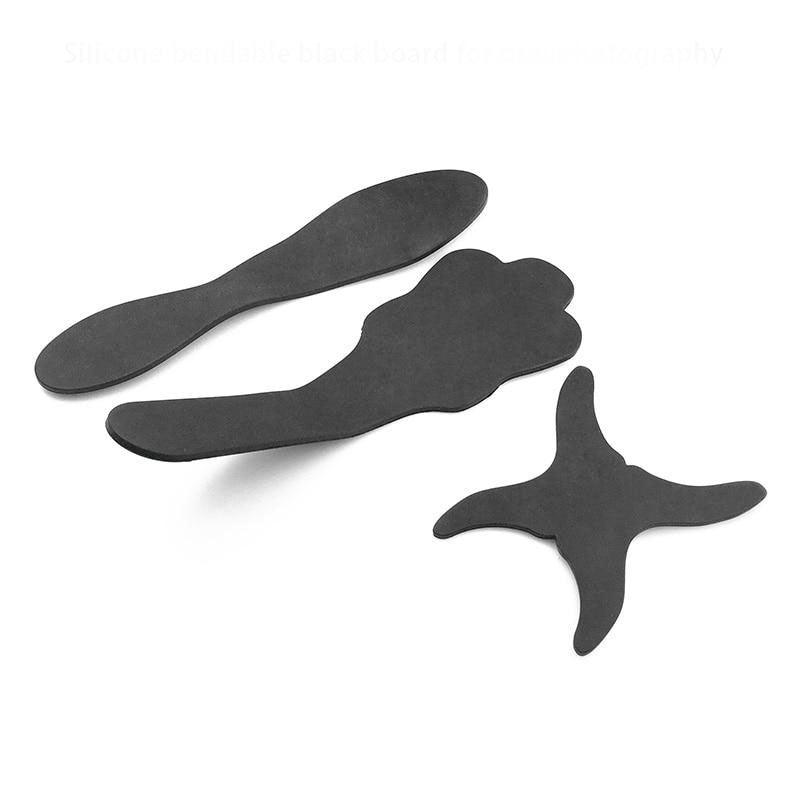
Flexible Silicone Contraster Set
Three flexible contrasters (lingual/buccal, anterior/palatal, occlusal) in matte-black silicone that adapt to patient anatomy. Full coverage, soft on tissue.

Flexible Front Contraster
Dual-ended (65/60 mm), bends 30–45° for the perfect angle behind anterior teeth. Fully opaque matte black — zero reflection for clean smile shots.

Set of 6 Metal Contrasters
All six shapes — tongue, cheek, palate and lip — for clean black backgrounds in every intraoral view. Autoclavable aluminum, soft-coated for comfort.
Putting it together: what to buy first
You don't have to buy everything at once. A sensible order:
- Start (~$170): mirror + retractors + macro lens — enough for genuinely good case photos on the phone you already own.
- Level up: add a contraster set for anterior/aesthetic work, then lighting for studio-quality, shadow-free color.
- High volume: upgrade to the anti-fog mirror to stop reshoots.
Whatever you start with, the real return isn't the gear — it's every patient who says yes because they finally saw what you saw.
Dental photography FAQ
Can I really get professional results with a smartphone?
Yes. A macro lens, a daylight light, and a mirror/retractor/contraster cover the vast majority of clinical and marketing shots. A DSLR mainly matters for journal publication.
What should I buy first on a tight budget?
Mirror, retractors and a macro lens — about $170 total — gets you shooting today.
Are these autoclavable?
Mirrors, retractors and metal contrasters are autoclavable. Electronics (lights and the anti-fog handle) are wipe-disinfected, not autoclaved.
Standard mirror or anti-fog?
Start with a standard front-surface mirror. Move to anti-fog if fogging and reshoots are slowing you down.
Will the lens fit my phone?
The clip-on macro fits virtually all iPhone and Android models (note: not iPhone 13 Pro / Pro Max due to the camera module).
Get sharper case photos — straight to your inbox
Join our list for short, practical dental photography tips and new product drops. No spam — unsubscribe anytime.


