





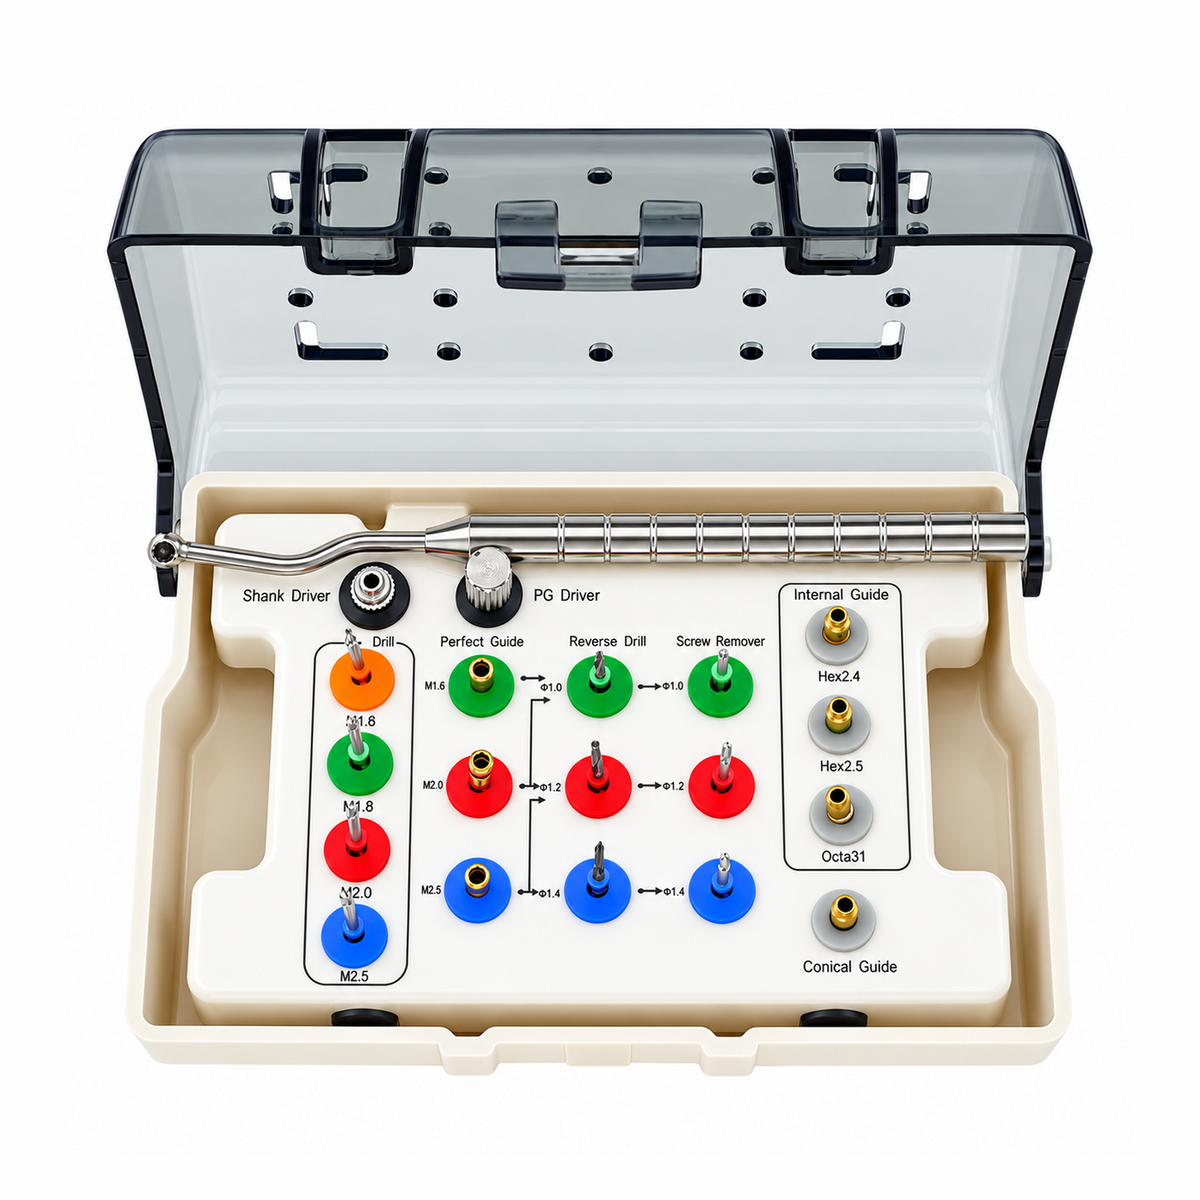


Dental Implant Screw Removal Kit — Claw Drills, Reverse Drills, Screw Removers and Guides for Fractured Screws M1.6 to M2.5
A fractured abutment screw usually ends one of two ways: a referral and a patient you may not see again, or a fixture damaged by freehand drilling. This kit gives you a third option: a guided, step-by-step retrieval in your own chair.
What it does
- Protects the fixture. The Perfect Guide threads into the implant and centres the reverse drill on the fragment, keeping the drill away from the implant's internal thread.
- Covers screw sizes M1.6 to M2.5. Four claw drills plus reverse drills and screw removers in ø1.0, ø1.2 and ø1.4.
- A plan B for every case. When the Perfect Guide can't be used, Internal Guides (Hex 2.4, Hex 2.5, Octa 3.1) and a Conical Guide take over.
- One organised case. The removal sequence is mapped on the tray with colour codes and arrows, so the next instrument is always obvious.
How the retrieval works
- Expose the fragment. Remove the crown and abutment.
- Try the Claw Drill first. Choose the claw for the screw size (M1.6, M1.8, M2.0 or M2.5) and run it in reverse at low speed. Often the fragment backs out at this step.
- Seat a guide. Thread in the Perfect Guide with the PG Driver. If it can't seat, use the matching Internal Guide or the Conical Guide instead.
- Reverse-drill. Drill through the guide counter-clockwise, with irrigation, using the reverse drill colour-matched to the guide (ø1.0, ø1.2 or ø1.4). Reverse rotation alone often loosens the screw.
- Remove. Insert the Screw Remover of the same diameter and turn it counter-clockwise at low speed, or by hand with the Shank Driver.
What's in the case
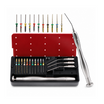
- 4 Claw Drills — M1.6, M1.8, M2.0, M2.5
- 3 Reverse Drills — ø1.0, ø1.2, ø1.4
- 3 Screw Removers — ø1.0, ø1.2, ø1.4
- 3 Perfect Guides, colour-matched to the reverse drills
- 3 Internal Guides — Hex 2.4, Hex 2.5, Octa 3.1
- 1 Conical Guide
- Shank Driver — for using drills and removers by hand or with a ratchet
- PG Driver — for seating the Perfect Guides
- Manual handle
- Case with the removal workflow mapped on the tray
Good to know
- The guides are made for internal connections. External-hex guides are not included.
- For licensed dental professionals only.
Which kit do I need?
| You need to… | Choose |
|---|---|
| Retrieve a fractured or stripped abutment screw and keep the implant | Implant Screw Removal Kit |
| Loosen and tighten abutment screws on any common system, by hand and with a ratchet | Universal Prosthetic Kit (16 hand drivers) |
| Set an exact prosthetic torque, especially on posterior teeth | Contra-Angle Torque Wrench 5–35 N·cm |
| Work in tight posterior space or with limited opening, incl. Anthogyr, Nobel T5 and Straumann T6 | Prosthetic Kit for Limited Spaces (16 latch drivers) |
| Everything for implant prosthetics in one order | Universal Torque Wrench Kit (wrench + both prosthetic kits) |
The Screw Removal Kit is a rescue kit for broken screws and is not part of the Universal Torque Wrench Kit.
Shipping costs:
- Orders up to $49.99 - shipping $7.90
- Orders from $50 - shipping is free.
Delivery time is 7-14 business days.
We ship from warehouses in the USA, Australia, Europe and China. We guarantee 100% parcel delivery.
If you need help with shipping, you can track your parcel on the “Track Your Order” page or write to us in support support@dentiphoto.com.
All packages are insured. We guarantee delivery.
Returns: you can return the item within 30 days. For returns email us at support@dentiphoto.com and we will reply within 24 hours. For detailed terms and conditions, please see our refunds & returns policy.
Testimonials
“I’ve used many types before, but this one is both soft and flexible. Doesn't irritate soft tissues and holds shape well. Very happy with this retractor.”

“I’m very happy with this purchase. The product is high quality, arrived in perfect condition and works just as expected. Simple to use and well-designed. Great value!”

“Haven’t used this one yet, but I’ve ordered it before. Works perfectly for photography. Good contrast, fair price — definitely worth it for dental use.”

“Order arrived fast and complete. The plastic is thick and high quality. It holds the lips well during photos and doesn’t cause any discomfort. Great product!”