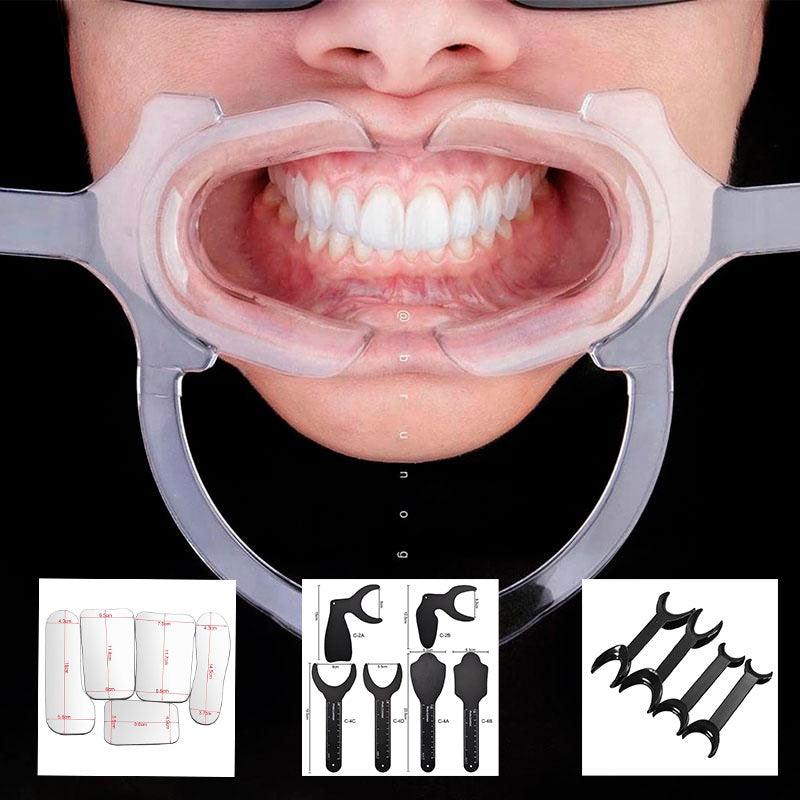
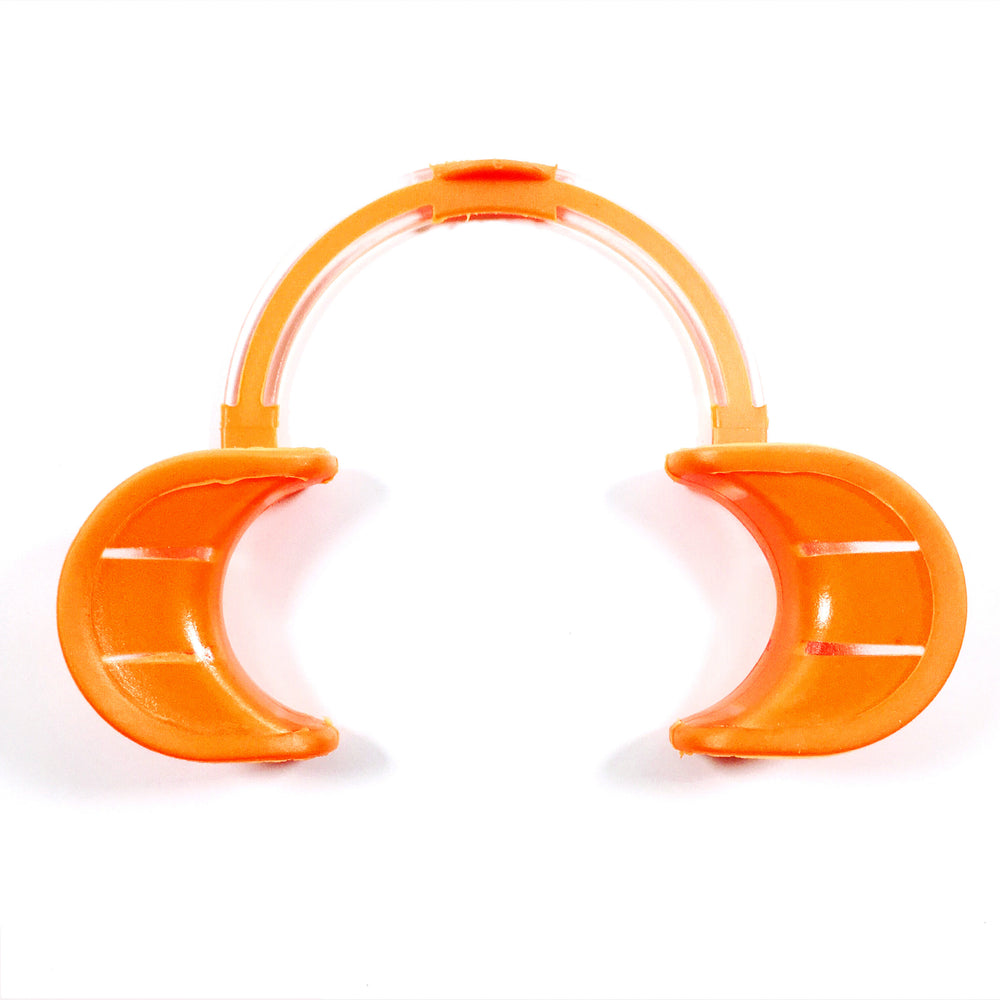
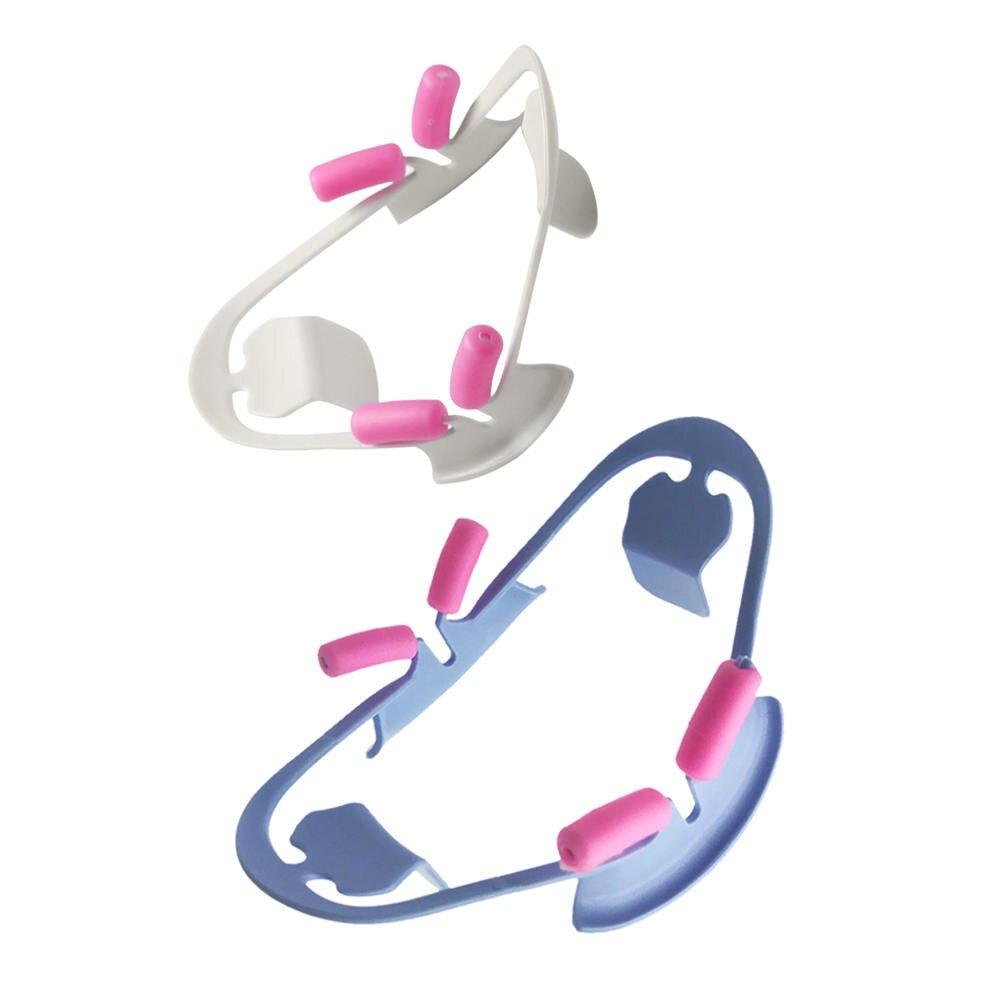
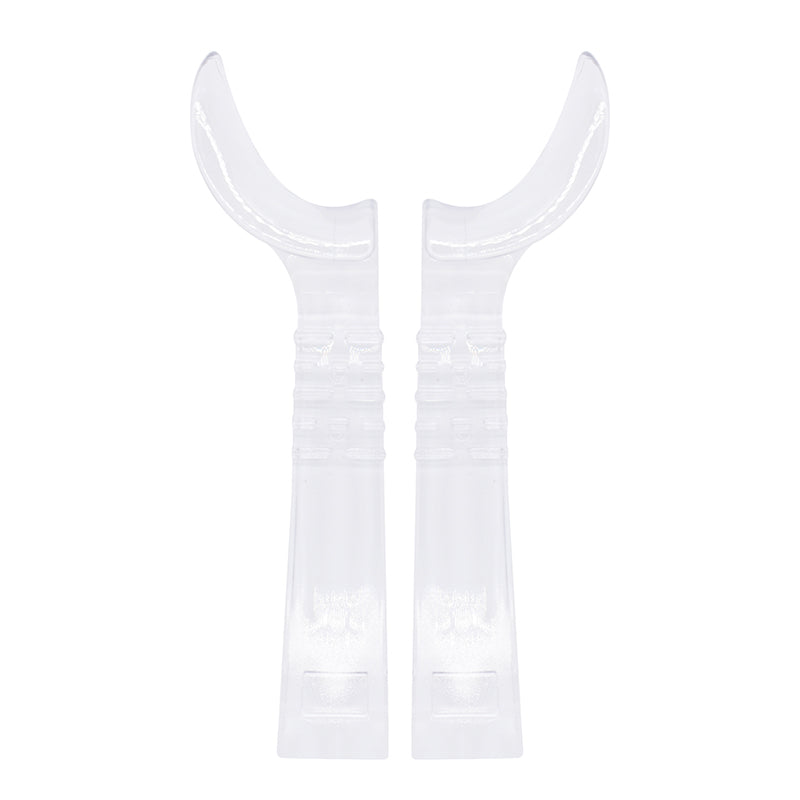
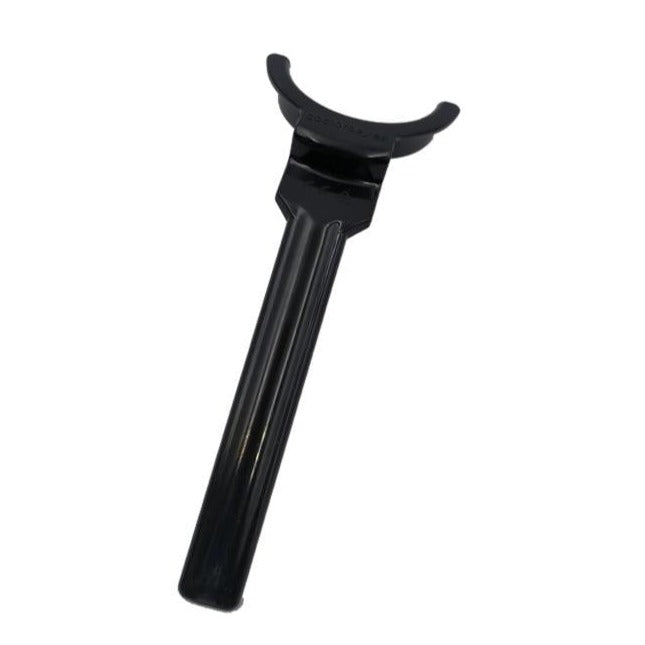
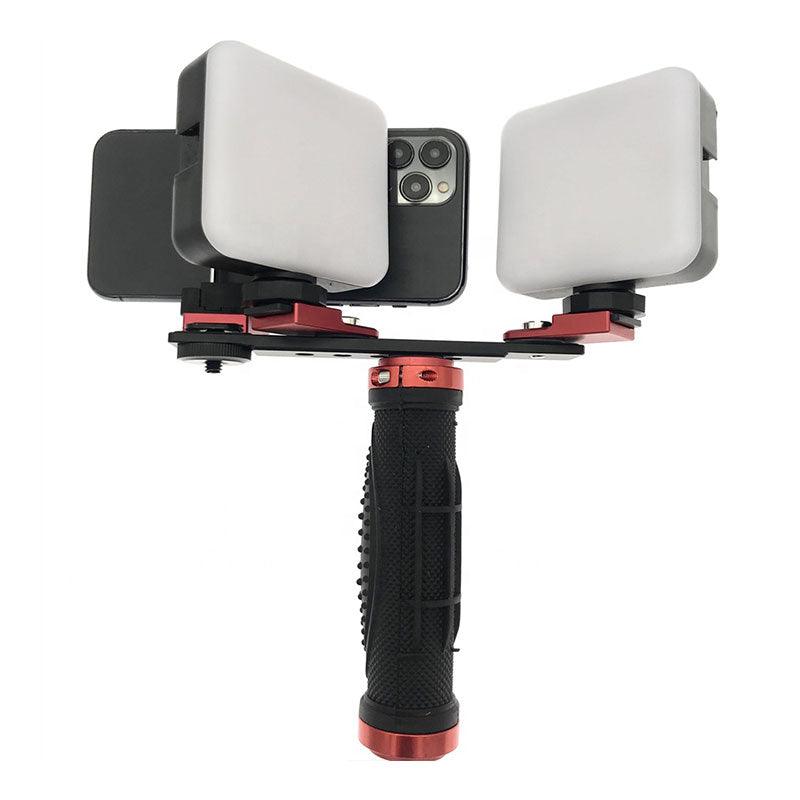
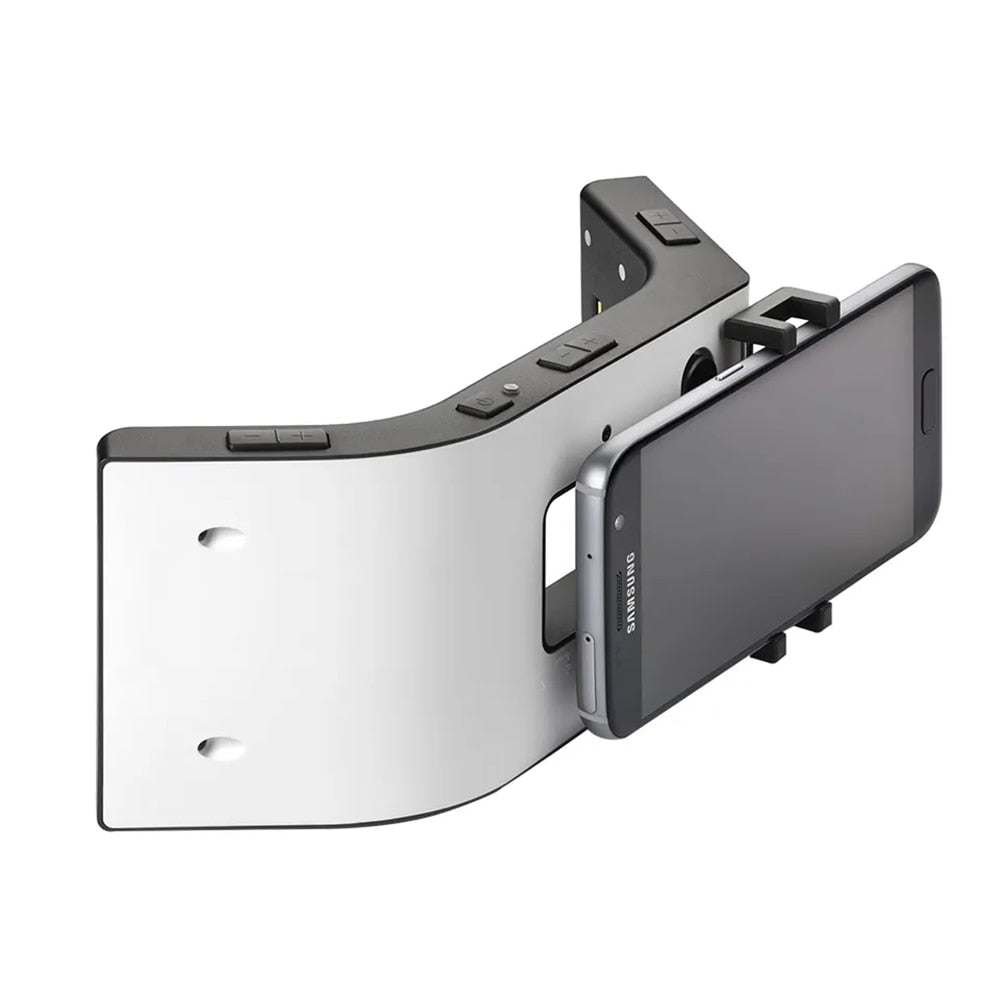
Direct occlusion photography is an important tool in dental photography for documenting occlusion contacts between teeth. This allows you to evaluate the contact, wear, and alignment of teeth. Here are some useful life hacks, camera settings, and recommendations for taking direct photos in occlusion:
1. Preparatory steps.
—Prepare the patient.
Explain to the patient that a direct photo will be taken in occlusion, and explain the need for bite and lack of movement during the shooting.
— Prepare the equipment.
Make sure that your camera is in working condition and set to shoot in occlusion.
— Prepare the angle regulators.
Pre-set the angle controls to determine the correct position of the patient and the shooting angle.
2. Camera settings.
—Use a macro lens.
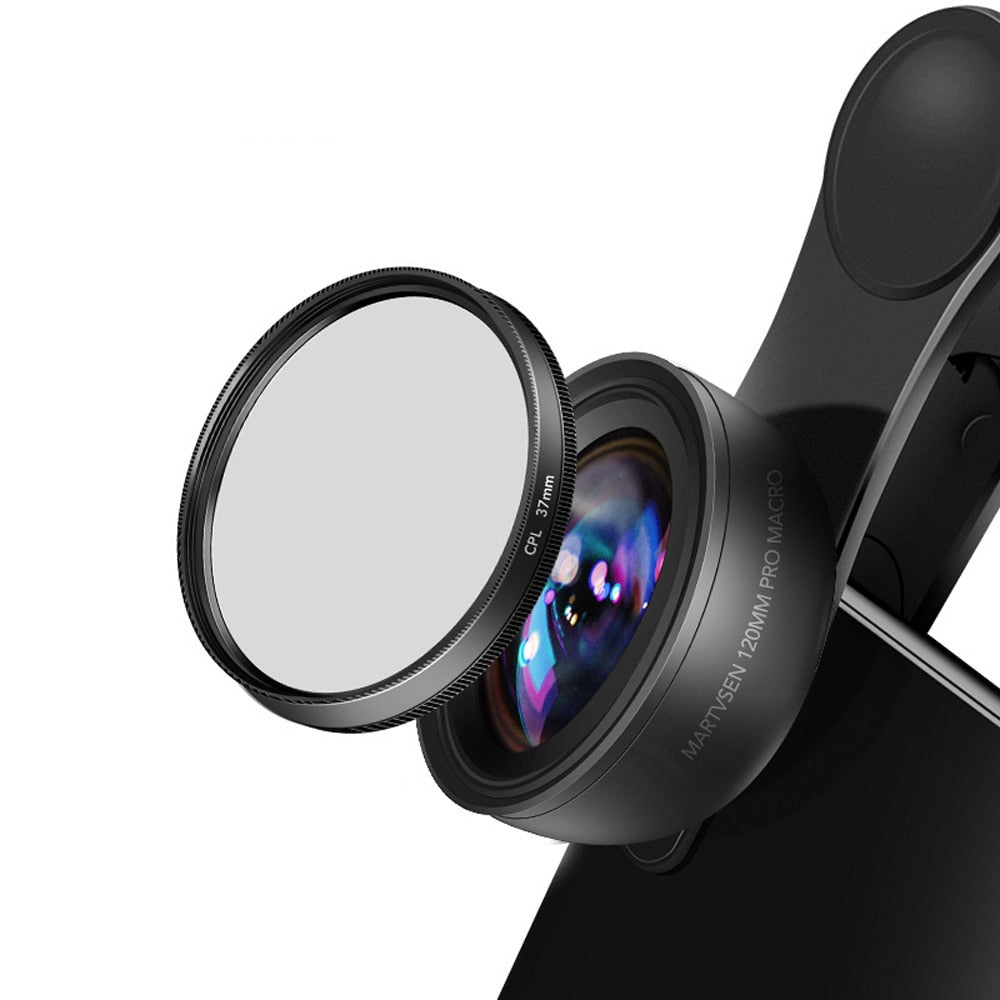
To get more detailed photos of occlusion, it is recommended to use a macro lens. This allows you to focus on the smallest details of the structure of the teeth and the contacts between them.
—Select the appropriate focus mode.
It is recommended to use the autofocus mode with a change of focus point to obtain a clear and accurate image of the occlusion of the teeth.
—Set the correct exposure.
Determine the correct exposure settings to avoid overexposing or underexposing the image. Use an exposure meter to determine the correct exposure or take care of lighting the shooting area.
3. Recommendations for shooting.
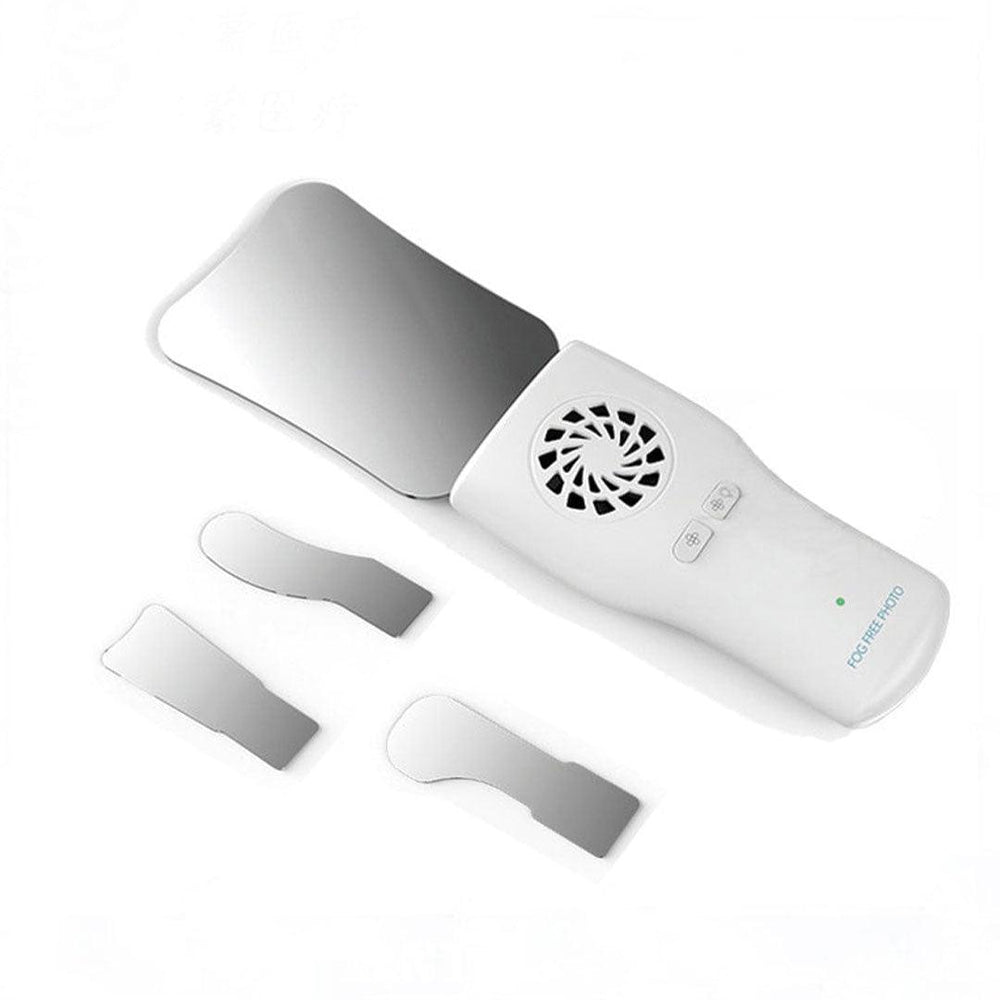
— Use a mirror.
For better visibility of the contacts between the teeth, it is recommended to use a mirror to reflect the light and create an optimal shooting angle.
—Create a practical environment. Ask the patient to bite their teeth or use occlusion materials to maintain the correct occlusion when shooting and get as close as possible to the patient's natural tooth position.
—Add reflection.
Use a reflective surface or flash to enhance light and improve contrast in occlusive areas.
Direct occlusion photography is an important tool in dental photography for assessing contacts between teeth and wear. To shoot a direct photo in occlusion, it is significant to perform the preparatory steps, set up the camera, and use the shooting recommendations. These life hacks and tips will help you get a high-quality direct photo of an occlusion, visualize contacts between teeth, and clearly assess the condition of occlusions.


