Occlusal photography of the upper jaw is a crucial skill for dental professionals, as it provides invaluable information for diagnosis, treatment planning, and patient education. To help you achieve exceptional results in this aspect of dental photography, we have compiled a list of life hacks and recommendations that will improve your occlusal photography skills and streamline your workflow.
1. Equipment Matters.
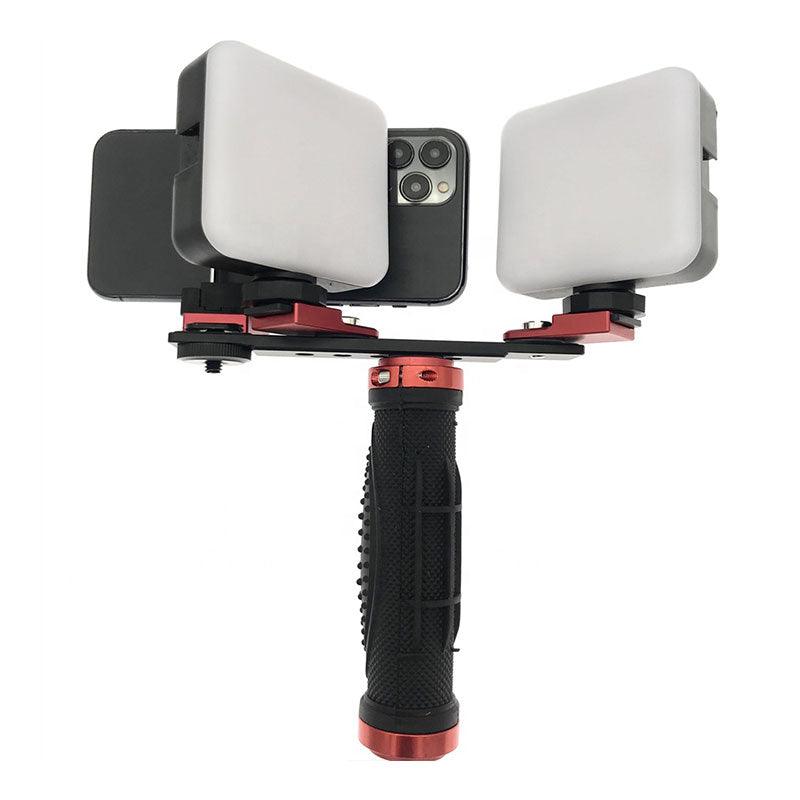
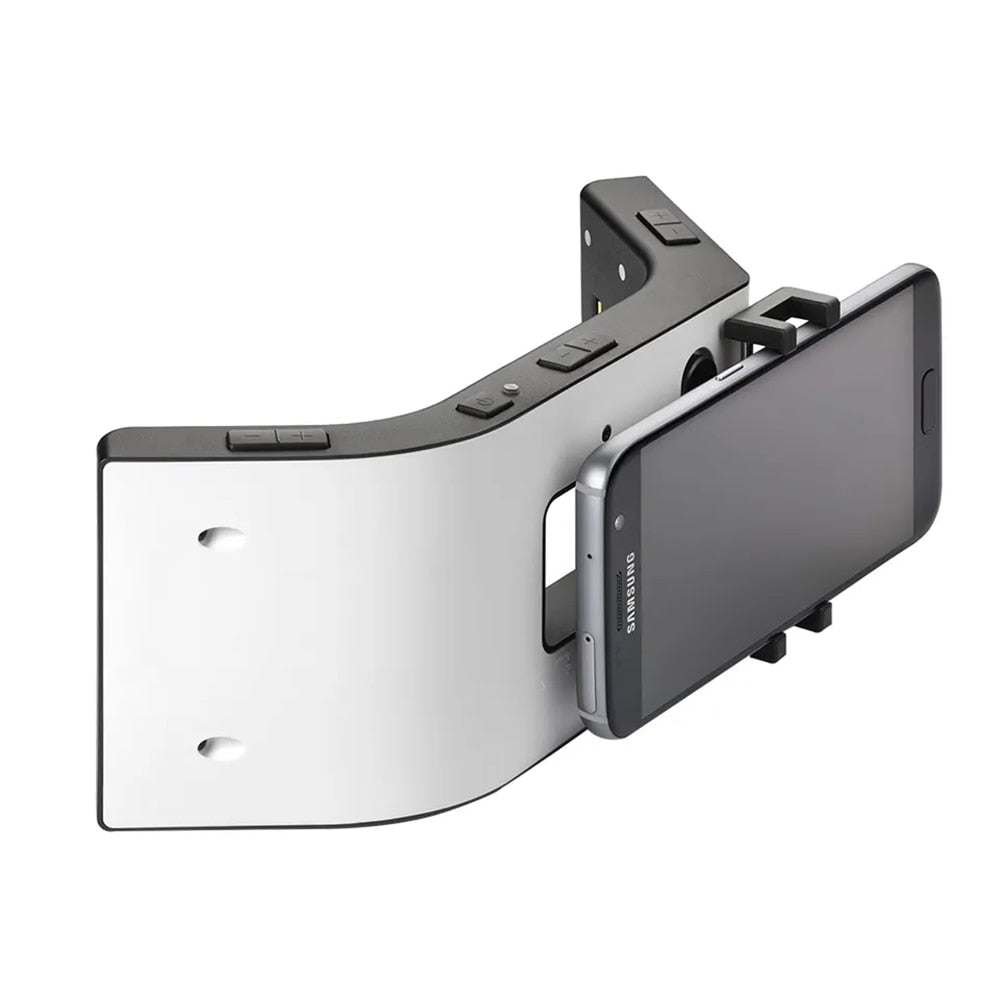
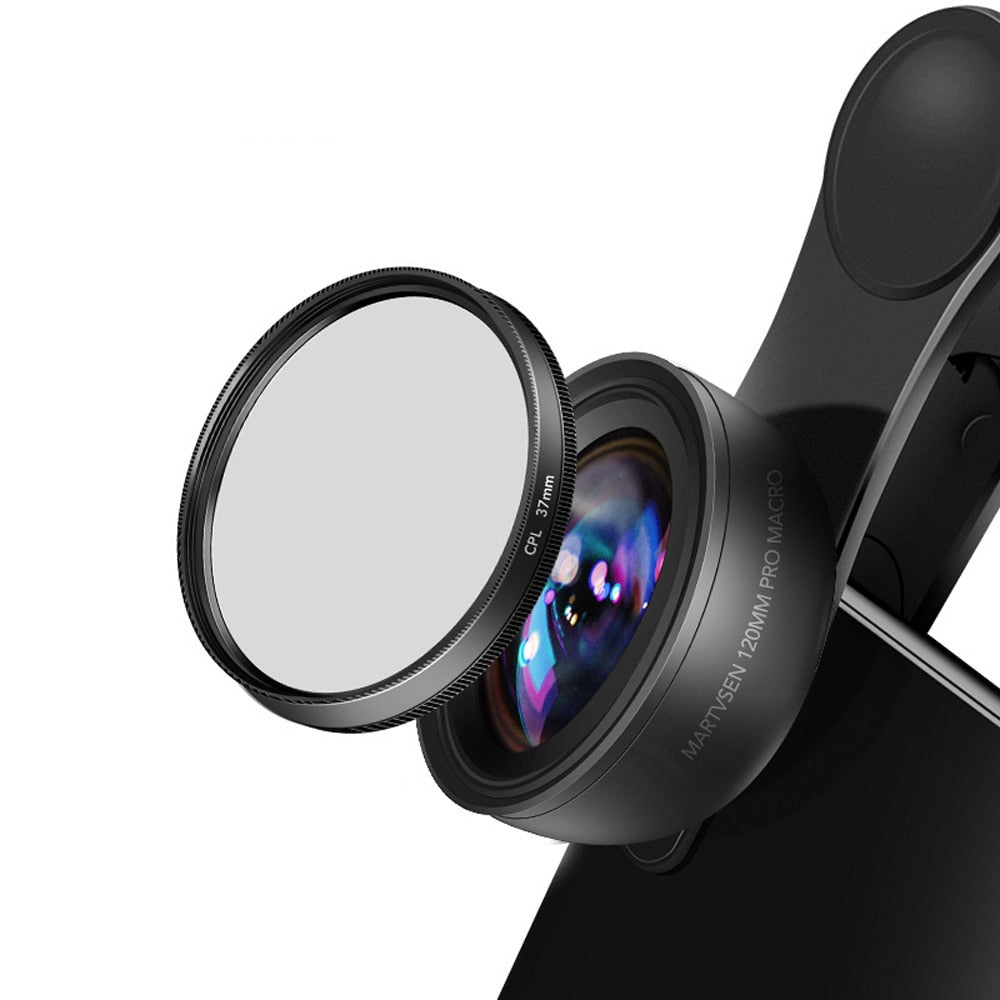
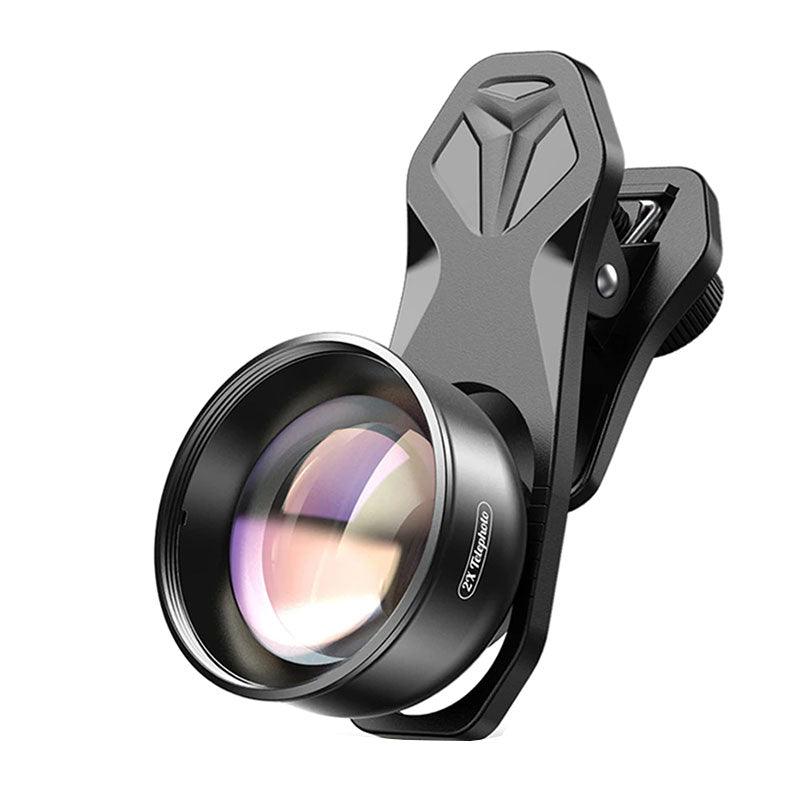
Invest in high-quality dental photography equipment, including a digital single-lens reflex (DSLR) camera, macro lens, and ring flash. These tools ensure sharp images with accurate color reproduction, making your diagnostic process more reliable.
2. Proper Patient Preparation.
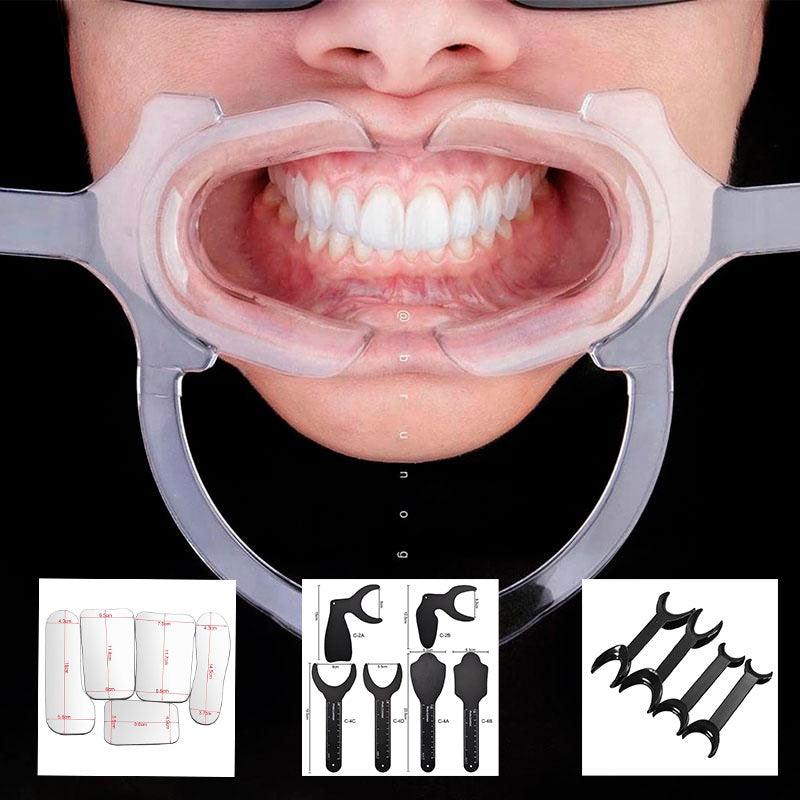
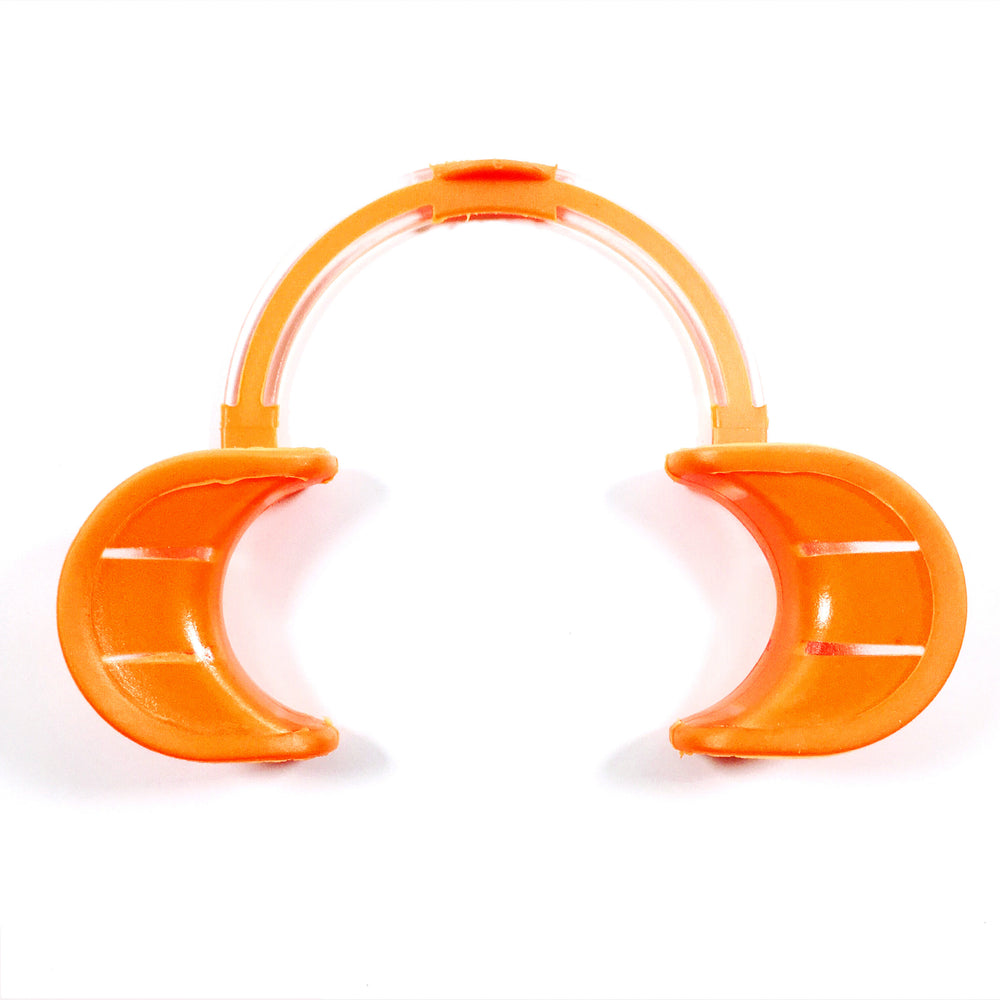
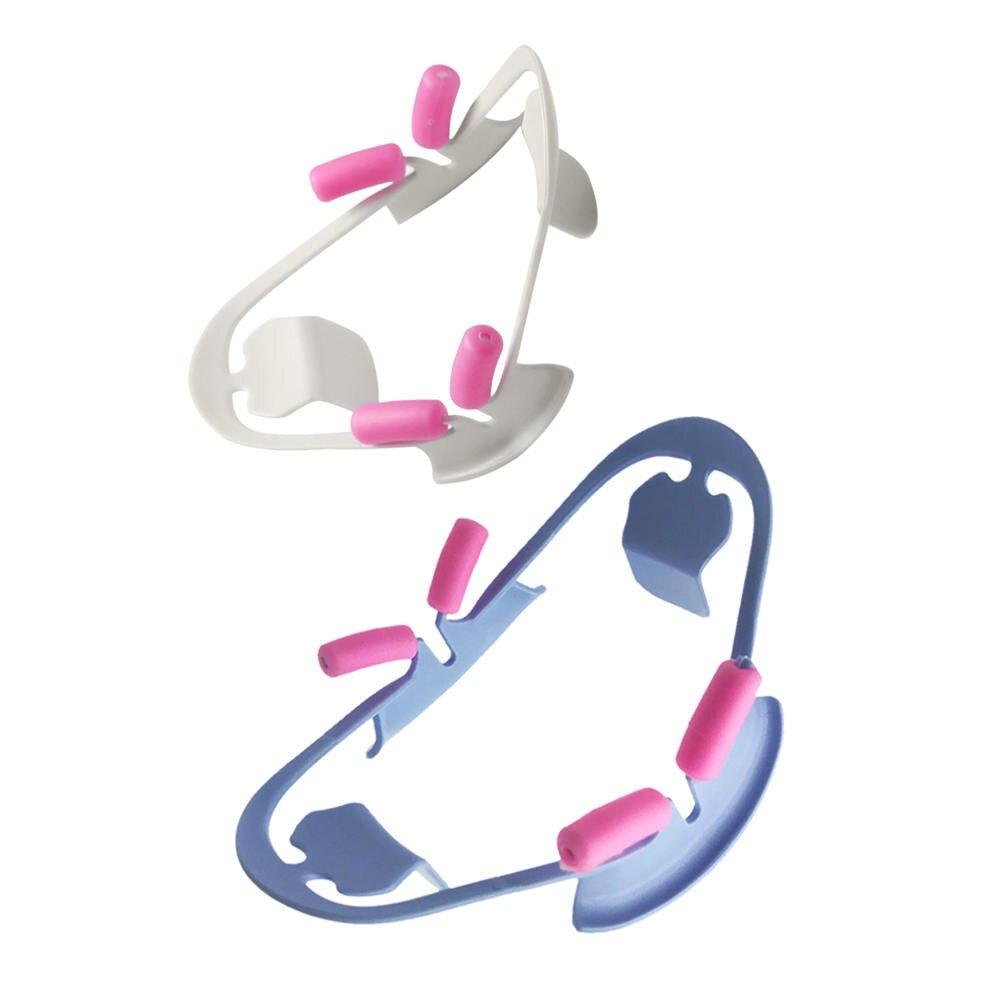
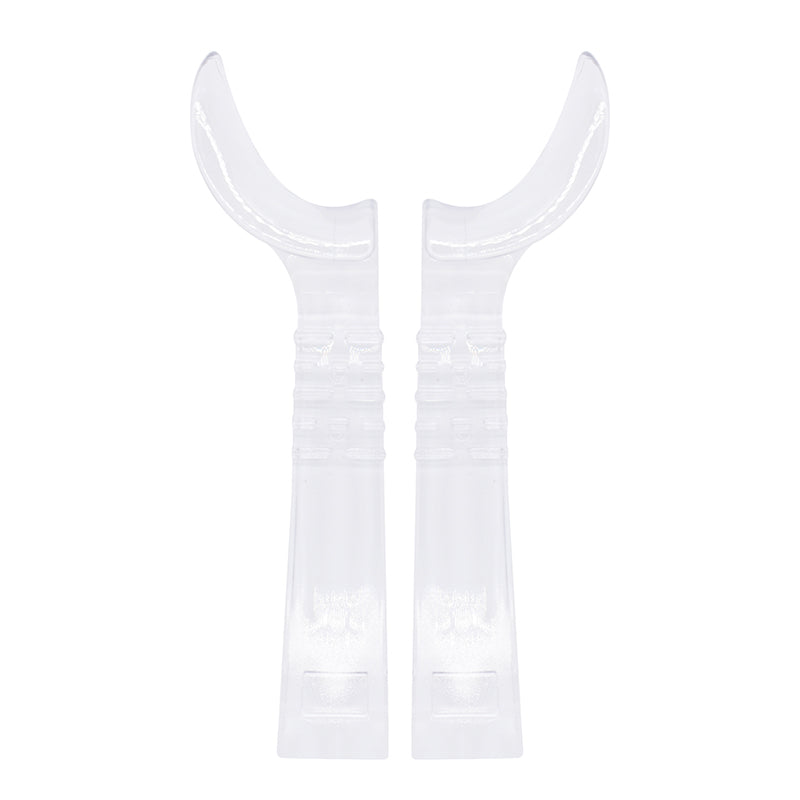
Ensure your patient is comfortable and informed about the procedure before starting the photography session. Explain the process, and use a cheek retractor for better visibility and accessibility to the upper jaw.
3. Achieving the Right Angles.
Position the camera parallel to the occlusal plane to achieve optimal images. A slight downward angle helps to capture the upper jaw's occlusal surfaces accurately.
4. Mind the Focus.
To capture fine details, use a narrow aperture (higher f-stop value) to increase the depth of field. This ensures that both the foreground and background are in focus, providing clearer images.
5. Utilize Retractors and Mirrors.
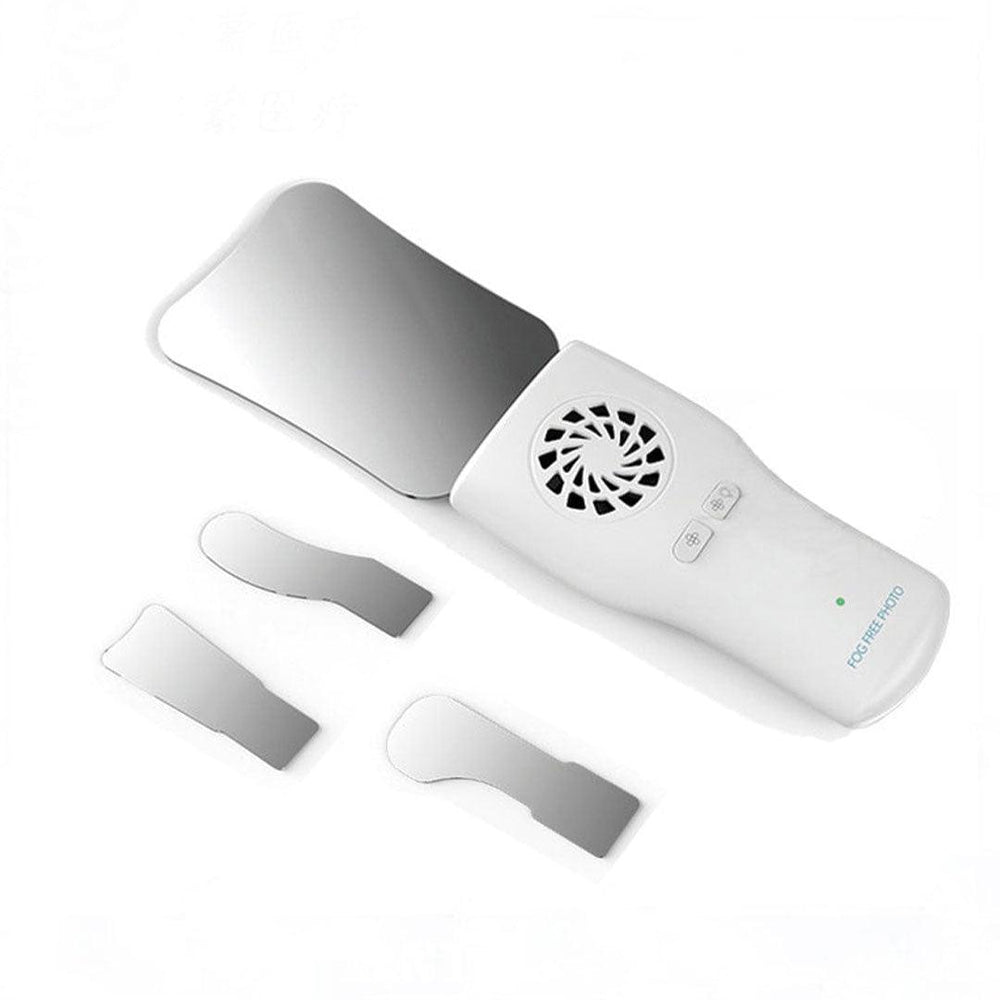
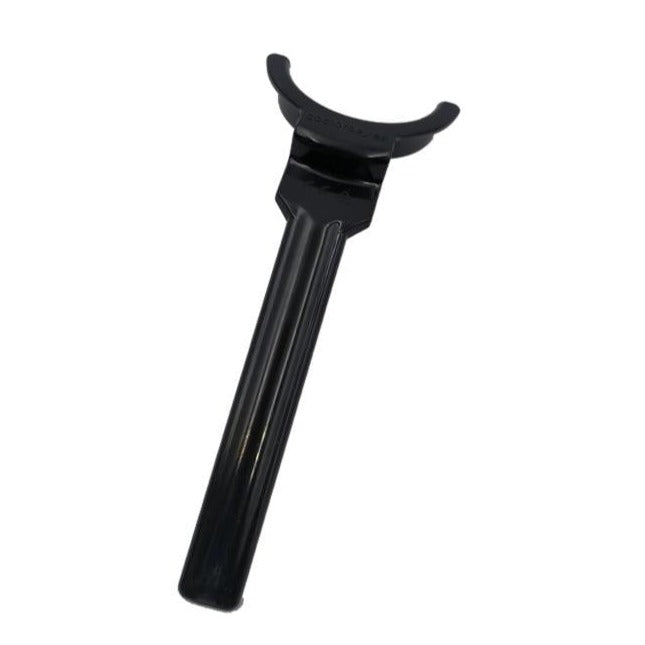
Use dental retractors to stabilize the patient's cheeks and lips, enabling better visibility. Additionally, intraoral mirrors can be employed to reflect light and capture hard-to-reach areas.
6. Consistent Lighting.
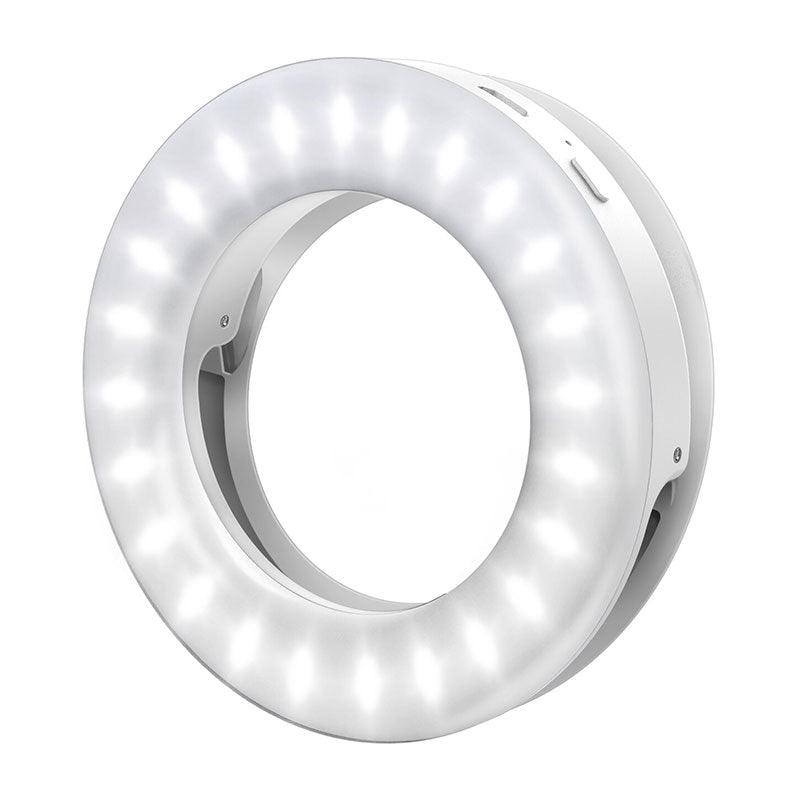
Maintain consistent and diffused lighting across your occlusal photography sessions. Ring flashes are ideal for even illumination, reducing shadows and enhancing the overall image quality.
7. Focus on Occlusal Surface.
Place the focus of your images on the occlusal surfaces of the upper jaw. These areas offer vital information about occlusion, tooth wear, and potential issues.
8. Use Contrast Backgrounds.
Utilize contrast backgrounds, like black or gray, to highlight the occlusal surfaces effectively. This helps improve visual clarity and allows for easy comparison between different photos.
9. Standardize the Process.
Develop a standardized occlusal photography protocol for your practice. This consistency ensures reliable results and eases comparison of images over time, aiding in treatment monitoring.
10. Practice Makes Perfect.
Regularly practice your occlusal photography skills to refine your techniques. The more you practice, the more comfortable and proficient you'll become in capturing clear and informative images.
Occlusal photography of the upper jaw is an indispensable tool for dental professionals, allowing for precise diagnosis and treatment planning. By following these life hacks and recommendations, you can enhance your dental photography skills and provide your patients with the best possible care. Remember to invest in quality equipment, maintain consistent lighting, and standardize your process for optimal results. With dedication and practice, you'll become a master in occlusal photography and elevate the standard of dental care in your practice.


