We recommend that you first set the following basic settings, which can then be adjusted for yourself in the process:
Aperture: f8 for face photography, f13–16 for lips and teeth, f22–29 for the intraoral cavity;
— ISO (light sensitivity): 100 or 200;
— Shutter speed: 1/160;
White balance is automatic, or “flash.”
The most common angles are:
— face in profile and full-face, with and without a smile;
— close-up smile;
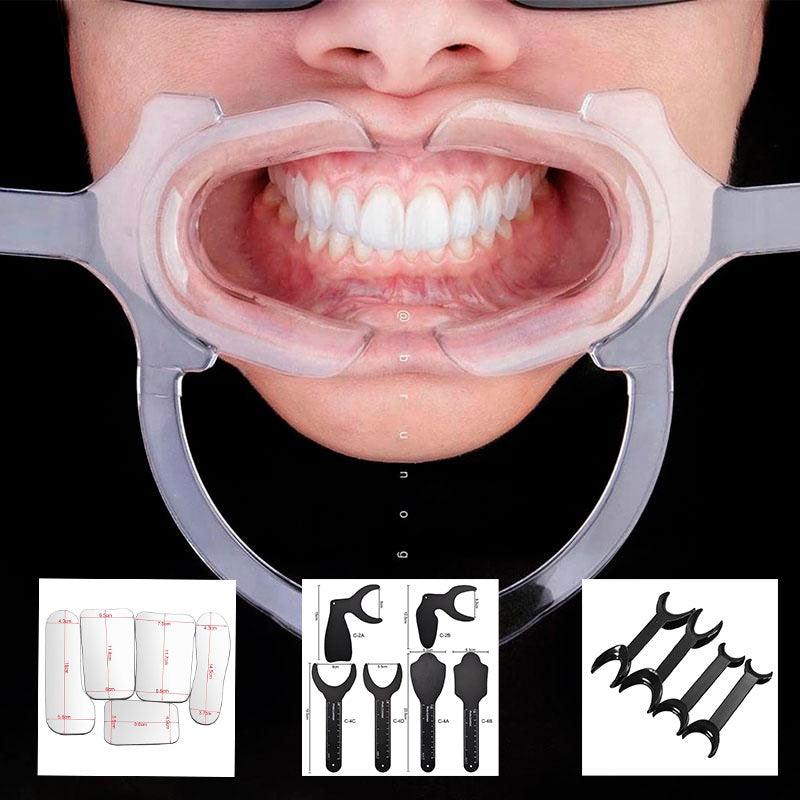
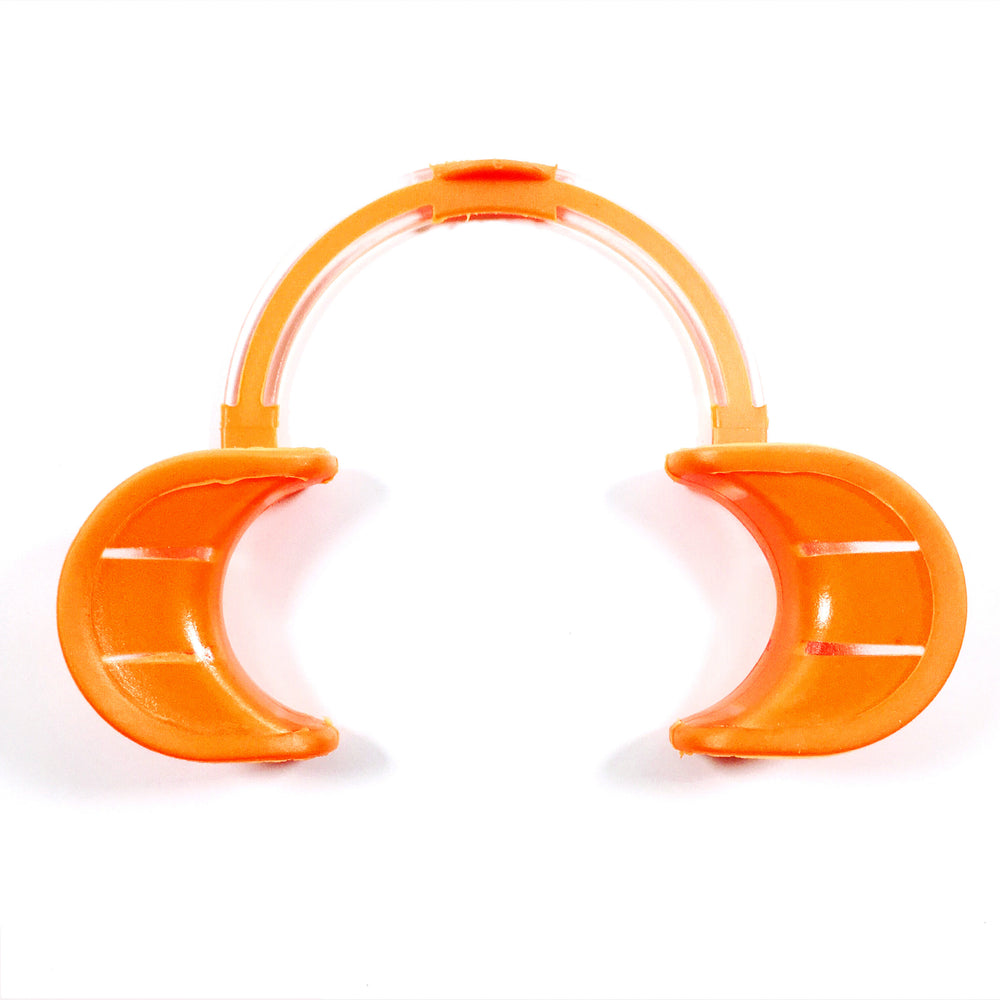
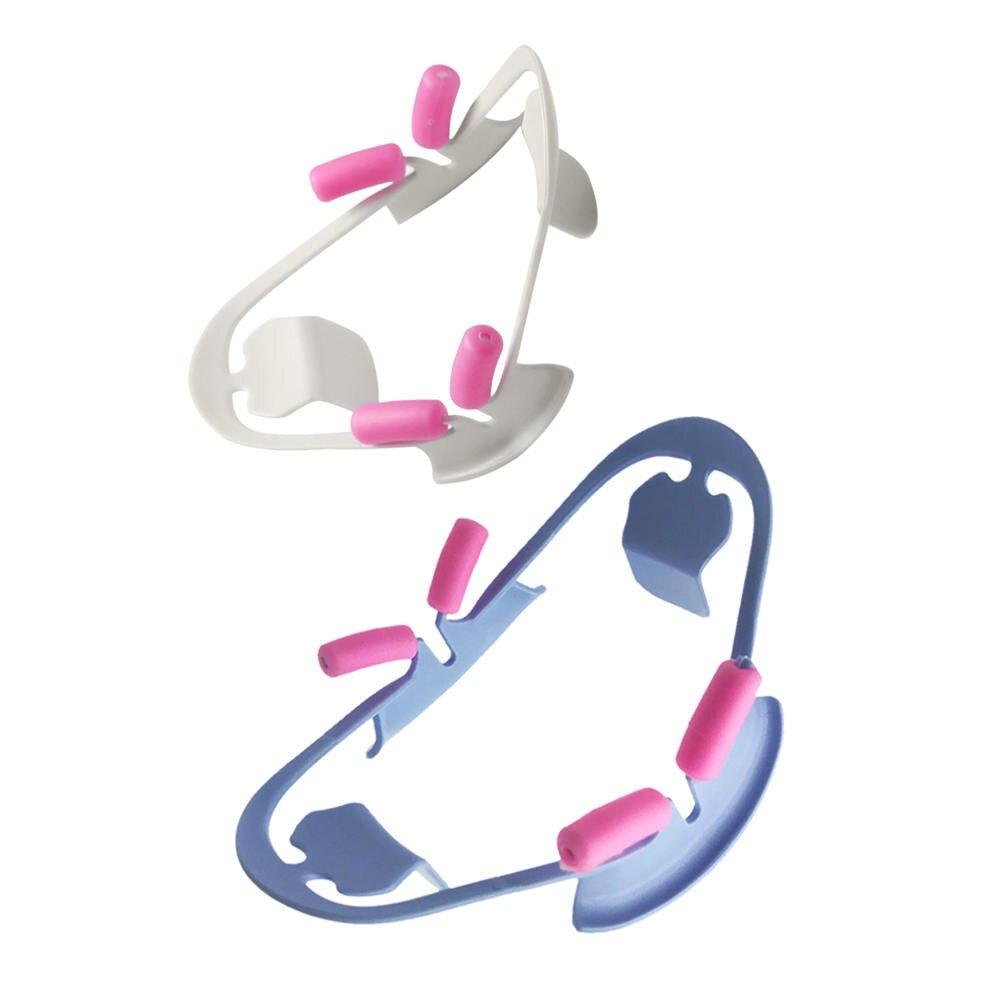
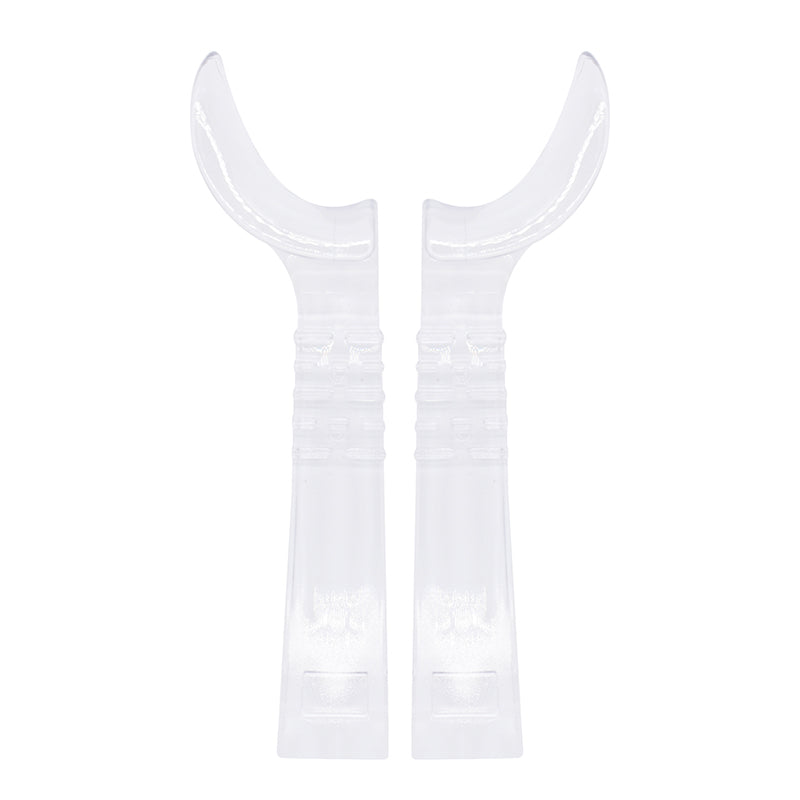
— front teeth with a retractor;
— left and right buccal segments;
— occlusive surfaces of the upper and lower arches;
— upper and lower incisors on the lumen with a contrast.
Taking pictures of the intraoral cavity is a rather complicated process for those who have no experience in photography. A few tips that will help you do everything perfectly.
1. When taking macro photos, switch the camera and lens settings to manual mode. In this case, it is better not to use autofocus.
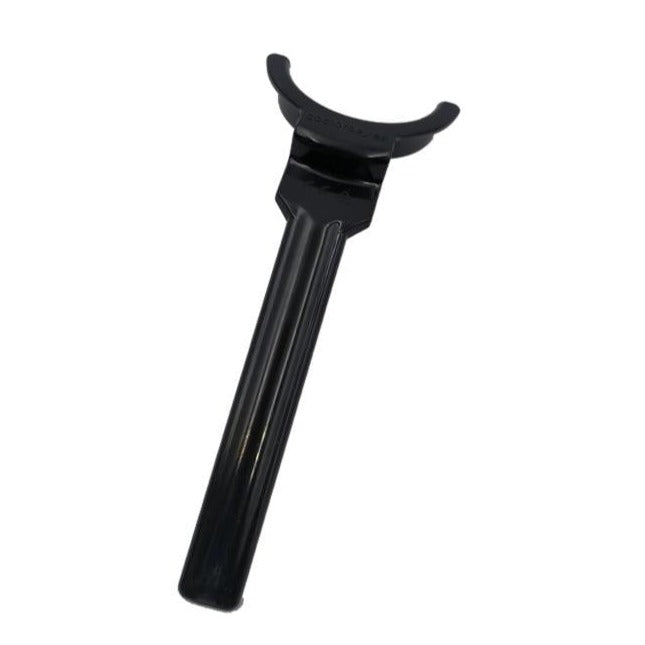
2. Place the contrast in the area of the first or second molars at a sufficient distance from the photographed teeth. This will avoid the appearance of light spots on the contrast due to the reflection of the teeth.
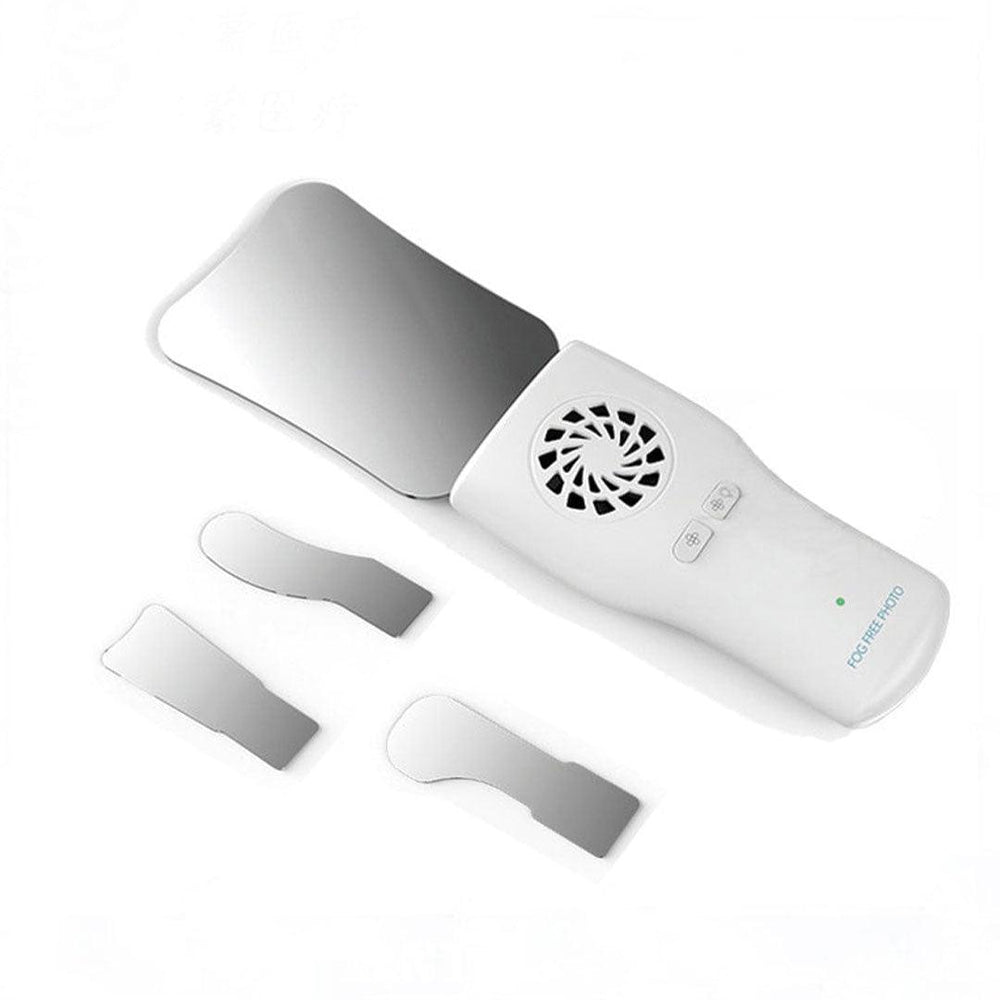
3. In order for the direct and blurred image of the photographed teeth not to fall into the composition of the image, the occluded mirror should practically lie on the teeth of the opposite jaw. This principle is also relevant for intraoral photography with a side mirror.
4. If the mirror fogs up during shooting, heat it with a stream of warm water and ask the patient to hold his breath for a while.
5. When working with an occlusive mirror, the nose should not get into the frame. To do this, the front teeth on the axis should be at the edge of the image, and the dental arch should evenly occupy the entire field of the image.
6. Before taking photos, dry your teeth and gums with air to minimize the presence of saliva.
7. To register dental fluorescence and restoration, set the camera's light sensitivity to maximum and turn off the flash.
We hope that these life hacks will help you create a comfortable atmosphere for patients during a dental photo shoot. Remember that the convenience and well-being of patients are important aspects of your professional practice. Tune in to a positive experience, and your dental photo shoot will be successful and enjoyable for everyone.


