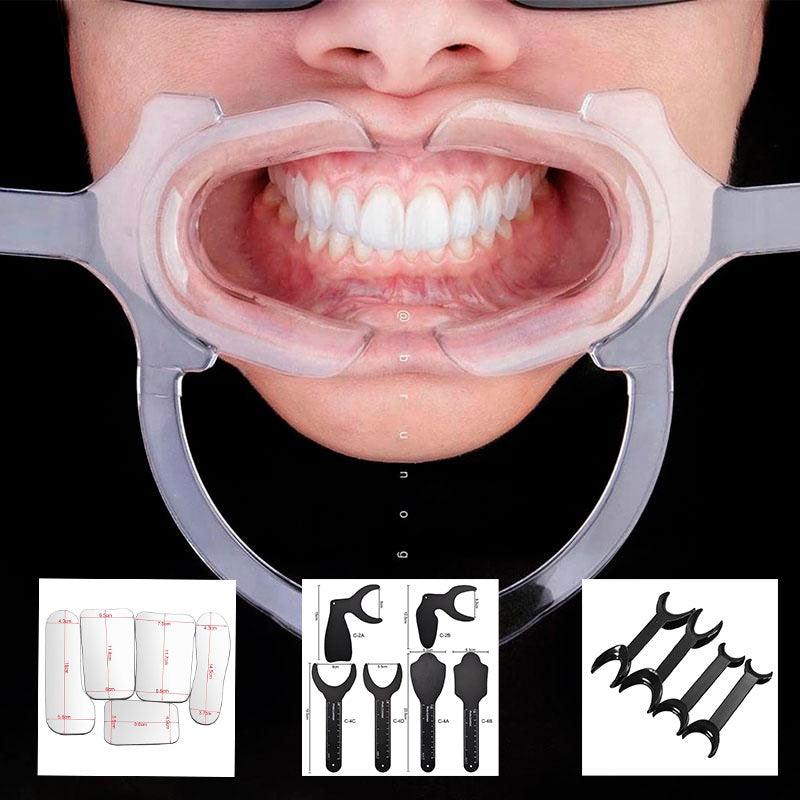
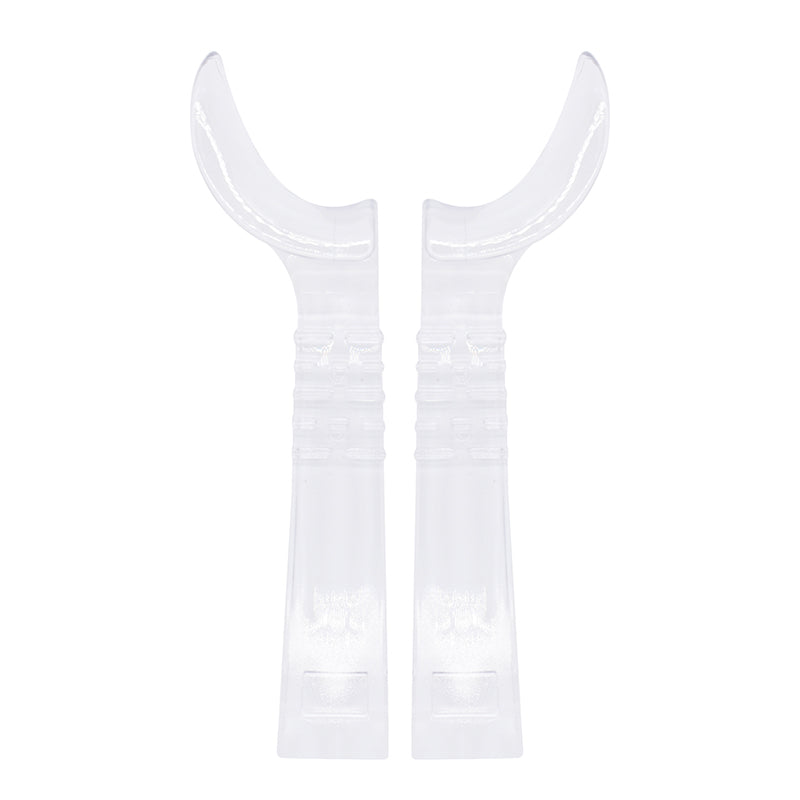
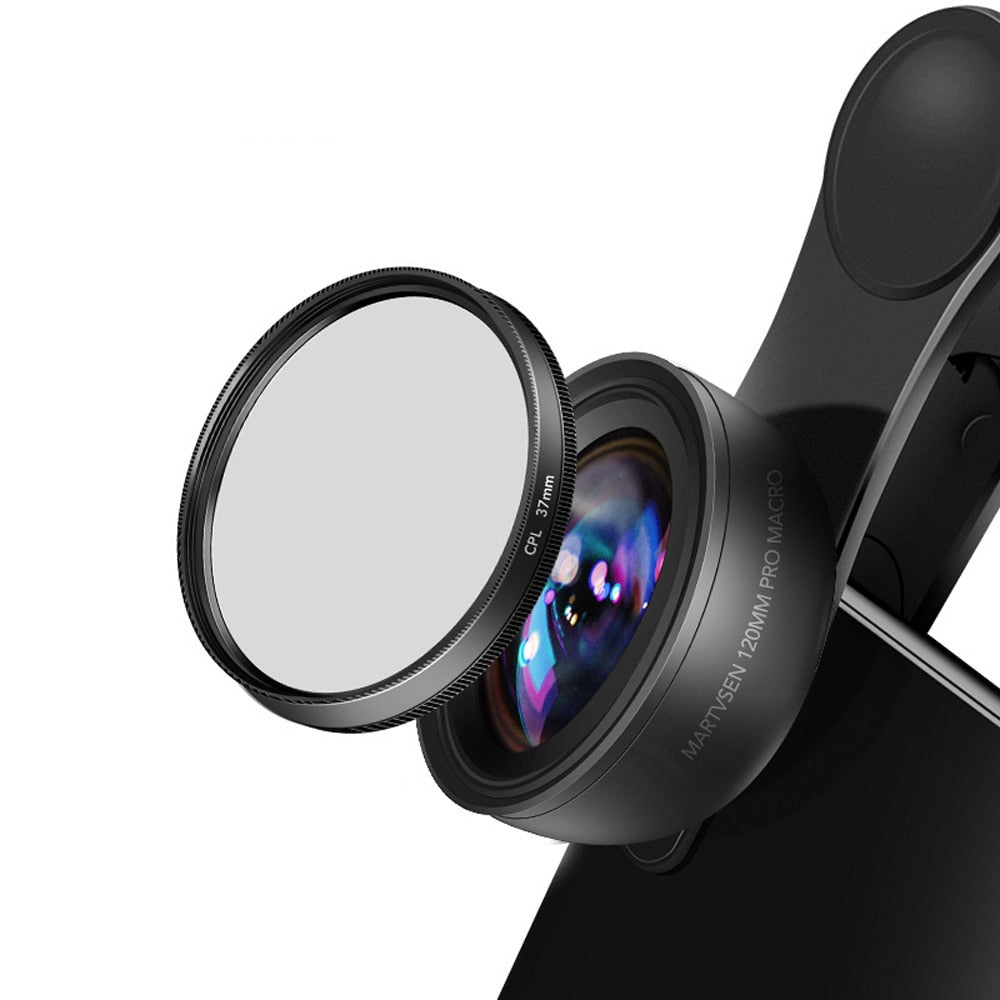
Dental photography is an important tool for documenting and demonstrating the results of dental restoration. High-quality photos before and after treatment play a significant role in planning, educating patients, and showing the quality of work. Here are some useful life hacks and tips that will help you take high-quality photos of dental restoration before and after treatment:
1. Create consistent conditions and lighting.
Before photographing the restoration of teeth, make sure that the conditions and lighting are the same for photos before and after treatment. Use the same photographic equipment and set uniform lighting to avoid shadows and color differences. This will help to create consistent and comparable photos.
2. Fix the condition of the teeth before treatment.
Before starting the restoration of teeth, take photos that record their original condition. This will provide you with a starting point for comparison before and after treatment. Photos before treatment can also help you better understand the problems that restoration requires and plan treatment.
3. Pay attention to the details.
It is important to focus on the details of dental restoration in order to document the quality of the work and show the transformation. Use macro lenses to capture the smallest details and textures of the materials used in the restoration. Photos with clearly visible details will help you demonstrate the professionalism and quality of your work.
4. Use the same positioning.
For comparison before and after treatment, it is essential to use the same positioning of the teeth in the photos. Develop a positioning protocol so that the location of the teeth is the same when shooting before and after restoration. This will help you get the most comparable photos and accurately assess the changes.
5. Visualize the results.
Photos after dental restoration can be a powerful tool for visualizing the results of your work. Show patients photos before and after treatment so they can evaluate the changes and results. This will help patients better understand the benefits and effectiveness of dental restoration.
The features of dental photography for various cases, especially dental restorations before and after treatment, include creating consistent conditions and lighting, fixing the condition of teeth before treatment, paying attention to details, using the same positioning, and visualizing the results. Following these life hacks and tips, you will be able to create high-quality photos of dental restoration that will help you document your work and demonstrate the results to patients.
We hope that these life hacks and tips will be useful for you! You can find other useful articles on our website in the blog section.


