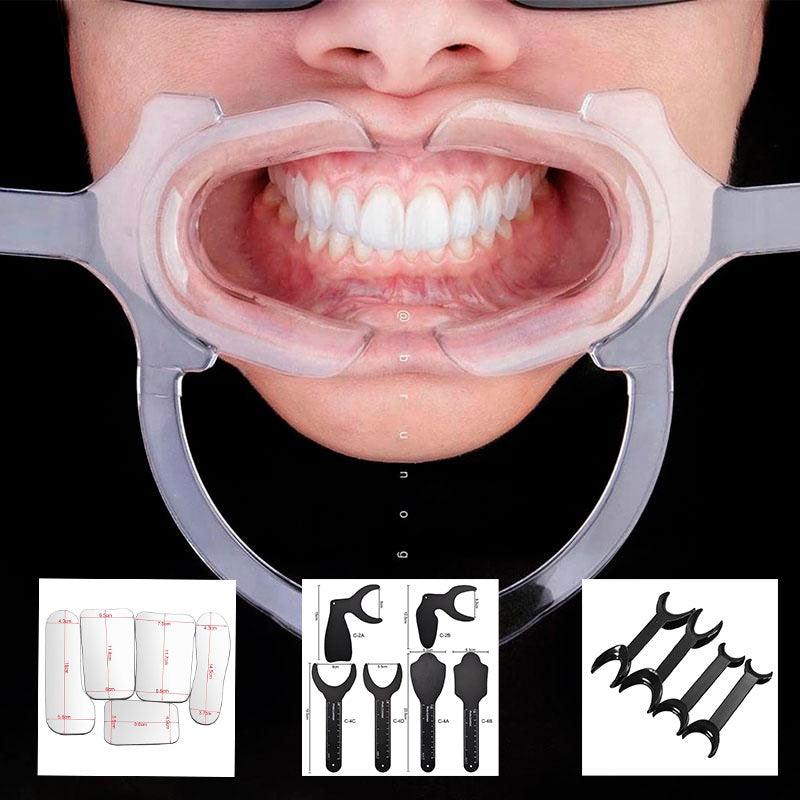
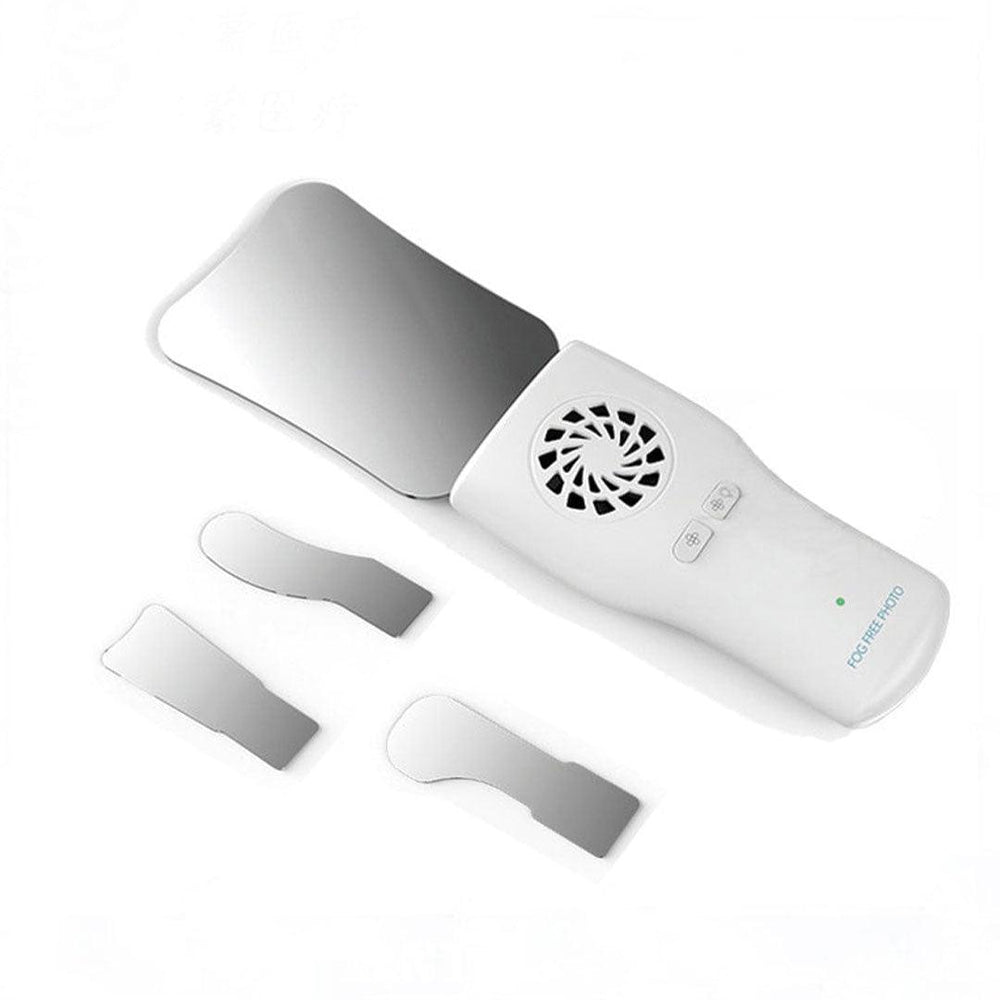
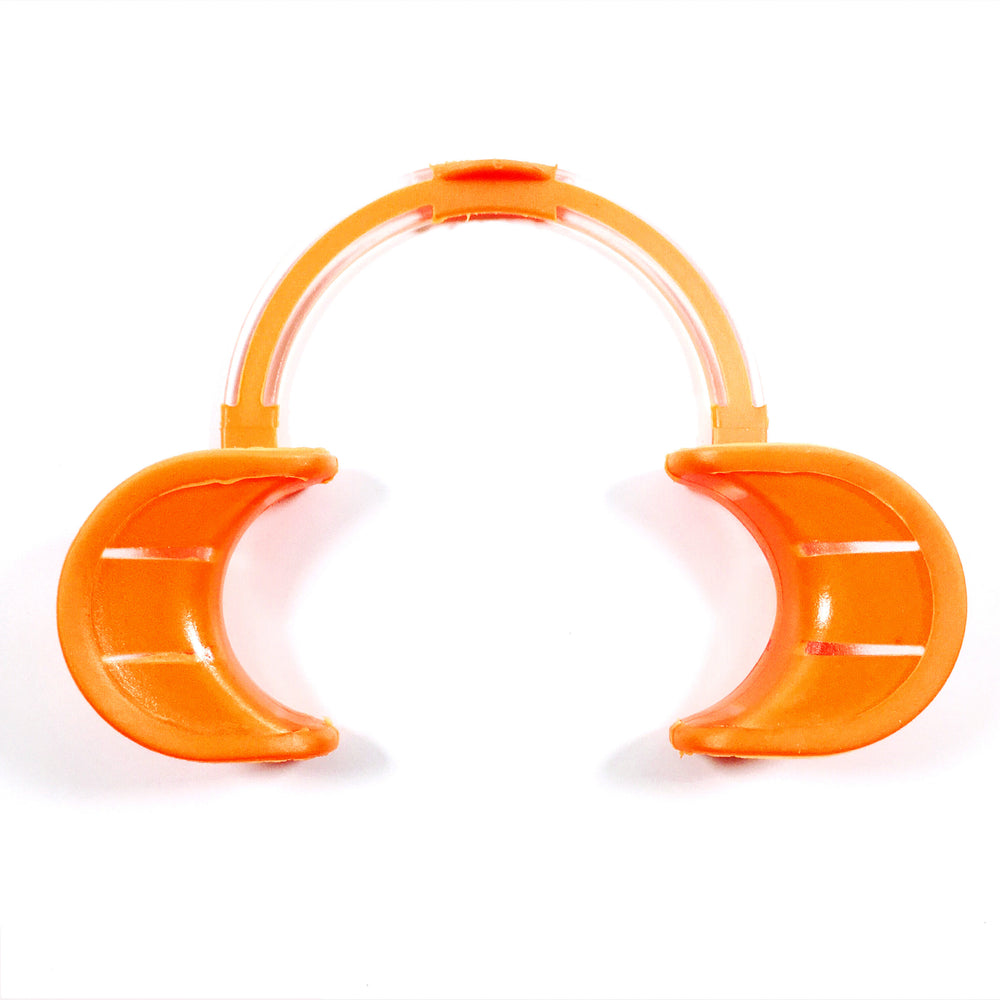
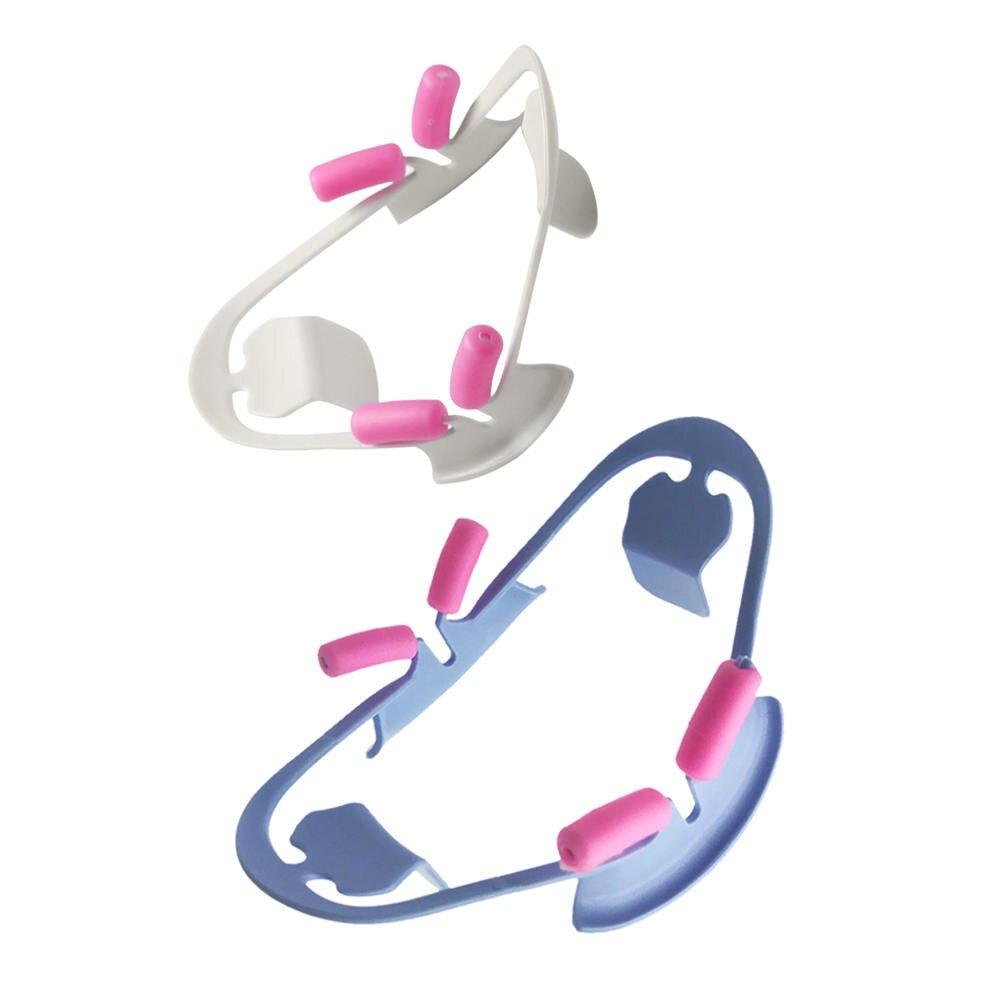
In the realm of dentistry, capturing intricate dental structures and textures is essential for accurate documentation and effective communication. Dental macro photography offers a gateway to explore the minutiae of teeth, gums, and restorations, providing insights that can transform patient care and education. In this article, we'll delve into the art of mastering dental macro photography, offering life hacks to help you capture even the most subtle details with precision.
Understanding Dental Macro Photography:
Dental macro photography involves capturing extreme close-up shots of dental elements, revealing textures, imperfections, and fine details that may escape the naked eye. Macro lenses, with their exceptional magnification capabilities, are essential tools for this technique.
Choosing the Right Equipment:
1. Macro Lens.
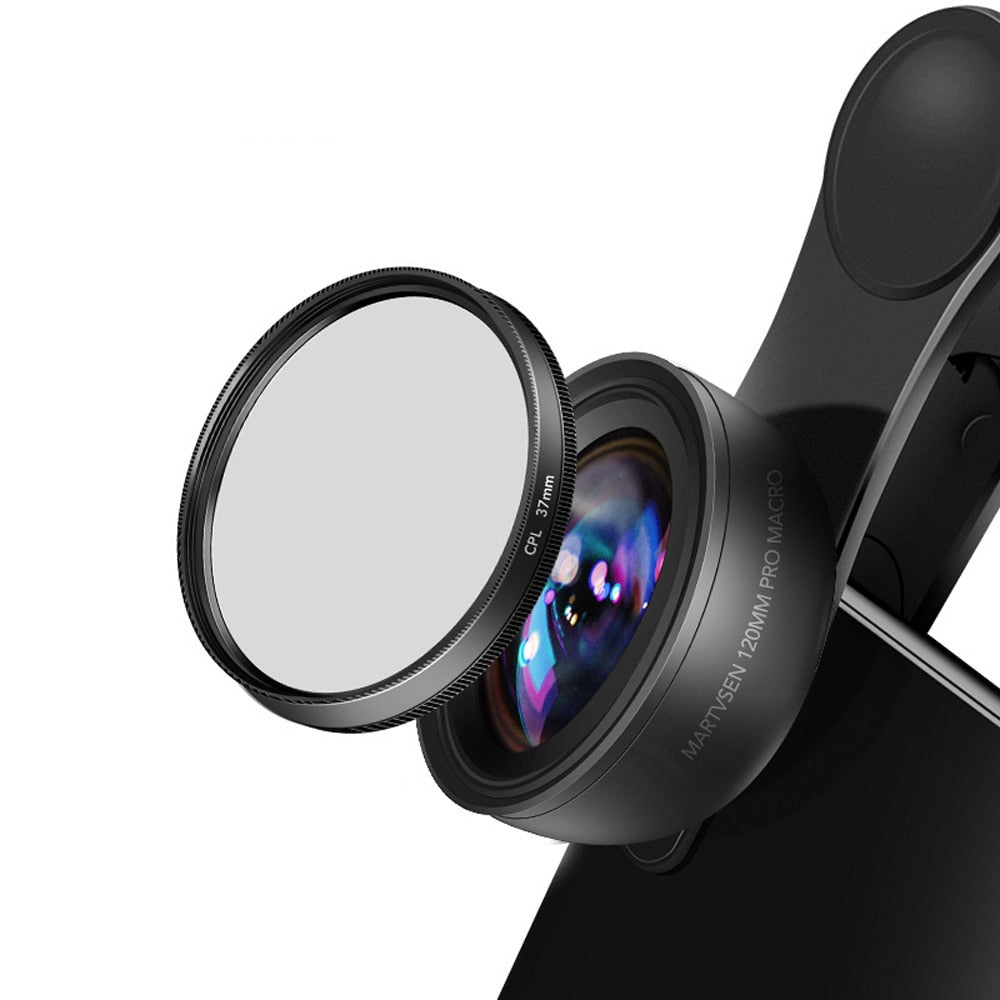
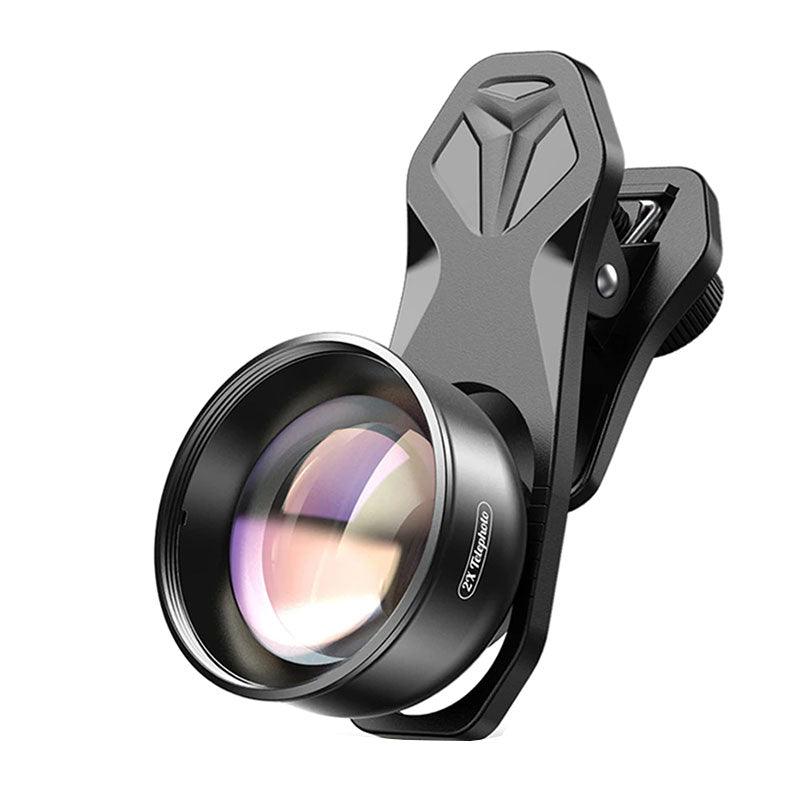
Invest in a dedicated macro lens with a high magnification ratio to ensure optimal results. A 1:1 magnification ratio means the subject is captured at life-size.
2. Tripod.
To maintain stability and prevent camera shake, use a sturdy tripod when shooting at close distances.
3. Remote Shutter Release.
A remote shutter release or timer function can further minimize camera shake during the exposure.
Life Hacks for Dental Macro Photography:
1. Optimal Lighting.
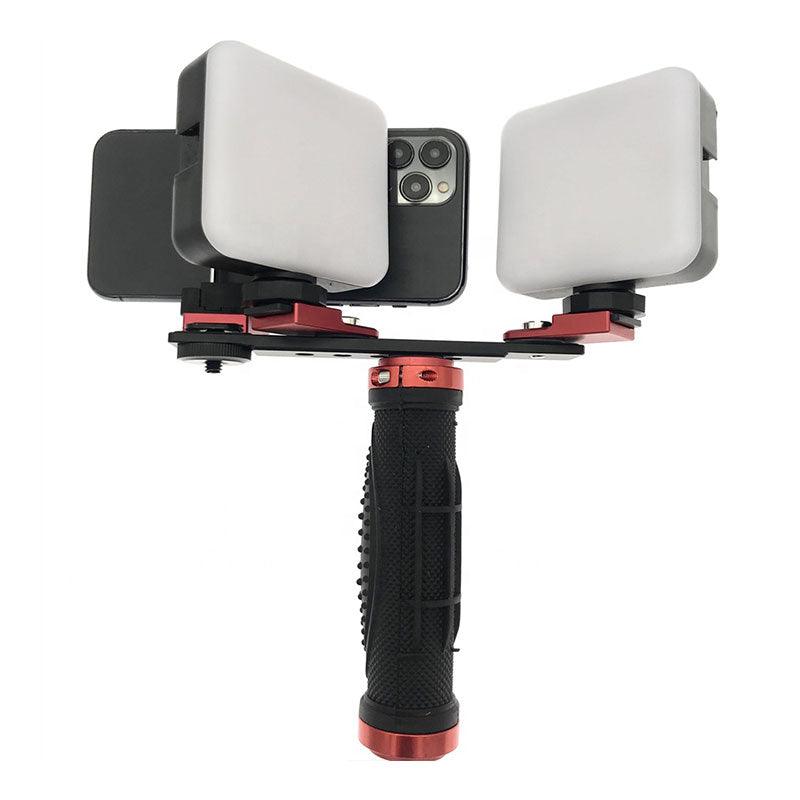
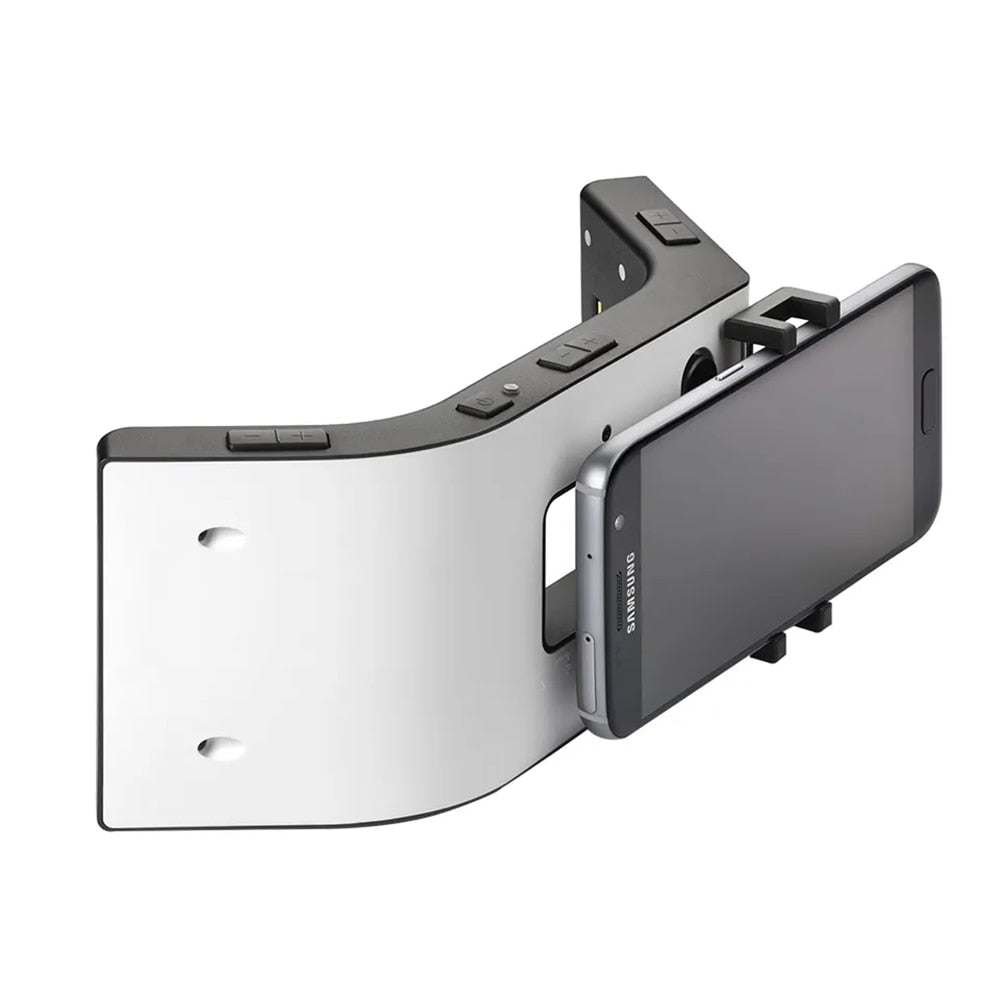
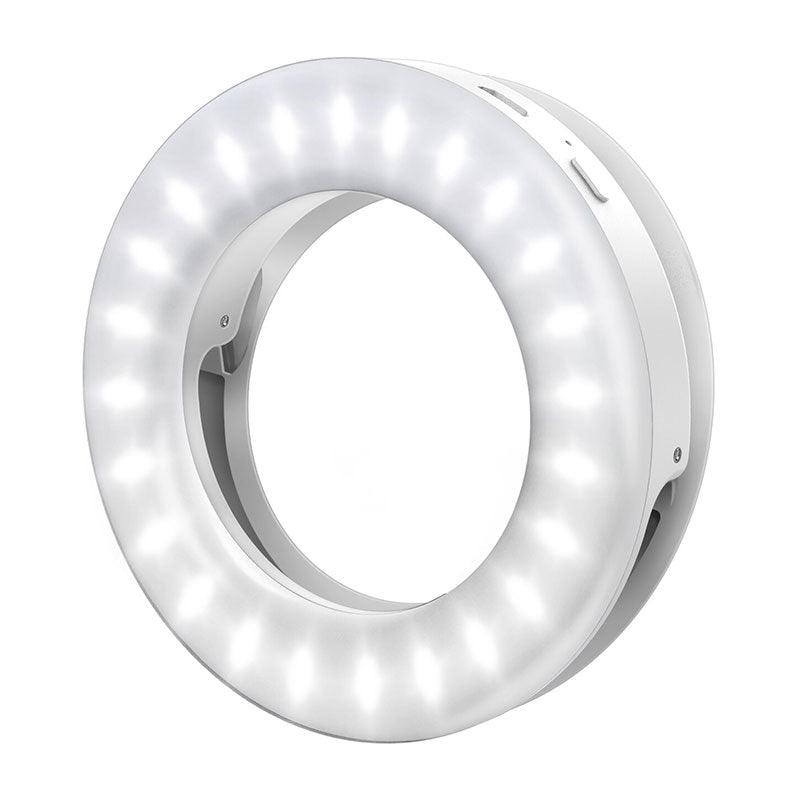
Use diffused and controlled lighting to avoid harsh shadows and reflections. A ring light or macro flash can provide even illumination, reducing shadows in hard-to-reach areas.
2. Focus Stacking.
Achieving sharp focus across the entire subject can be challenging due to the shallow depth of field in macro photography. Employ focus stacking by capturing multiple images with slightly different focus points and blending them in post-processing.
3. Minimal Aperture.
Use narrow apertures (higher f-numbers) to increase depth of field and ensure more of the subject is in focus. However, be cautious of diffraction that can reduce overall sharpness at very high apertures.
4. Manual Focus.
In macro photography, auto-focus can struggle to lock onto the desired point. Switch to manual focus mode for precise control over what part of the dental subject you want to highlight.
5. Patient Comfort.
When capturing macro shots of intraoral structures, communicate clearly with the patient, ensuring their comfort and understanding of the procedure.
6. Neutral Backgrounds.
Utilize a plain background or background colors that complement the dental subject, minimizing distractions and emphasizing the details.
7. Magnification Ratio.
Experiment with different magnification ratios to find the balance between revealing intricate details and showcasing the overall context.
8. Hygiene and Sanitation.
Ensure that any equipment that comes in contact with the patient's mouth is thoroughly sanitized to maintain hygiene standards.
Post-Processing Tips:
1. Sharpening.
Apply selective sharpening to enhance details without introducing noise.
2. Color Correction.
Adjust color balance and saturation to accurately represent the dental elements' natural hues.
3. Focus Stacking Software.
Utilize specialized software for focus stacking to merge images with different focus points seamlessly.
Mastering dental macro photography empowers dental professionals to explore a world of textures and details that hold valuable insights for diagnosis, treatment planning, and patient education. By following these life hacks and leveraging the right equipment, lighting, and techniques, you can capture the subtle intricacies of dental structures with precision, elevating your dental practice to new heights of accuracy and communication.


