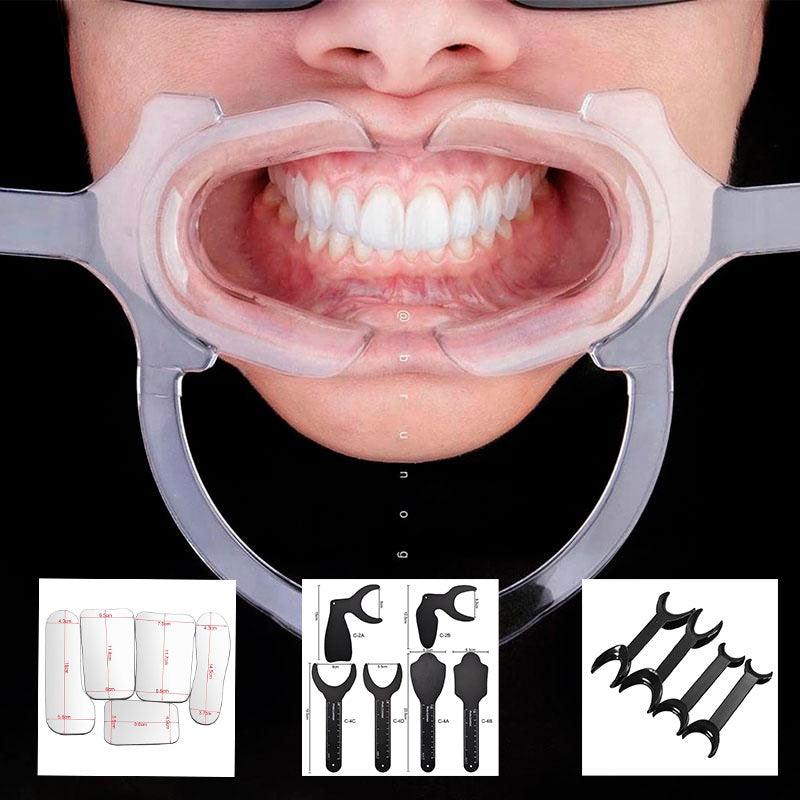
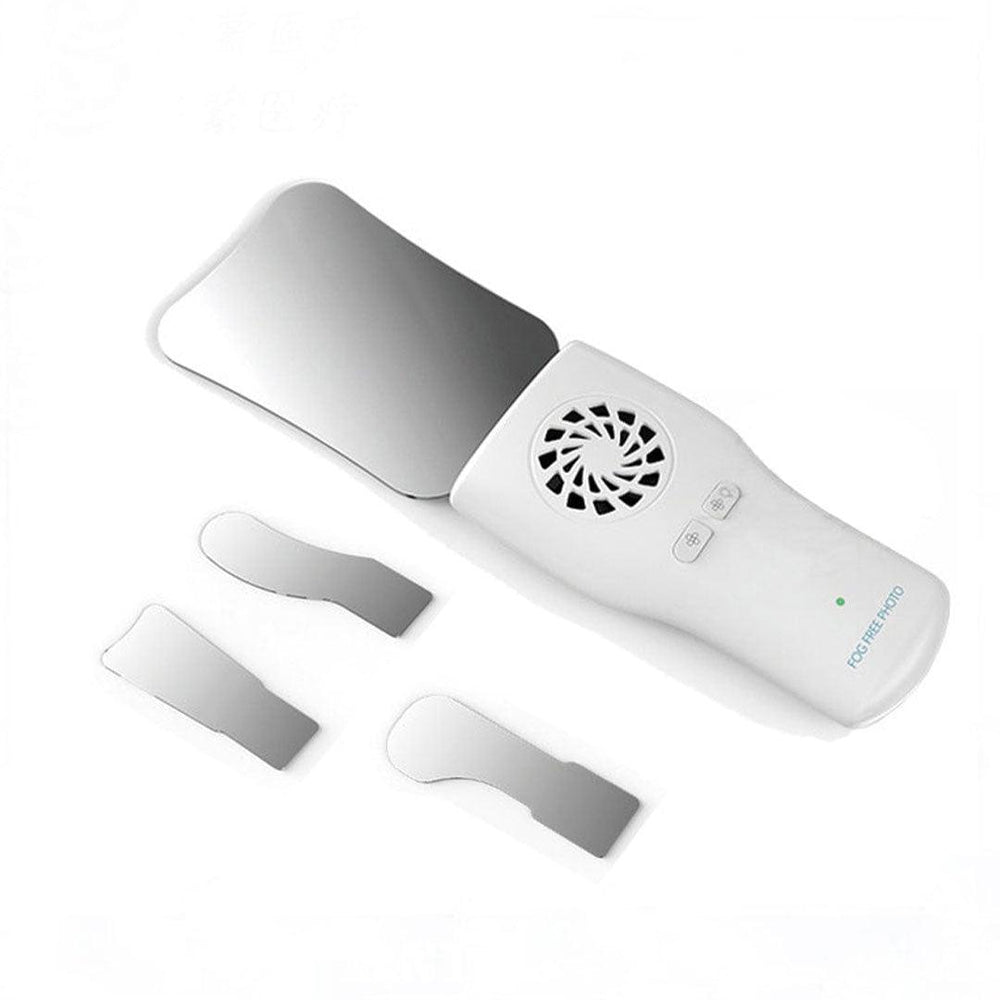
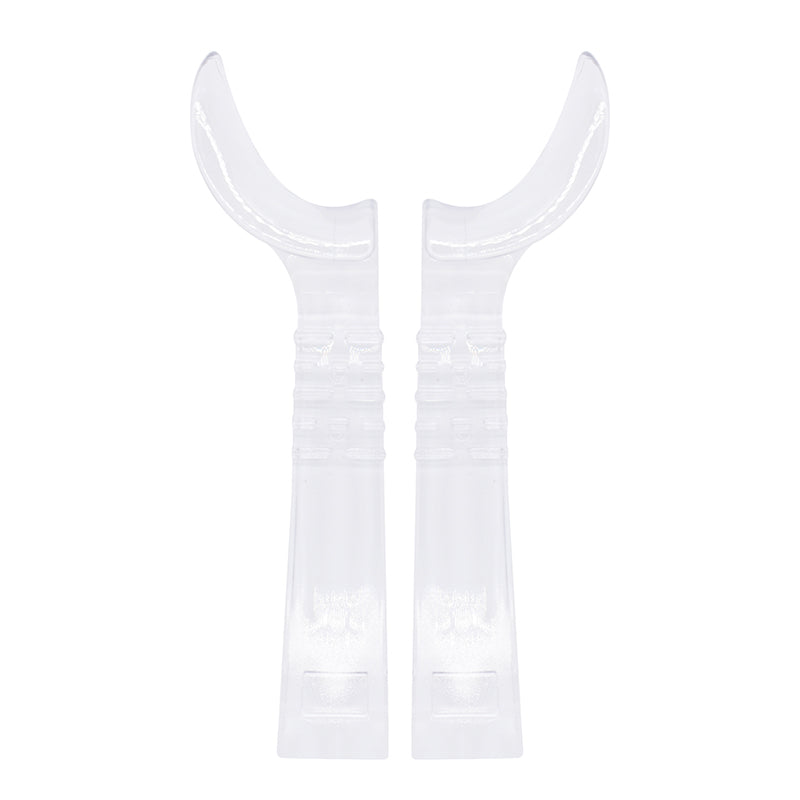
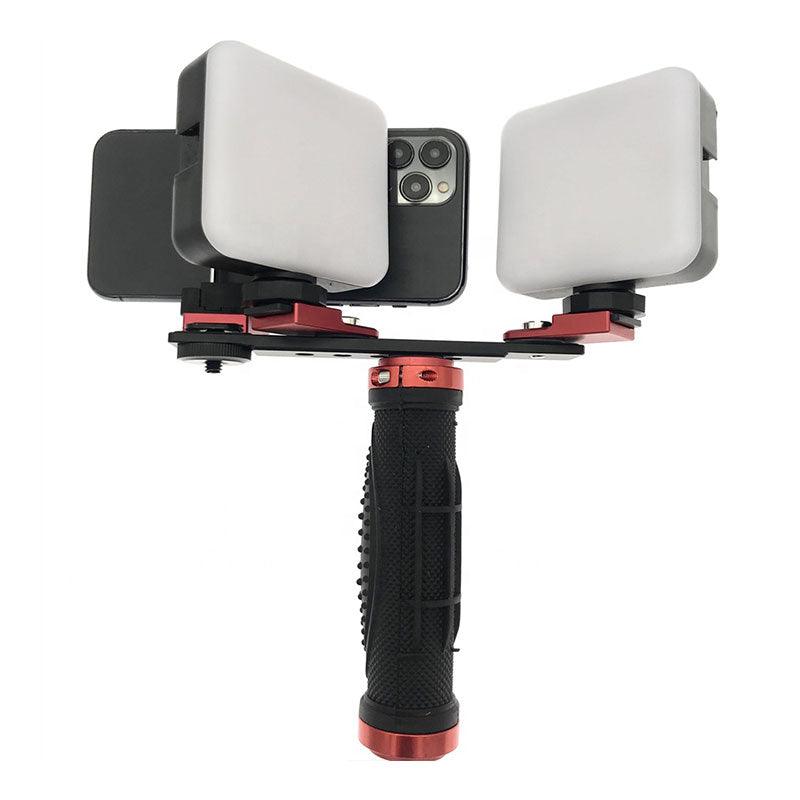
Dental portraiture is a powerful tool for showcasing patients' smiles, personalities, and confidence. Capturing compelling dental portraits requires a keen understanding of lighting techniques and posing strategies that accentuate the best features while maintaining a natural and relaxed vibe. In this article, we'll delve into the art of enhancing dental portraiture, offering practical life hacks to create captivating images that resonate with patients and peers alike.
The Role of Lighting in Dental Portraiture:
Lighting is the foundation of any great portrait, setting the mood and highlighting the subject's features. In dental portraiture, achieving a balance between proper exposure and a flattering appearance is key.
Key Lighting Setups:
1. Softbox Lighting.
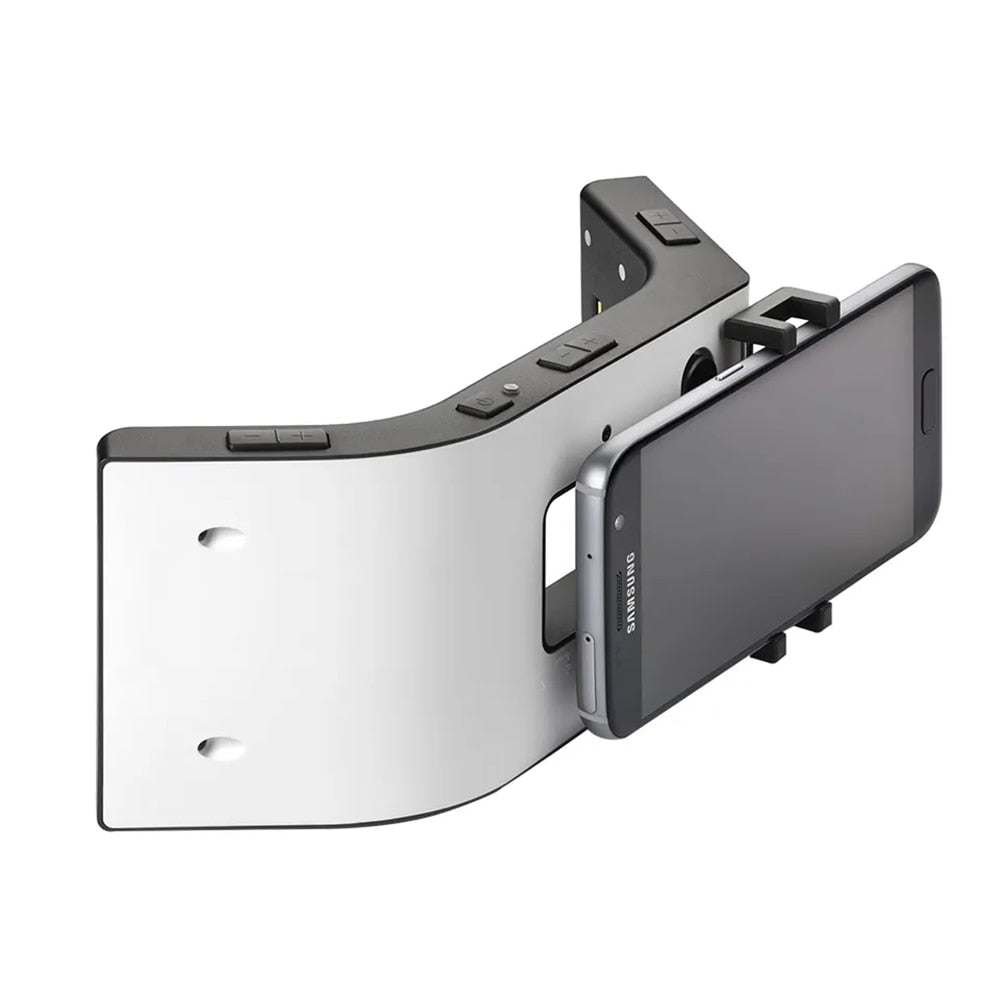
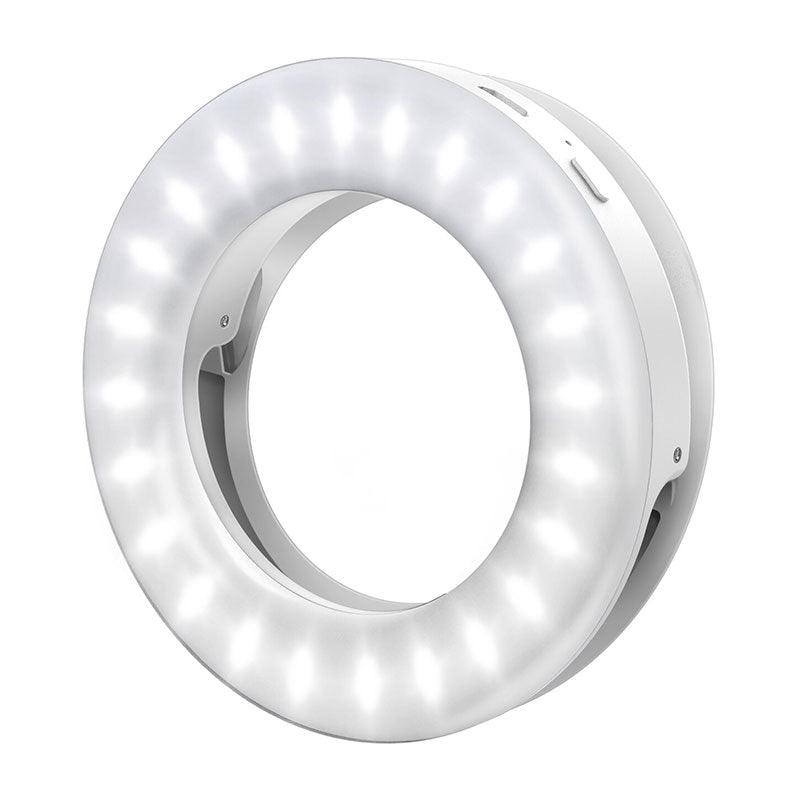
Use a softbox or diffuser to create soft and even illumination that minimizes harsh shadows. This setup is perfect for highlighting facial features and capturing natural smiles.
2. Three-Point Lighting.
Employ a three-point lighting setup consisting of a key light, fill light, and hair light. The key light provides the main illumination, the fill light softens shadows, and the hair light adds dimension by separating the subject from the background.
Life Hacks for Lighting in Dental Portraiture:
1. Catchlights.
To add life to the subject's eyes, position the main light source (key light) at an angle that creates a small reflection in the pupils.
2. Reflectors.
Use reflectors to bounce light onto the subject's face, reducing shadows and creating a flattering glow.
3. Distance and Intensity.
Adjust the distance and intensity of the lights to achieve the desired level of contrast and dimensionality in the portrait.
Posing Strategies for Authentic Portraits:
1. Relaxed Expressions.
Encourage patients to relax their facial muscles and adopt natural expressions, resulting in genuine smiles and a more approachable appearance.
2. The Power of the Jawline.
Ask patients to subtly push their chin slightly forward and down to define the jawline and create a slimming effect.
3. Eye Contact.
Direct the patient's gaze slightly above the camera lens to create a friendly and engaging connection with the viewer.
4. Natural Body Language.
Guide patients into poses that mimic their natural body language, such as crossed arms or hands in pockets, to convey comfort and confidence.
Life Hacks for Posing Success:
1. Mirror Interaction.
Encourage patients to interact with a mirror before the shoot to practice expressions and identify their preferred angles.
2. Guided Breathing.
Instruct patients to take deep breaths to naturally relax their shoulders and prevent stiffness.
3. Prompt Conversations.
Engage patients in light-hearted conversations during the shoot to capture candid moments and genuine smiles.
Post-Processing Tips:
1. Subtle Retouching.
Use retouching techniques to remove temporary imperfections while maintaining the patient's natural appearance.
2. Color Enhancement.
Adjust color balance and saturation to create a warm and inviting ambiance that complements the dental subject.
Enhancing dental portraiture through skillful lighting techniques and thoughtful posing strategies is a rewarding endeavor that captures the essence of patients' smiles and confidence. By implementing the life hacks shared in this guide, dental professionals can create compelling images that resonate with patients and peers, fostering a sense of trust and connection. Remember, mastering the art of dental portraiture not only showcases your expertise but also transforms patient experiences into lasting memories.


