Photographing the frontal teeth of the upper and lower jaw with appropriate contrast is essential for dental professionals to accurately assess oral conditions and plan effective treatments. This article presents life hacks and recommendations to help you achieve outstanding results in dental photography by creating images that highlight the frontal teeth with enhanced contrast.
1. Understand the Importance of Contrast.
Contrast in dental photography refers to the distinction between the teeth and surrounding structures. Adequate contrast ensures clear visibility of dental details, making it easier to identify dental issues and communicate treatment plans effectively.
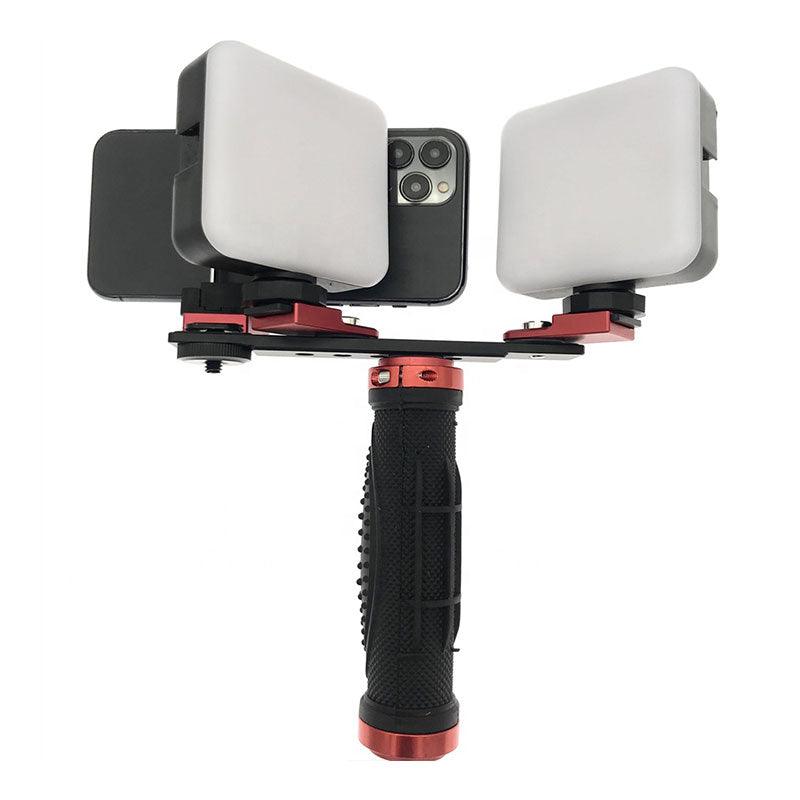
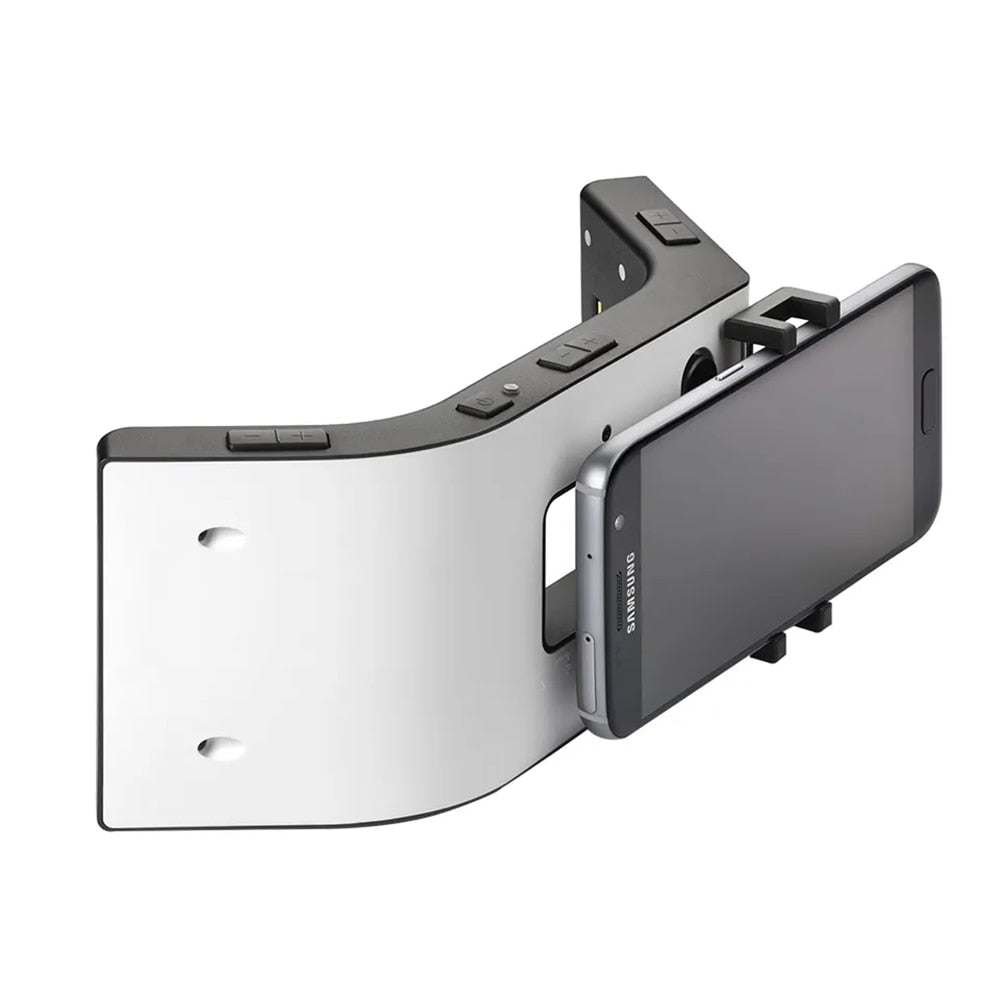
2. Optimal Lighting Setup.
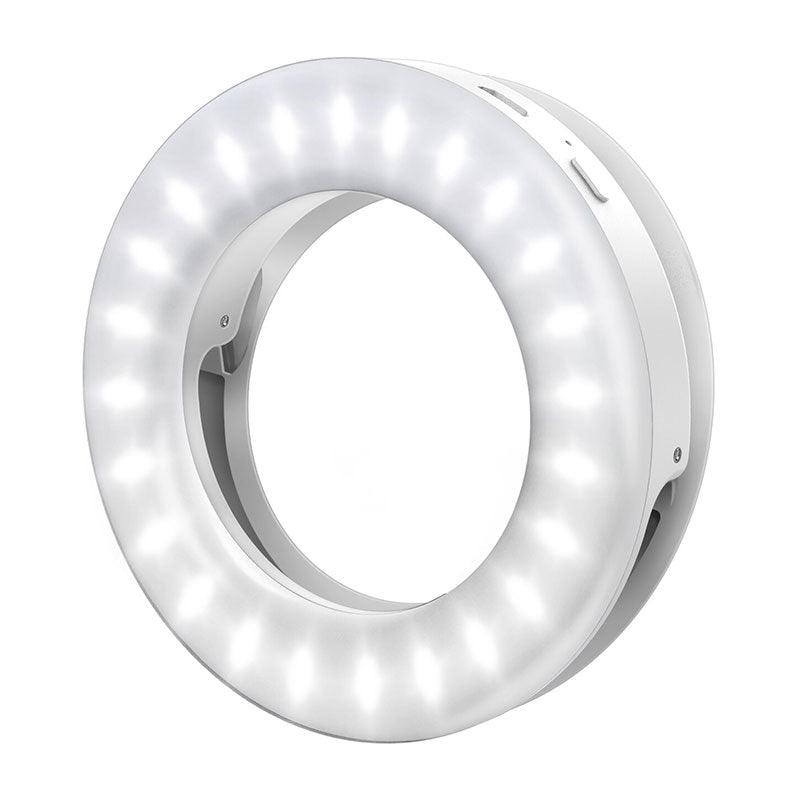
Utilize a well-balanced lighting setup to create sufficient contrast in your images. A combination of a ring flash and side light can help highlight the frontal teeth while minimizing shadows and glare.
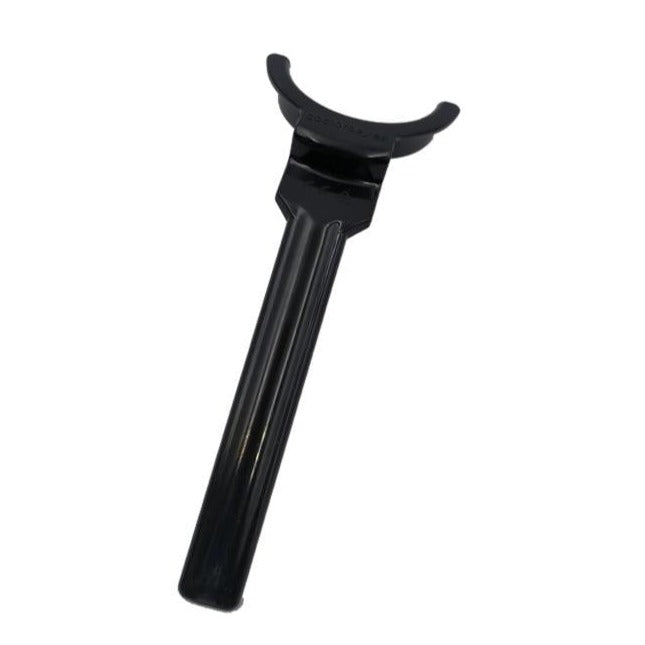
3. Use Contrast Backgrounds.
Choose background colors that provide a noticeable contrast to the teeth's color. White backgrounds are commonly used for frontal teeth photography, as they accentuate the teeth's appearance and facilitate analysis.
4. Highlight Dental Anatomy.
Encourage patients to practice good oral hygiene before the photography session. Clean and healthy teeth showcase their natural anatomy and contribute to more visually appealing images.
5. Adjust Camera Settings.
Configure your camera settings to optimize contrast and clarity. Experiment with different exposure levels, aperture settings, and ISO to find the right balance for your specific camera and lighting setup.
6. Focus on Symmetry.
When capturing images of both the upper and lower frontal teeth, ensure that the patient maintains a symmetrical position. This symmetry aids in comparing and diagnosing any dental asymmetries or issues.
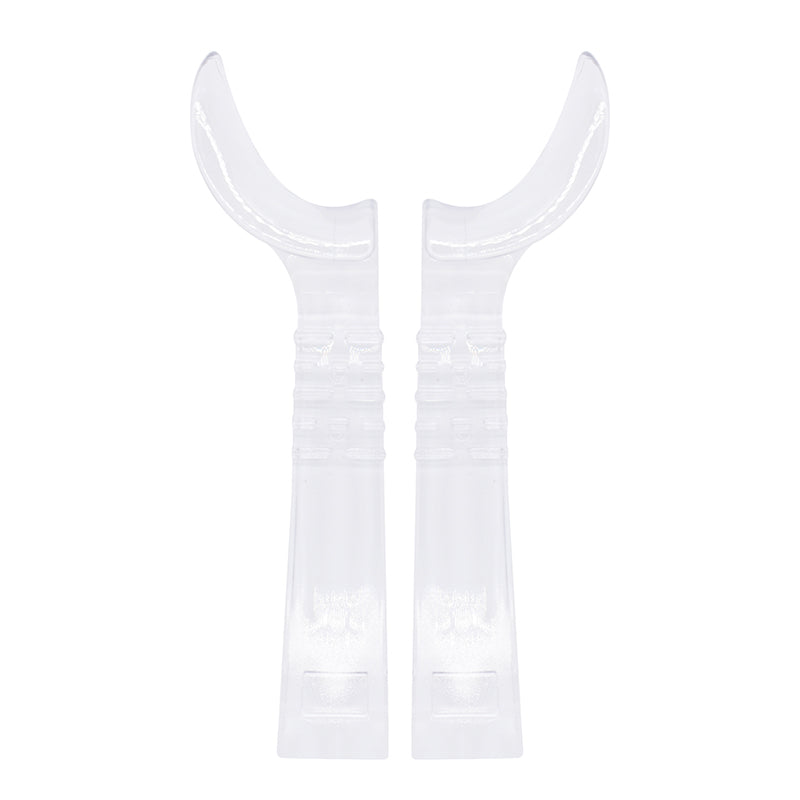
7. Incorporate Lip Retractors.
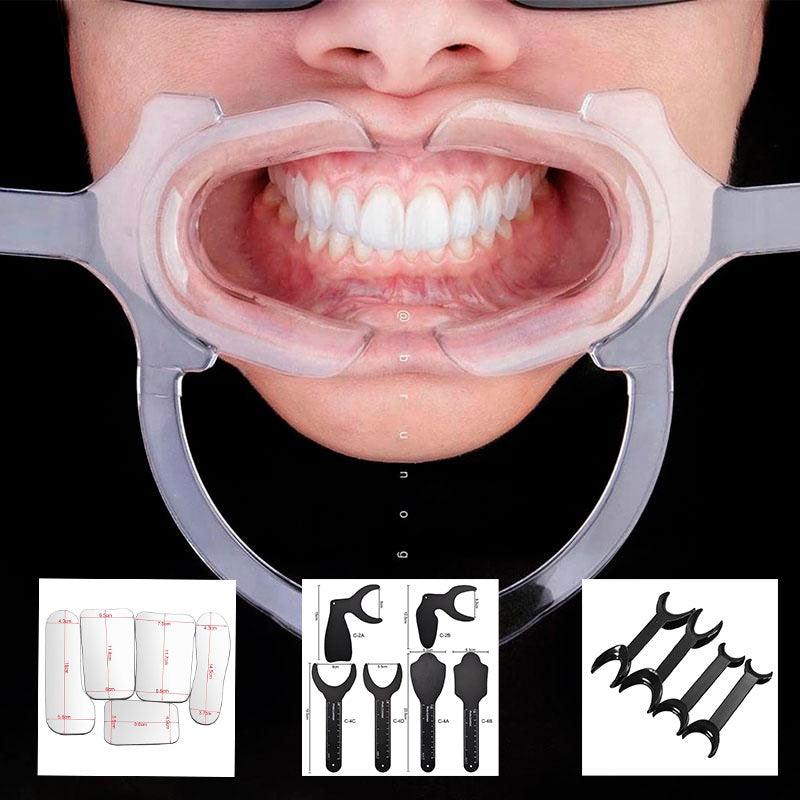
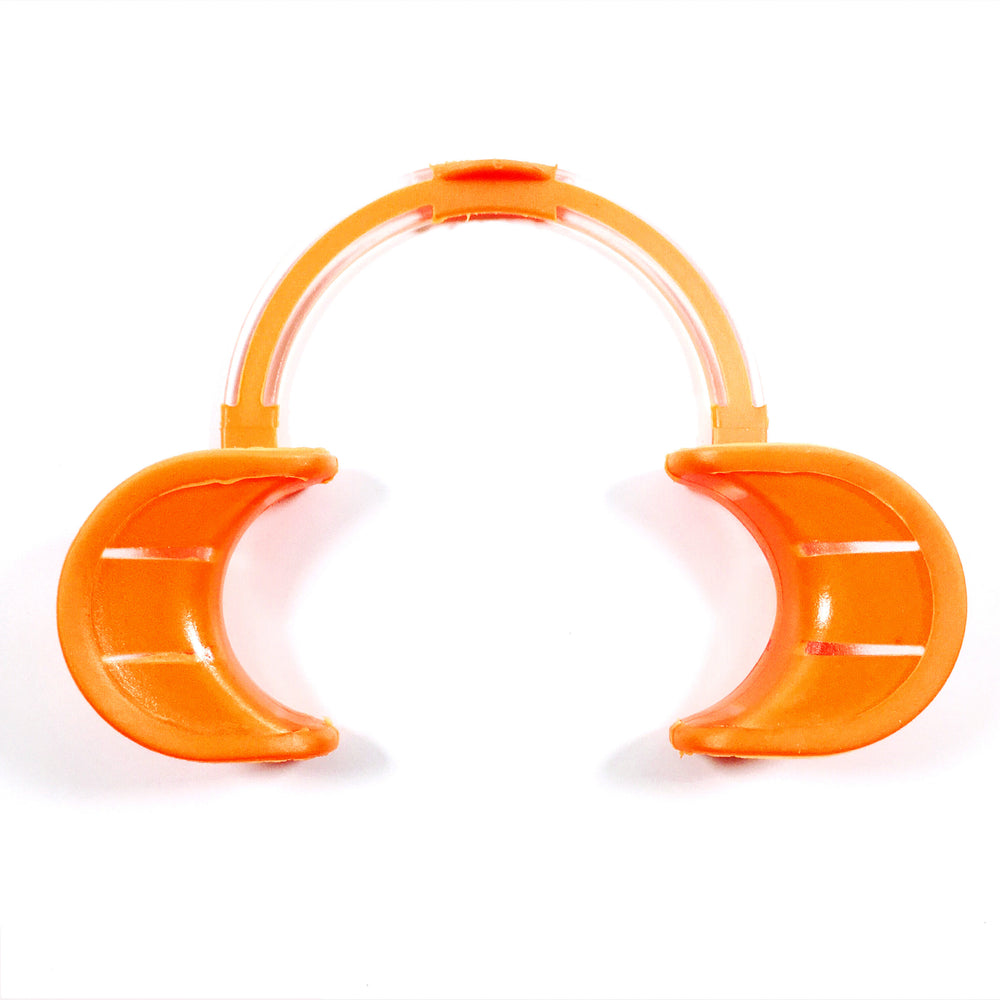
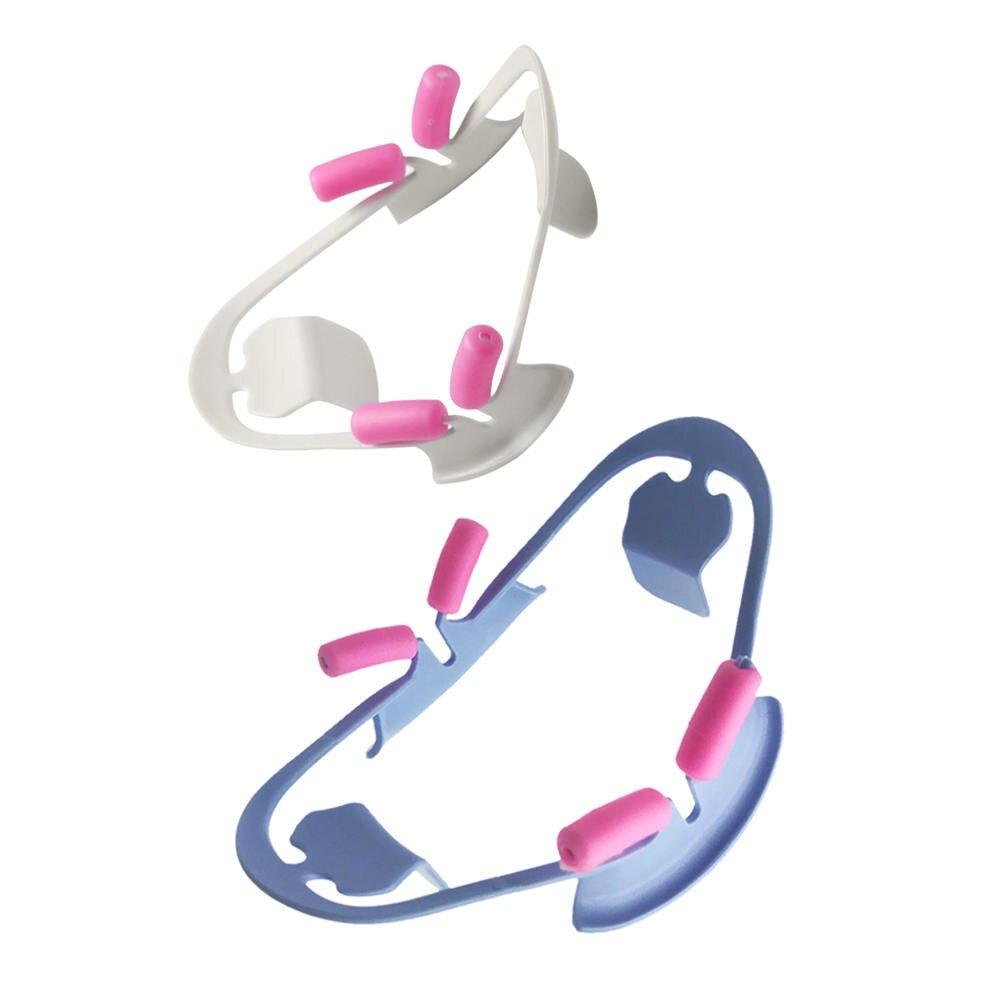
Lip retractors can assist in revealing more of the frontal teeth, making it easier to capture detailed images. They also help in reducing soft tissue interference, thus improving overall contrast.
8. Positioning of the Patient.
Proper positioning is crucial for frontal teeth photography. Ensure the patient sits upright with a relaxed posture to avoid distortions and unnatural angles.
9. Patient Communication.
Explain the purpose and process of dental photography to your patients. Assure them that it is a painless procedure that enables you to provide the best possible care and treatment.
10. Consistency in Technique.
Develop a standardized dental photography protocol for capturing frontal teeth images. Consistency in technique allows for easier comparisons over time and enhances the diagnostic value of the images.
Frontal teeth photography with contrast is a valuable skill for dental professionals seeking to deliver superior patient care. By following these life hacks and recommendations, you can master the art of capturing clear and detailed images that highlight dental anatomy and enhance your diagnostic capabilities. Invest in quality lighting equipment, choose contrast backgrounds, and communicate effectively with patients to ensure a seamless photography experience. With practice and dedication, you will elevate the standard of your dental photography and improve the overall quality of care in your practice.


