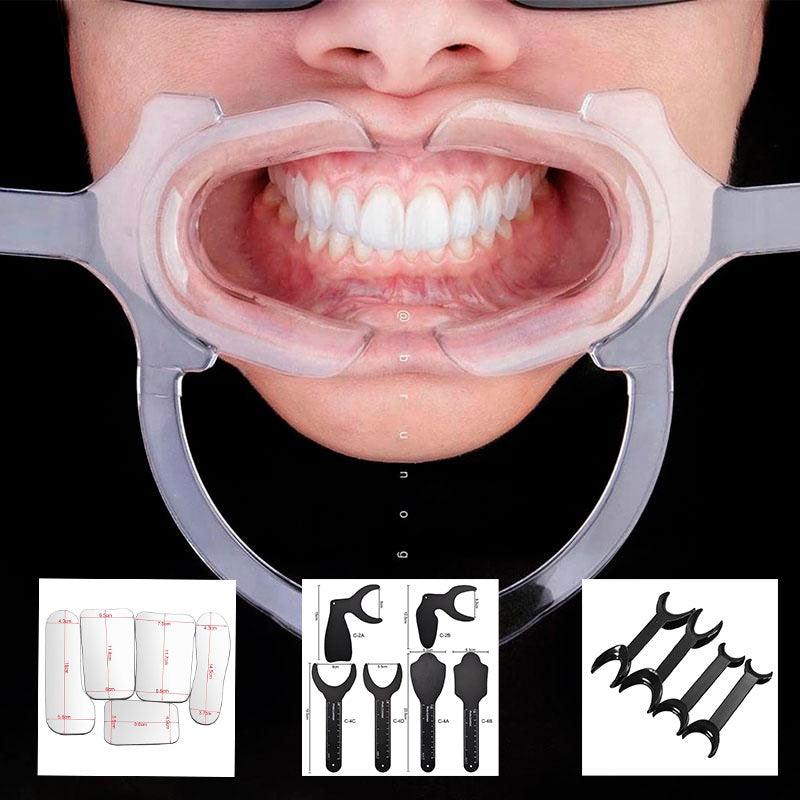
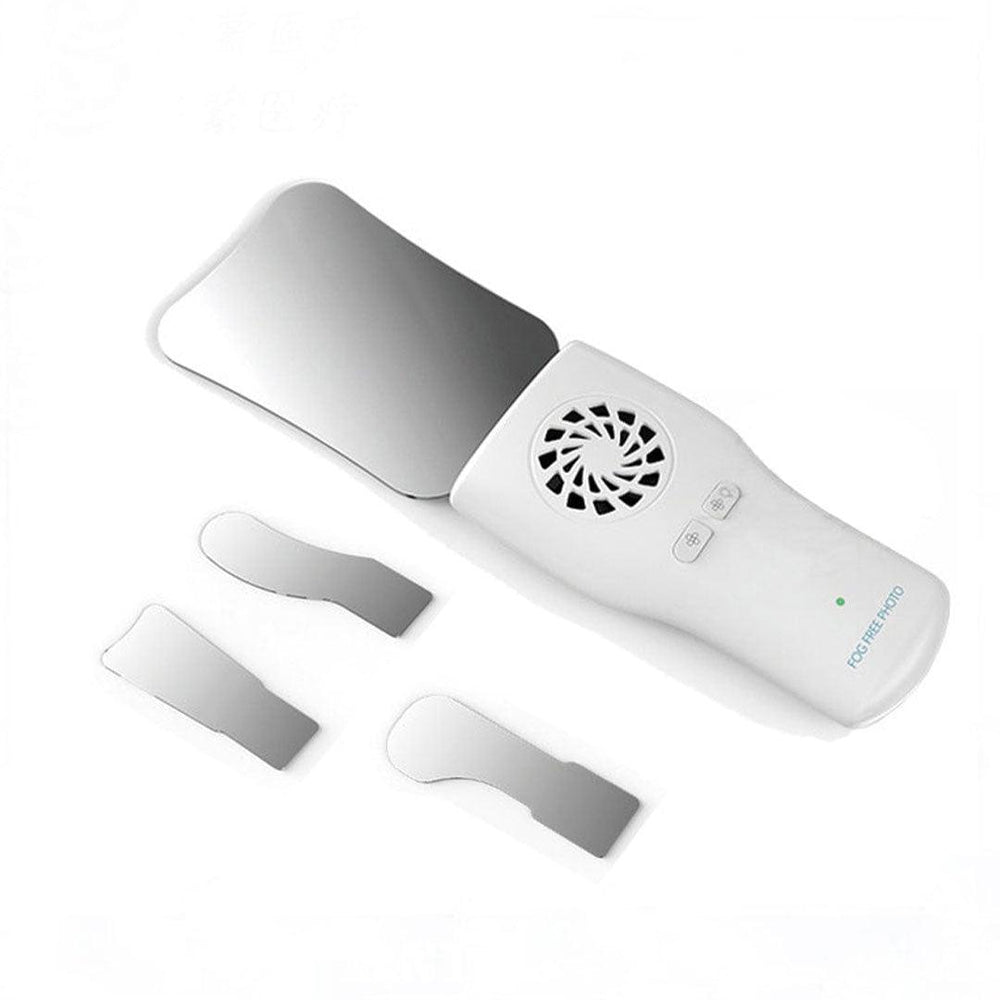
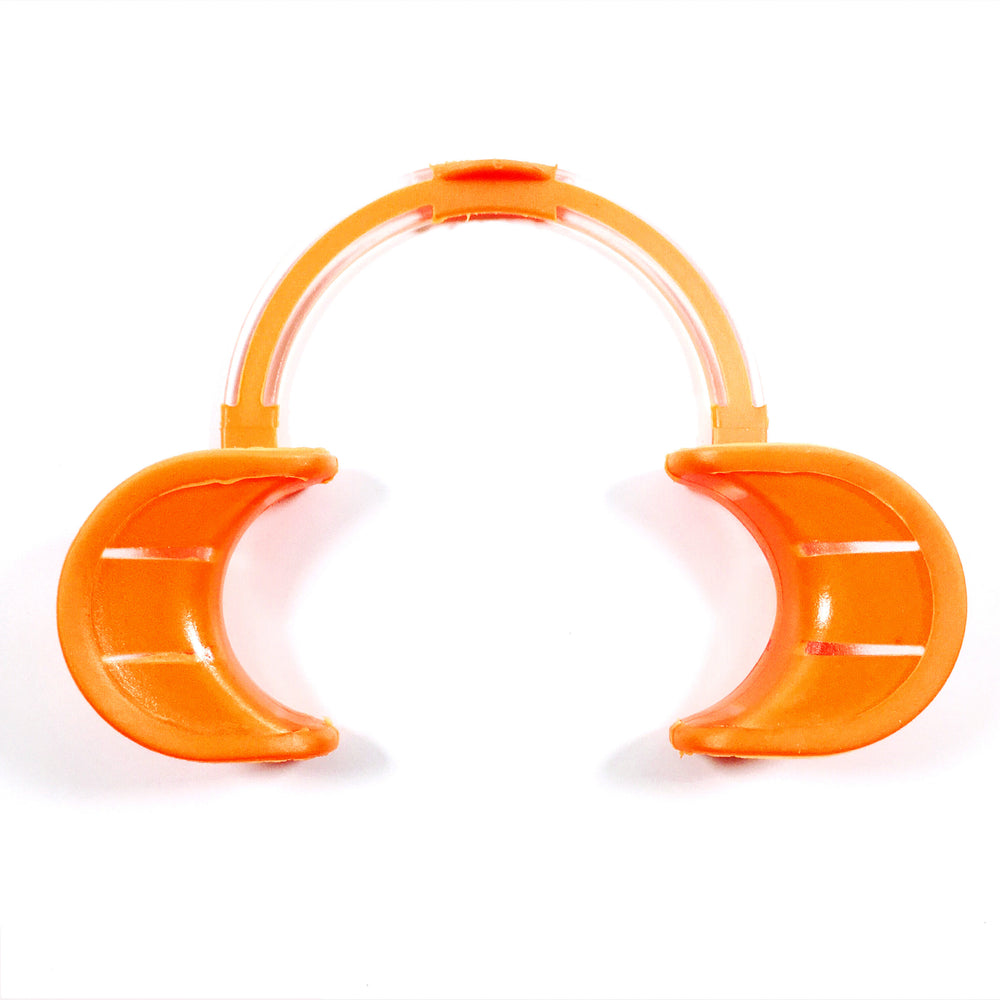
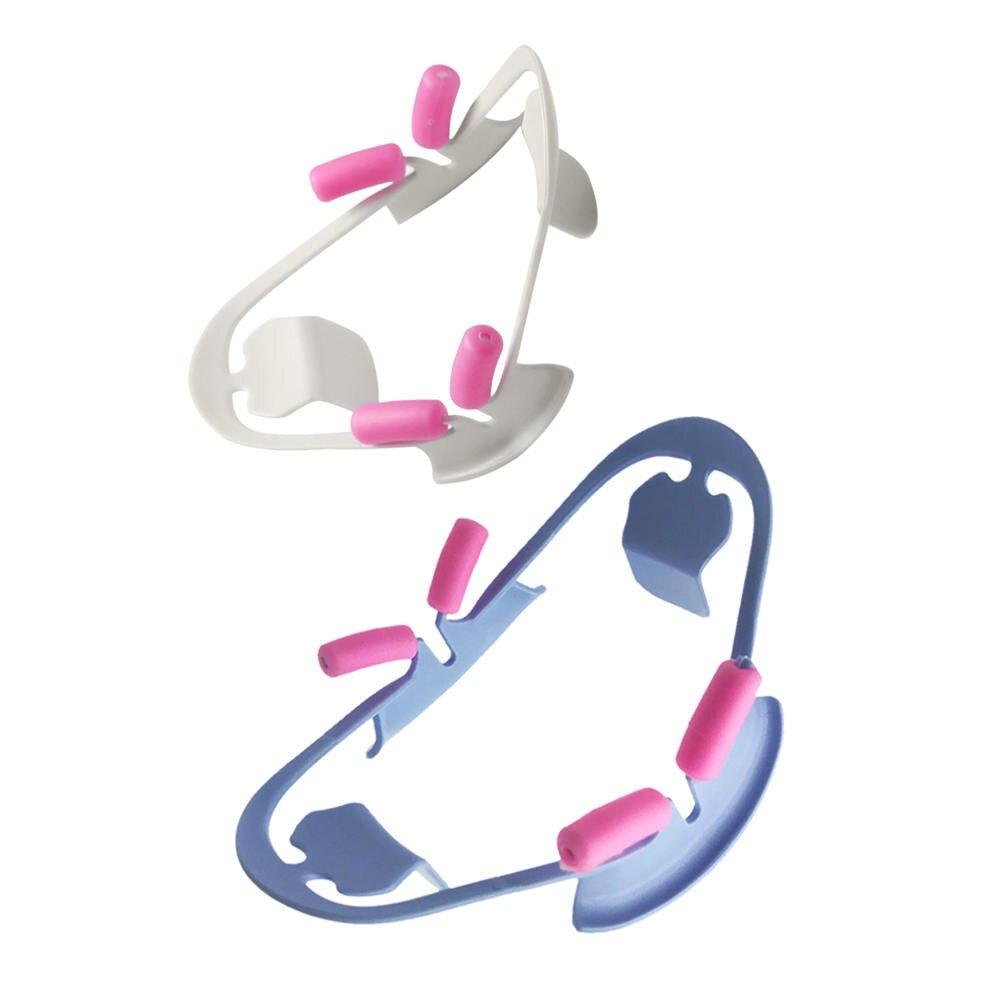
Dental photography is an integral part of the practice of dentists. High-quality photos of teeth and the oral cavity can help in diagnosis, treatment planning, and patient enlightenment. However, to get clear and expressive images, it is necessary to find the right balance of depth of field. In this article, we will share useful life hacks for setting up a camera for dental photography and deciding on an aperture to control the depth of field.
1. Understanding the diaphragm.
The aperture is one of the most important features of the camera. This is a hole in the lens that regulates the amount of light passing through it. It is represented by numerical values such as f/2.8, f/4, f/8, etc., where a smaller number corresponds to a larger aperture and a greater depth of field.
2. Depth of field calculation.
The depth of field is the area in the frame that will be displayed clearly. In dental photography, depth of field control is often required to emphasize an area of interest to us, for example, teeth or certain details of the oral cavity. When choosing an aperture, factors such as the focal length of the lens, the distance to the subject, and the required depth of field should be taken into account.
3. Shallow depth of field.
If you want to highlight individual details, such as teeth, then you should select a small aperture, such as f/2.8 or f/4. A small depth of field creates a blur effect around the focus object, which helps to create aesthetically attractive images. However, remember that too small an aperture can lead to a decrease in the depth of field, which will be a problem when shooting numerous teeth or the entire oral cavity.
4. Large depth of field.
In other cases, it may be necessary to increase the depth of field so that the entire dentition is visible in the picture. In this case, you should pick a larger aperture, for example, f/8 or f/11. A greater depth of field will help you maintain clarity at a greater distance and is suitable for shooting the oral cavity with several teeth.
5. Experiment and check the results.
Adjusting the aperture is a process that requires practice and experimentation. Try different aperture values depending on the situation, and focus on controlling the depth of field. It is important to remember that a well-chosen aperture allows you to convey not only the necessary depth of field but also the aesthetic impression of the photo.
In conclusion, setting up a camera for dental photography requires the ability to choose the right aperture to control the depth of field. Understanding the work of the diaphragm and its influence on photographs, practice, and experiments will help you achieve high-quality and expressive images for dental practice.


