Cameras play an important role in dental photography, allowing dentists to capture high-quality images of teeth and the oral cavity. It is especially significant to set up the camera correctly to achieve optimal results. In this article, we offer several useful life hacks that will help you set up your camera and choose the optimal aperture when taking dental photos.
1. Set the exposure mode correctly.
Manual exposure mode is preferred for dental photography, as it gives you full control over the shooting parameters. Set the aperture (F-value) between F/11 and F/16 to achieve optimal depth of field.
2. Use a macro lens.
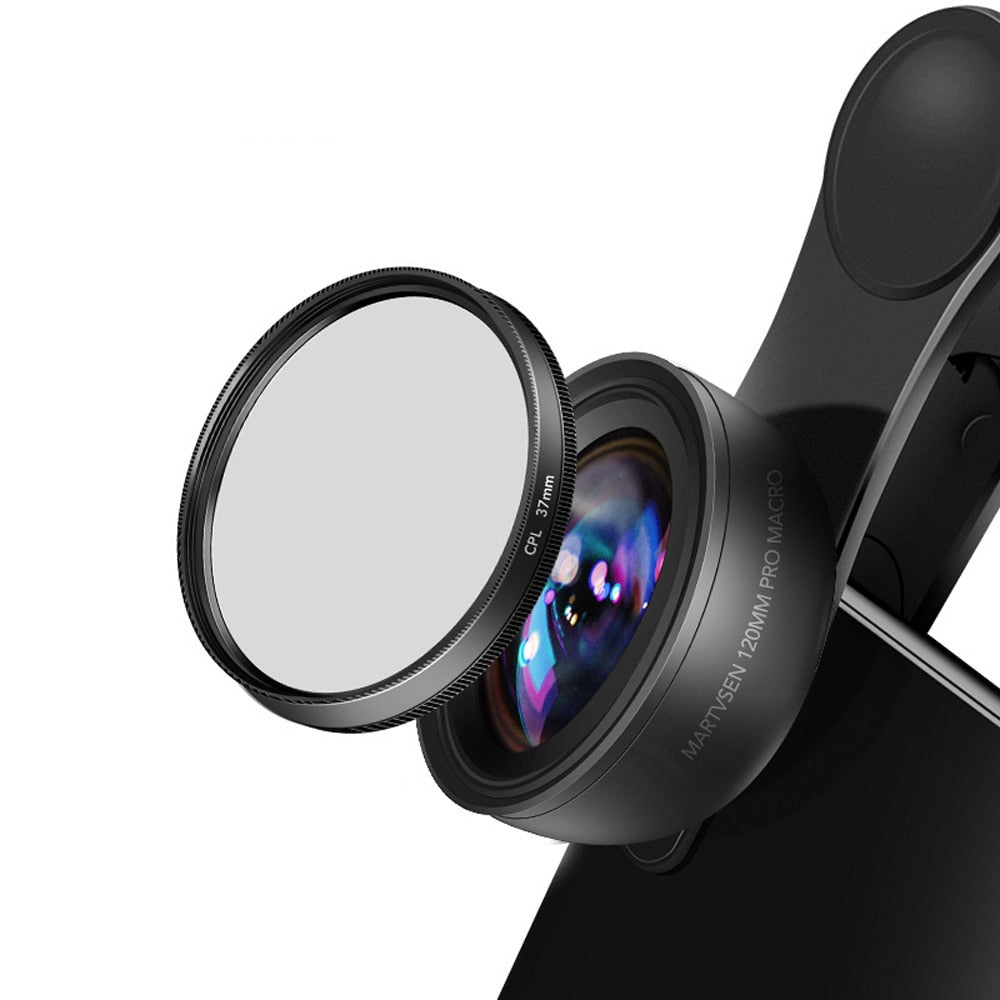
Macro lenses allow you to take close-ups of teeth and the oral cavity. They provide a close focal length and high image quality. It is recommended to use a lens with a focal length of 90 to 105 mm for dental photography.
3. Check the white balance.
The right-adjusted white will give you the right color reproduction in the photos. Select the white balance setting to auto mode, or try different presets to find the optimal balance.
4. Use the appropriate ISO settings.
High ISO values can cause noise in photos. It is recommended to use low ISO values (in the range of 100–400) to minimize noise and obtain clearer images.
5. Pay attention to the lighting.
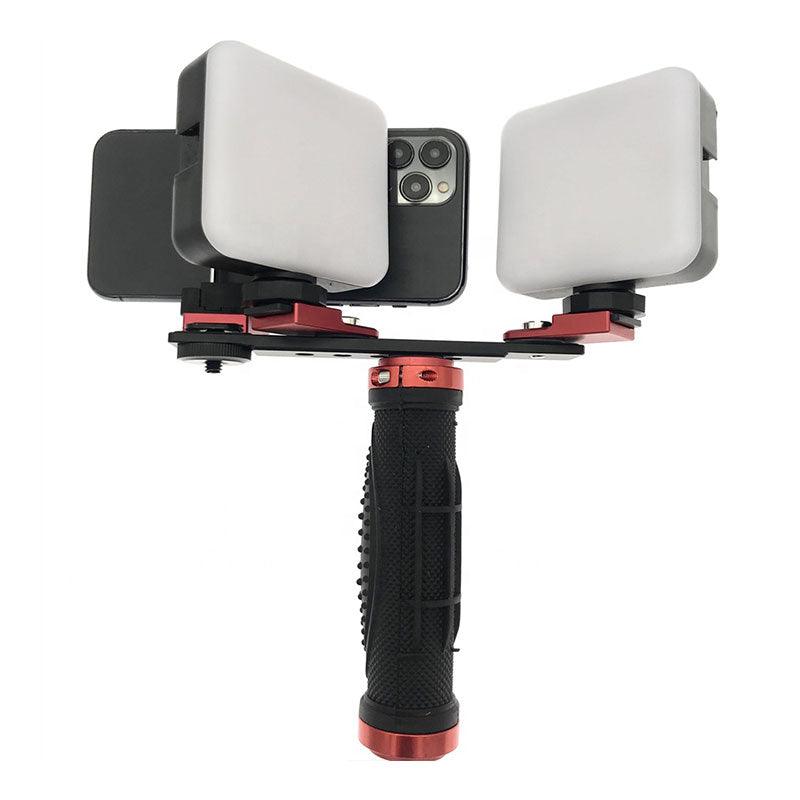
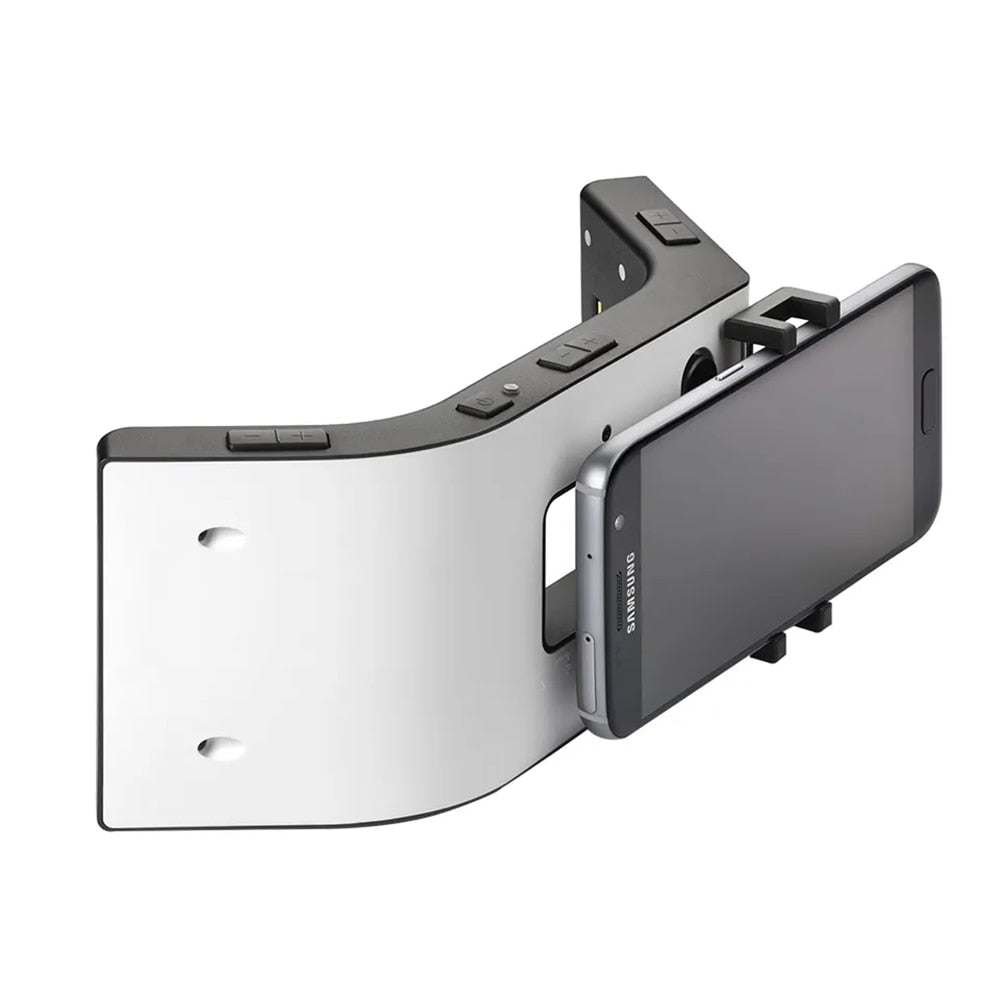
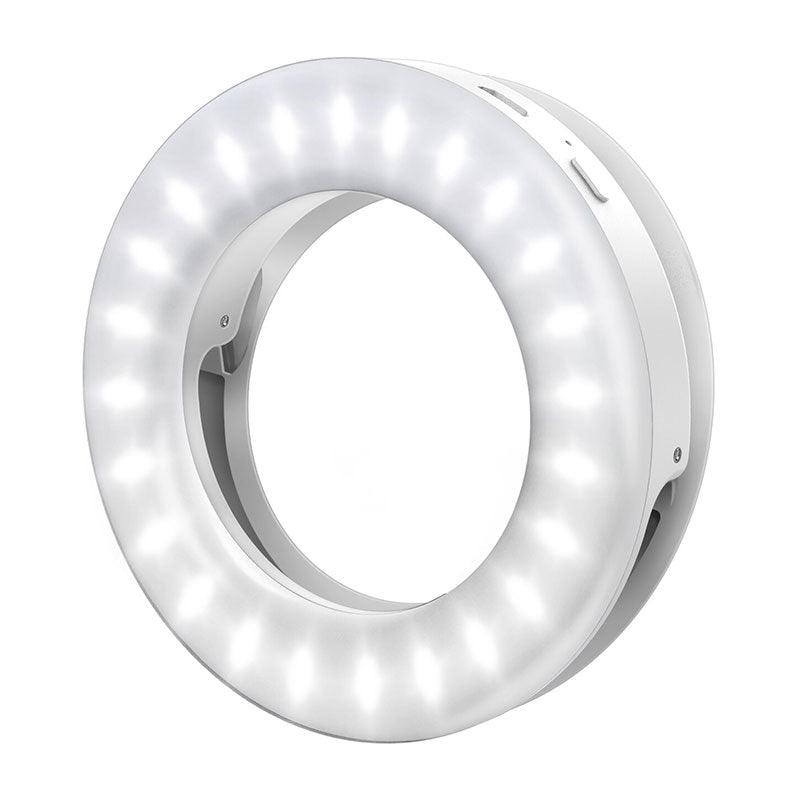
Good lighting plays an important role in dental photography. Use additional lighting devices, such as a flash or backlight, to ensure sufficient illumination of the subject.
6. Position the patient correctly.
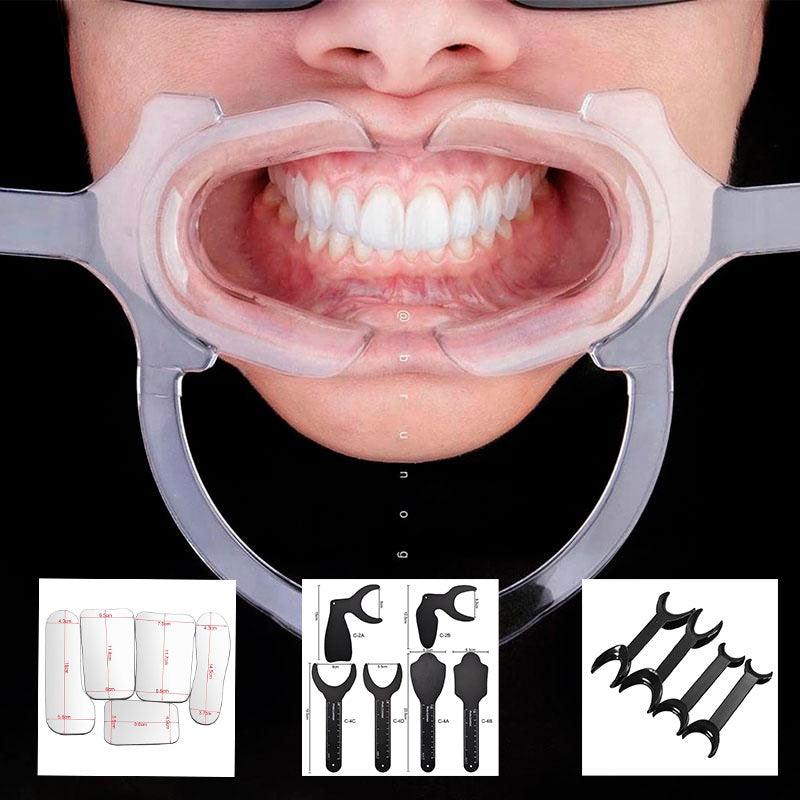
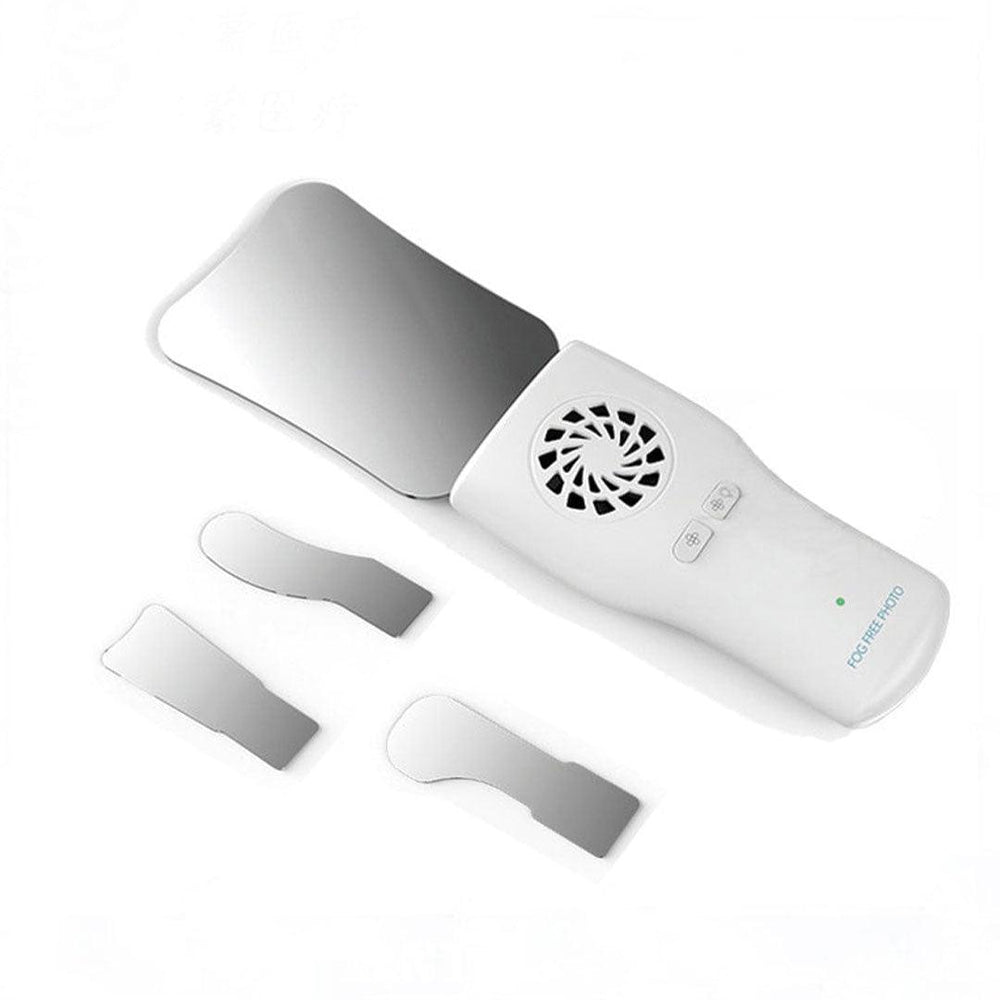
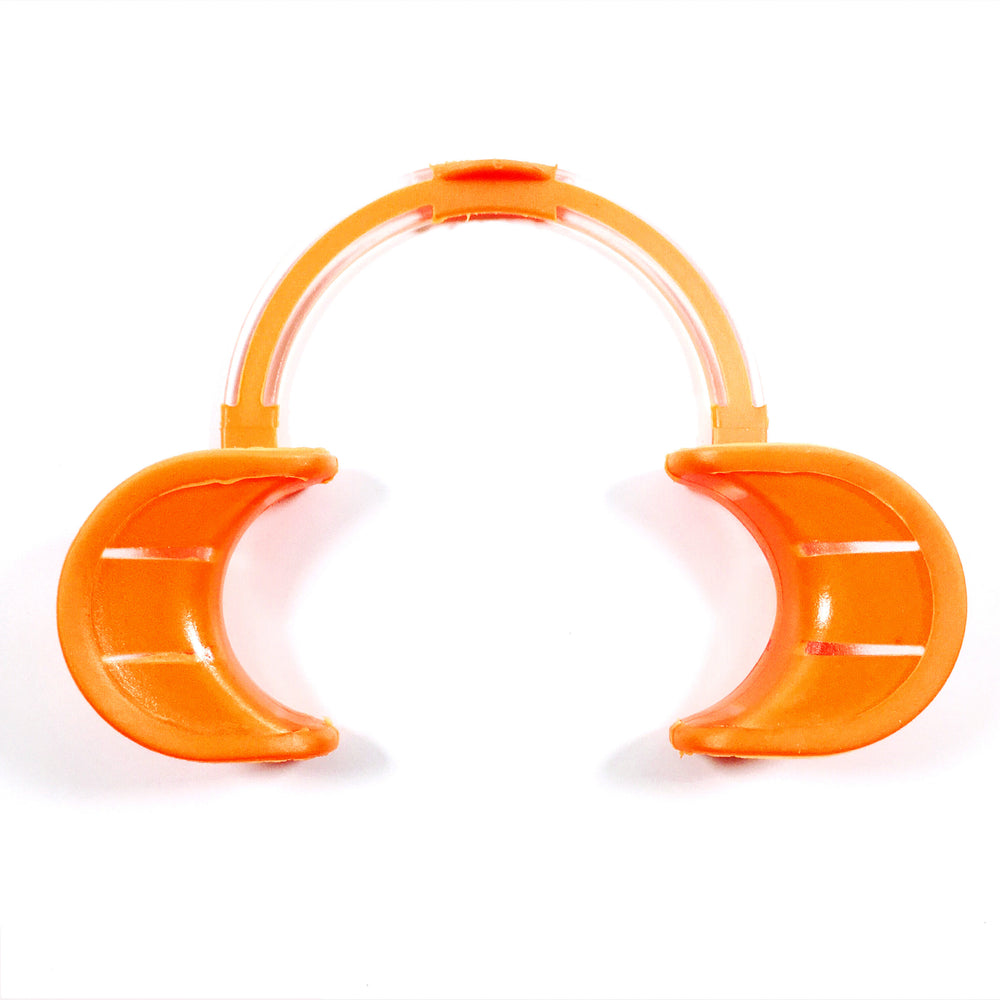
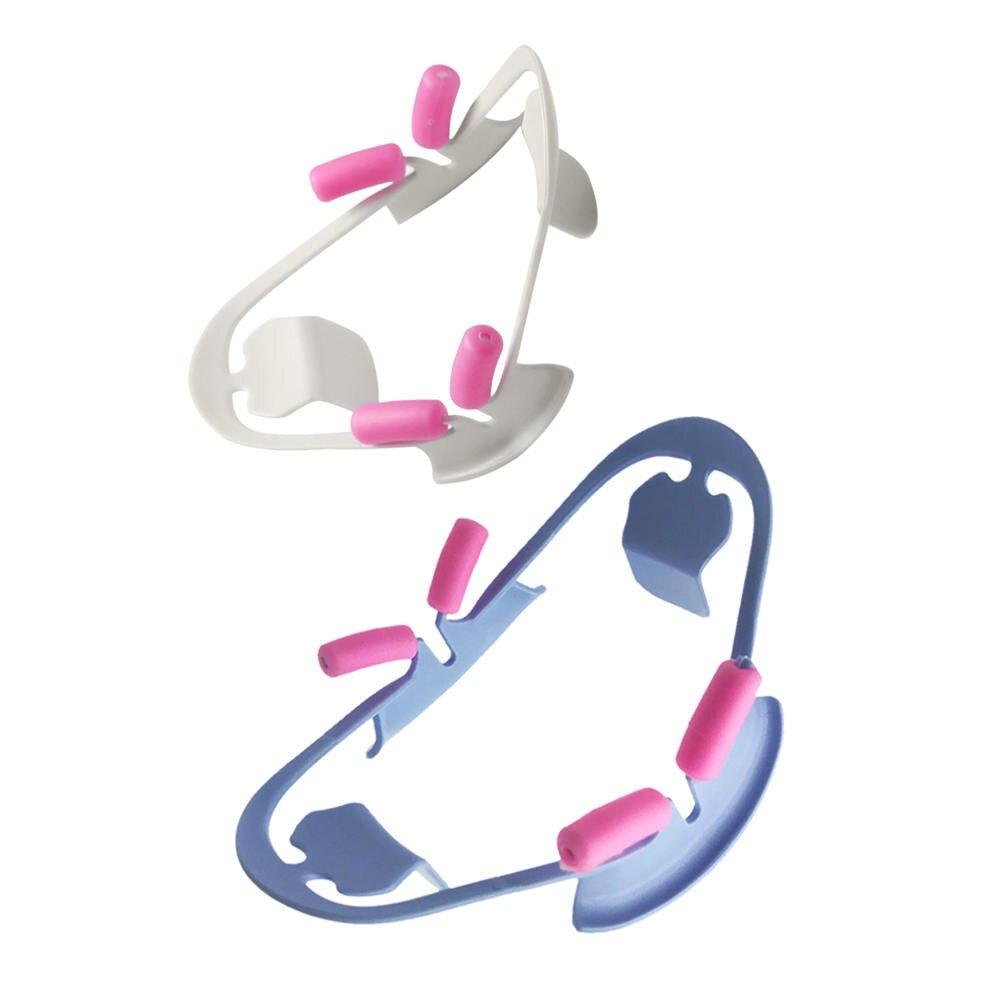
For dental photography, it is essential that the patient is in a comfortable position and is well illuminated. It is recommended to use mirror surfaces or special positions to ensure the optimal position of the patient before shooting.
7. Check the focus.
Carefully check the focus before shooting. Make sure that the image is clear and without blurring.
Choosing the optimal aperture:
8. Consider the depth of field.
The aperture controls the depth of field in the photo. It is recommended to set the aperture value between F/11 and F/16 to ensure a good depth of field for tooth details.
9. Be careful with an aperture that is too large or too small.
Very large apertures (for example, F/32) can lead to diffraction, which can degrade the image quality. Too small apertures (for example, F/2.8) can lead to insufficient depth of field, and some parts of the image may be out of focus.
10. Practice and experiment.
As in any field, practice makes perfect. Try different aperture values and experiment with camera settings to find the optimal settings for your needs.
Taking into account the above life hacks, you will be able to set up a camera for dental photography and choose the optimal aperture to achieve high-quality results. Remember that practice and experience are key elements in creating excellent photos, so don't be afraid to experiment and improve your shooting skills.


