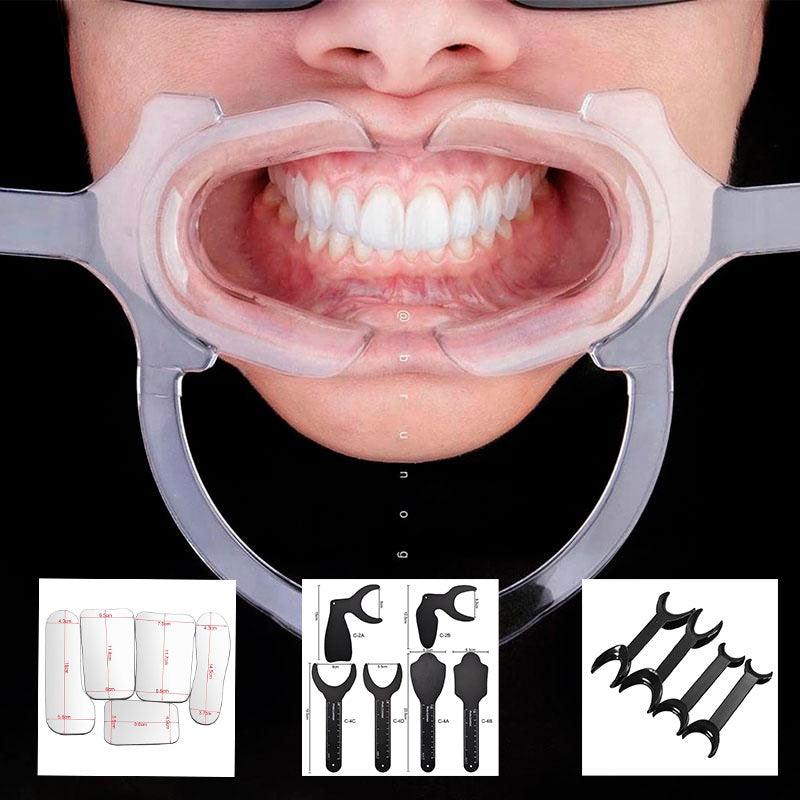
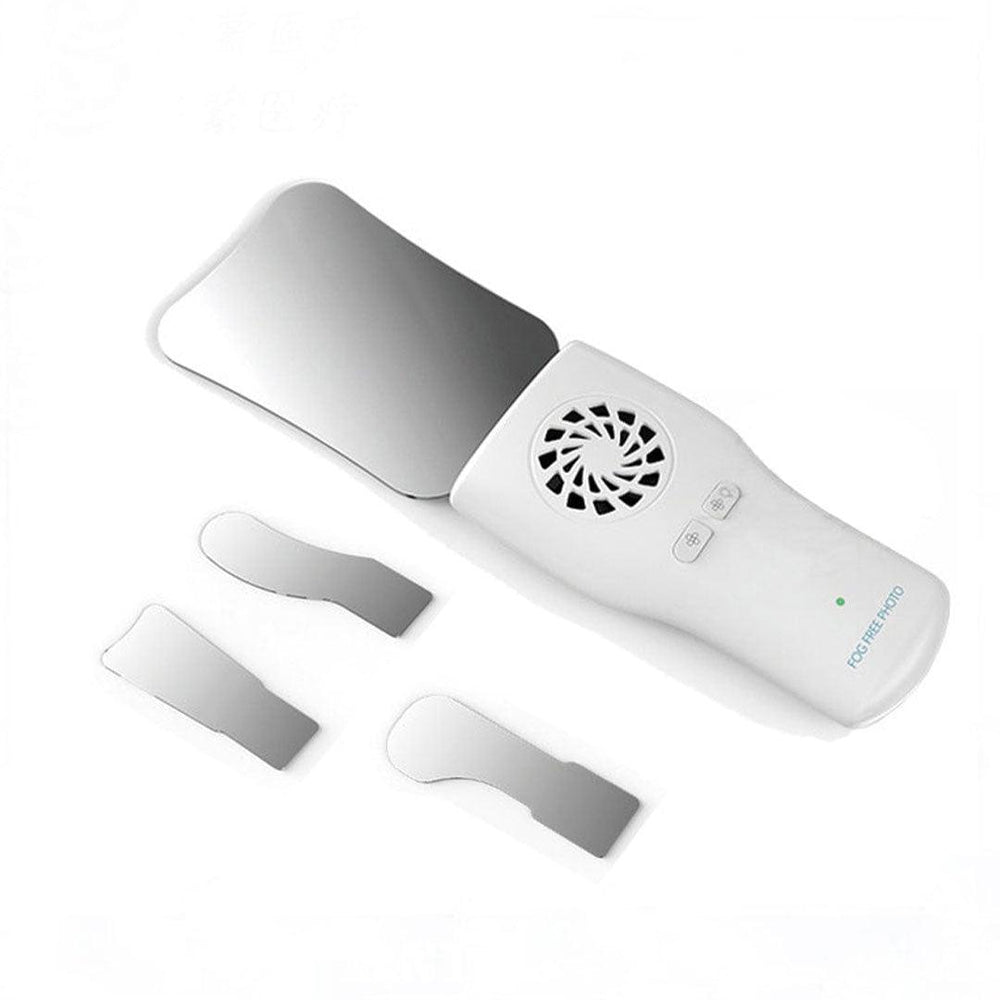
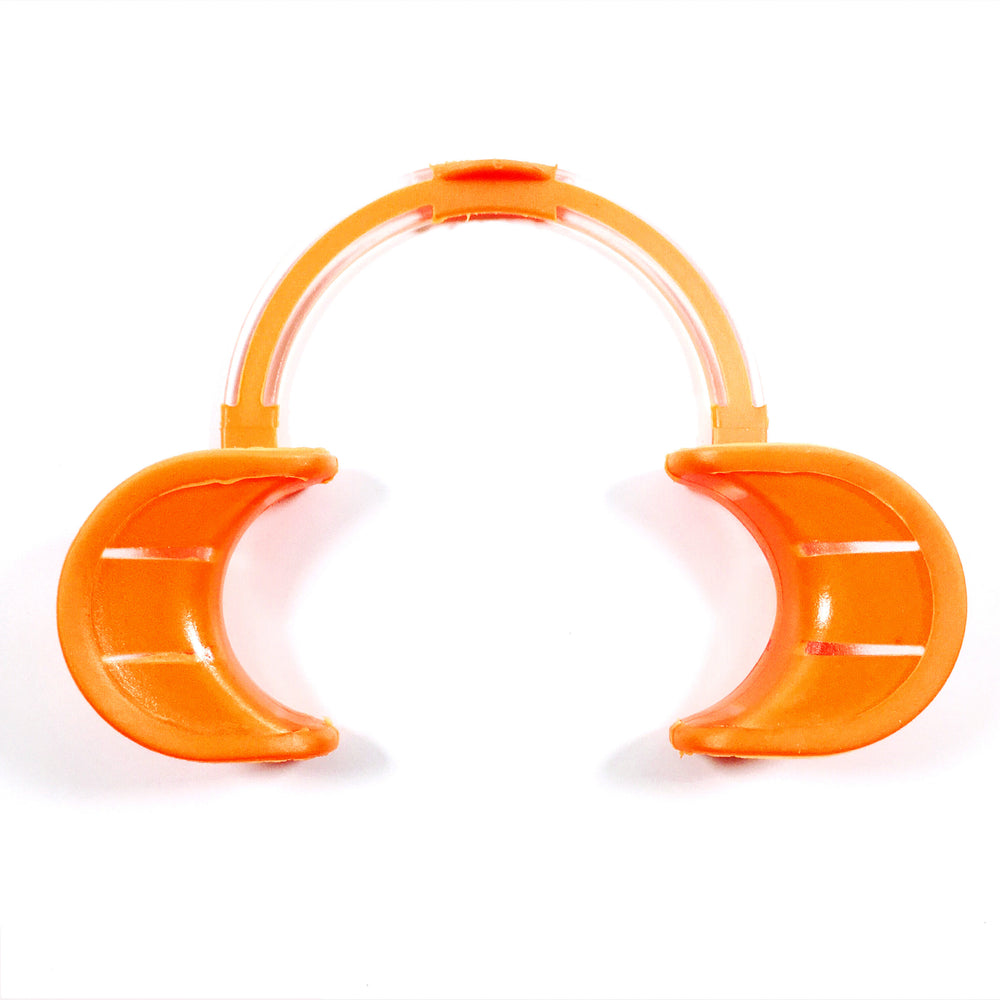
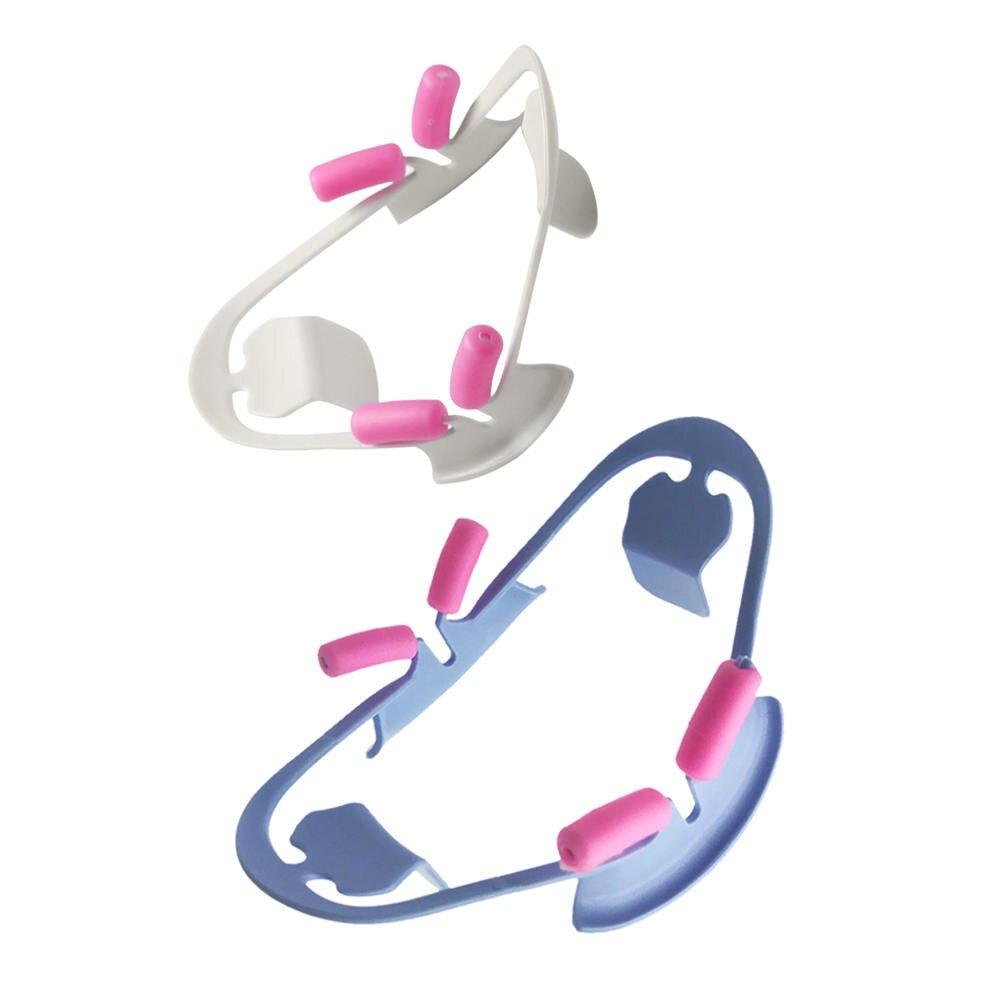
Dental photography is an important component of modern dentistry because it allows you to record and document the condition of teeth, the oral cavity, and oral tissues. However, in order to achieve high-quality results, it is necessary to have a good understanding of shooting techniques and basic angulations and angles.
The main annulations in dental photography are:
1. Frontal photography.
Frontal photography is used to get a general idea of the teeth and oral cavity. The photo is taken on a straight axis, parallel to the surfaces of the teeth. To avoid the appearance of shadows, uniform lighting should be used, and the camera should be kept at the level of the patient's face.
2. Lateral photography.
Lateral photography allows you to fix the lateral surfaces of the teeth and the structure of the oral cavity. The photo is taken at an angle of 45 to 90 degrees to the surfaces of the teeth. This angle allows you to visualize lateral defects and anomalies of the teeth.
3. Occlusive shooting.
Occlusive photography is used to document the bite and the interaction of the dentition. The photo is taken from the surface of the upper jaw on a closed bite in order to record the interaction of the upper and lower dentition.
The main angles in dental photography are:
1. Frontal angle.
Photographing from a direct angle, in which the teeth look directly into the camera, allows you to get the most informative pictures to assess the shape, texture, and color of teeth. The photo is taken directly from the front of the mouth, at right angles to the teeth.
2. Lateral (lateral-horizontal) angle.
Photographing from a lateral angle is used to assess the lateral surfaces of the teeth and oral cavity. The photo is taken from the side of the patient's profile, providing information about anatomical features and injuries.
3. Lateral-vertical angle.
Photographing from a lateral-vertical position allows you to take pictures of the upper and lower jaws as well as document the relationship between them. This is important for bite analysis and the evaluation of tooth alignment.
Using these basic angulations and angles, you will be able to get diverse and informative images for high-quality dental photography. Remember that it is also significant to take into account the lighting environment and the choice of the correct camera settings.


