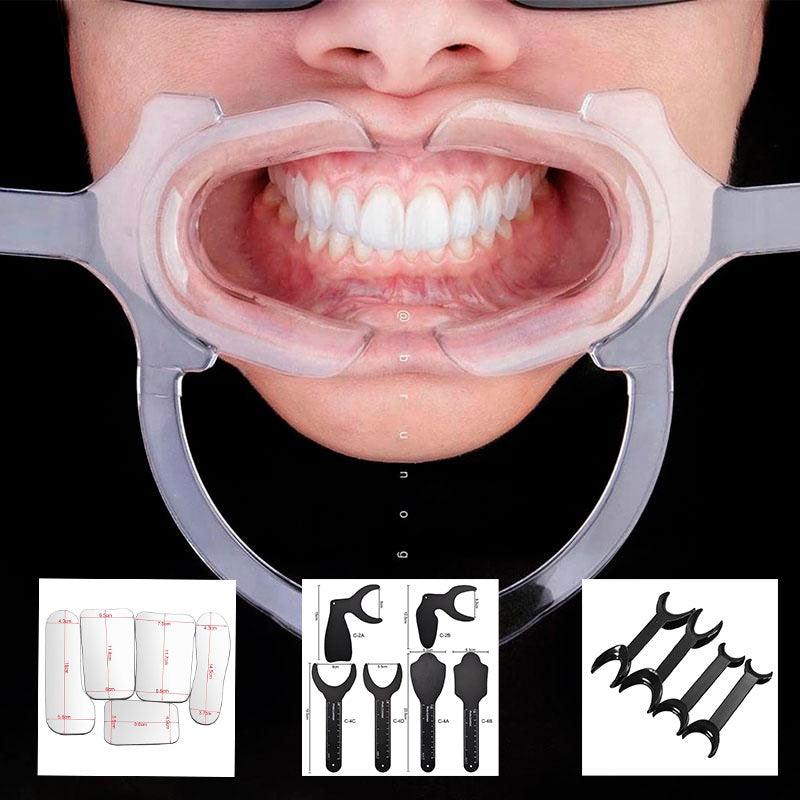
Dental photography plays an important role in dentistry, helping doctors diagnose and plan the treatment of patients. Here are some useful life hacks and techniques that will help you take high-quality photos of teeth and tissues:
1. Proper lighting.
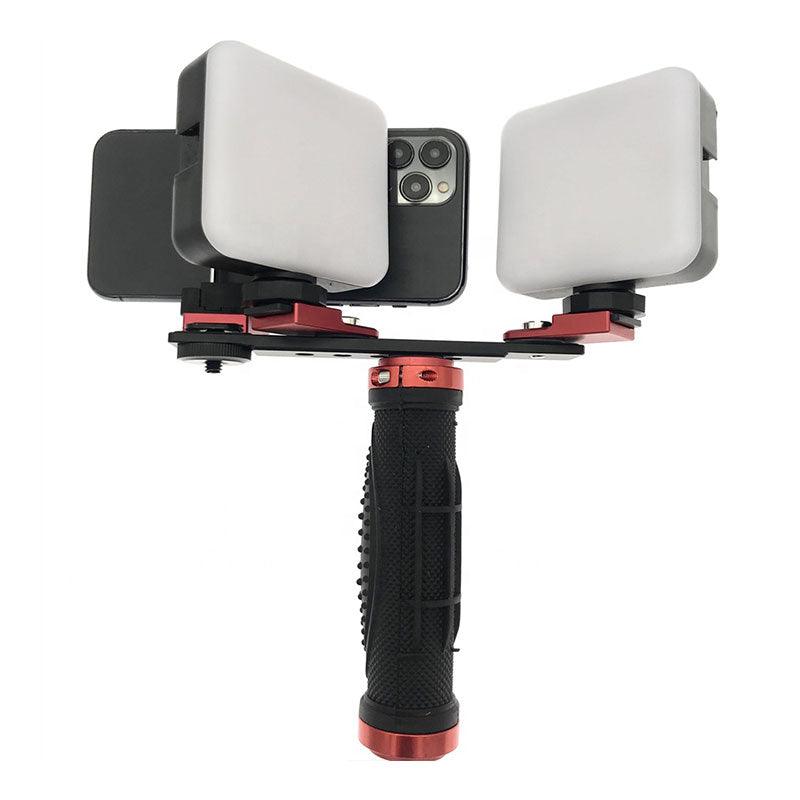
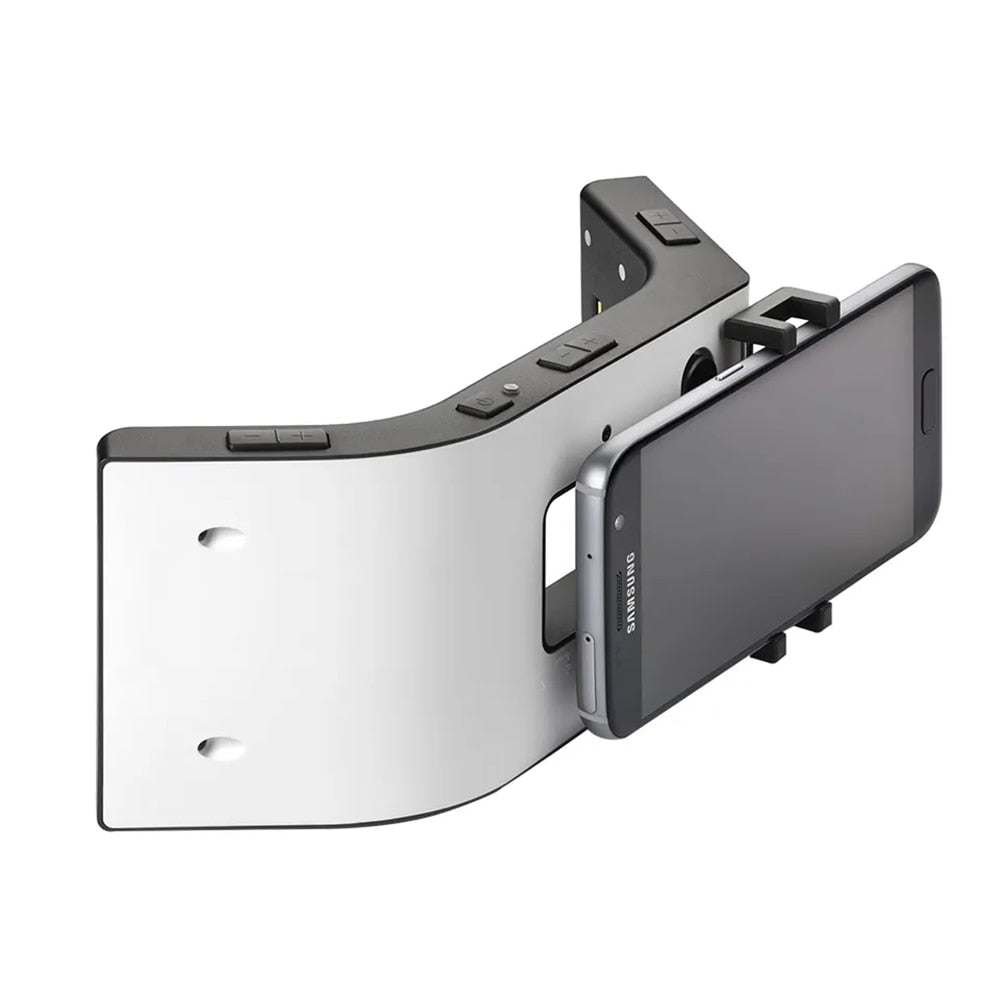
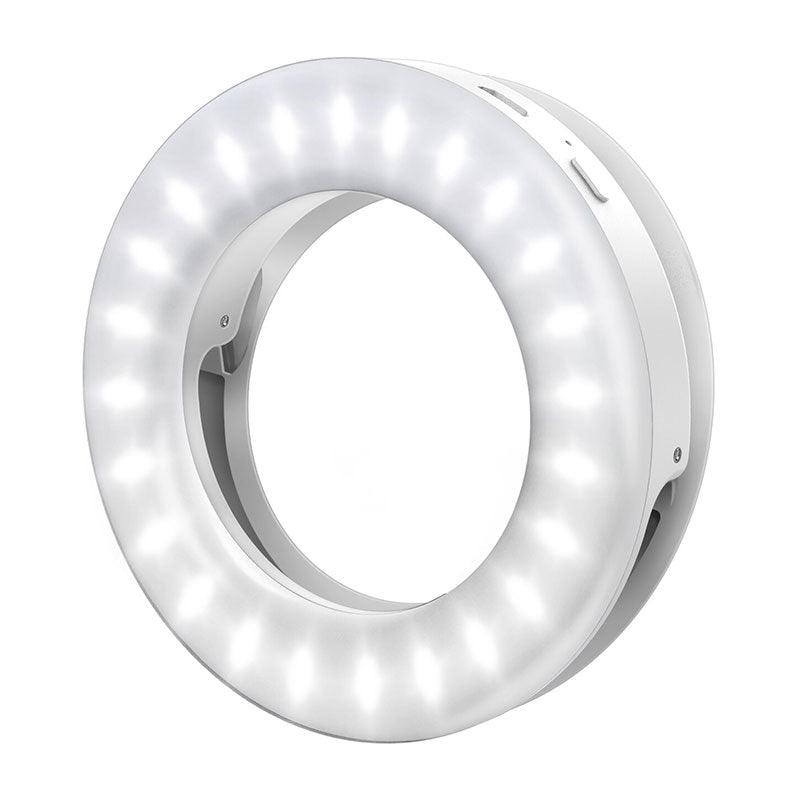
Lighting is one of the key aspects of dental photography. Use a bright and uniform light source to avoid shadows and get clear images. It is recommended to use special dental photographic lamps or ring flashes that provide uniform illumination.
2. Using mirrors.
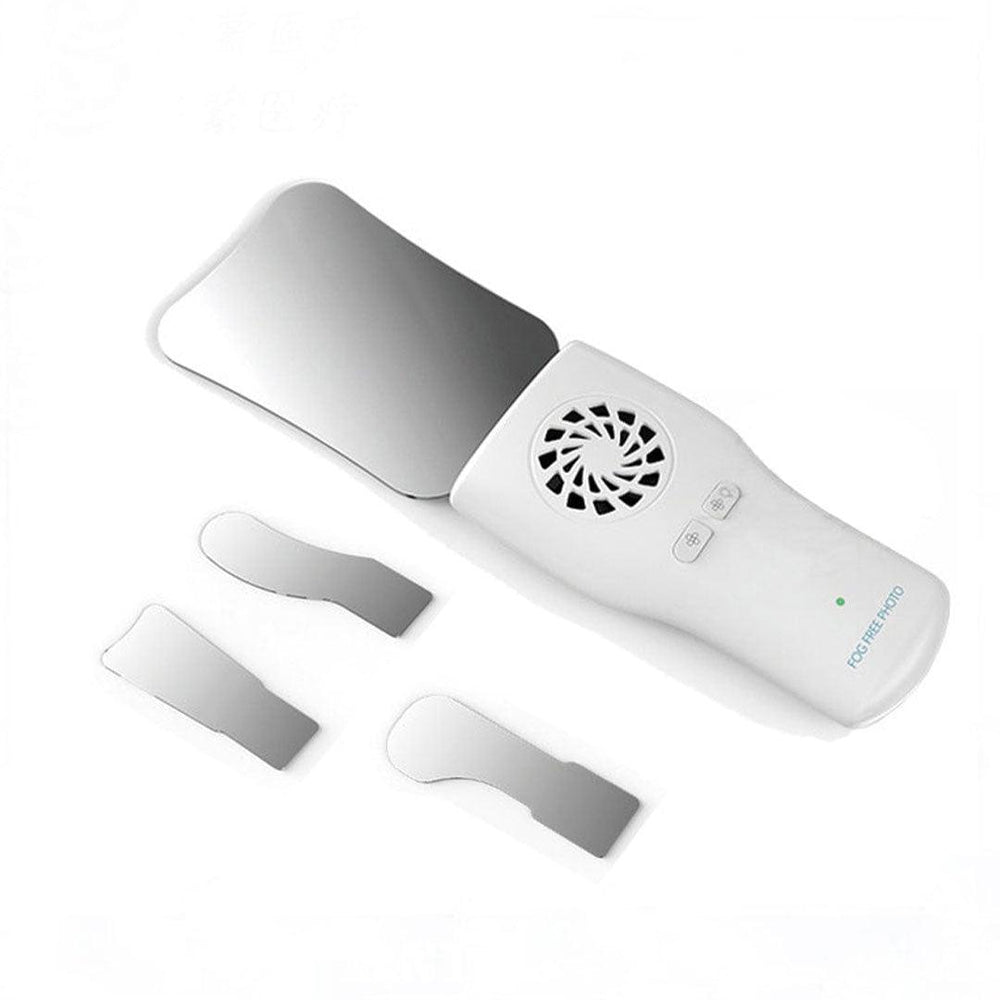
Mirrors are an integral part of dental photography equipment. They help you see and photograph hard-to-reach areas of the oral cavity. Use a mirror to reflect light and create an optimal angle for shooting.
3. Focus on the details.
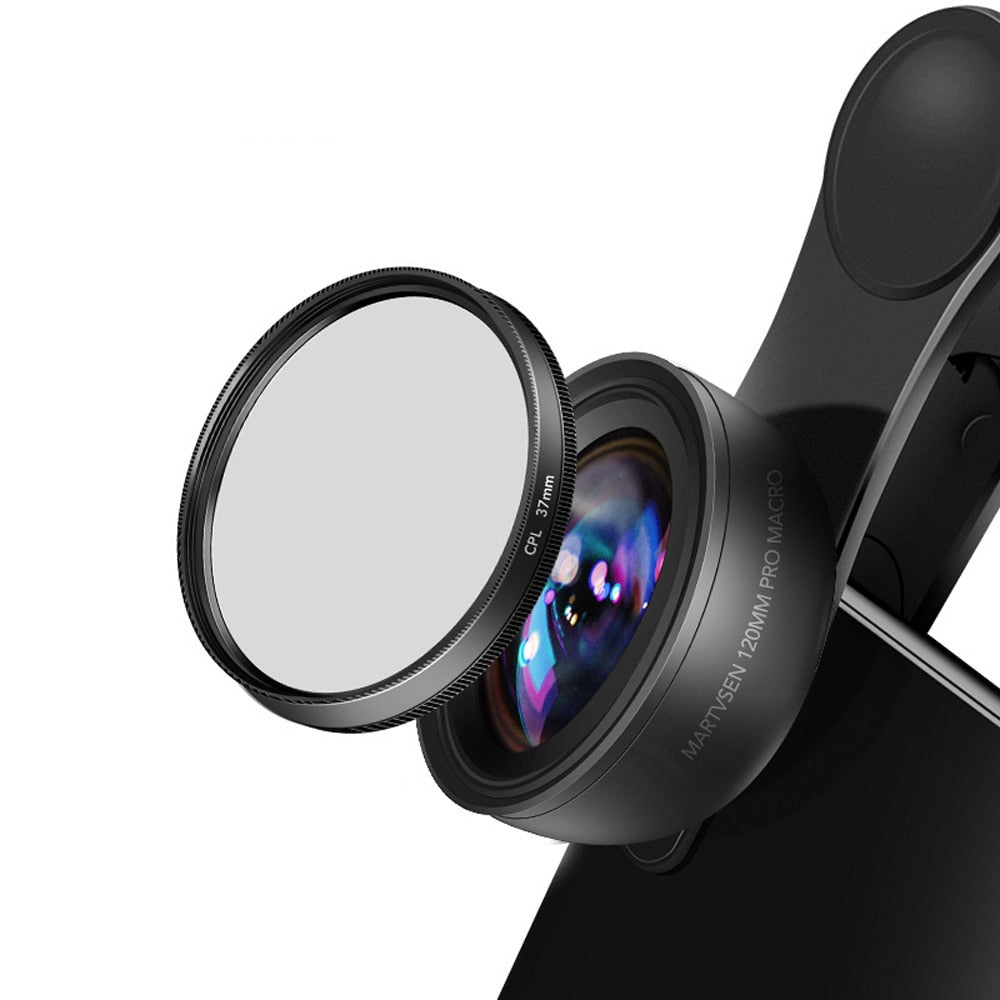
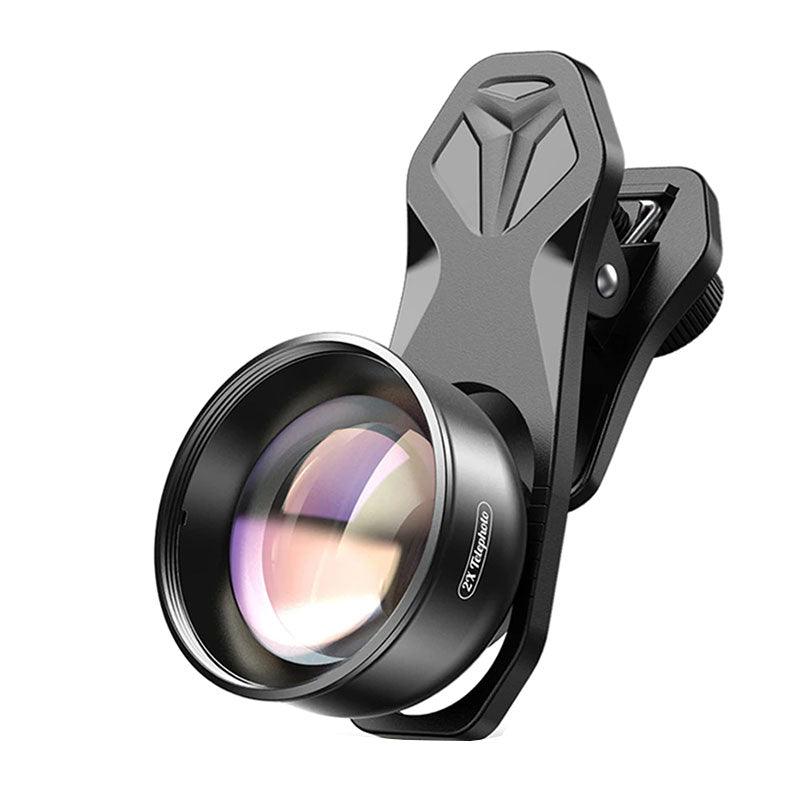
To get high-quality photos of teeth and tissues, it is significant to focus on the details correctly. Use macro lenses or special dental lenses with high magnification to capture the smallest details. Control the depth of field to focus on the desired area and create a spectacular background.
4. Correct exposure.
Exposure plays an important role in obtaining high-quality photos. Adjust the exposure according to the lighting and the subject. Use an exposure meter to determine the correct exposure and avoid overexposure or underexposure in photos.
5. Using color contrast.
Color contrast helps to highlight details and structures in photos of teeth and tissues. Use contrasting backgrounds or accessories to create interesting and expressive images. This will help you better see and analyze the condition of your teeth and tissues.
The main types of dental and tissue photography are:
In dental photography, there are several main types of photography that help doctors get complete information about the condition of teeth and tissues:
1. Intraoral photography.
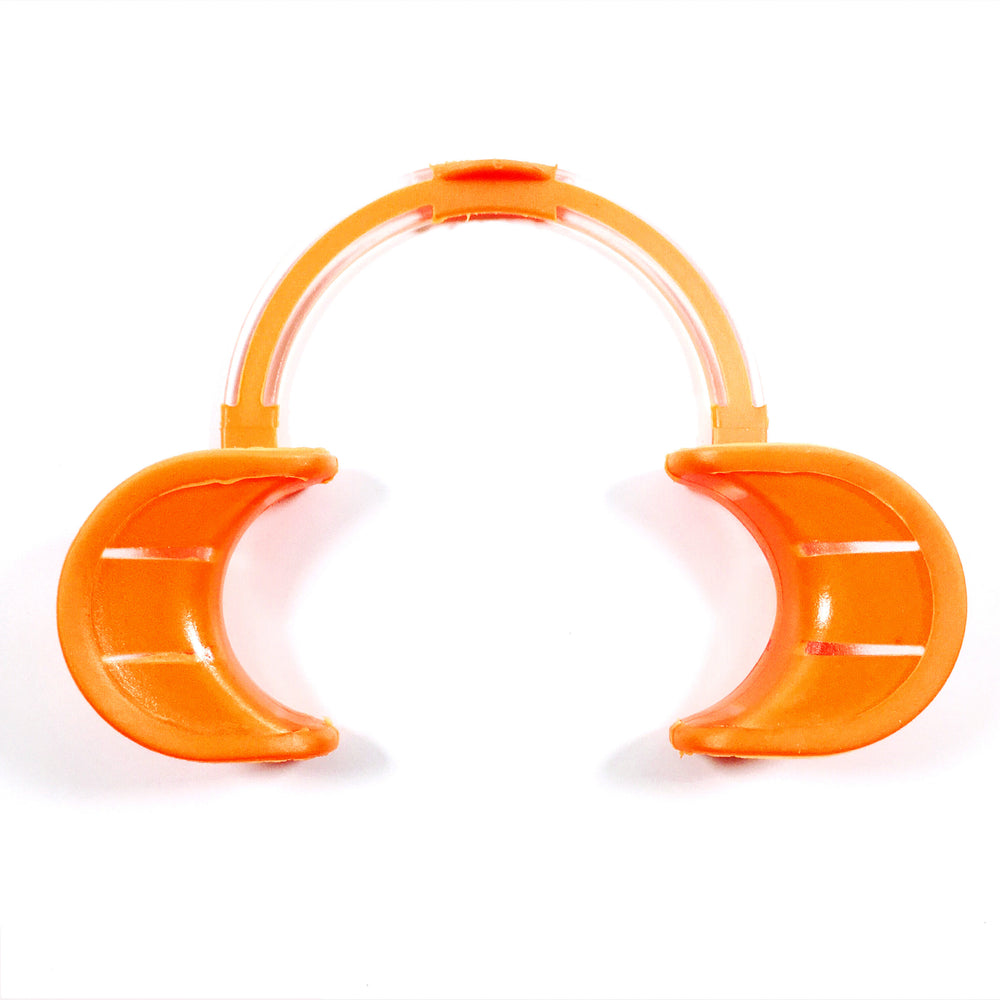
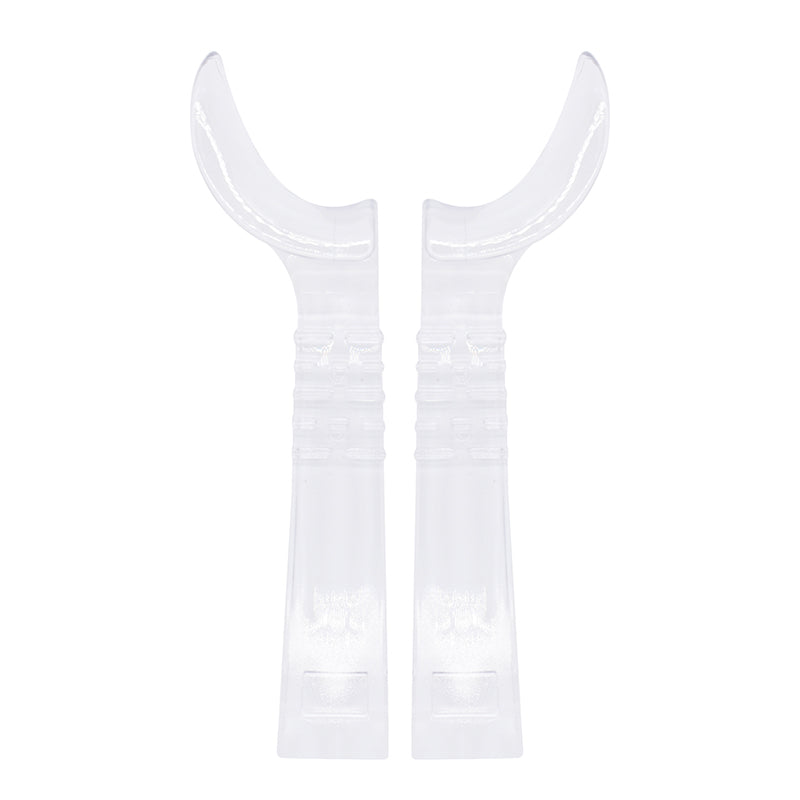
Intraoral photography is a survey inside the oral cavity. This allows doctors to assess the condition of teeth, gums, and other tissues. Special intraoral mirrors and macro lenses are used for intraoral photography.
2. Portrait photography.
Portrait photography is used to document the overall appearance of the patient as well as track changes over time. This helps doctors evaluate the aesthetic aspects and the results of treatment.
3. Radiography.
Radiography is an integral part of dental diagnostics. It allows doctors to see the structures of teeth and bones that are not visible to the naked eye. Radiography includes taking panoramic images, Biteller images, and periapical images.
Techniques of shooting in dental photography and the main types of shooting of teeth and tissues play an important role in dental practice. Proper lighting, the use of mirrors, focusing on details, correct exposure, and the use of color contrast will help you take high-quality photos. Intraoral photography, portrait photography, and radiography are the main types of photography that will help you get complete information about the condition of your teeth and tissues.


