Dental photography is a powerful tool for documentation, communication, and patient education. However, achieving optimal results requires more than just technical skills. It involves meticulous equipment setup, patient preparation, and an efficient workflow. In this article, we'll take you behind the scenes of dental photography, sharing life hacks for equipment setup and workflow that lead to successful and stress-free sessions.
Setting Up Your Dental Photography Equipment:
Proper equipment setup is the foundation of a successful dental photography session. Whether you're capturing detailed intraoral images or comprehensive dental environment shots, the following steps and life hacks can make all the difference.
1. Preparing the Camera and Lens.
— Ensure your camera settings are appropriate for the type of shots you'll be taking (macro, portrait, wide-angle).
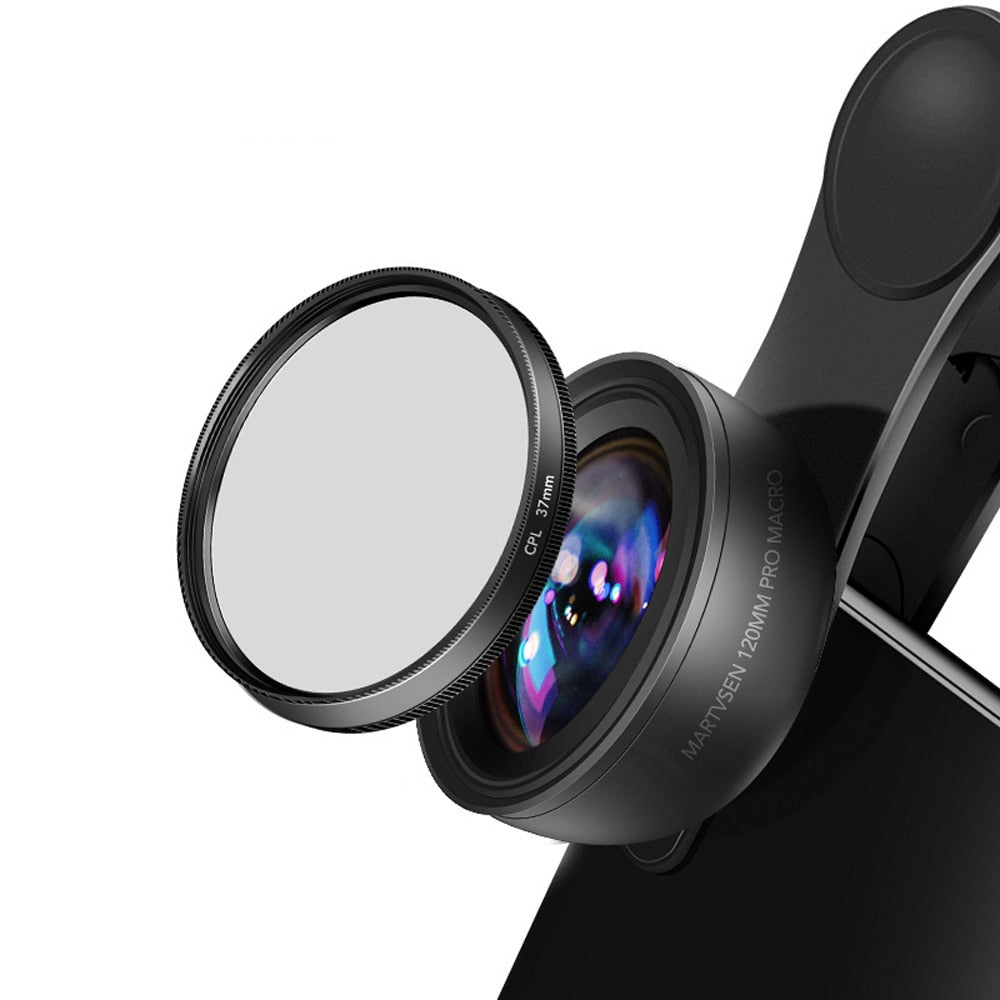
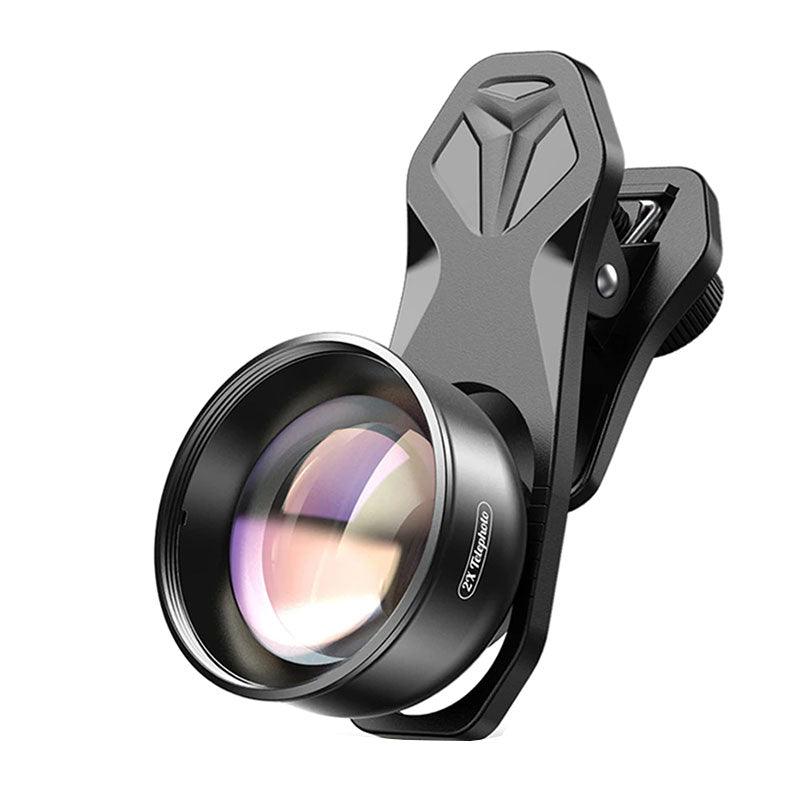
— Attach the appropriate lens, whether it's a macro lens for intricate details or a wide-angle lens for broader shots.
— Set the correct white balance to ensure accurate color representation.
2. Assembling Lighting Gear.
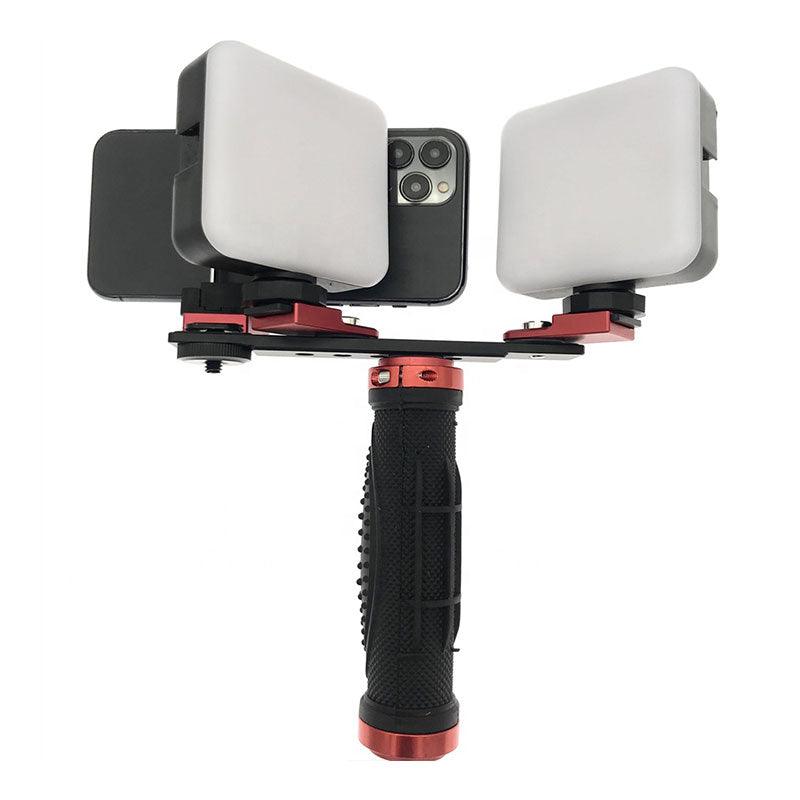
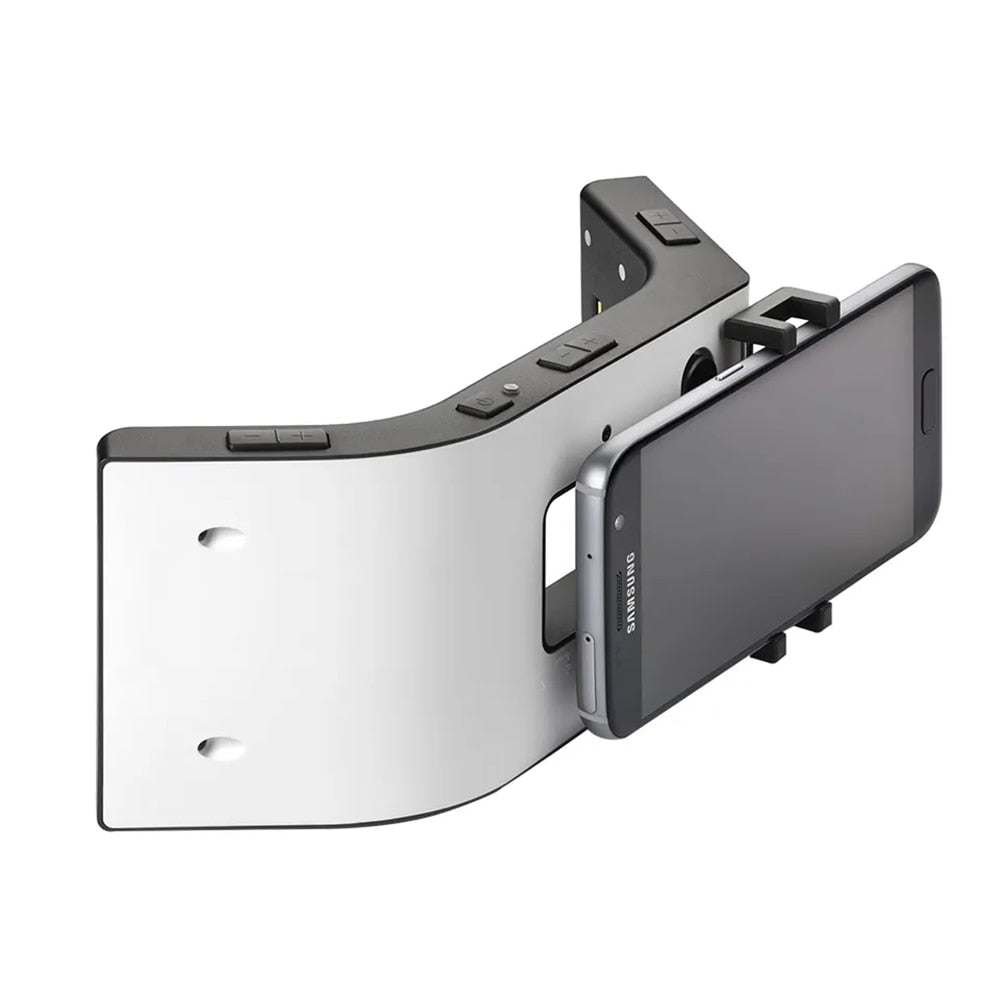
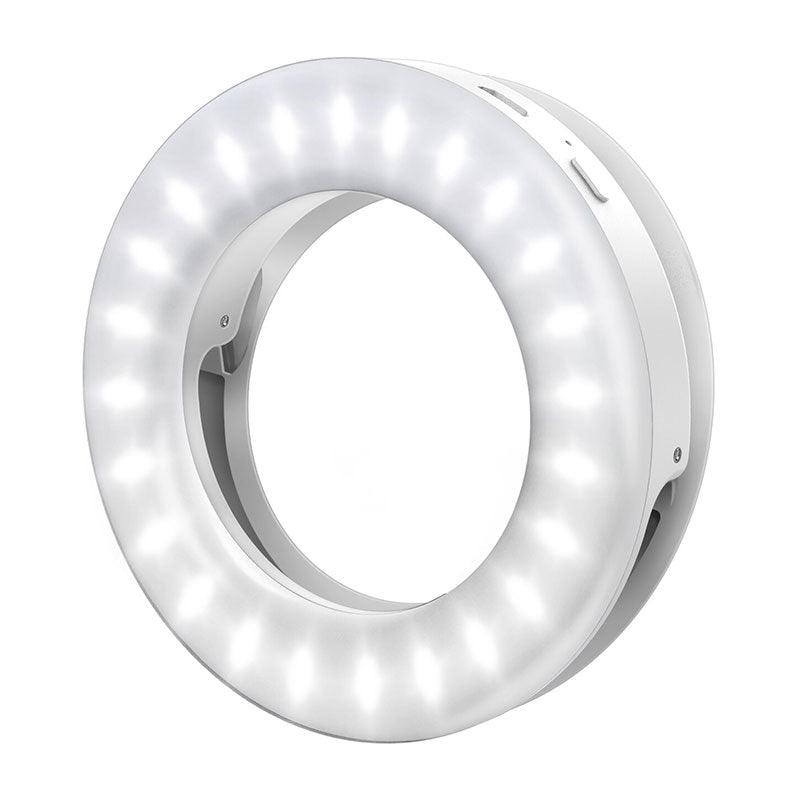
— Set up your chosen lighting setup, whether it's softboxes, ring lights, or a three-point lighting system.
— Test the intensity and positioning of the lights to achieve the desired illumination and shadows.
3. Organizing Props and Accessories.
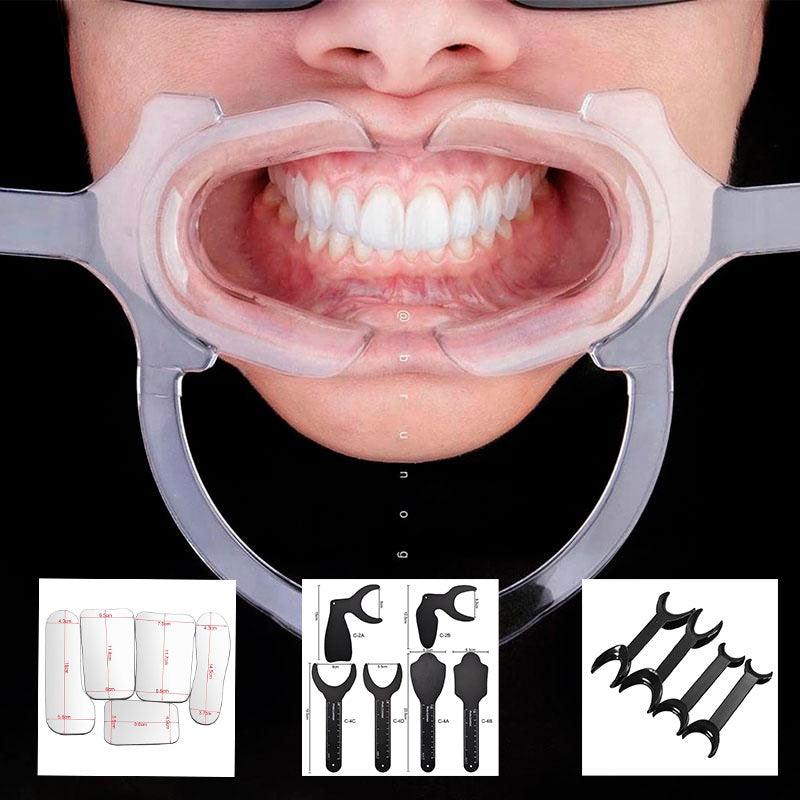
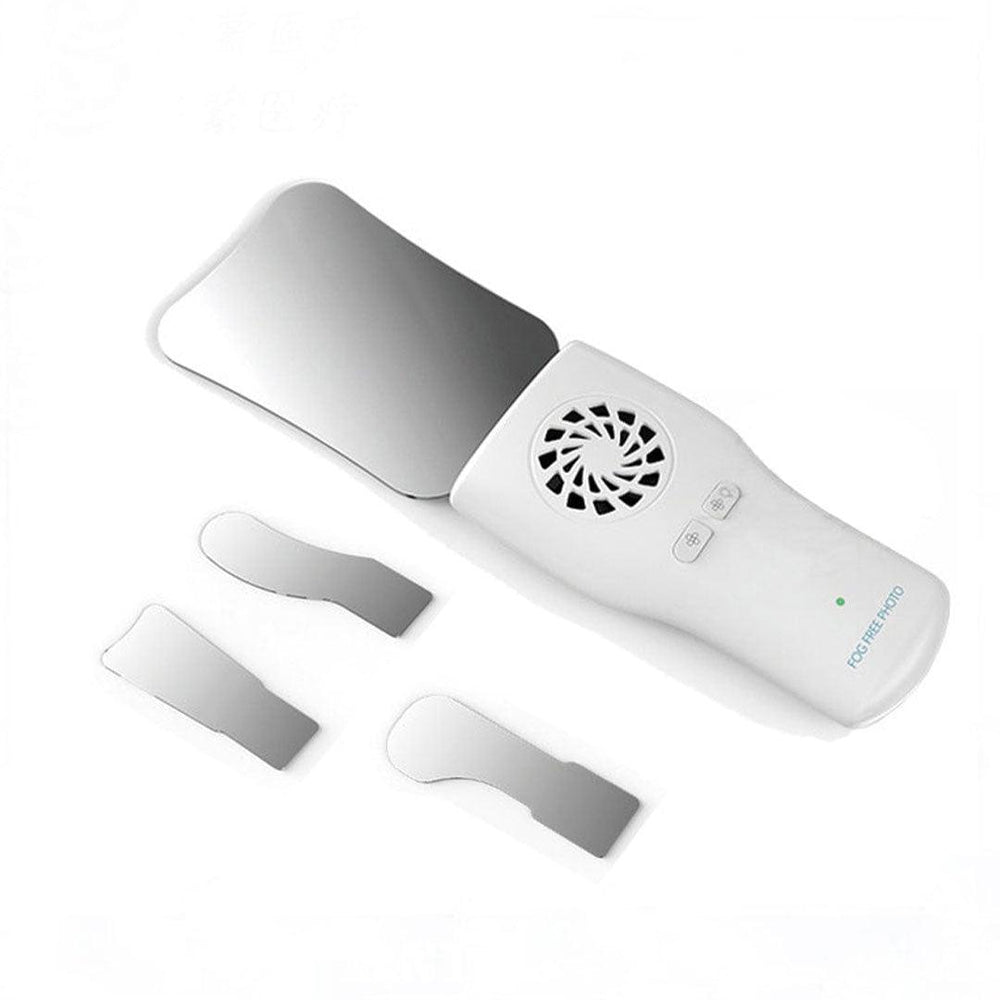
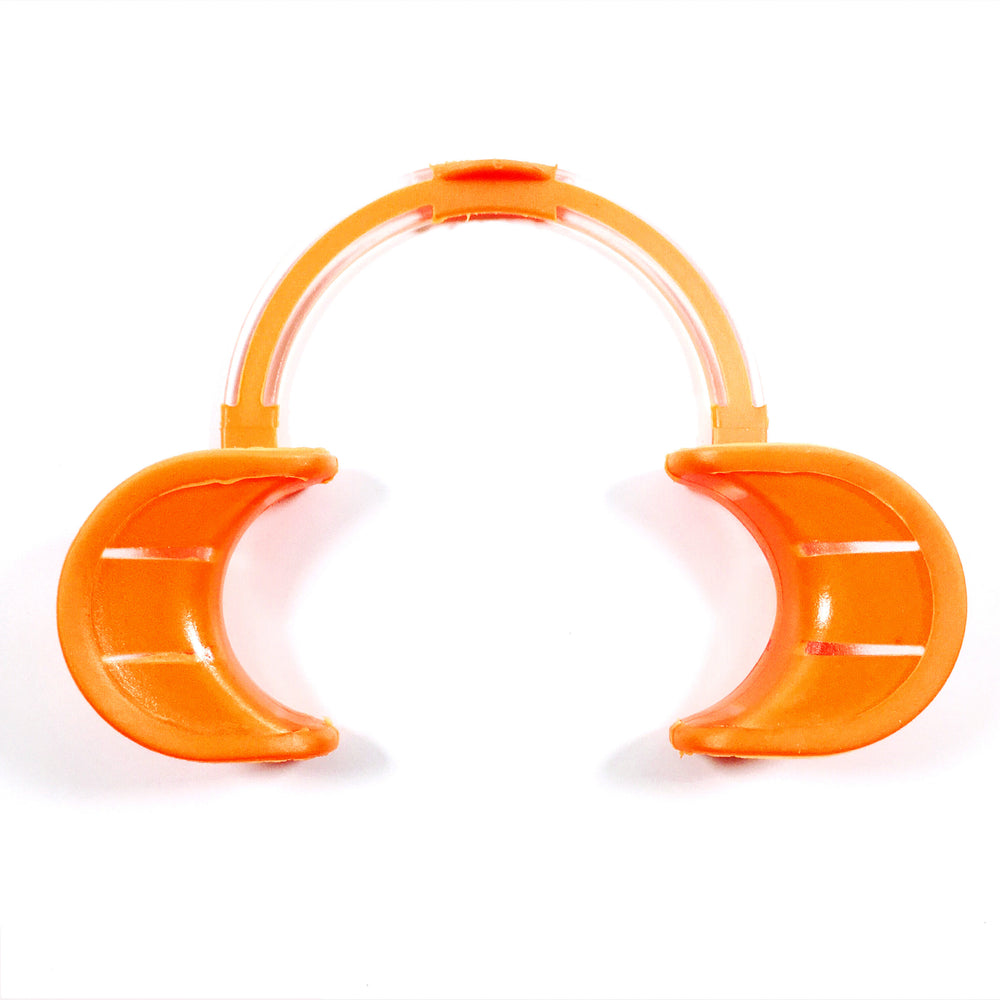
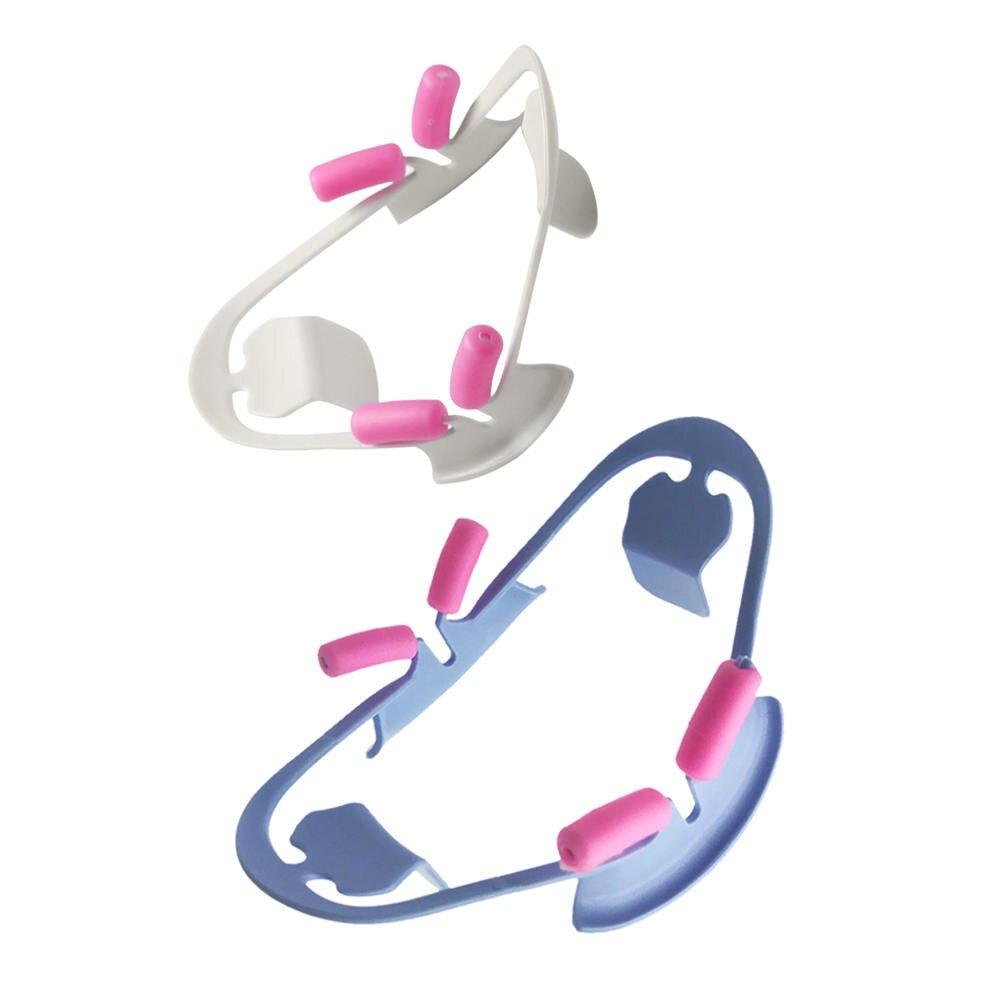
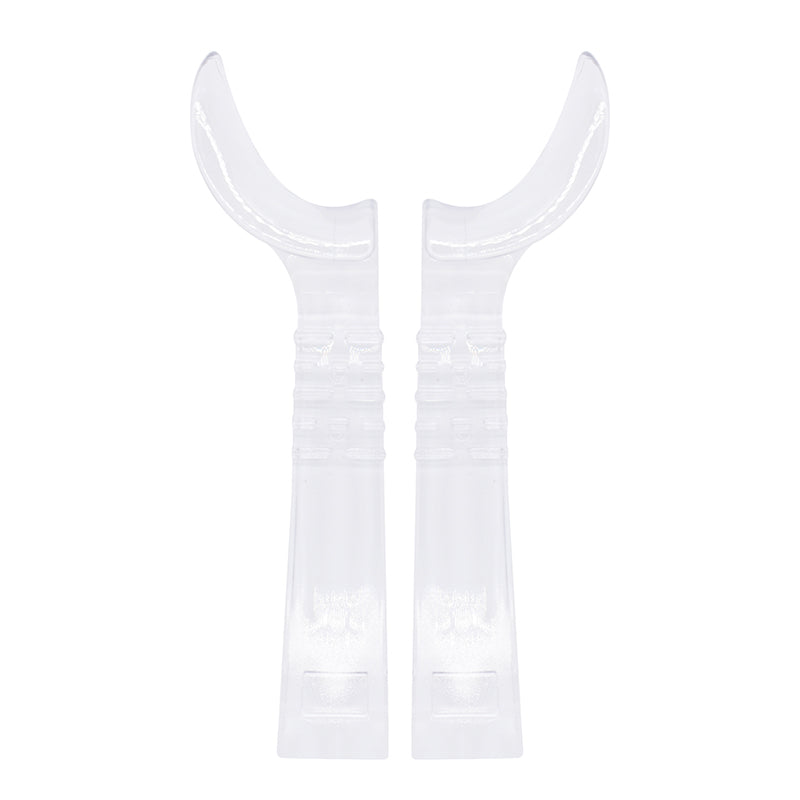
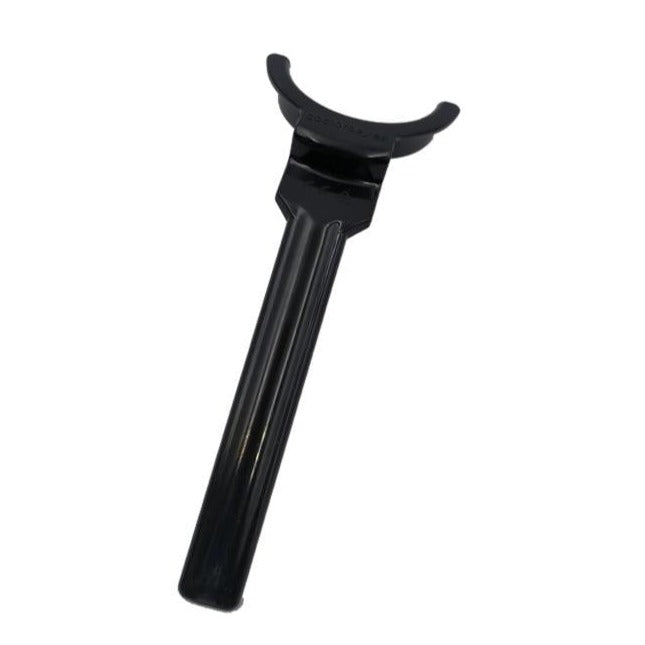
— Lay out any necessary props or accessories, such as mirrors, dental instruments, or educational models.
— Ensure they are clean and positioned within easy reach during the shoot.
Efficient Workflow for Dental Photography Sessions:
A well-organized workflow ensures a smooth and productive dental photography session. Following these steps and life hacks can help you navigate the session with confidence and professionalism.
1. Patient Preparation.
— Communicate with the patient beforehand to explain the purpose and process of the photography session.
— Advise the patient on what to wear, considering comfort and any special requirements for intraoral shots.
— Encourage the patient to practice relaxed facial expressions and natural smiles.
2. Posing and Positioning.
— Guide the patient into comfortable and natural poses that showcase their dental features.
— Provide gentle direction on facial expressions and eye contact to capture engaging and approachable portraits.
3. Adjusting Lighting and Camera Settings.
— Fine-tune the lighting setup and camera settings based on the patient's features and the desired outcome of the shots.
— Check focus and exposure settings before proceeding with the session.
4. Capturing Images.
— Capture a variety of shots, from close-ups of dental structures to wider shots of the dental environment.
— Review each shot on the camera's LCD screen to ensure clarity and desired composition.
5. Post-Session Review.
— Review the images with the patient if needed, explaining the significance of each shot and discussing treatment options.
6. Post-Processing and Image Delivery.
— Select the best images for post-processing, adjusting color balance, sharpness, and other enhancements as needed.
— Organize and name the images systematically for easy reference.
— Deliver the final edited images to the patient and any relevant parties, ensuring a clear and professional presentation.
Unveiling the behind-the-scenes secrets of seamless dental photography requires a combination of technical expertise and a well-structured workflow. By following the equipment setup and workflow life hacks shared in this article, dental professionals can ensure that their photography sessions are efficient, stress-free, and productive. Remember, each step, from patient preparation to image delivery, contributes to capturing accurate and compelling images that serve as valuable tools for documentation, communication, and patient care.


