Proper adjustment of the camera, including white balance and color temperature correction, is of great importance for achieving accurate color reproduction in images. In this article, we offer you some useful life hacks that will help you set up your camera for dental photography and achieve accurate white balance and the correct color temperature.
1. Use the auto white balance setting (Auto WB).
In most cases, automatic white balance will give you the most accurate colors in the pictures. The camera itself will detect and adjust the white balance according to the light conditions. However, if the pictures have an incorrect white balance, you can switch to other settings.
2. Manual white balance mood.
If the automatic white balance does not give an accurate result, then you can switch to the manual white balance settings. You will need a cardboard or gray card. Hold it in front of the subject and select the “learn white balance” mode. The camera will take a picture of the map and independently determine the correct white balance settings. Then these settings can be used for all subsequent shooting.
3. Manual color temperature correction.
In some cases, the subjects in dental photography may have certain color shades. To adjust the color temperature in the image, you can use manual correction of the color temperature in the camera. There is a scale with color values where you can choose your preferred shade and adjust it manually.
4. Consider the lighting sources.
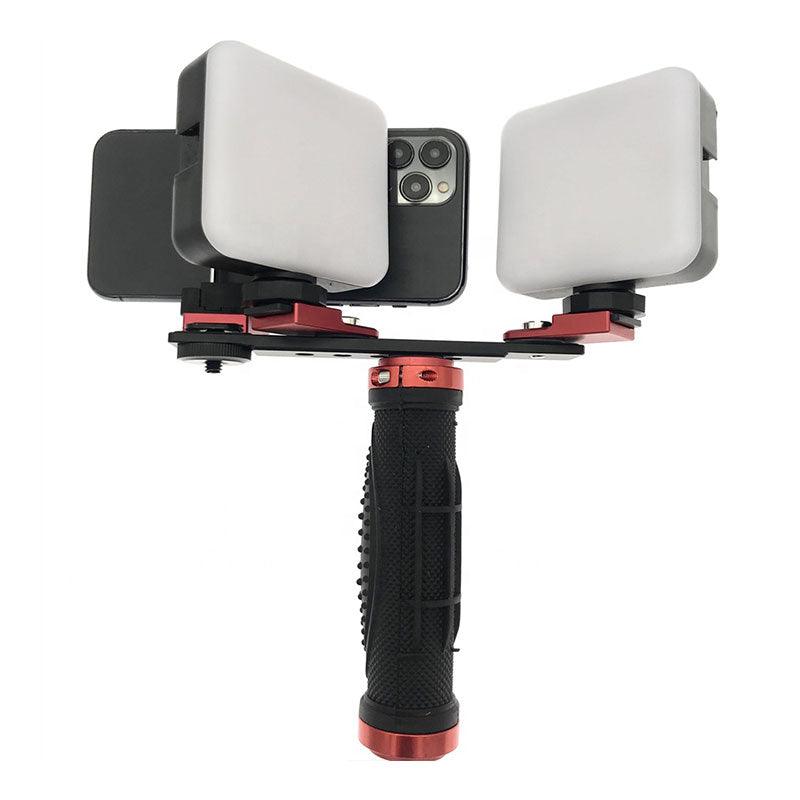
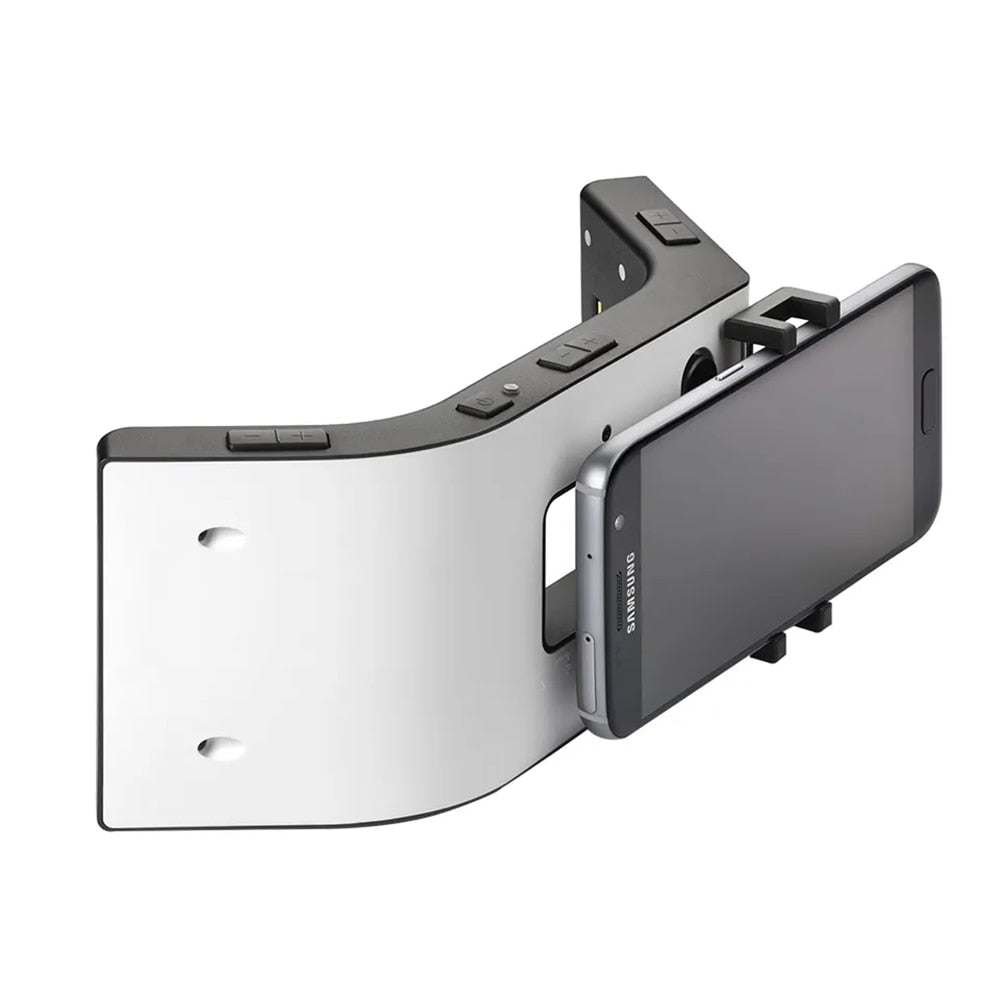
Lighting sources can greatly affect the color reproduction of images. For example, light from the daytime sun or artificial lighting may have a different color temperature. If there are problems with white balance, try changing the light source or adding additional lighting fixtures to achieve a more accurate color rendering.
5. Use gray cardboard or an expisolator.
Gray cardboard or an expisolator can be useful for measuring and controlling color temperature. Hold the gray cardboard box in front of the subject so that the camera can detect the real colors. The exposlighter, in turn, allows you to set the most correct color temperature for the shooting in advance.
6. Check and adjust the settings regularly.
Depending on the lighting conditions and shooting subjects, the white balance and color temperature settings may be different. Therefore, it is recommended to check and adjust these settings regularly to get the most accurate colors in the pictures.
Taking into account these life hacks, you will be able to adjust the camera for dental photography and achieve an accurate balance of white and color temperature. Remember that practice and experience play an important role in creating excellent photos, so experiment, test different settings, and improve your skills.


