Cameras are one of the most important tools in dental photography, allowing dentists to capture high-quality images of teeth and the oral cavity. The correct setting of the camera plays a significant role in obtaining these images. In this article, we offer some useful life hacks that will help you set up your camera and control the noise in the pictures during dental photography.
1. Select the optimal ISO settings.
ISO determines the sensitivity of the camera to light. However, high ISO values can lead to increased noise in the images. It is recommended to choose low ISO values (for example, ISO 100 or 200), especially when using good lighting, in order to minimize noise in images.
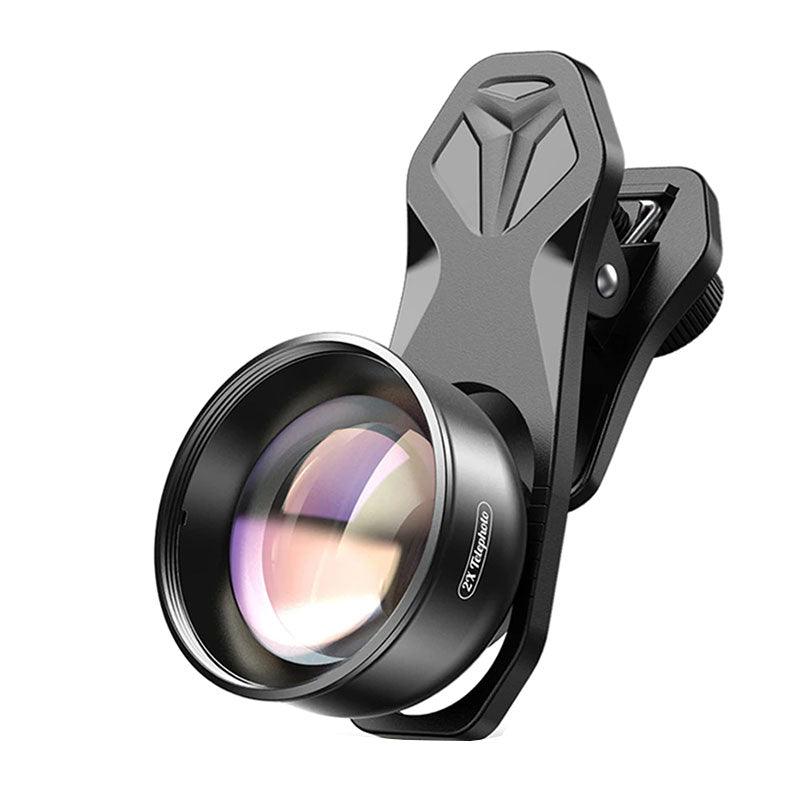
2. Use trending, real lenses.
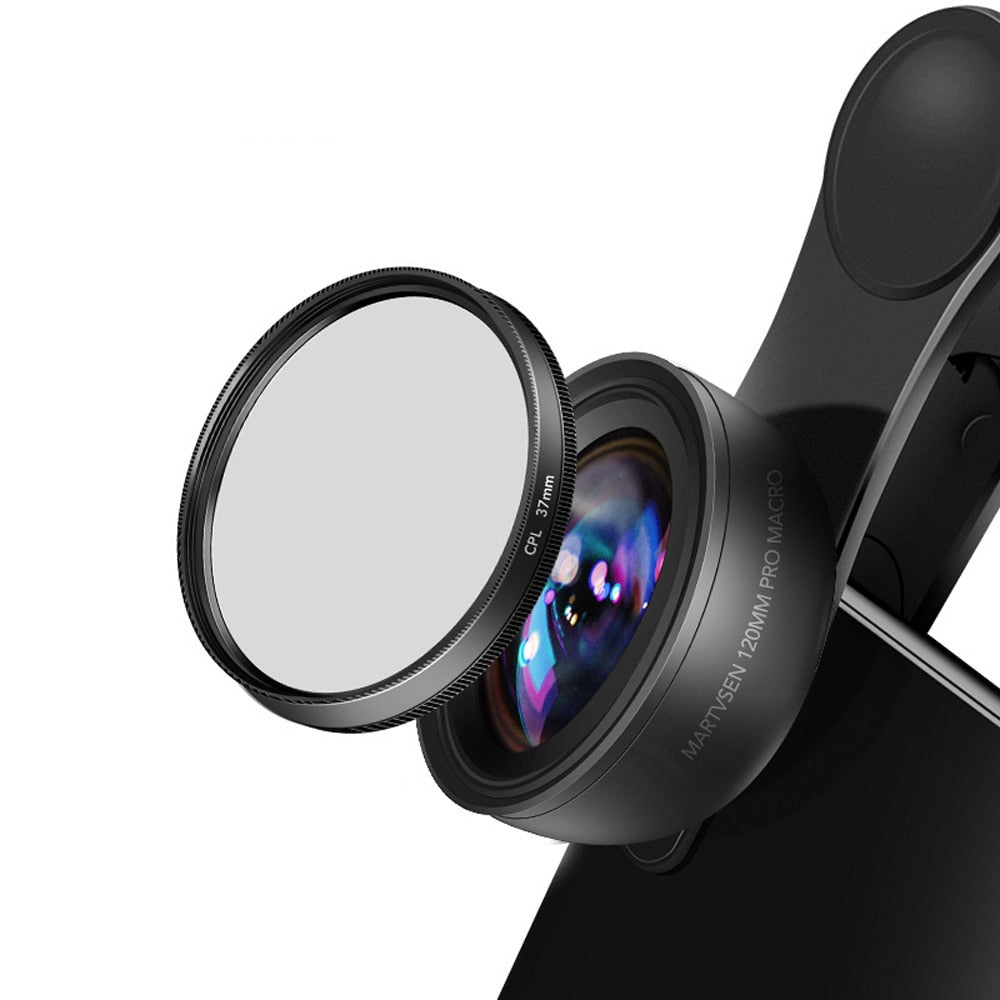
Lenses with low aperture values (for example, F/2.8 or F/1.8) can help reduce the need for high ISO values. They allow more light to pass through the lens, which allows you to use lower ISO values and control the noise level in the pictures.
3. Use a tripod or stabilizer.
To shoot in the dental area in low light, you can use a tripod or stabilizer to avoid blurring the image when using lower ISO values.
4. Apply manual exposure mode.
Manual exposure mode gives you control over various shooting parameters, allowing you to adjust the shutter speed, aperture, and ISO manually. This is especially useful when monitoring noise in images because you can choose the most optimal values for your particular case.
5. Check the noise control on your camera.
Some cameras have built-in settings for noise control. Explore this feature on your camera and try different settings to find the optimal balance between noise control and image quality.
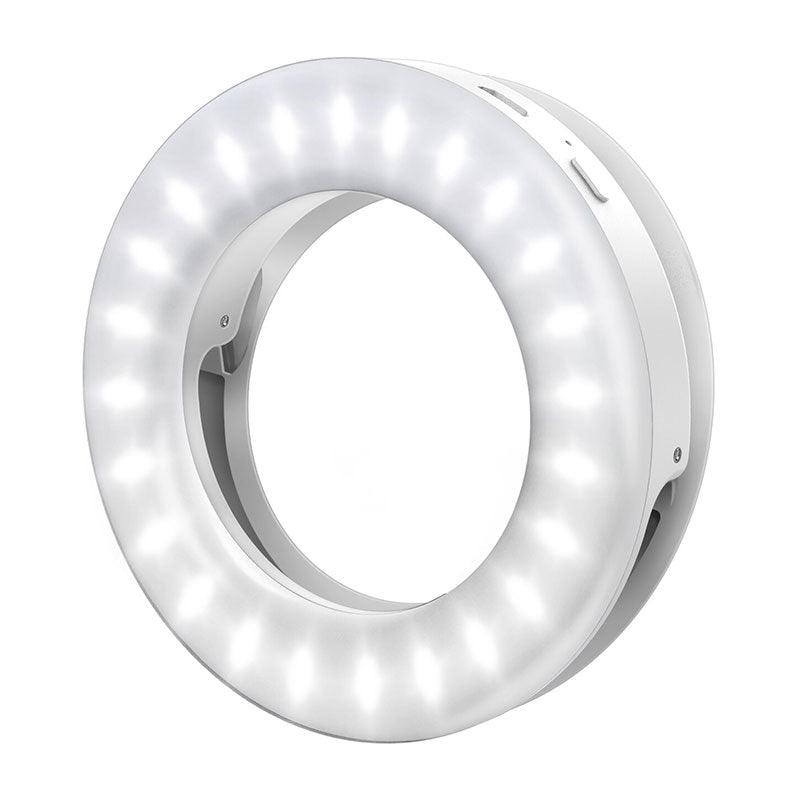
6. Illuminate the subject correctly.
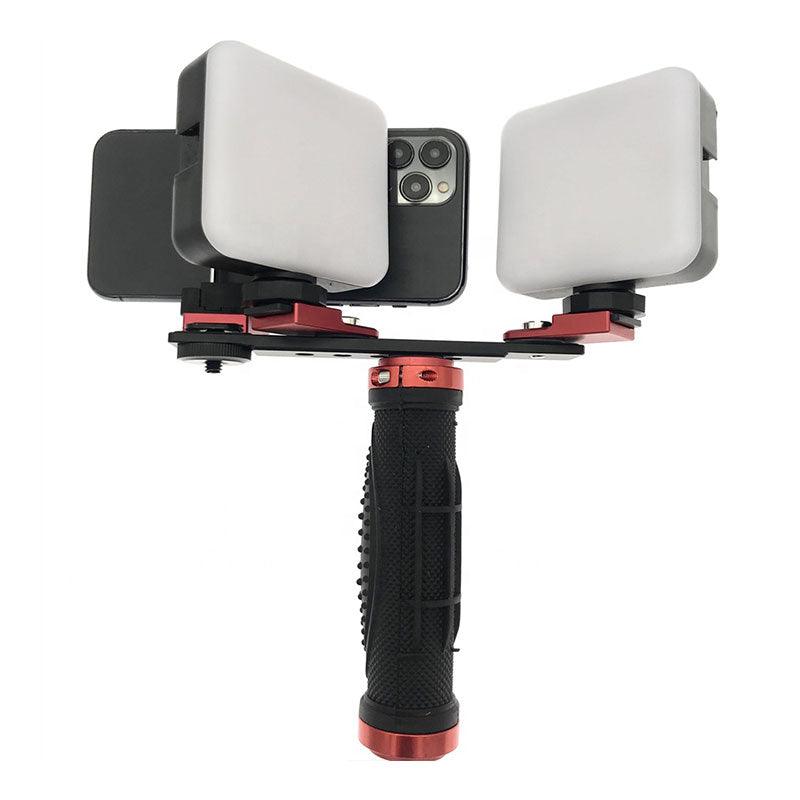
Good lighting can greatly affect the noise level in the pictures. Use additional lighting devices, such as a flash or backlight, to ensure sufficient illumination of the subject. This will help reduce the noise level in the images, especially when using lower ISO values.
7. Clean the lens regularly.
The noise in the pictures may also be related to dust or dirt on the lens. Clean the lens regularly to avoid this problem and get clean images.
Taking into account the above life hacks, you can set up the camera for dental photography and control the noise in the pictures. Remember that practice and experience are key elements in creating excellent photos, so experiment, try different settings, and improve your skills to achieve the best results.


