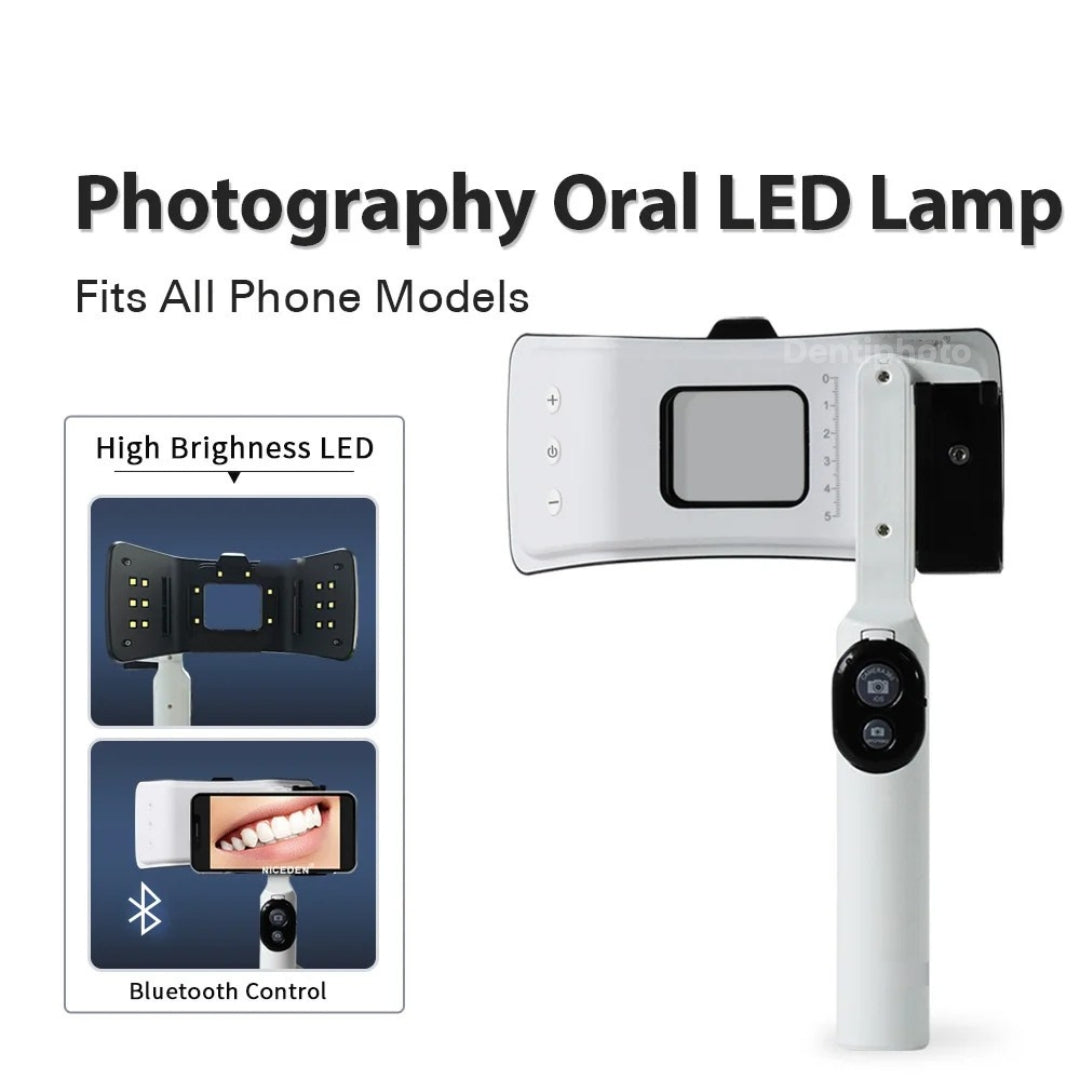
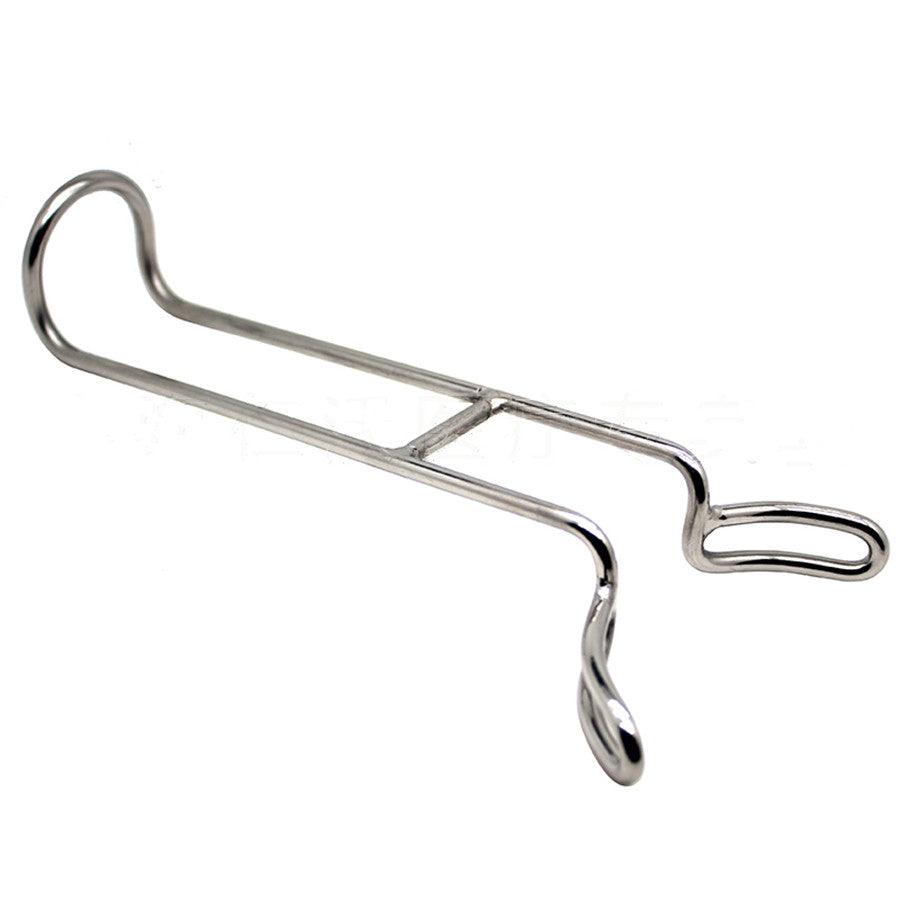
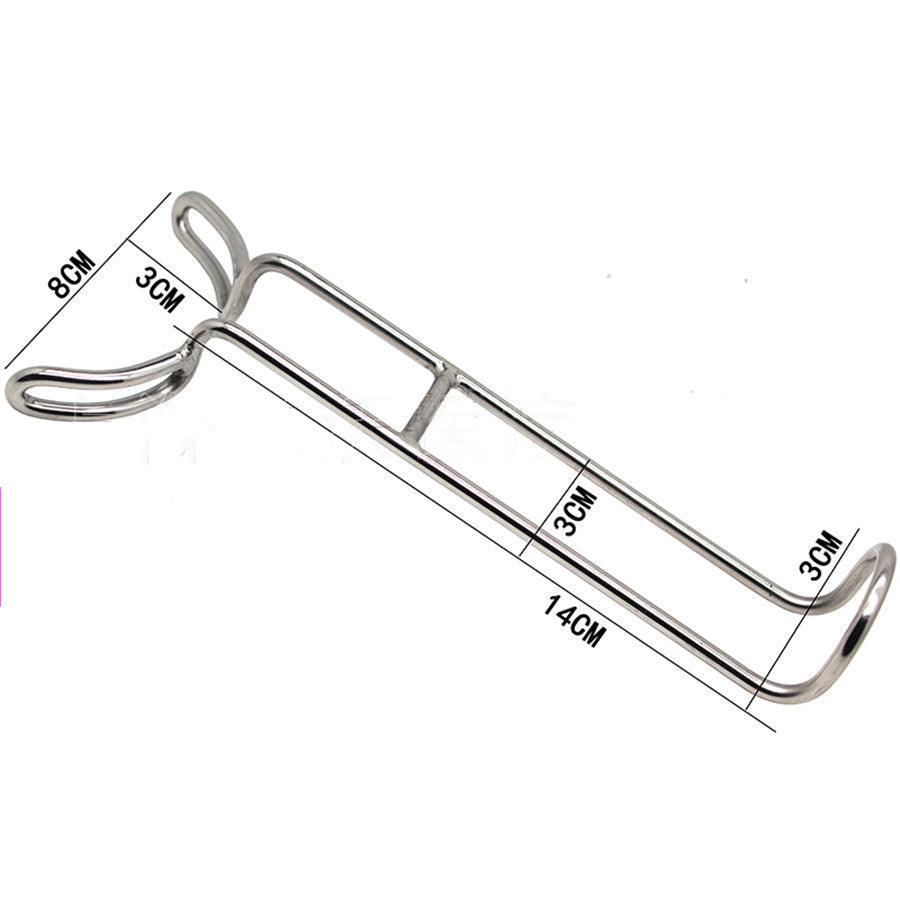
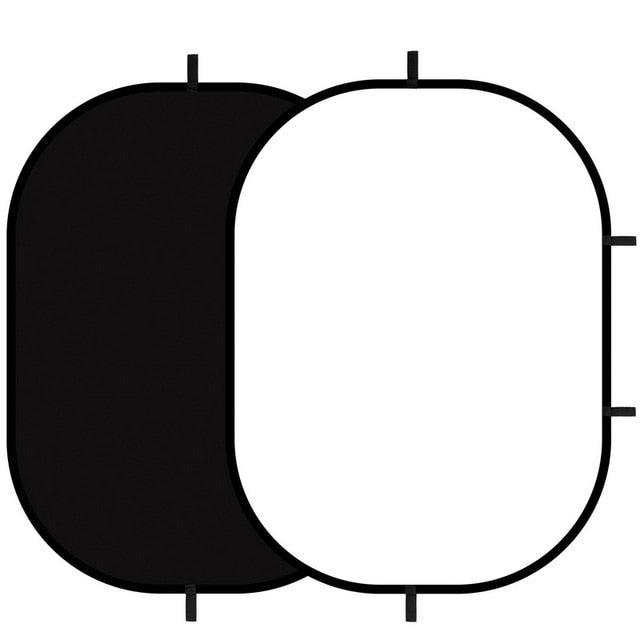
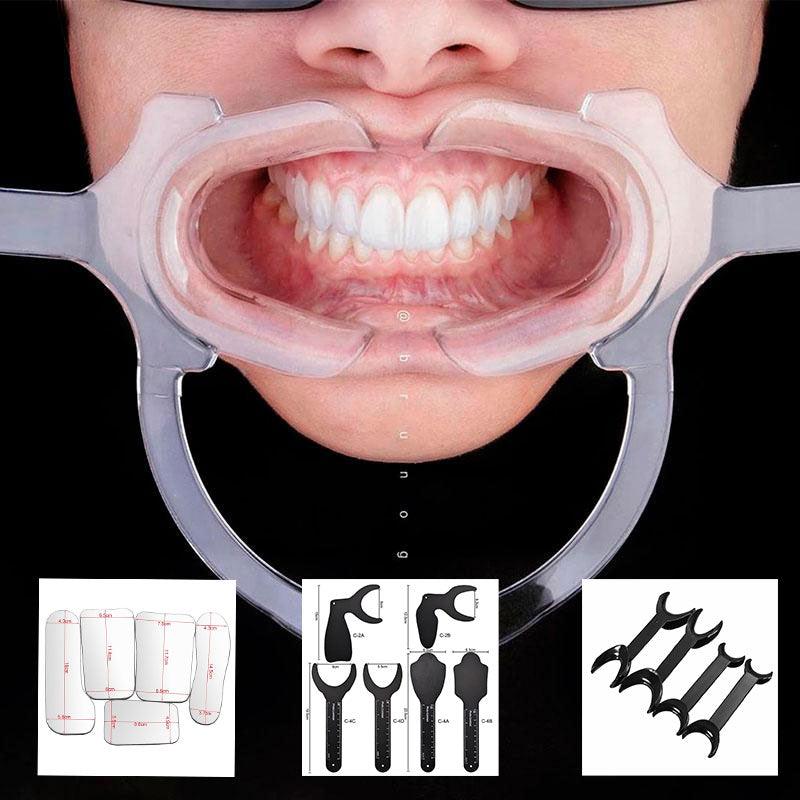
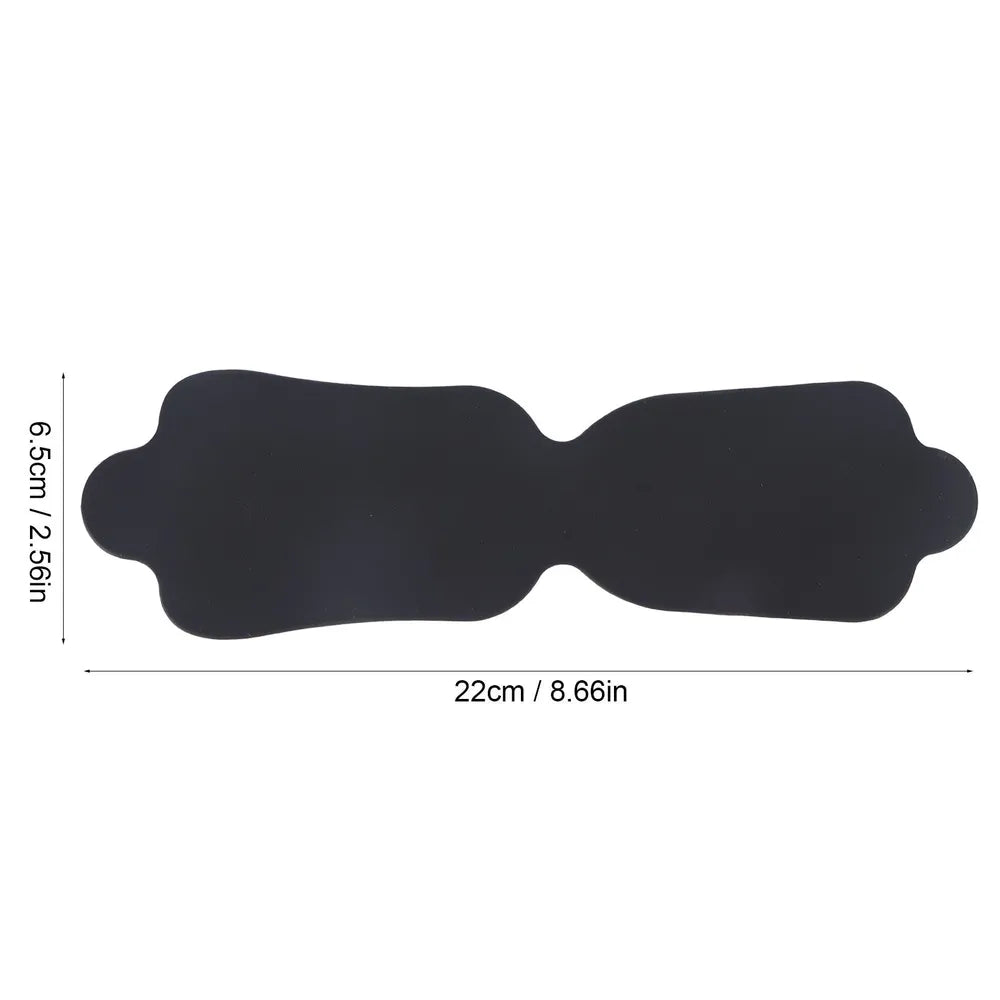
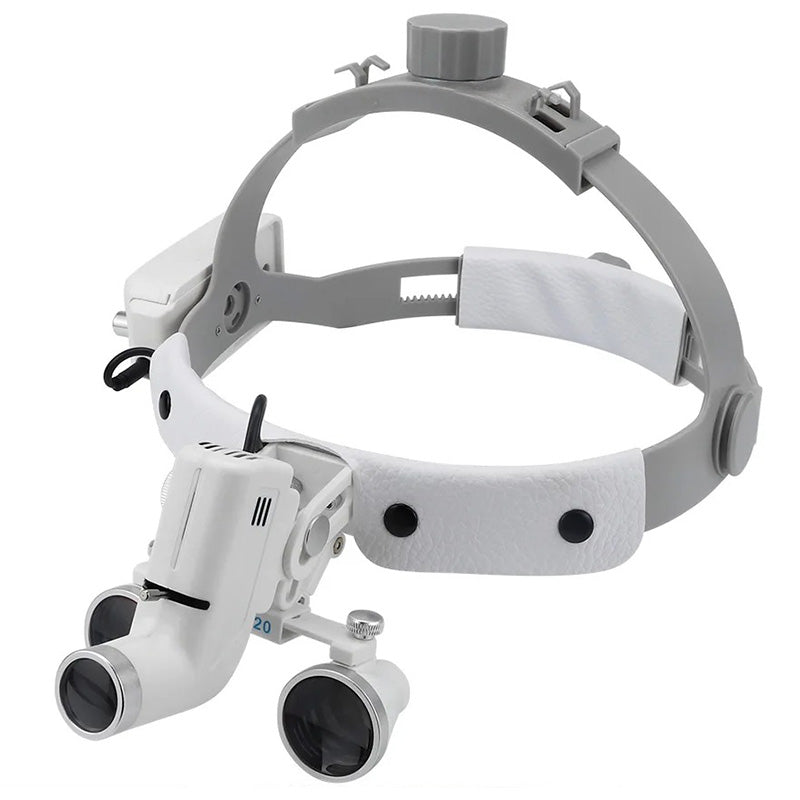
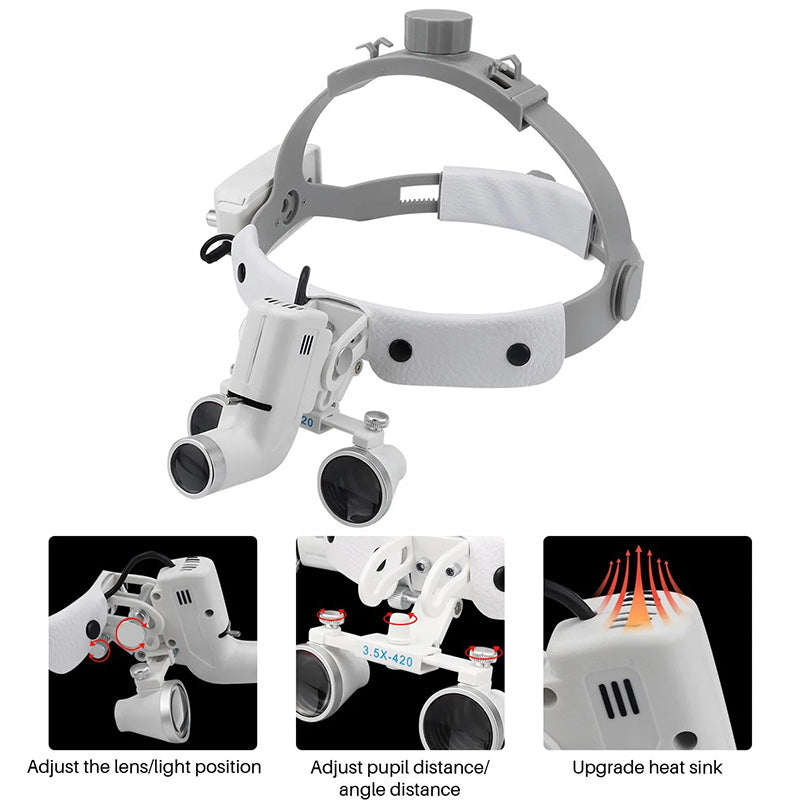
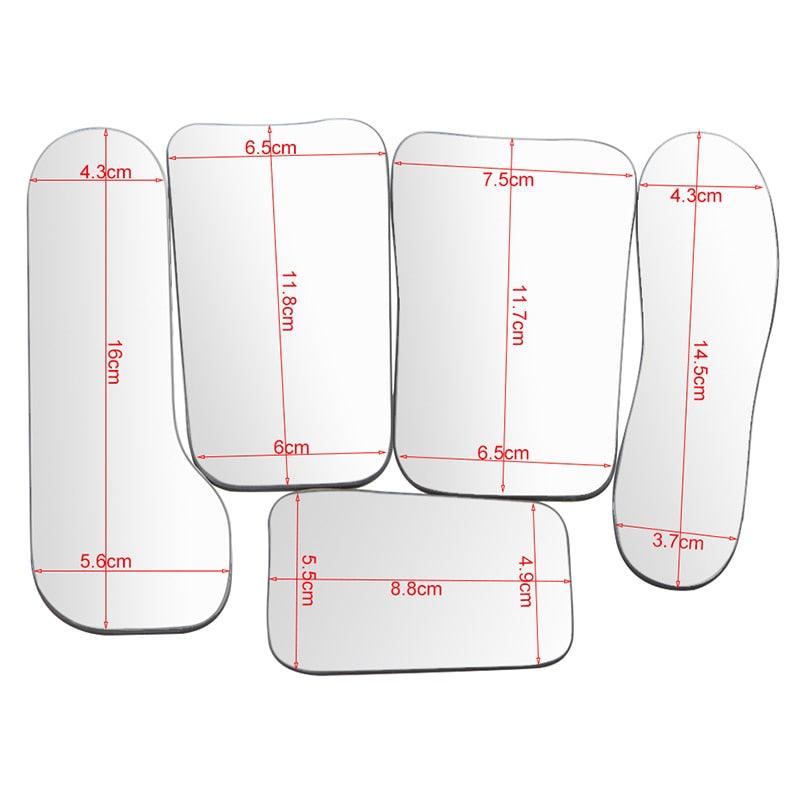
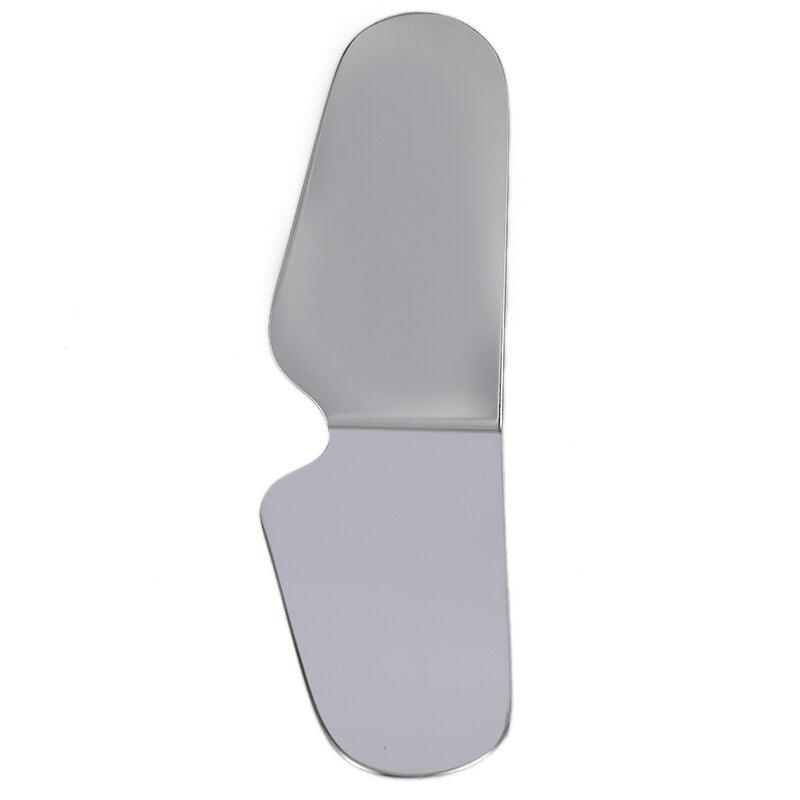
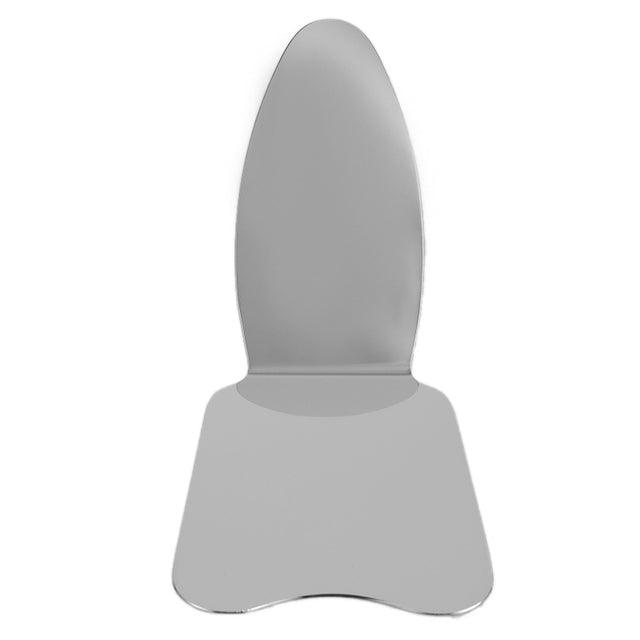
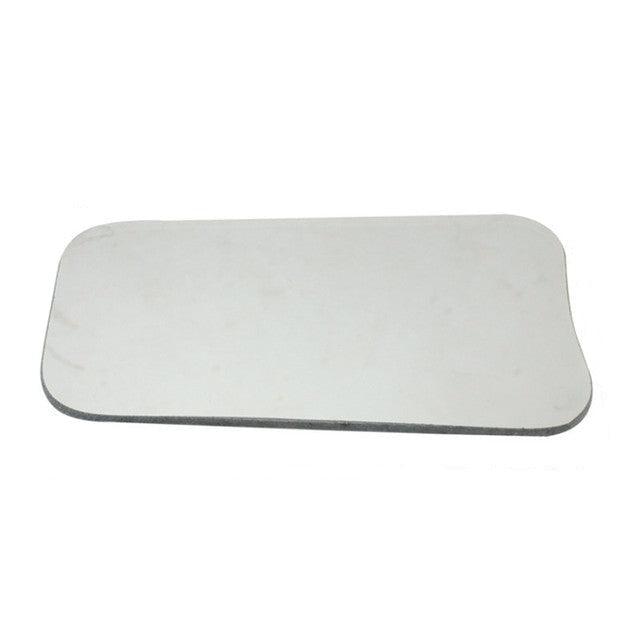
Macro photography allows professionals to magnify and capture intricate details that might otherwise go unnoticed. For dentists and dental technicians, it is an indispensable tool for documenting oral health conditions, treatment processes, and technical craftsmanship. In this article, we explore the benefits and techniques of macro photography in dental practice and how product photography can add creative value to clinics.
Benefits of Macro Photography in Dentistry
1. Documentation and Analysis of Oral Cavity Condition
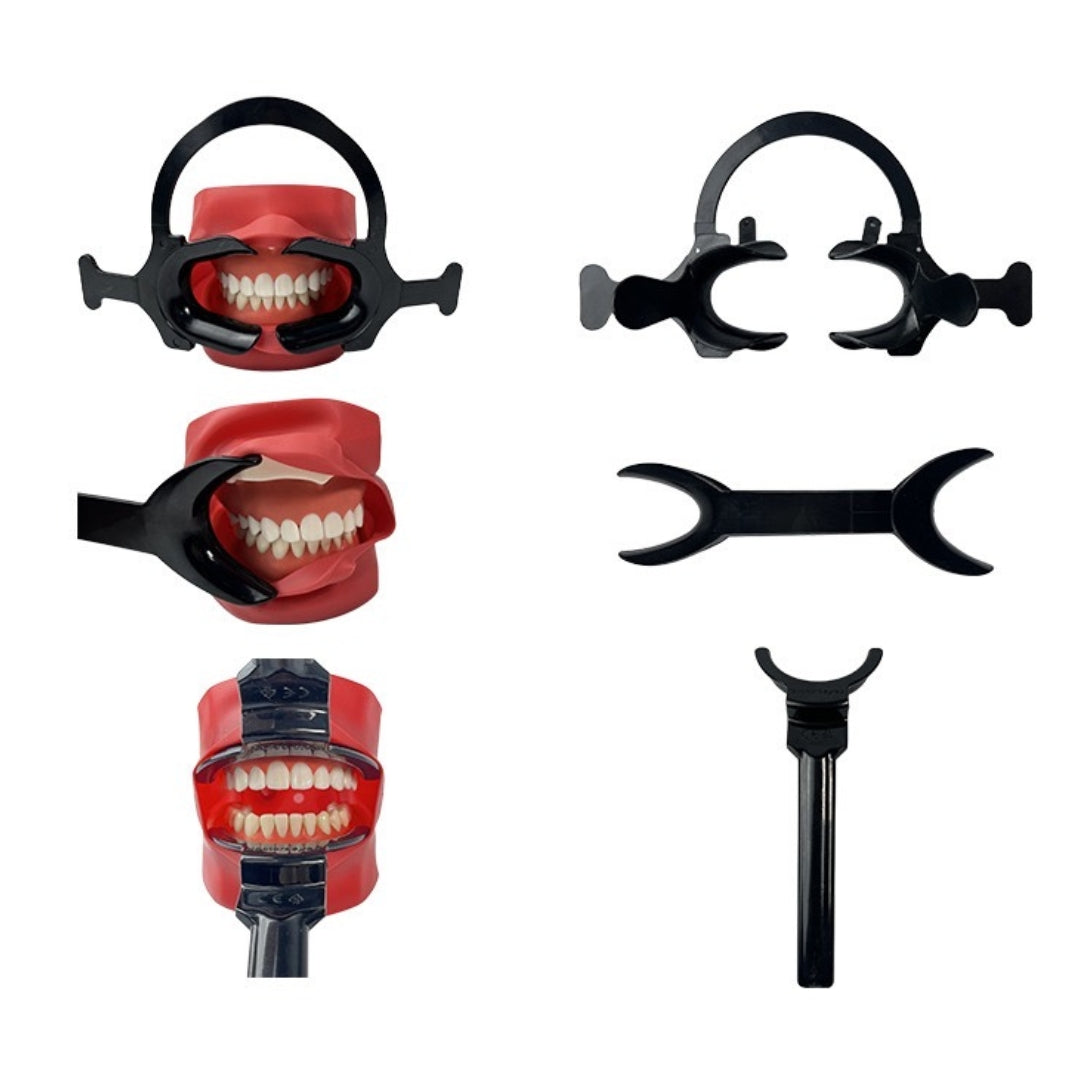
Macro photography helps dentists capture fine details of teeth, gums, and oral mucosa. These images are invaluable for:
- Analyzing pathologies, defects, and damages.
- Tracking treatment progress and evaluating outcomes.
- Using detailed visual documentation to study surgical interventions as future case studies.
2. Education and Patient Communication
- Patient Education: Macro photography provides patients with a clear understanding of their dental issues. For example, images of a cyst removal illustrate the importance of timely intervention.
- Professional Training: High-resolution images are excellent for teaching students in dental schools, presenting cases at conferences, and delivering lectures on advanced procedures.
3. Monitoring and Evaluating Procedures
Dentists and dental technicians can use macro photography to:
- Assess the quality of implants, extractions, crown placements, and sinus lifts.
- Compare pre- and post-treatment images to refine techniques and adjust approaches.
4. Marketing and Advertising
High-quality macro photographs are powerful tools for:
- Showcasing before-and-after treatment results, enhancing trust and attracting new clients.
- Creating promotional materials for social media and websites, helping clinics stand out in a competitive market.
Product Photography in Dental Practice
Creative Visual Documentation
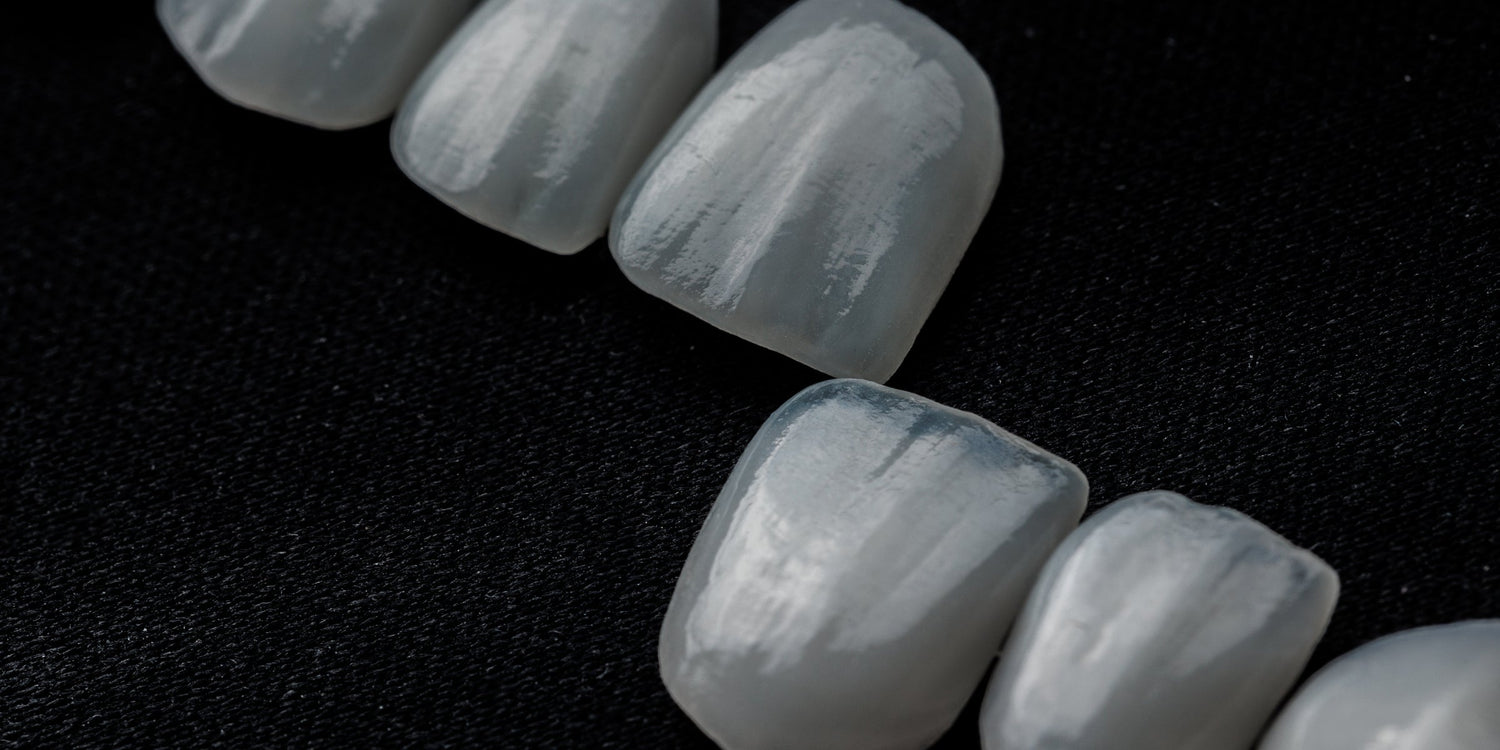
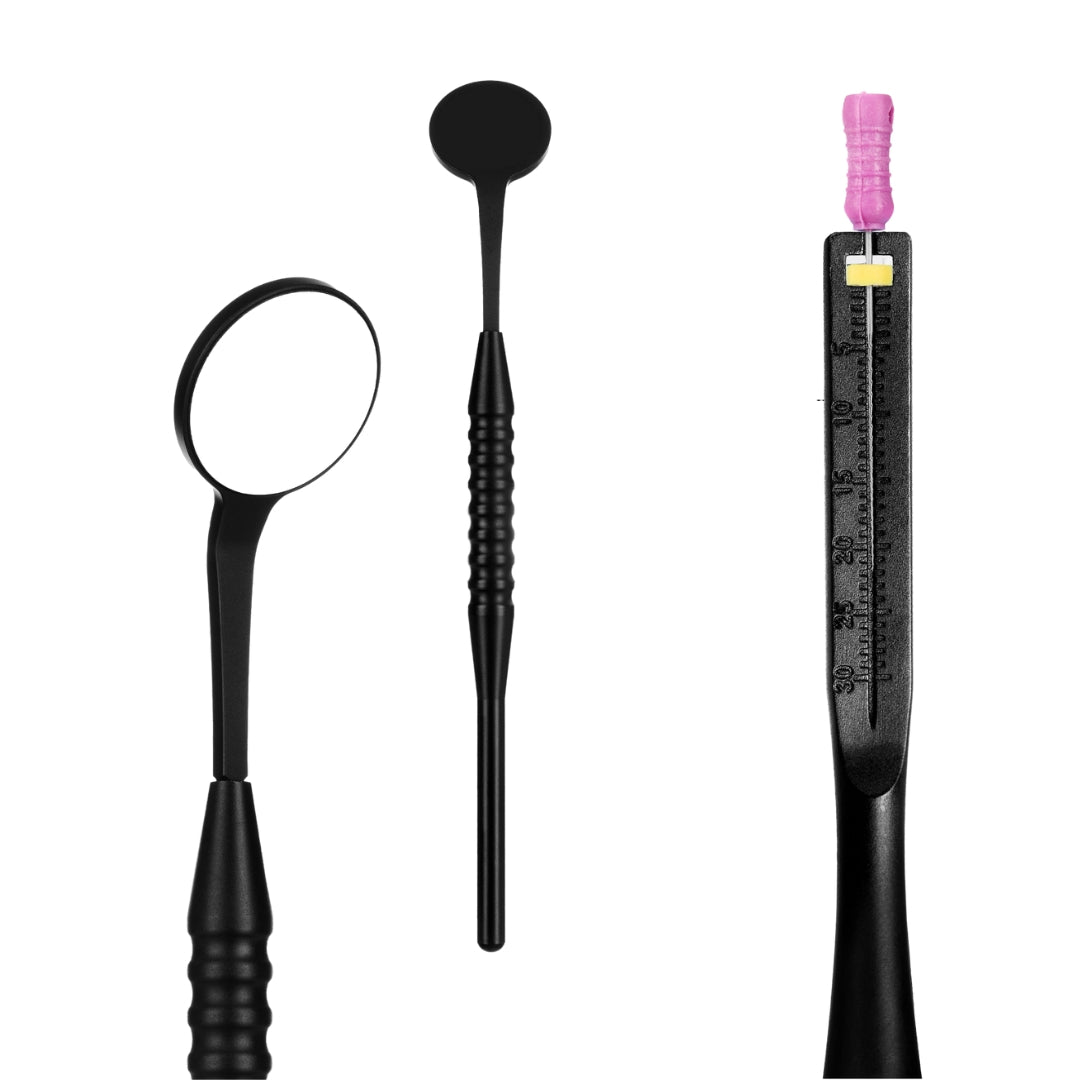
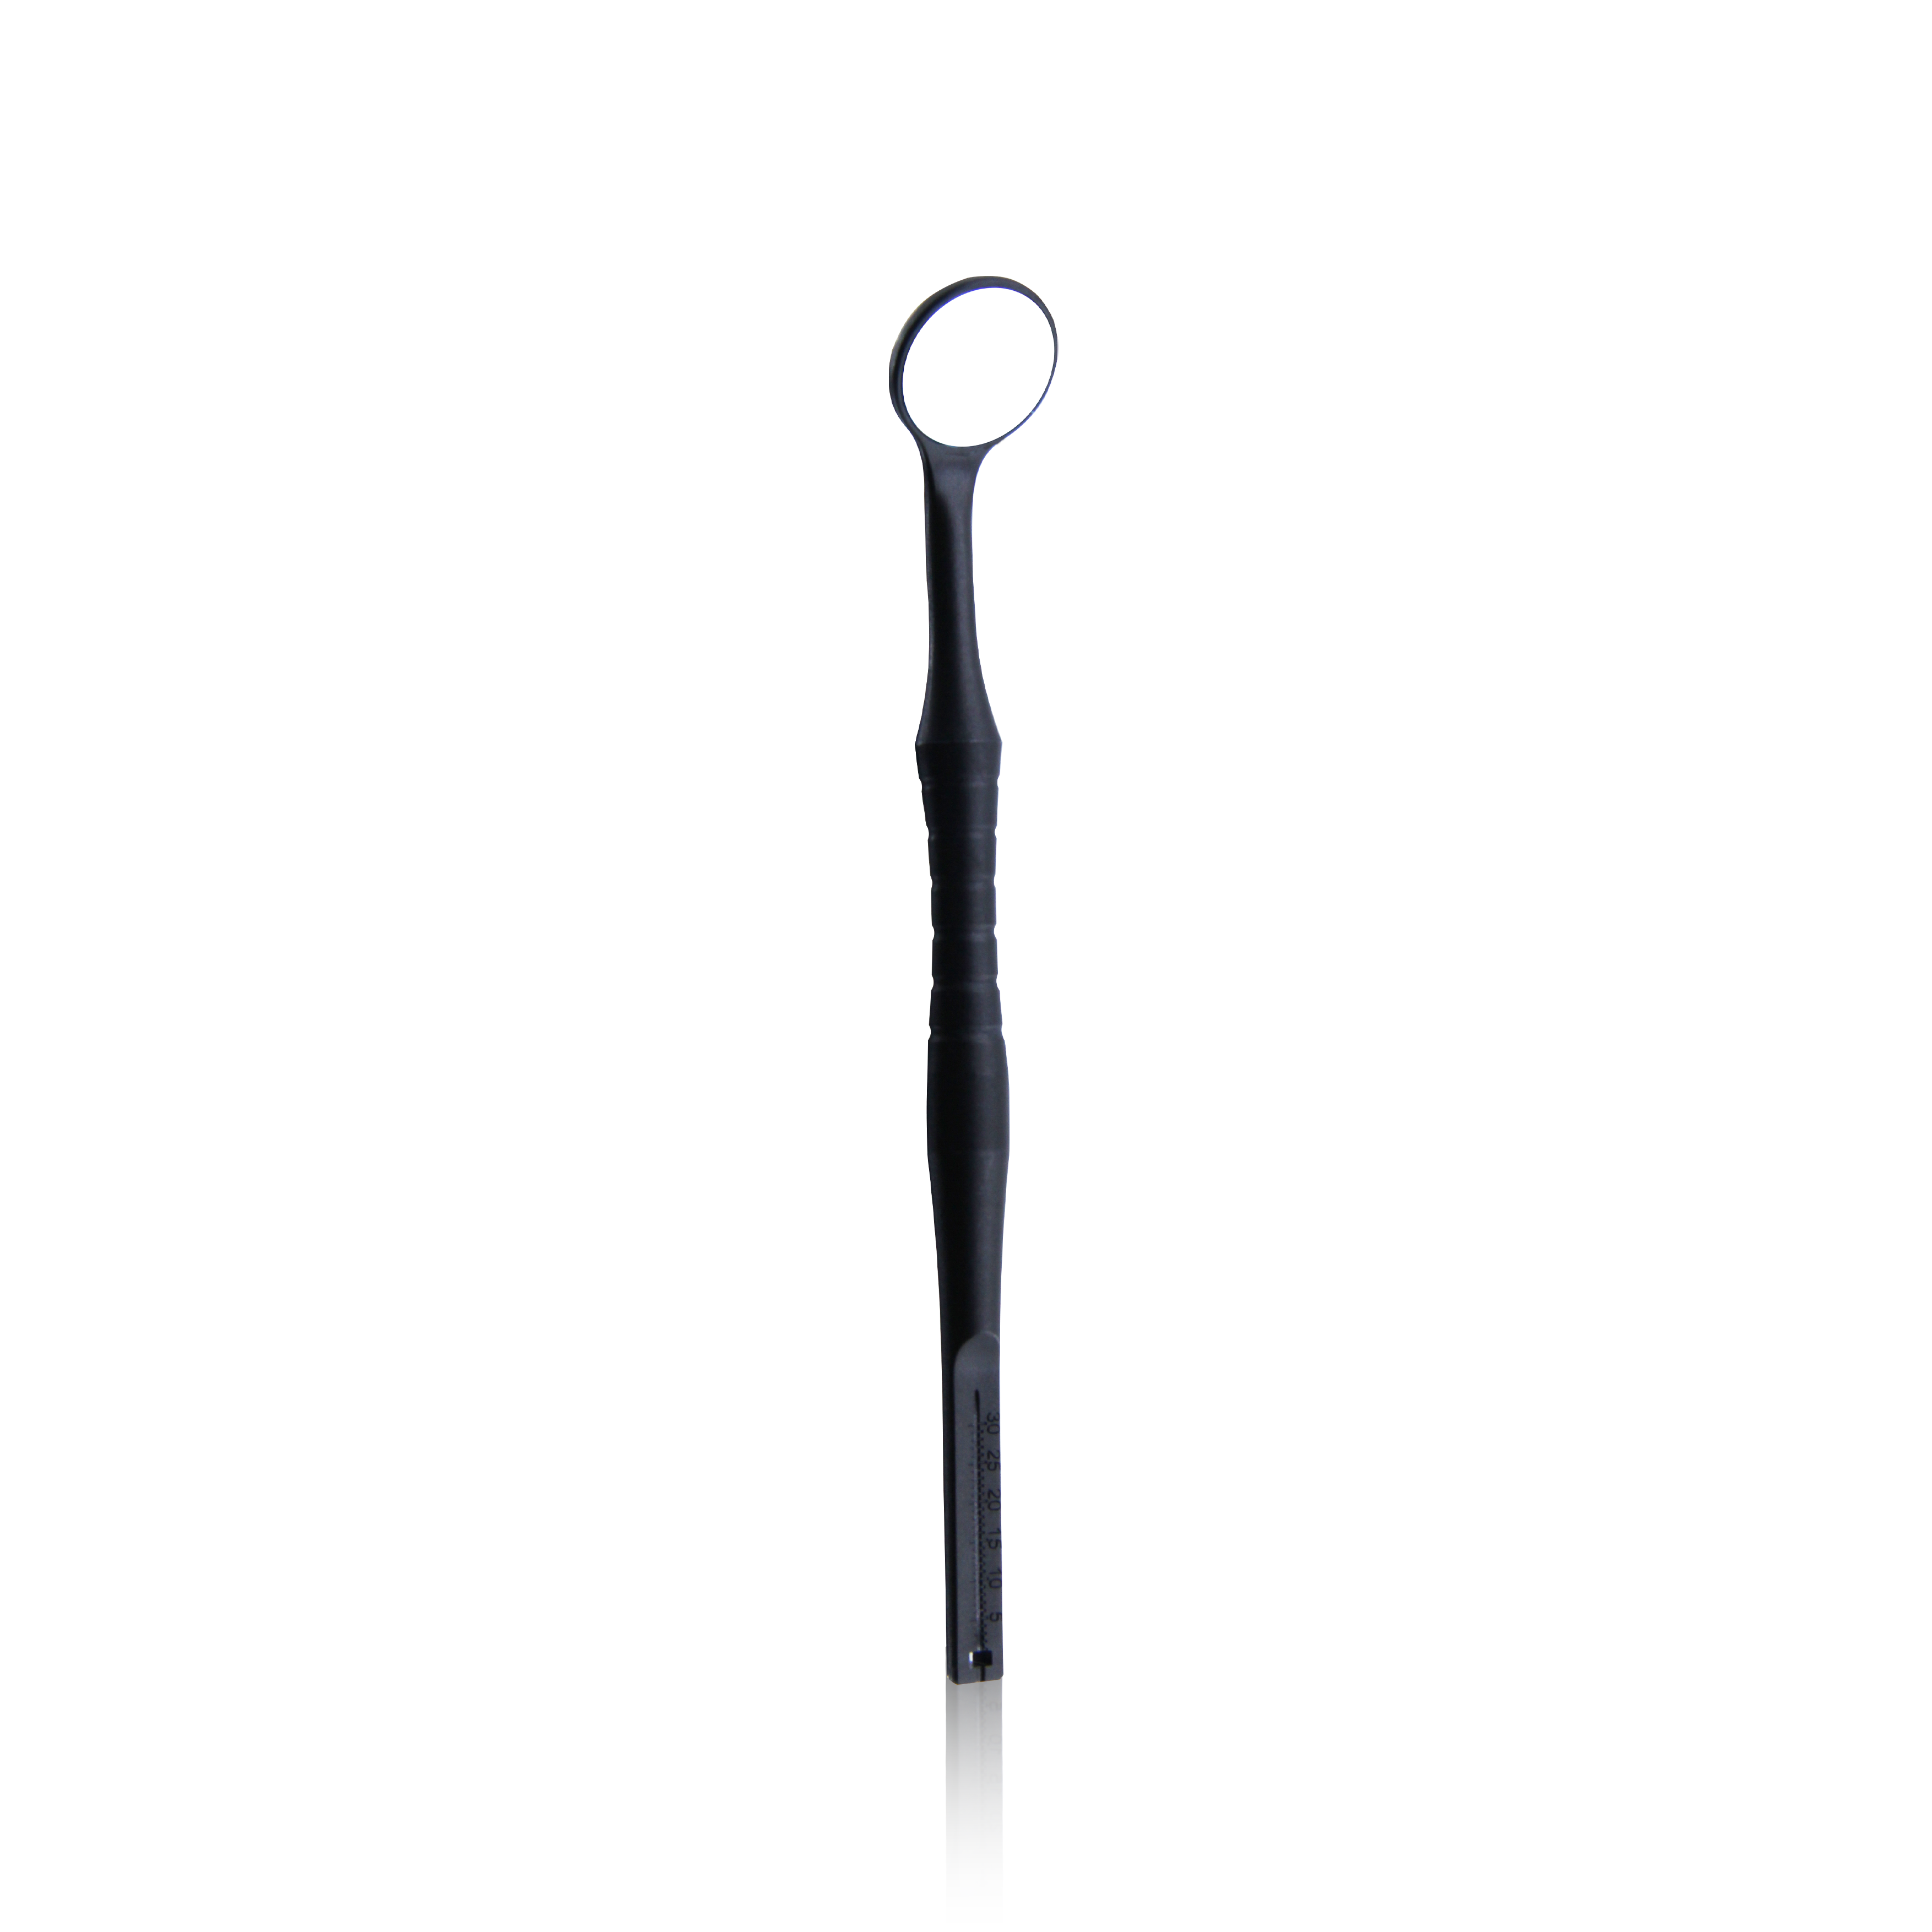
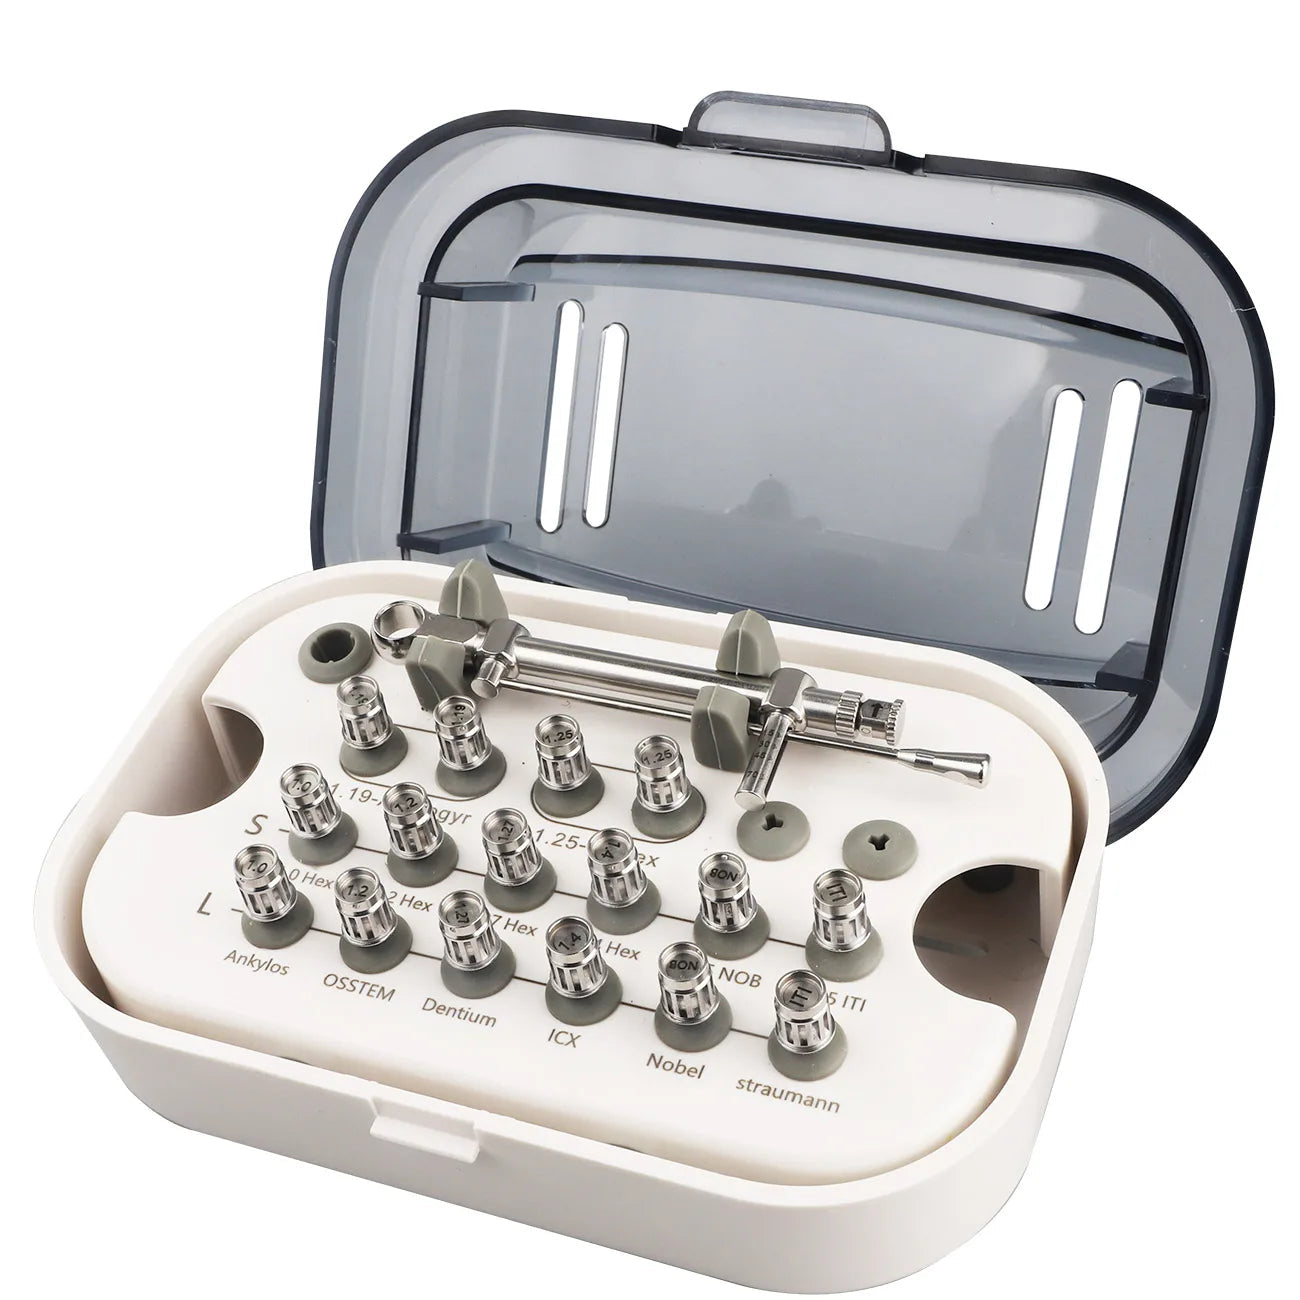
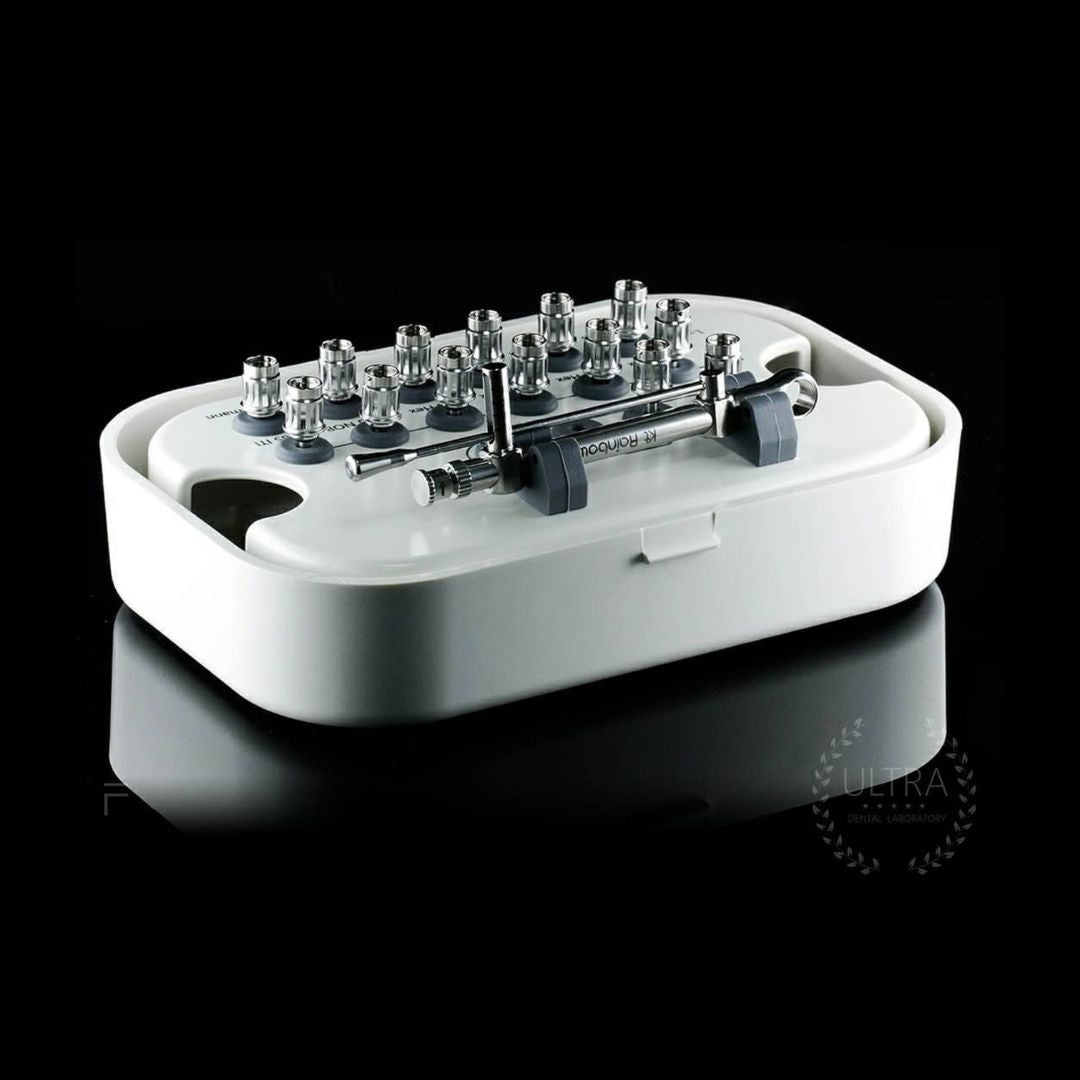
Product photography emphasizes the unique features of dental tools and materials. By using macro photography, professionals can highlight textures, shapes, and colors in vivid detail. This approach benefits:
- Dental technicians: Documenting crown fabrication, ceramic layering, and other intricate work builds an impressive portfolio.
- Clinics: Featuring dentures, veneers, and bridges as promotional material.
Advertising and Brand Promotion
- Collaborations with manufacturers of oral hygiene products or implants can be showcased effectively with high-quality product photography.
- Artistic photos for websites or social media improve brand image and attract potential clients.
Tips for Product Photography
- Experiment with lighting, colors, and props for visually appealing results.
- Use lenses like 100mm or 50mm for optimal focus.
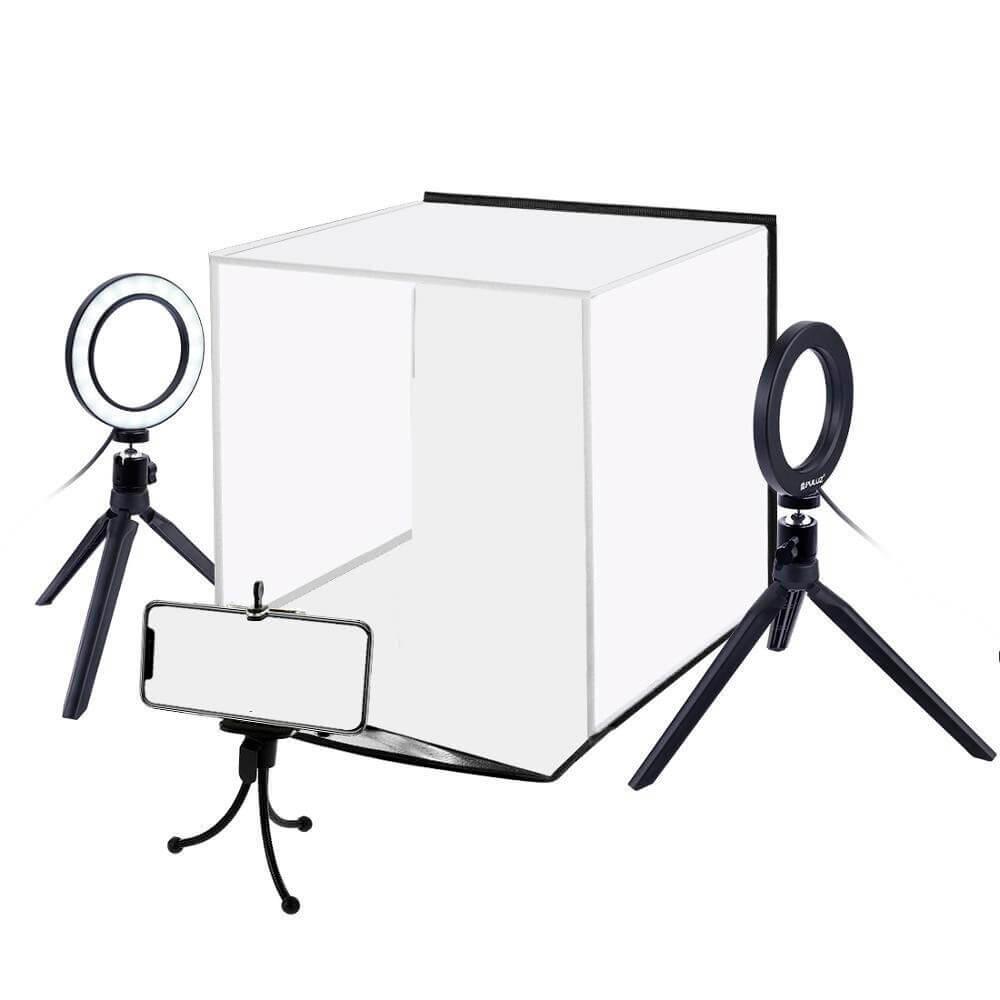
- Incorporate flash lighting and softboxes for balanced illumination.
Technical Aspects of Macro and Product Photography
Recommended Equipment and Settings
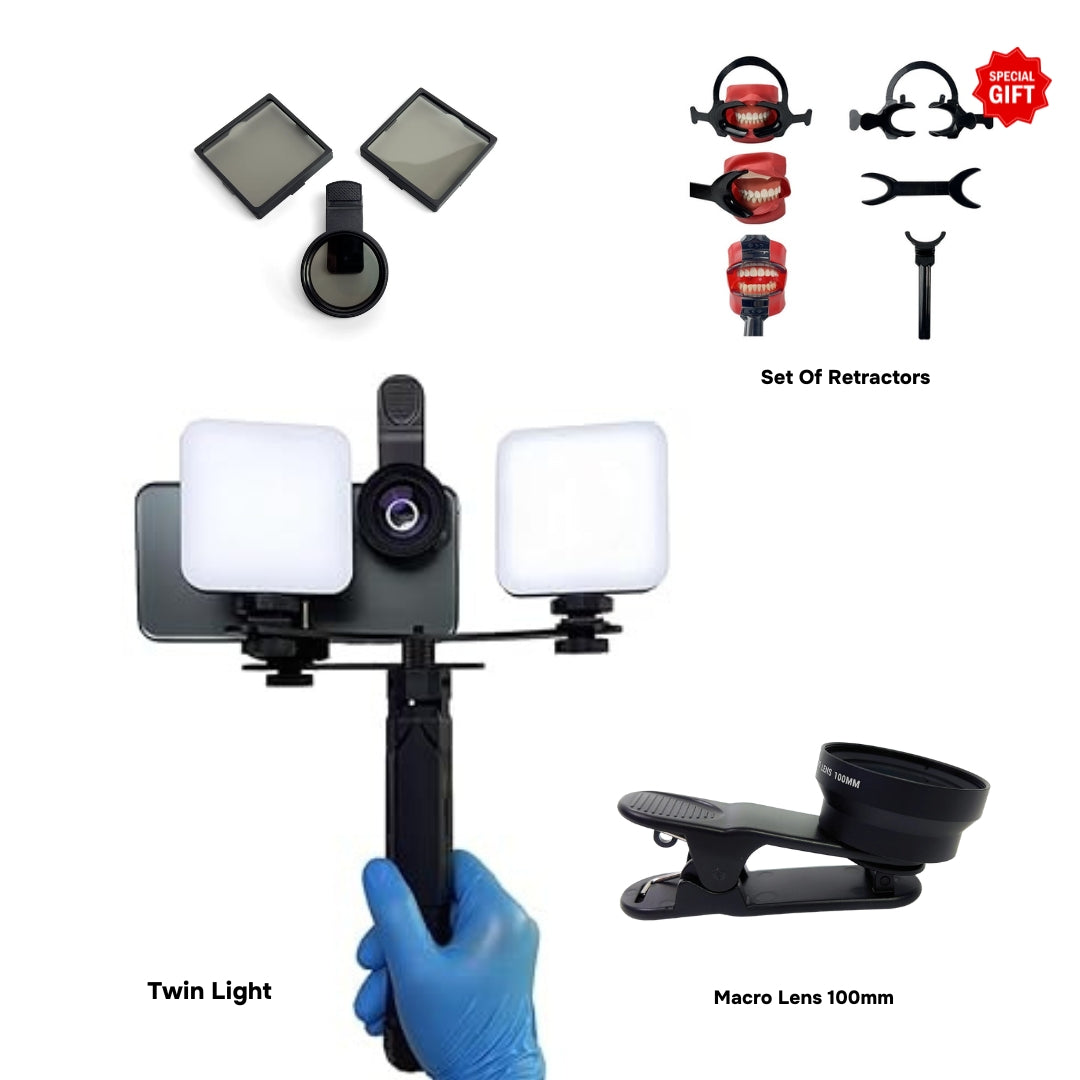
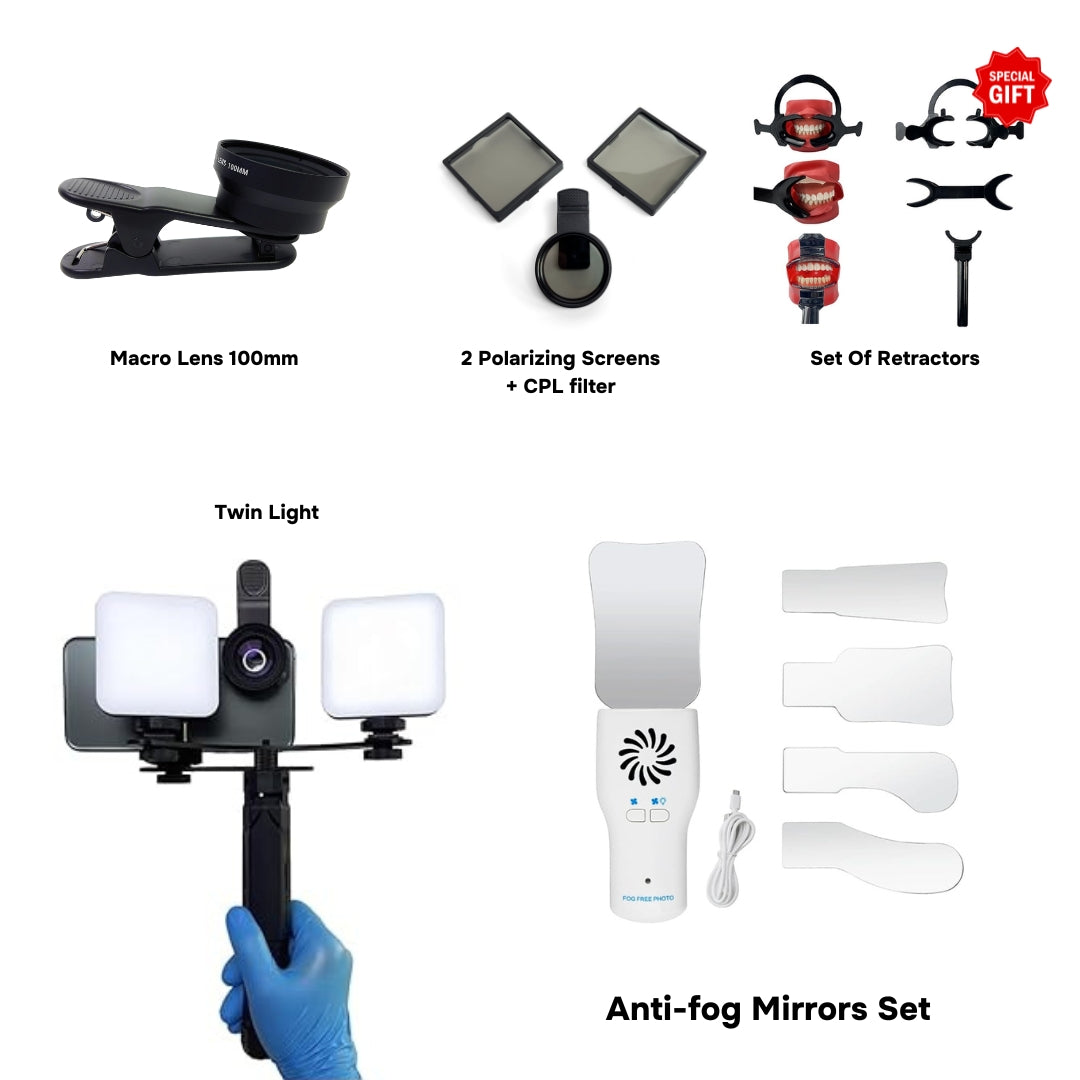
- Lens: A 100mm macro lens is ideal for detailed intraoral and product photography. For product shots, a 50mm lens can also deliver excellent results.
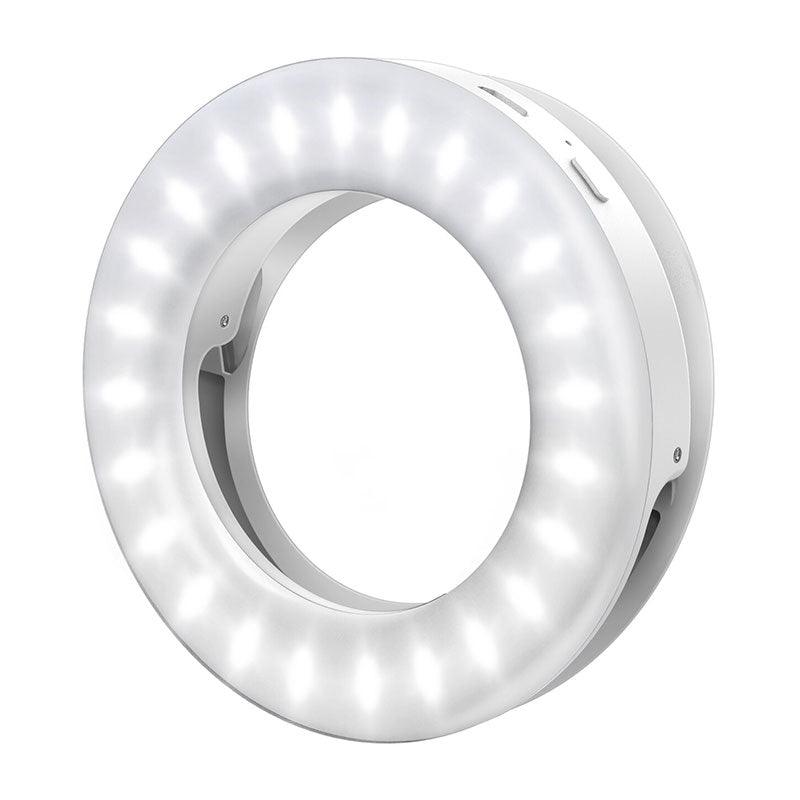
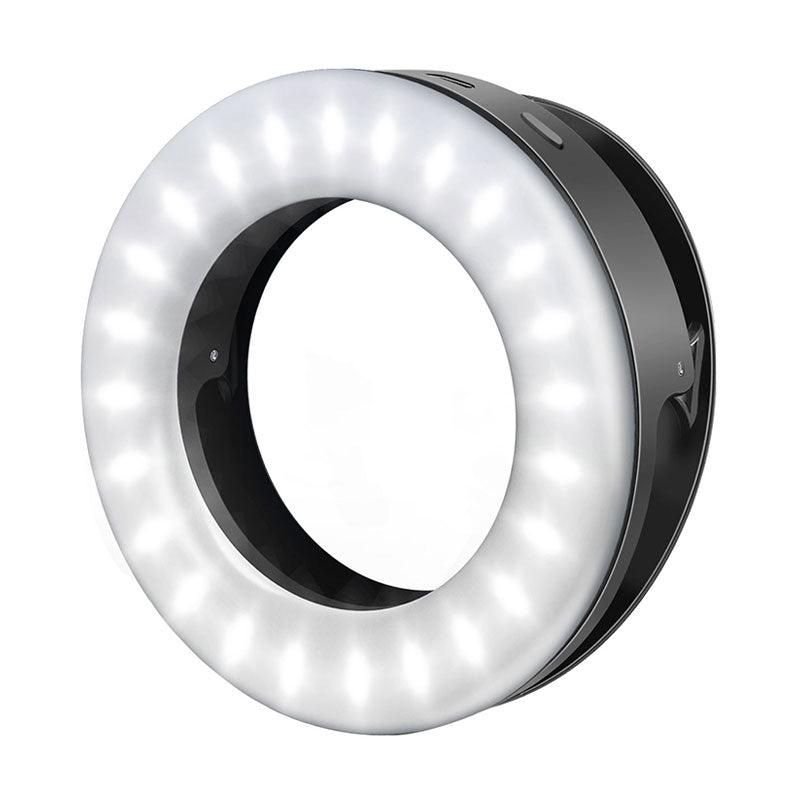
- Lighting: Use flash lighting with softboxes to eliminate shadows and enhance details. Place softboxes with synchronizers on either side of the object for even illumination.
-
Settings: Start with settings similar to patient portrait photography:
- Aperture: f/18–22
- Shutter speed: 1/125–1/160
- ISO: 100–200
Editing and Post-Processing
High-quality photos often require editing to optimize their presentation. Tools like Adobe Lightroom or Photoshop can help adjust colors, contrast, and sharpness to achieve professional results.
Conclusion
Macro photography is not just a technical tool; it is an artistic expression that elevates dental practice. From precise documentation to creative product photography, its applications are vast. By mastering macro techniques and using appropriate equipment, dental professionals can improve diagnostics, educate patients, and create captivating promotional content. Practice, refine, and experiment to unlock the full potential of dental macro photography.

