
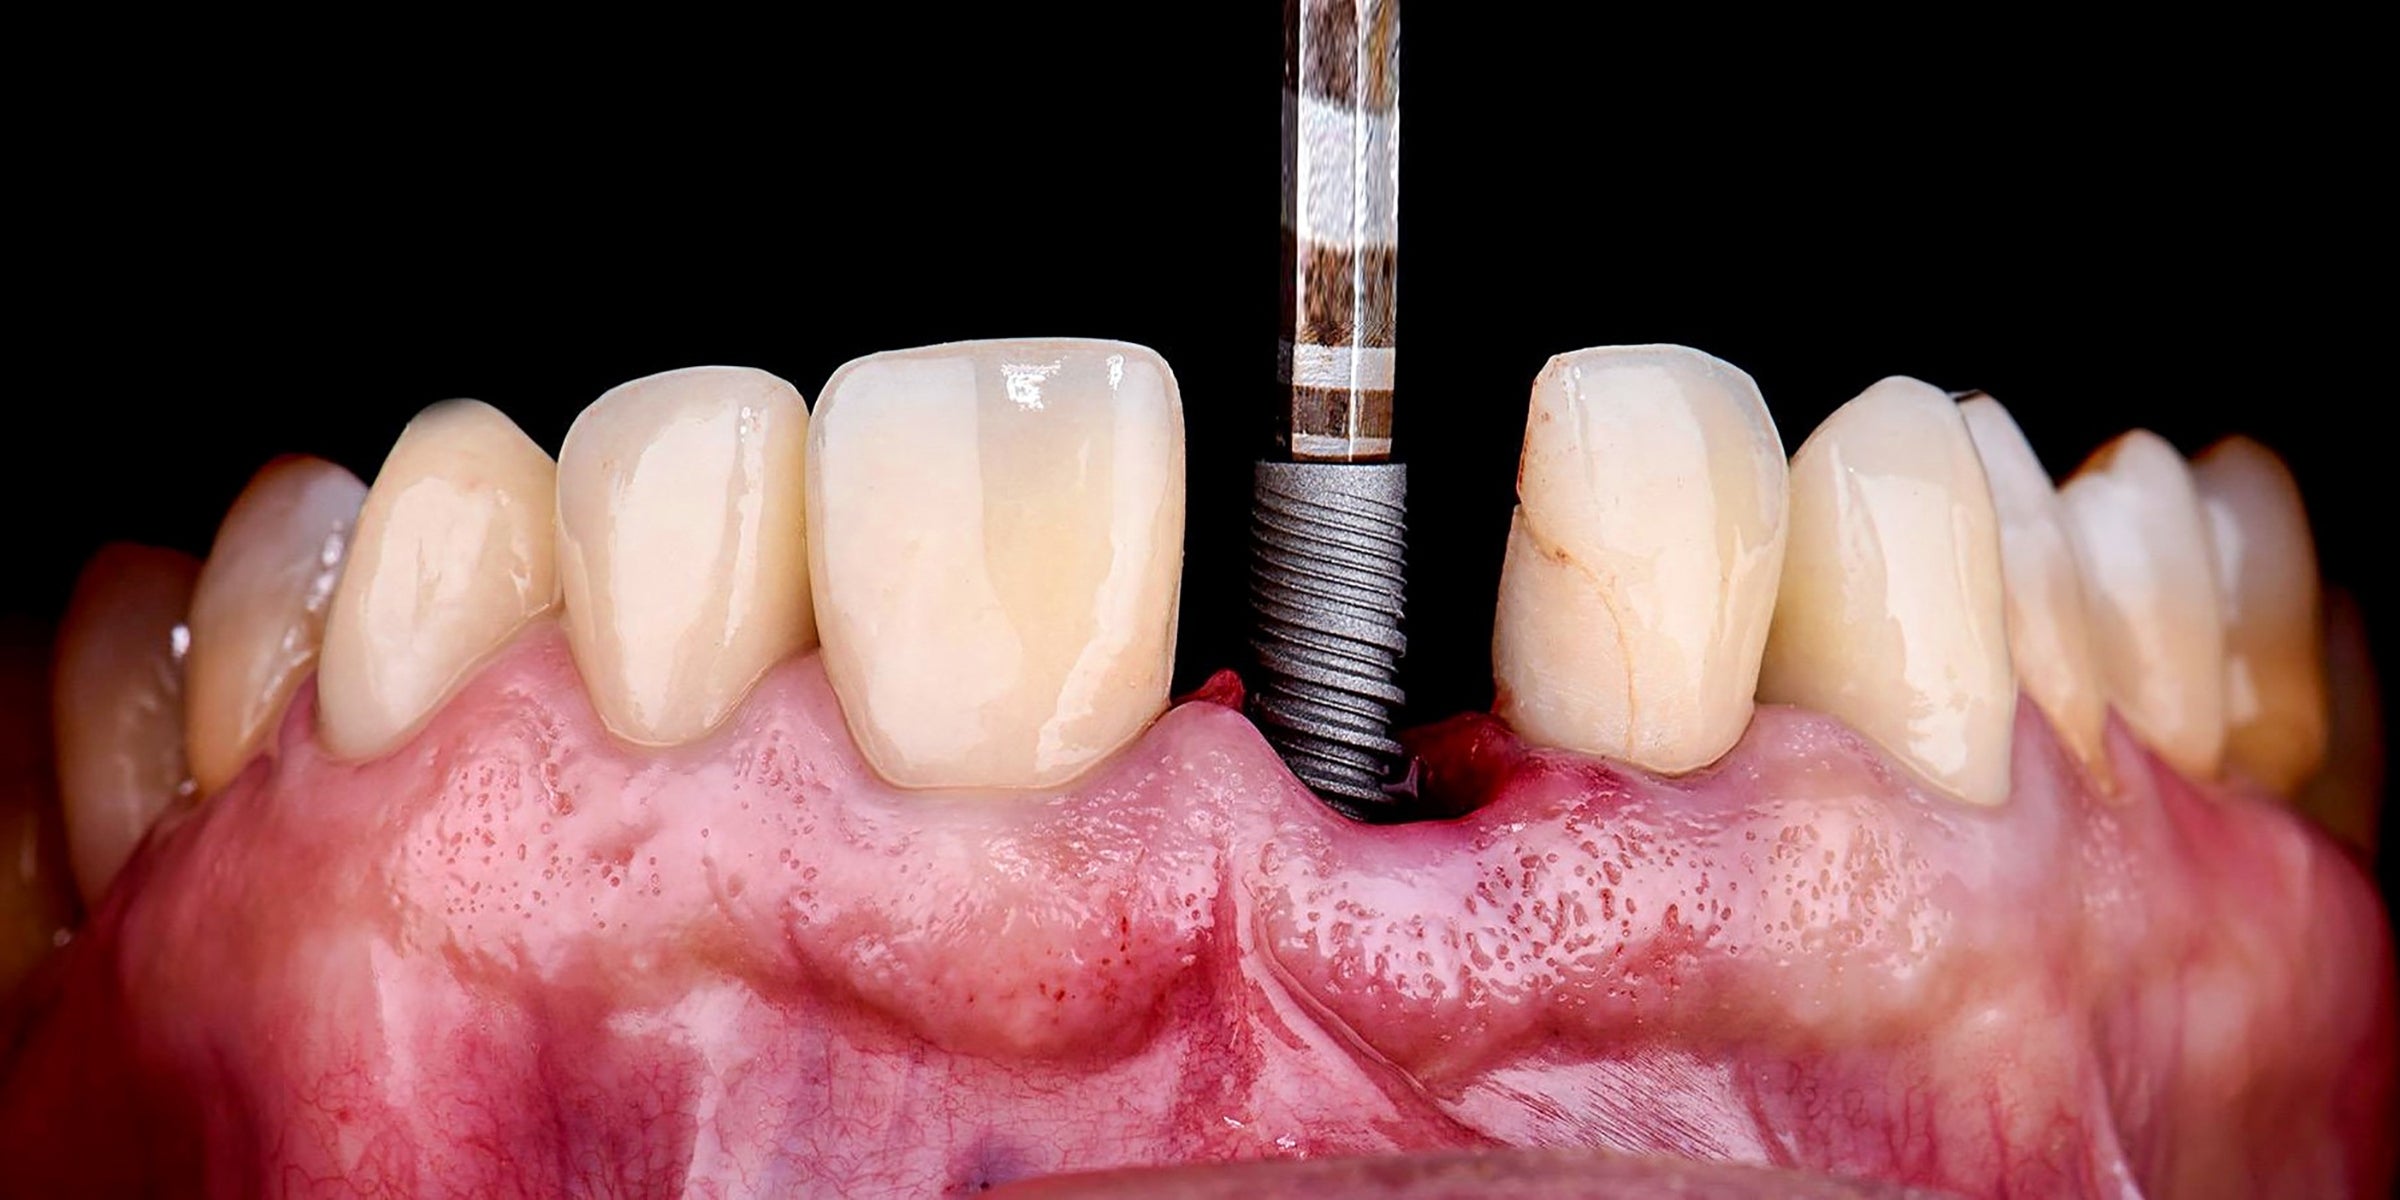
In dental photography, achieving accurate and natural colors is critical for diagnostics, treatment planning, and patient communication. A gray card is an indispensable tool for correcting white balance, ensuring color accuracy, and maintaining professional-quality images. Here's how gray cards elevate dental photography and the best practices for their use.
What is a Gray Card?
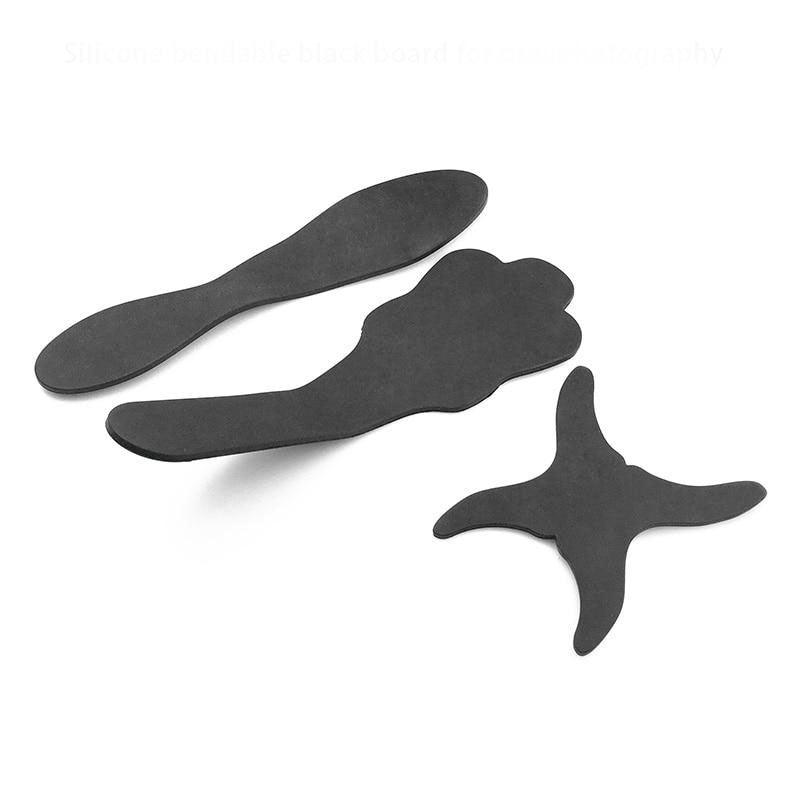
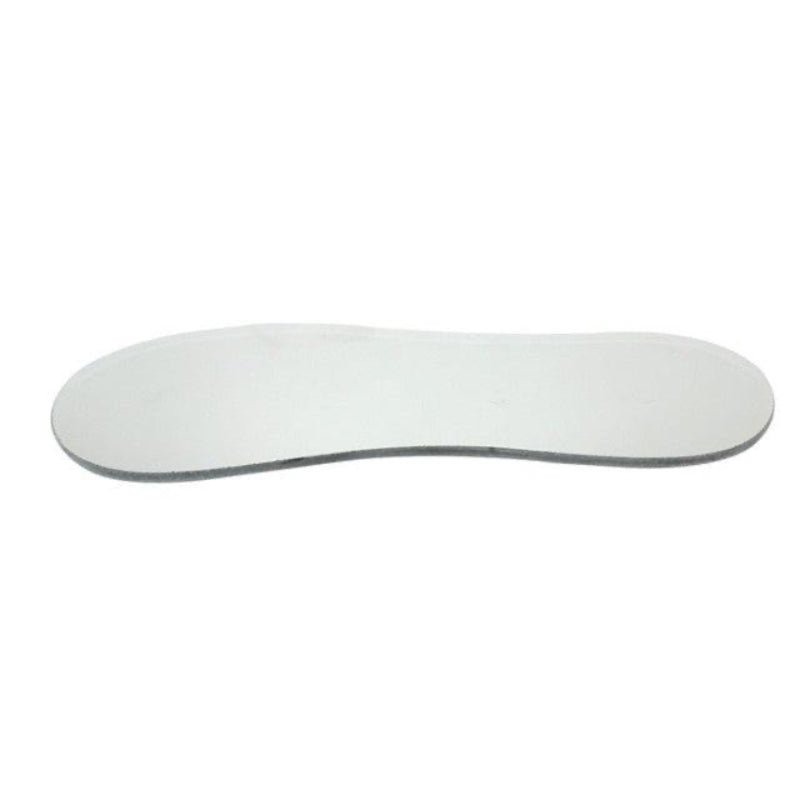
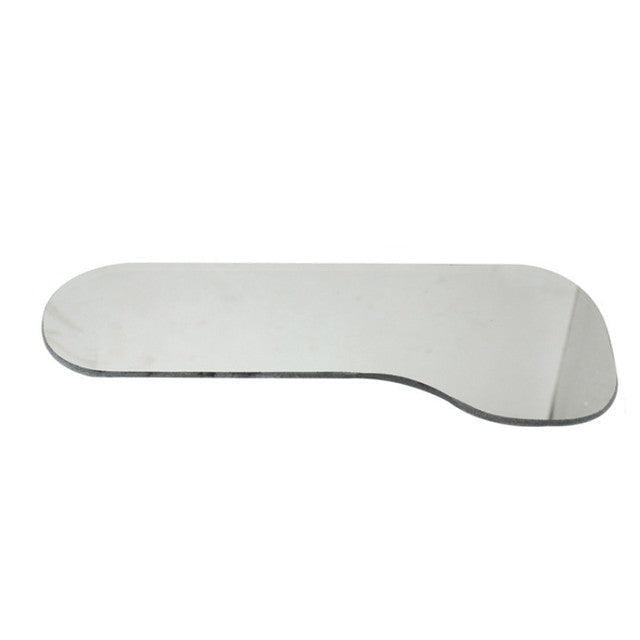
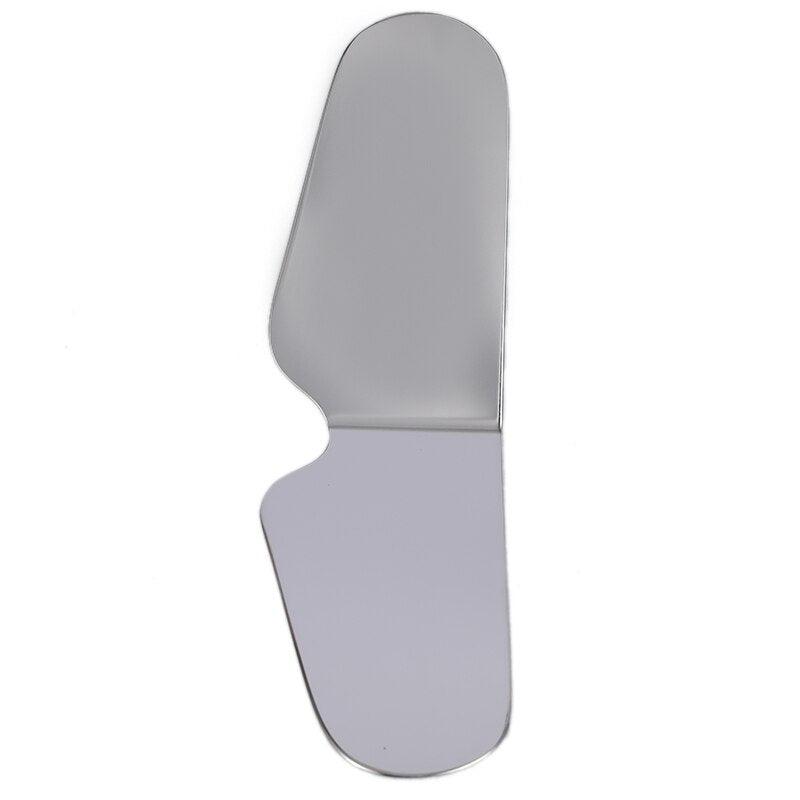
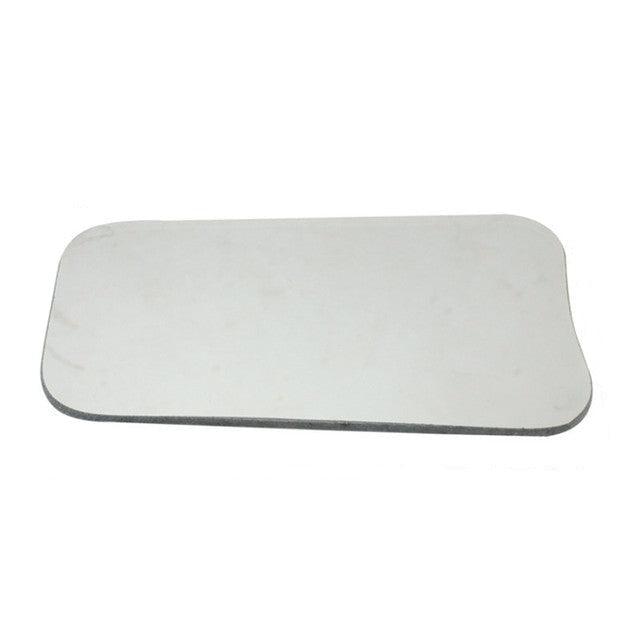
A gray card is a matte-surfaced card in a precise shade of gray. Its primary purpose is to set white balance, contrast, and exposure during photography. By providing a neutral reference point, it ensures that the resulting images have accurate hues and natural tones.
Using a Gray Card in Dental Photography
Method 1: Pre-Shoot Calibration
- Purpose: Establish color consistency before taking clinical photos.
-
Steps:
- Place the gray card in the frame before starting the session.
- Take a test shot with the card illuminated by the same light source as your subject.
- Use this reference shot to calibrate colors and contrast during post-editing.
Pro Tip: This method is ideal for creating uniform lighting and color across all your dental images, especially in a controlled environment.
Method 2: In-Shoot Calibration
- Purpose: Achieve precise color accuracy during the photo session.
-
Steps:
- Photograph the patient holding the gray card near their face.
- Avoid shadows and reflections on the card.
- Use this image as a reference for adjusting white balance in editing software like Adobe Lightroom.
Pro Tip: This approach is particularly effective for anterior incisors or complex restorations where exact color matching is critical.
Post-Editing with a Gray Card
- Import Images to Editing Software: Load the photos into software like Lightroom or Capture One.
- Set White Balance: Use the "Eyedropper" tool on the gray card in the reference image.
- Apply Adjustments to Entire Series: Select all images, press CTRL+A, then click "Synchronize" to ensure consistency across all photos.
Why Use a Gray Card in Dental Photography?
- Color Accuracy: Essential for accurate shade determination, especially for anterior teeth and single restorations.
- Improved Workflow: Reduces guesswork in editing, saving time and ensuring consistent results.
- Enhanced Professionalism: Provides precise, high-quality images that impress clients and colleagues alike.
Practical Applications for Gray Cards
- Anterior Teeth: Use a gray card for precise shade matching in restorations.
-
Multiple Shots for Accuracy:
- The patient holding the gray card.
- Photos with and without a color shade guide.
- Photos with polarizing filters to eliminate glare.
- Direct-to-Computer Shooting: Simplify workflow by adjusting white balance during the session.
Conclusion
Gray cards are a small yet mighty tool in dental photography, offering unmatched color accuracy and ease of use. By incorporating gray cards into your workflow, you can elevate your practice, streamline editing, and ensure every photo meets professional standards. For precise, vibrant, and true-to-life dental photography, a gray card is your go-to accessory.


