


Dental photography has become an essential skill for dentists—not just for documentation, but for treatment planning, patient communication, education, marketing, and even legal protection. Yet, many practitioners overlook its power, believing it’s too complicated, too time-consuming, or simply unnecessary.
In reality, good dental photos can elevate your practice in ways few tools can. With just a few essential accessories and basic knowledge, you can start capturing high-quality images that support your clinical work and build patient trust. Whether you’re shooting with a DSLR, mirrorless camera, or smartphone, this beginner’s guide will help you start your journey into professional dental photography.
Why Dental Photography Matters
1. Clinical Documentation & Case Planning
Intraoral photos allow you to track progress, plan treatments, and monitor healing with far more precision than chart notes alone. For complex or cosmetic treatments, pre- and post-op images provide invaluable visual references.
2. Patient Communication & Education
Clear images help patients understand their current condition and the proposed treatments. When patients can “see what you see,” they become more engaged, ask better questions, and feel confident moving forward.
3. Legal Protection
Well-documented images can act as legal evidence in case of disputes. Every comprehensive, cosmetic, or surgical treatment should be supported by clinical photos.
4. Marketing & Professional Growth
Before-and-after photos, smile transformations, and procedural visuals are powerful tools for Instagram, websites, and patient presentations. They showcase your skill and help attract new patients organically.
Essential Equipment for Dental Photography in 2025
You don’t need a complicated studio to take professional photos. Here’s what every dentist needs:
Camera Body
Choose either a DSLR or mirrorless camera. Both offer interchangeable lenses and excellent image quality. Look for models that support RAW format, have good low-light performance, and offer manual control.
Popular choices:
- Canon 90D / R6 Mark II
- Nikon D7500 / Z5
- Sony A7 IV
Macro Lens (85–105mm)
A macro lens is critical for close-up shots. It allows 1:1 magnification, so what you see is what you get. This sharpness and detail are essential for anterior, occlusal, and intraoral photos.
Recommended:
- Canon 100mm f/2.8 Macro (EF or RF)
- Nikon 105mm Micro
- Sony 90mm Macro
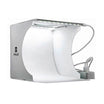
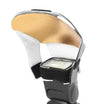
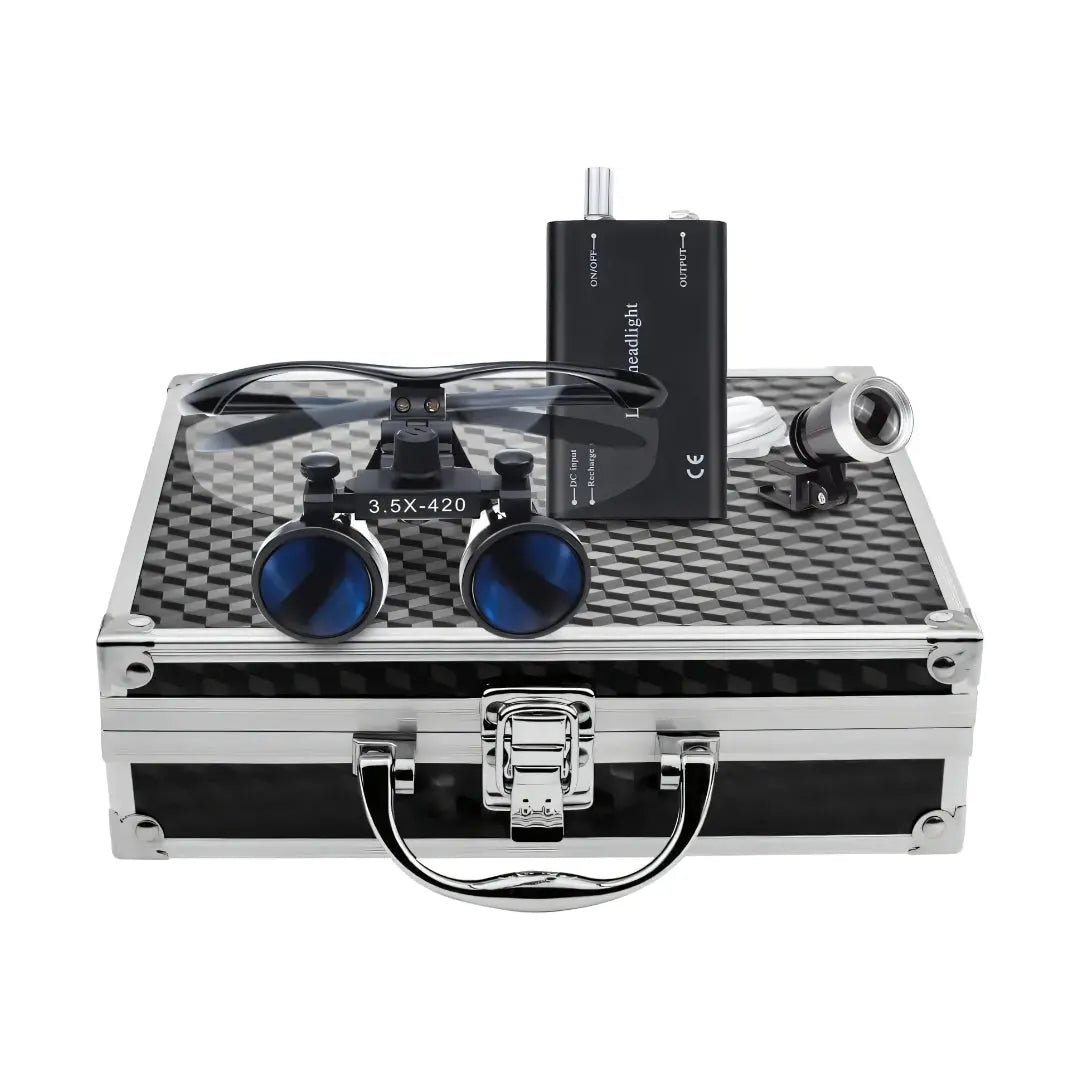
Lighting: Ring vs. Twin Flash
Lighting determines your photo quality more than the camera.
- Ring flash: Soft, even light. Great for documentation.
- Twin flash: More contrast and dimension. Ideal for artistic and educational shots.
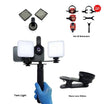
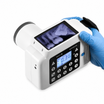
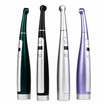
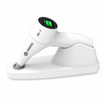
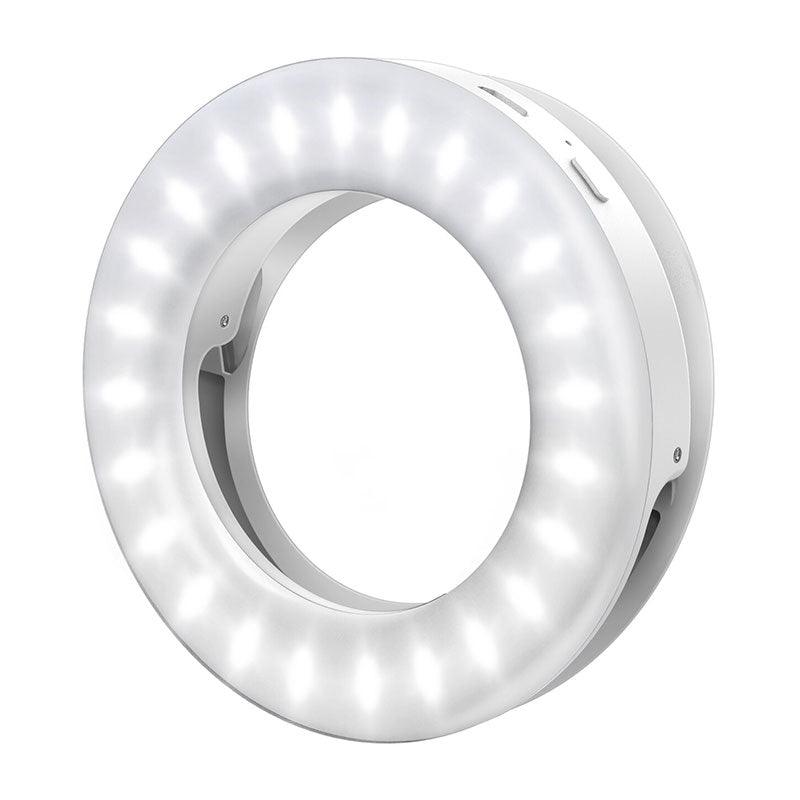
You can also explore LED options like the Dentiphoto Twin Light—a compact mobile-friendly option that includes a macro lens and CPL filter for smartphone users.

Must-Have Accessories for Dental Photography
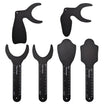
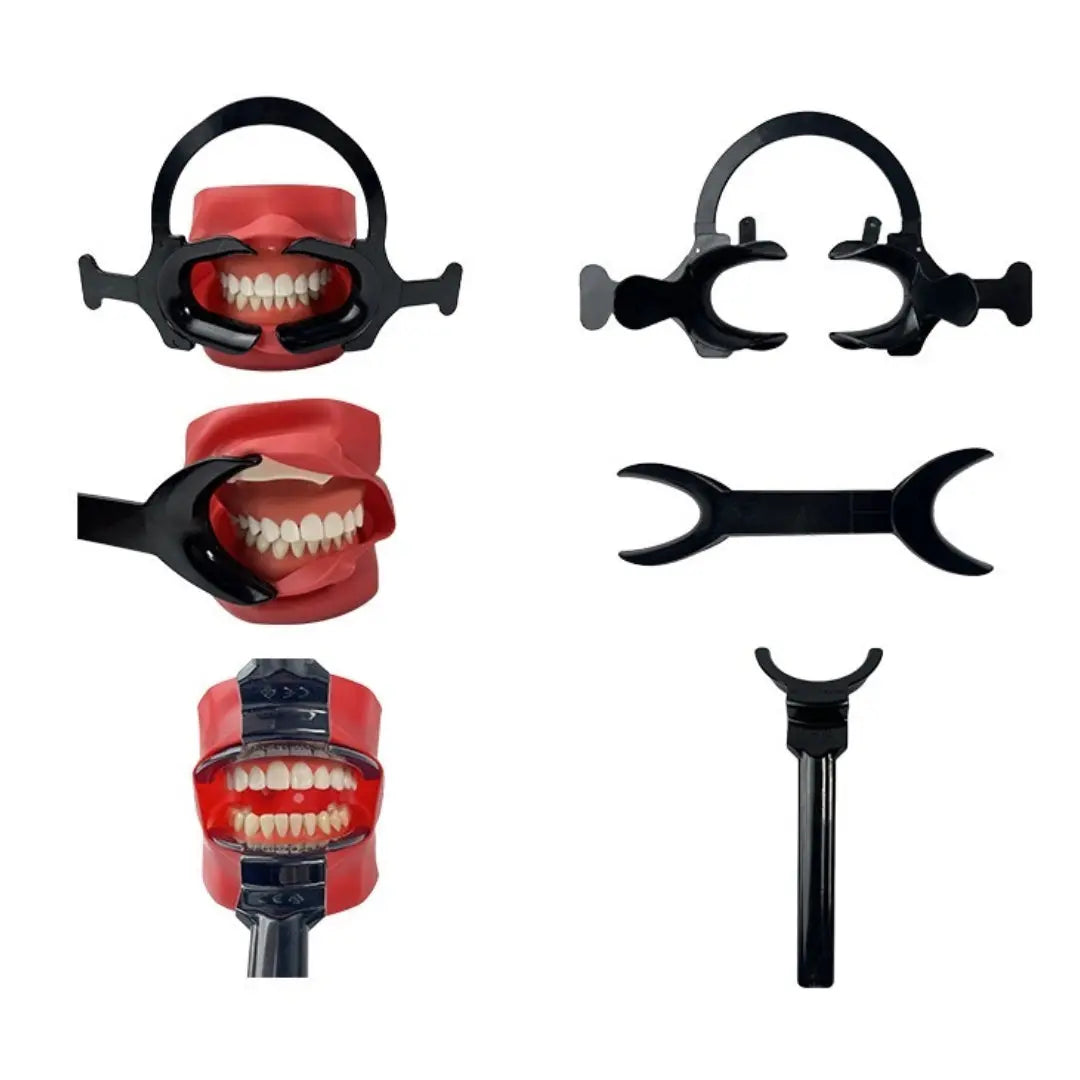
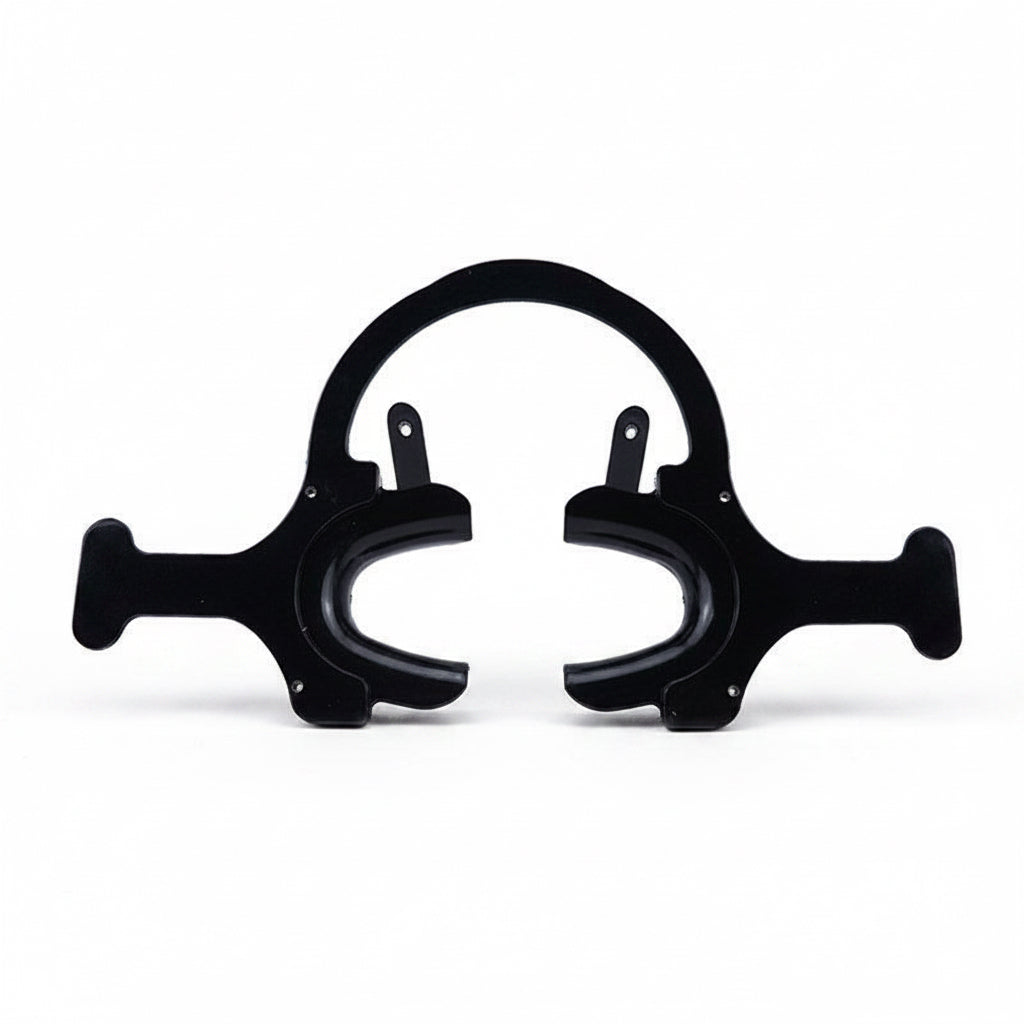
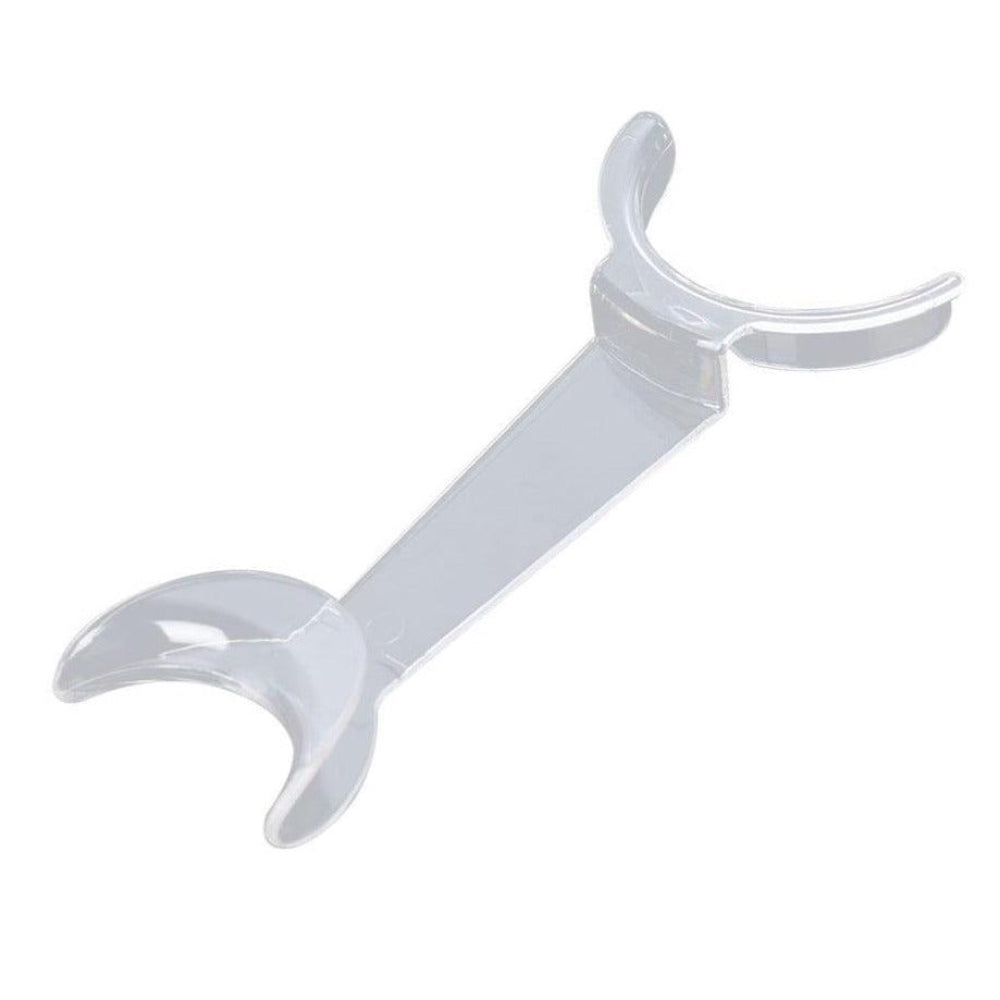
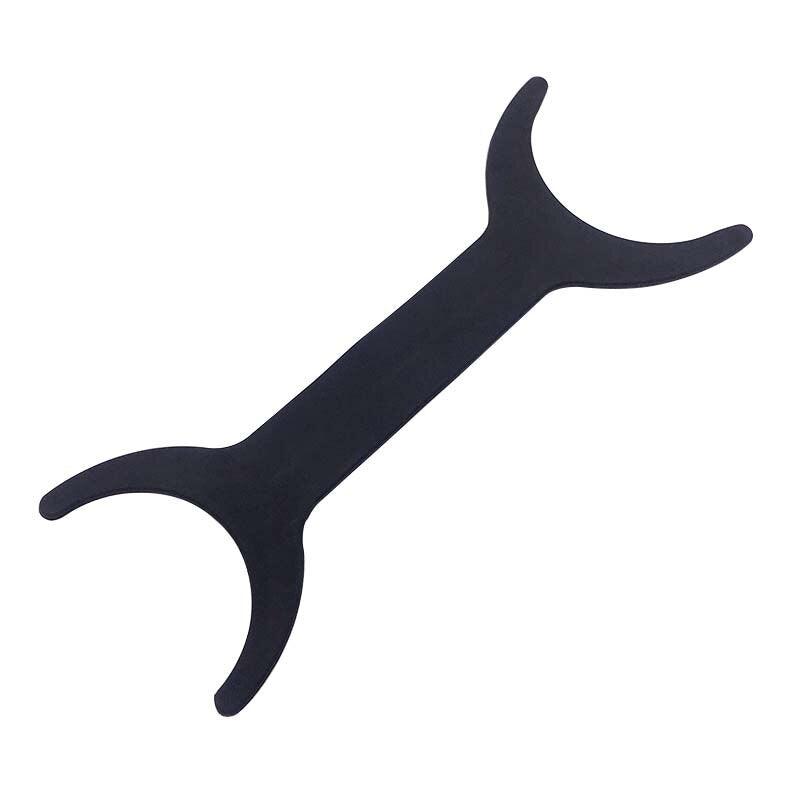
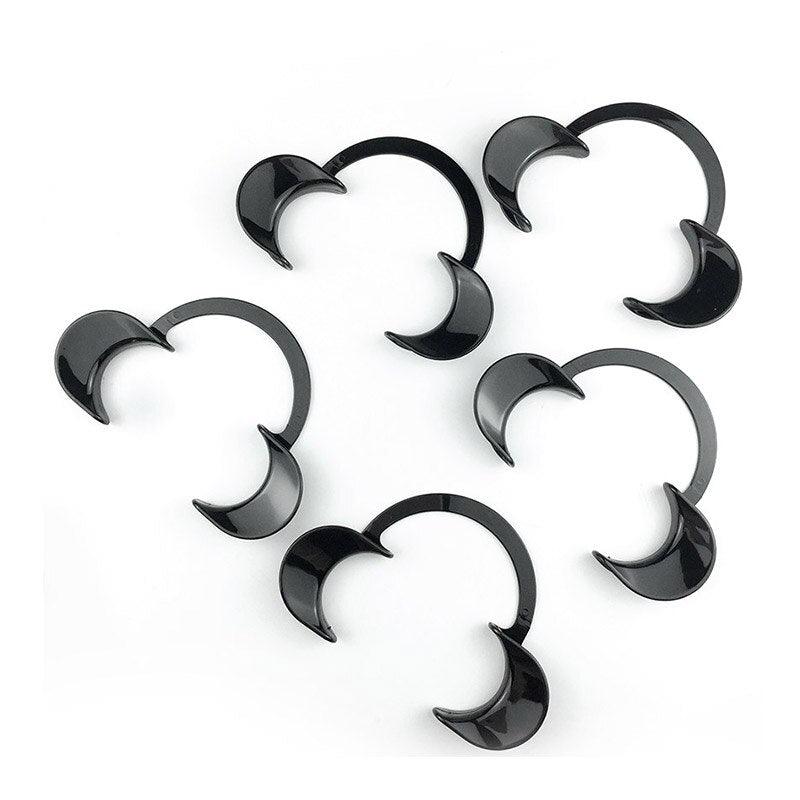
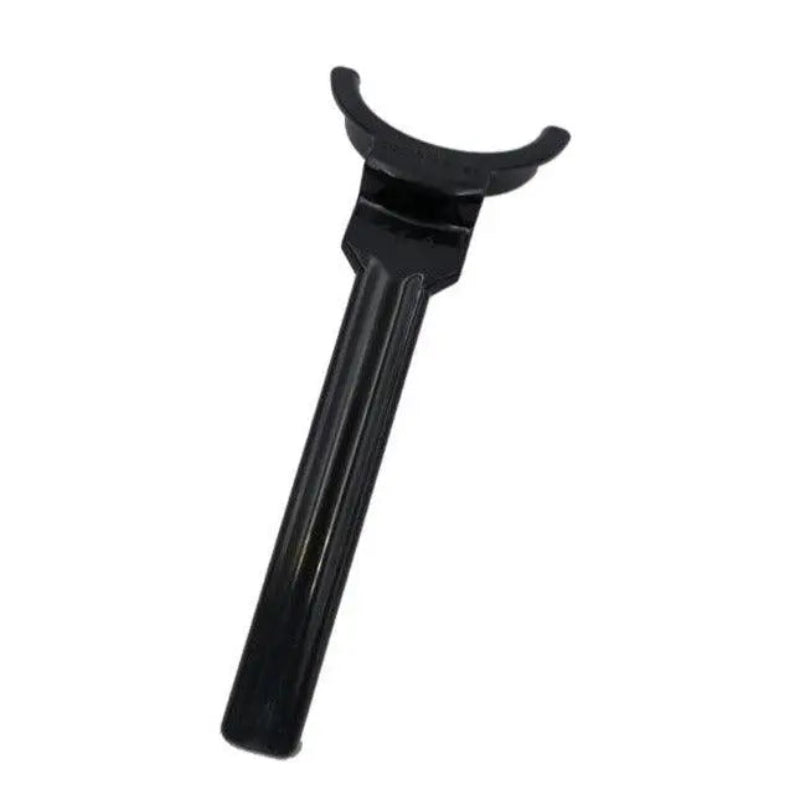
Cheek Retractors
Expose the working field, reduce shadows, and isolate the area. Choose autoclavable retractors in various sizes for different patients.
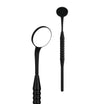
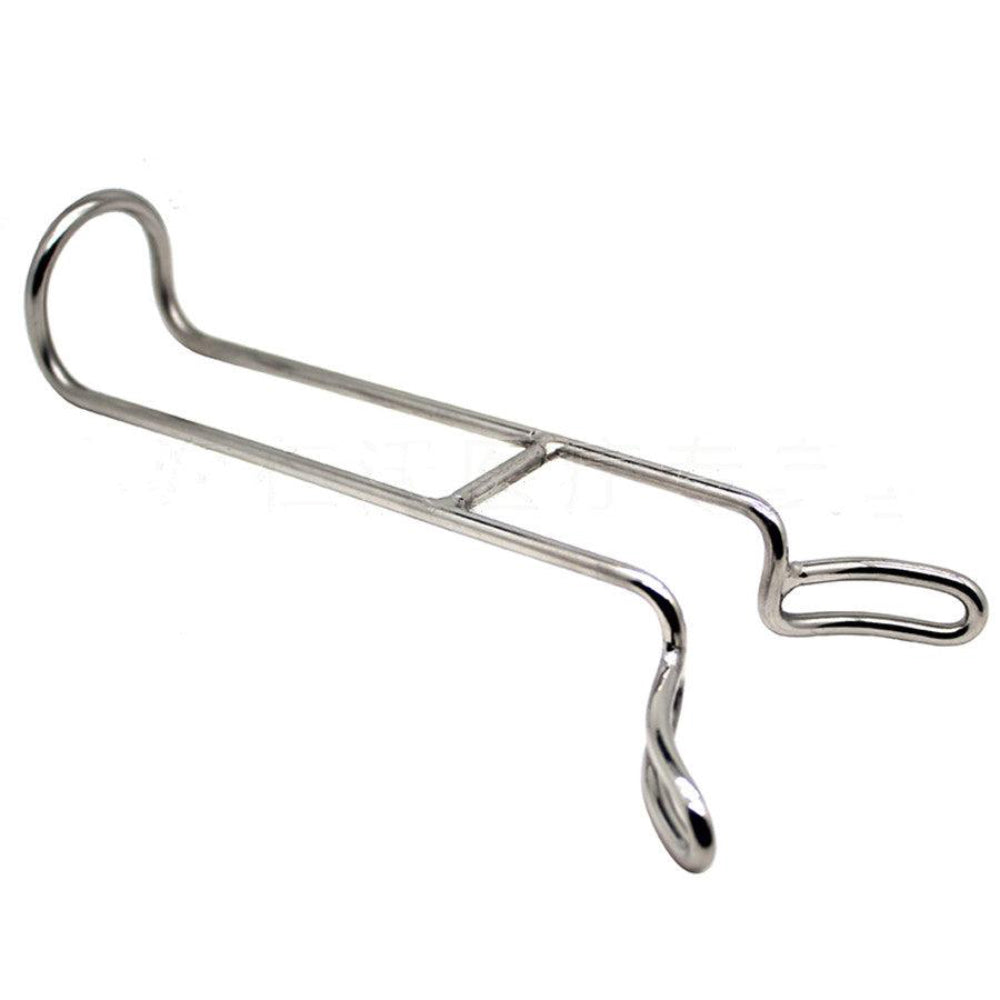
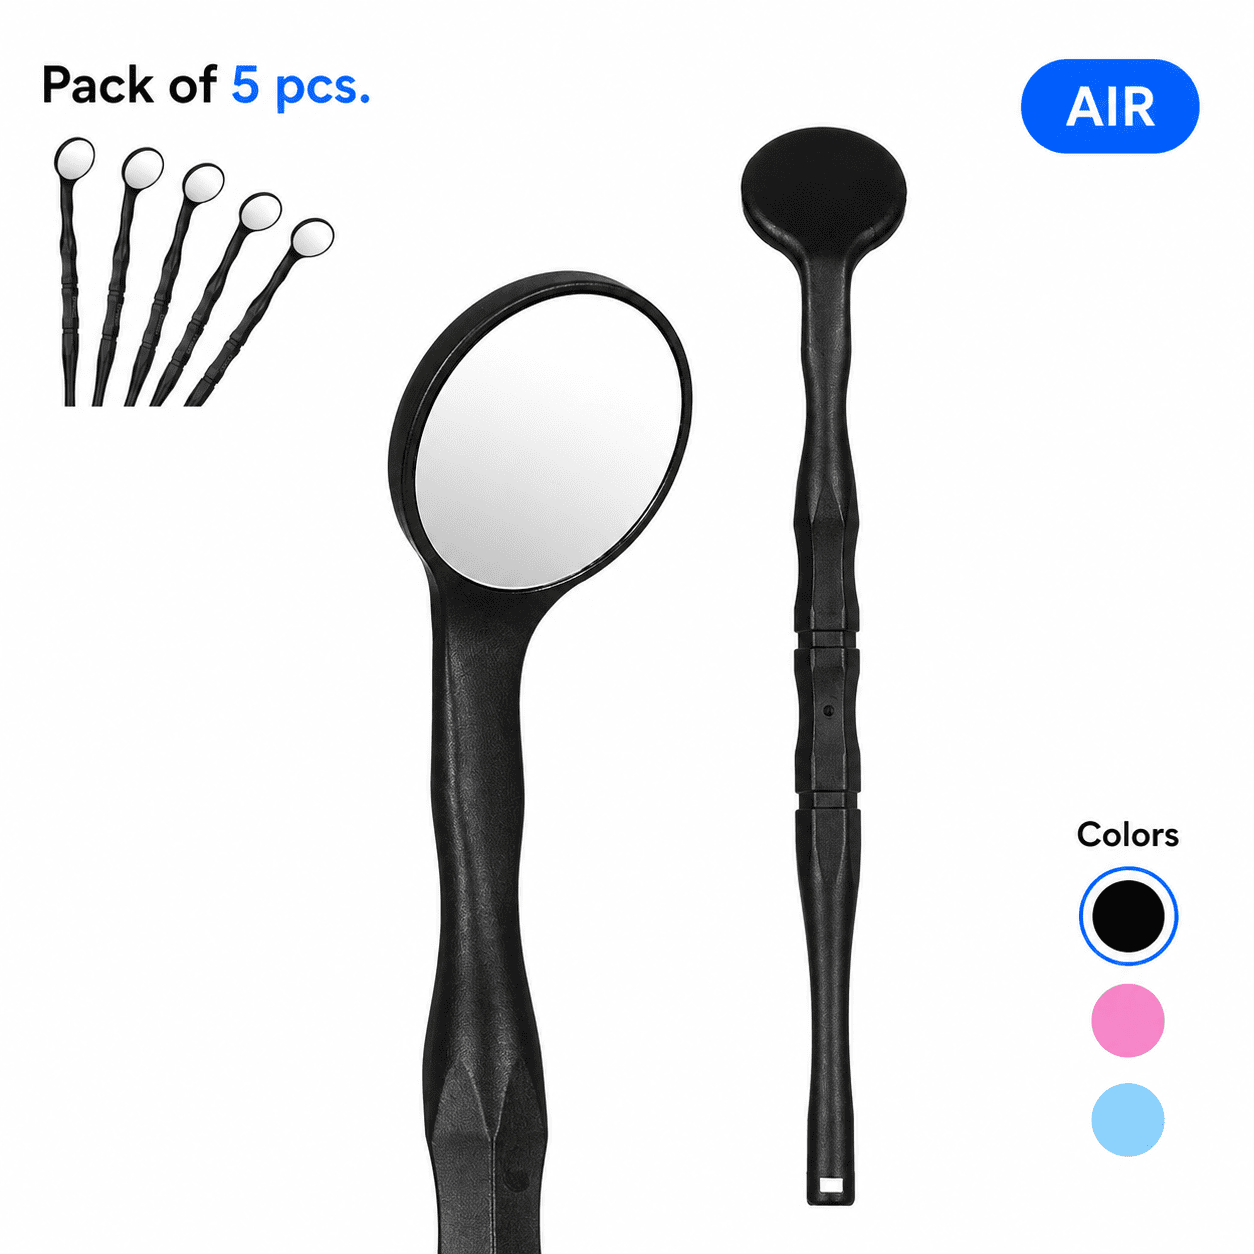
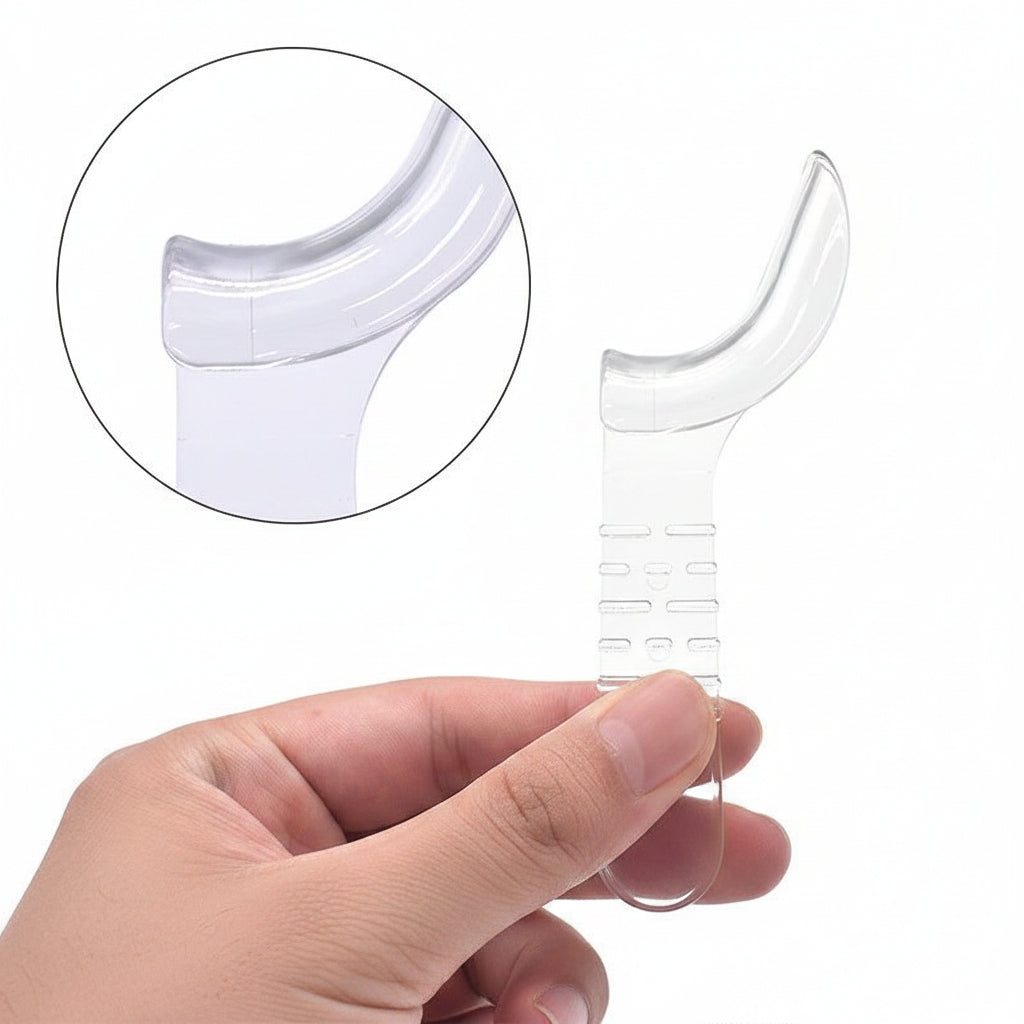
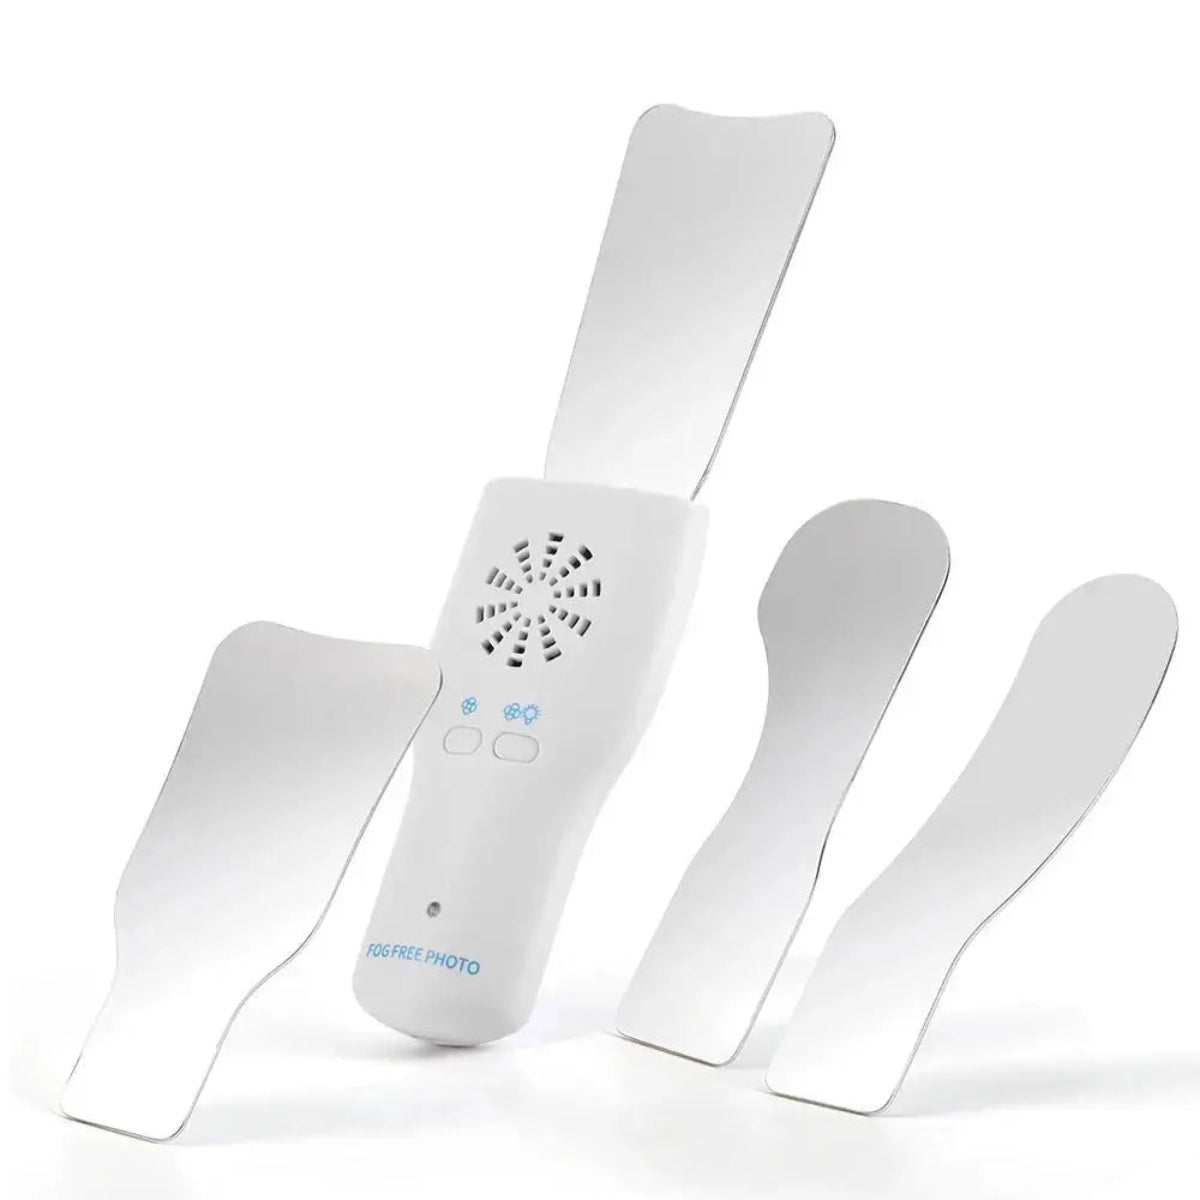
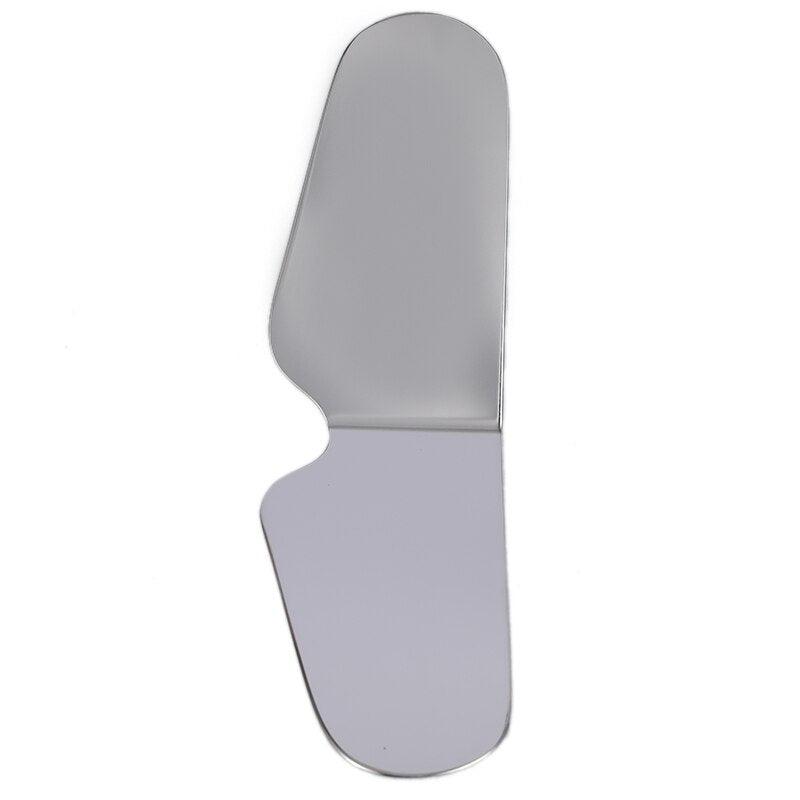
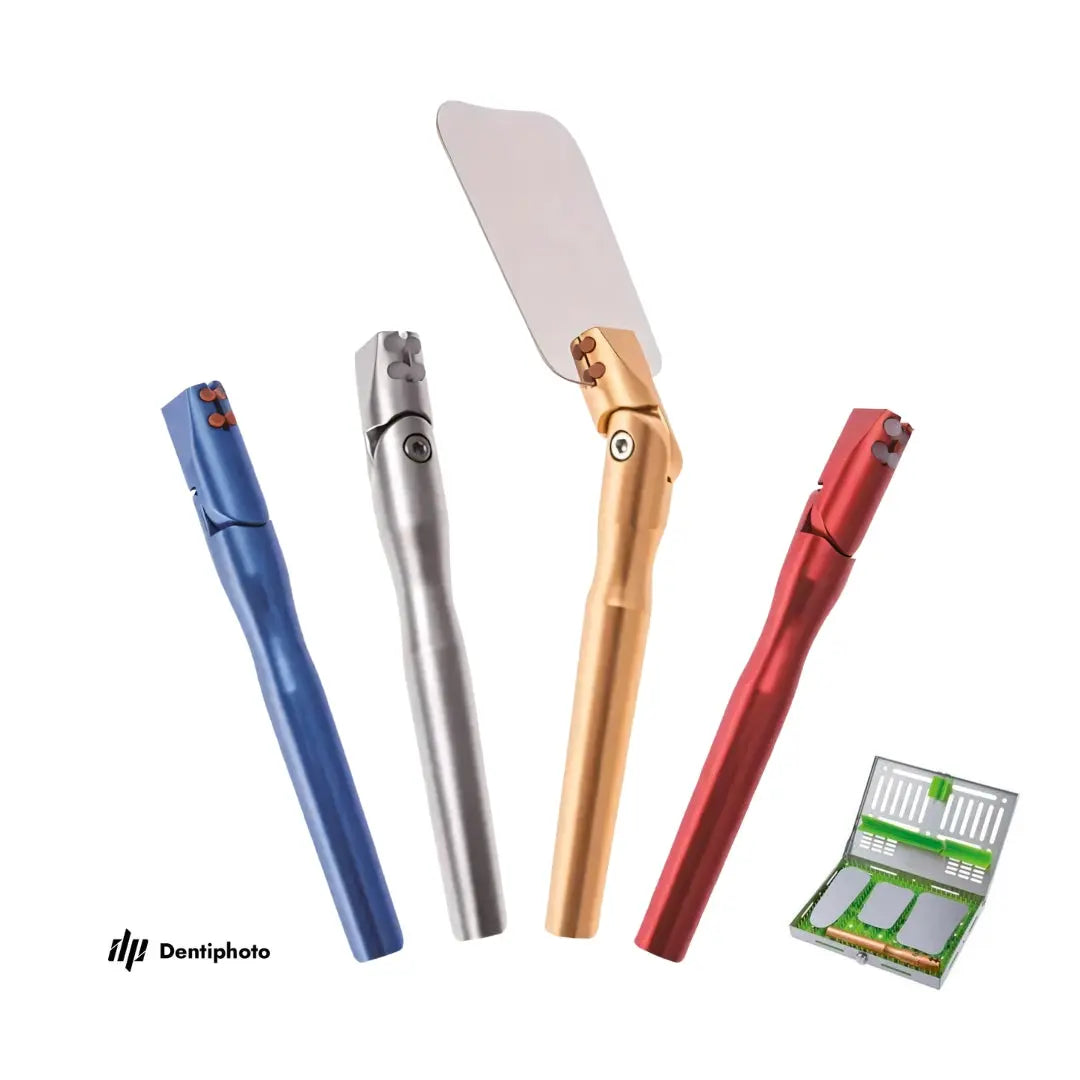
Intraoral Mirrors
Capture occlusal and lingual views. Always use anti-fog or heated mirrors to avoid steam, and never clean with abrasives. Store them in dedicated cassettes to prevent scratching.
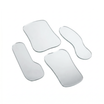
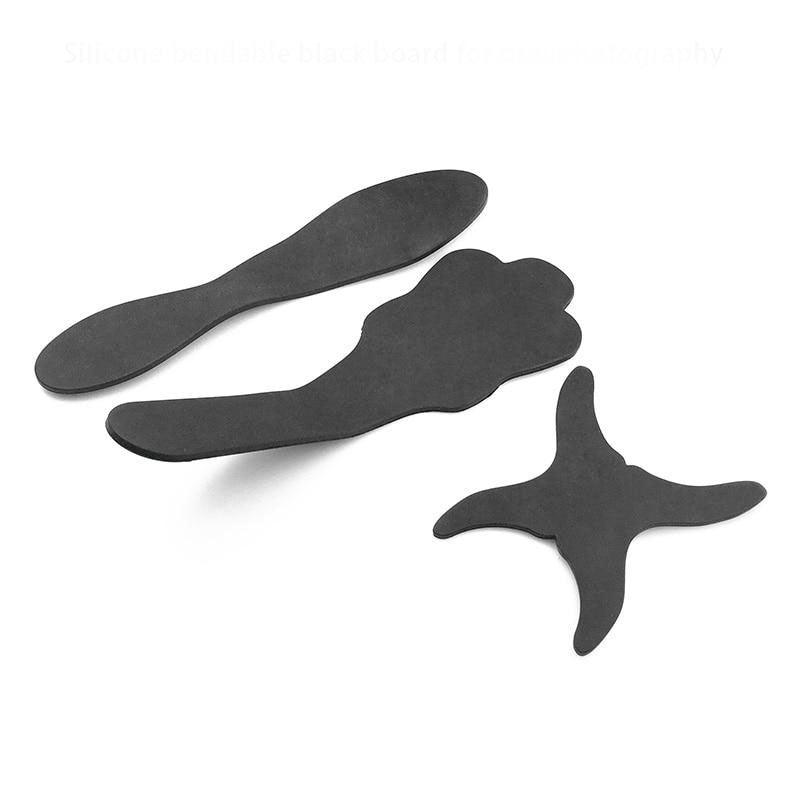
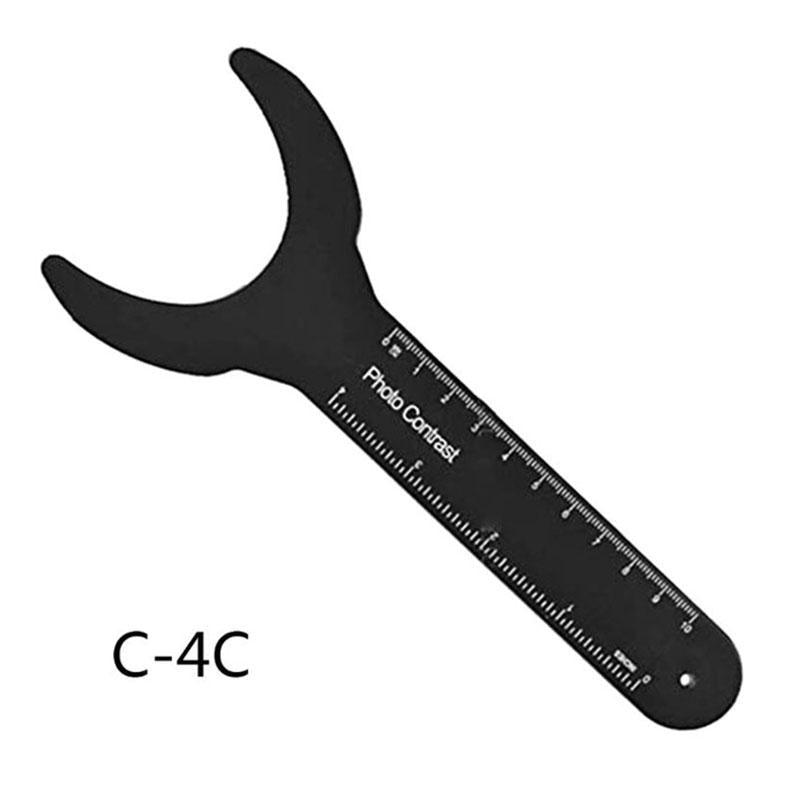
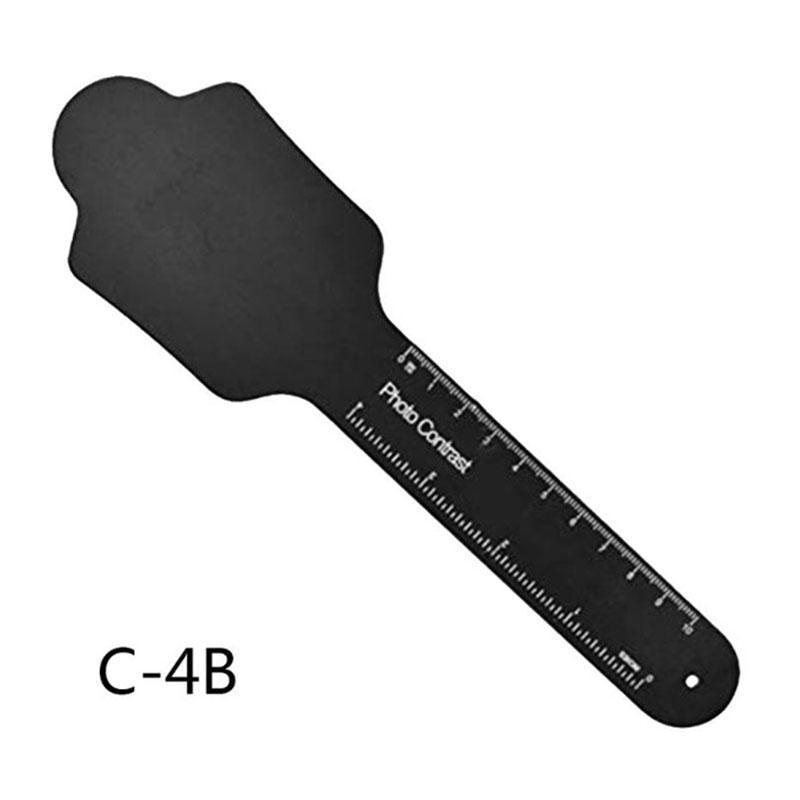
Contraster Plates
Made of black silicone or aluminum, they create a dark background that enhances contrast and eliminates distractions—ideal for anterior shots and shade matching.
Other Essentials
- SD cards (fast write speed)
- Extra batteries
- Tripod or flexible phone mount
- Camera bag
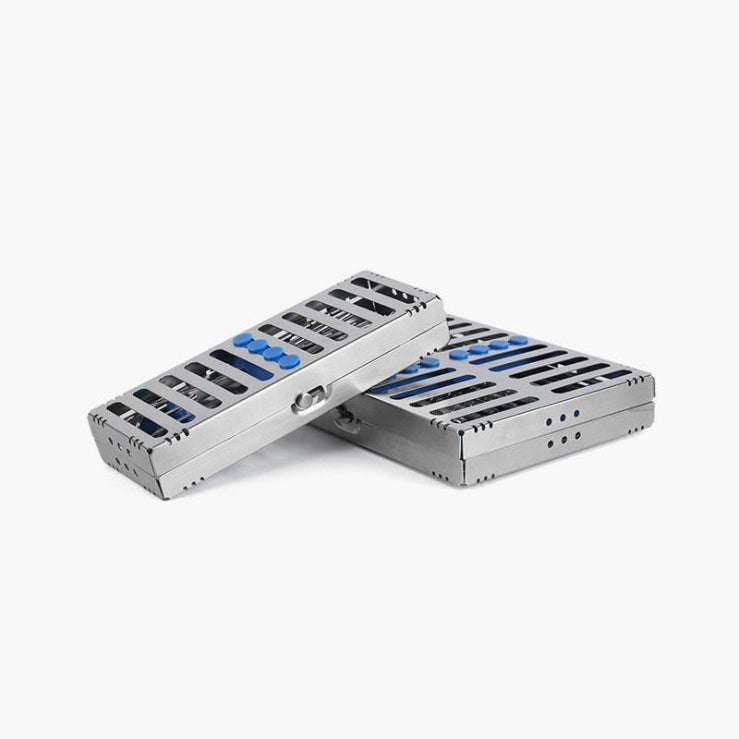
- Sterilization pouches or boxes
Camera Settings Cheat Sheet
- Mode: Manual (M)
- Shutter Speed: 1/125–1/200
- Aperture: f/18–f/32 (for depth in intraoral shots)
- ISO: 100–200 (avoid noise)
- White Balance: Daylight or 5200K (avoid Auto WB)
- Image Format: RAW + JPEG
- Autofocus: One-Shot / AF-S

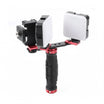
Smartphone Dental Photography in 2025
Modern smartphones can work surprisingly well with the right setup. While not as sharp as DSLR images, they’re great for quick documentation, social media, or patient communication.
Optimize Your Smartphone Setup:
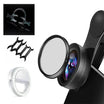
- Use a 3x or 5x telephoto lens (or attach a 100mm macro lens).
- Add LED lights like the Twin Light for even, soft illumination.
- Use a CPL filter to reduce reflections.
- Enable grid lines and adjust exposure manually.
- Use black or white backgrounds and retractors for intraoral clarity.
Pro Tip: Buy a full smartphone kit like Dentiphoto’s Twin Light Set, which includes lights, macro lens, CPL, and retractors. Perfect for beginners and mobile dentists.
Final Thoughts
Dental photography is no longer optional—it’s a clinical and marketing tool that pays for itself many times over. With just a few tools and the right settings, any dentist can start producing consistent, high-quality images.
Whether you’re using a Canon DSLR or an iPhone with Twin Light, what matters most is technique, consistency, and documentation. Make photography a part of your daily workflow and watch your communication, results, and reputation improve.
Ready to start?
📦 Use code BLOG15 at checkout for 15% off your first order.


