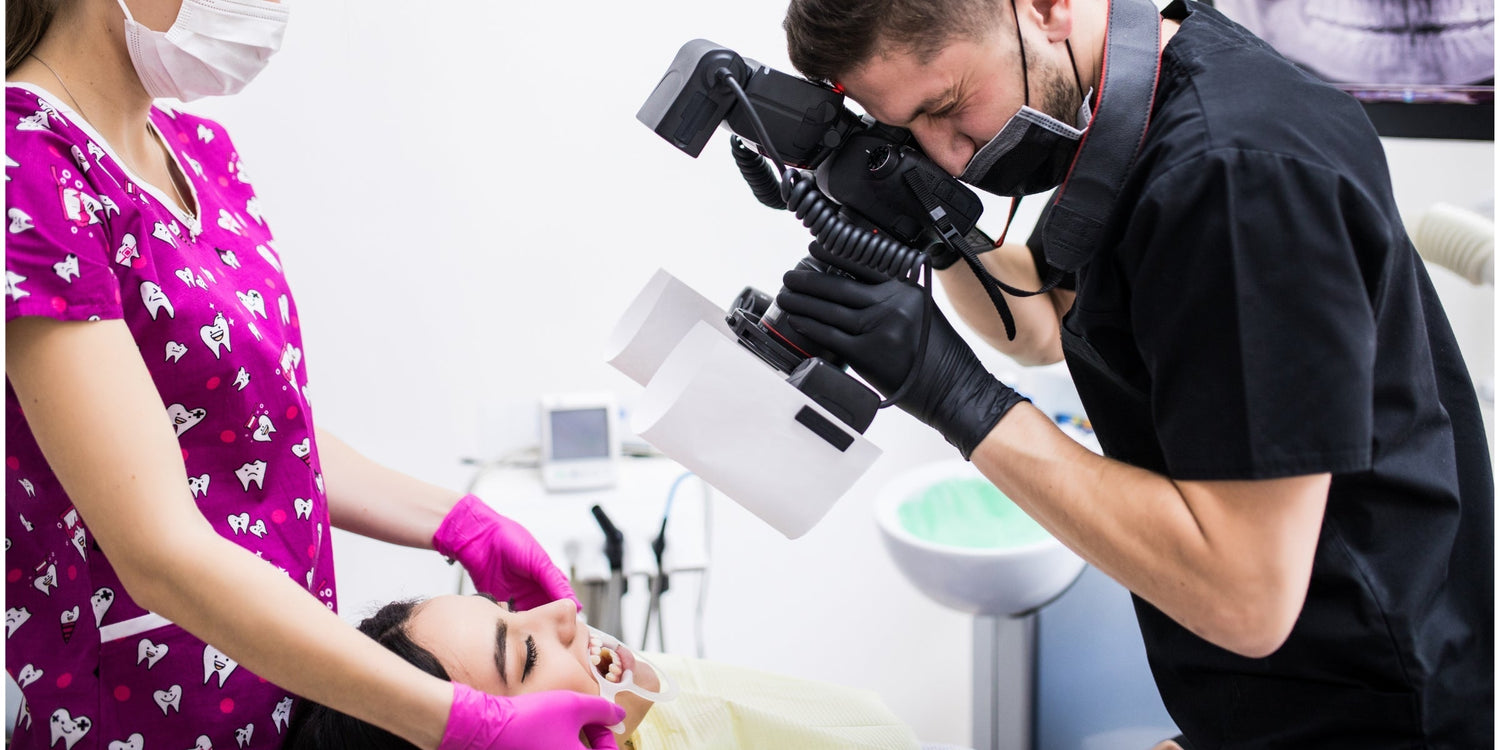
In modern dentistry, photography is an indispensable tool for diagnosis, treatment planning, and patient communication. Capturing clear and detailed images of teeth and oral structures enhances case documentation, patient trust, and professional growth. This guide provides expert advice on selecting the best camera and complementary equipment for dental photography, with insights drawn from our comprehensive resource, Guide: Dental Photography Equipment and Accessories from A to Z.
Why Invest in a Dedicated Camera for Dental Photography?
While smartphone cameras are improving, dedicated dental photography cameras remain the gold standard for clinical applications. They provide superior detail, accurate color reproduction, and greater manual control. Investing in a specialized camera ensures:
- High-resolution documentation for accurate diagnoses.
- Better communication with patients and labs.
- Professional-quality images for marketing and educational materials.
DSLR vs. Mirrorless Cameras for Dental Photography
DSLR Cameras: Reliable and versatile, DSLRs offer excellent image quality and long battery life. Their extensive range of compatible lenses makes them a solid choice for dental professionals.
Mirrorless Cameras: Compact, lightweight, and increasingly popular, mirrorless cameras deliver fast shooting speeds and excel in low-light conditions, making them ideal for both intraoral and extraoral photography.
Recommendation: For long-term versatility and convenience, mirrorless cameras are a superior choice, especially for busy clinics requiring portable, easy-to-use equipment.
Essential Features to Consider
Sensor Size and Type:
- Full-Frame Sensors: Capture intricate details with minimal noise, ideal for cosmetic and aesthetic dentistry.
- APS-C Sensors: Budget-friendly yet capable of delivering high clarity, especially for intraoral images.
Resolution: Opt for a camera with at least 20–24 megapixels to capture fine details without losing clarity during zoom or cropping.
White Balance Settings: Accurate color representation is critical for shade matching and gum assessments. Cameras with customizable white balance settings allow precise calibration using a gray card.
Manual and Semi-Manual Modes: Ensure the camera allows control over settings like aperture, ISO, and shutter speed for consistent and professional-quality results across all patient cases.
RAW File Format Support: Shooting in RAW format retains all image data, enabling detailed post-processing adjustments without losing quality.
Lighting and Accessories
To achieve optimal results, pair your camera with appropriate lighting and essential accessories:
Lighting Options:
- Ring Flash: Provides consistent, shadow-free lighting, perfect for intraoral photography.
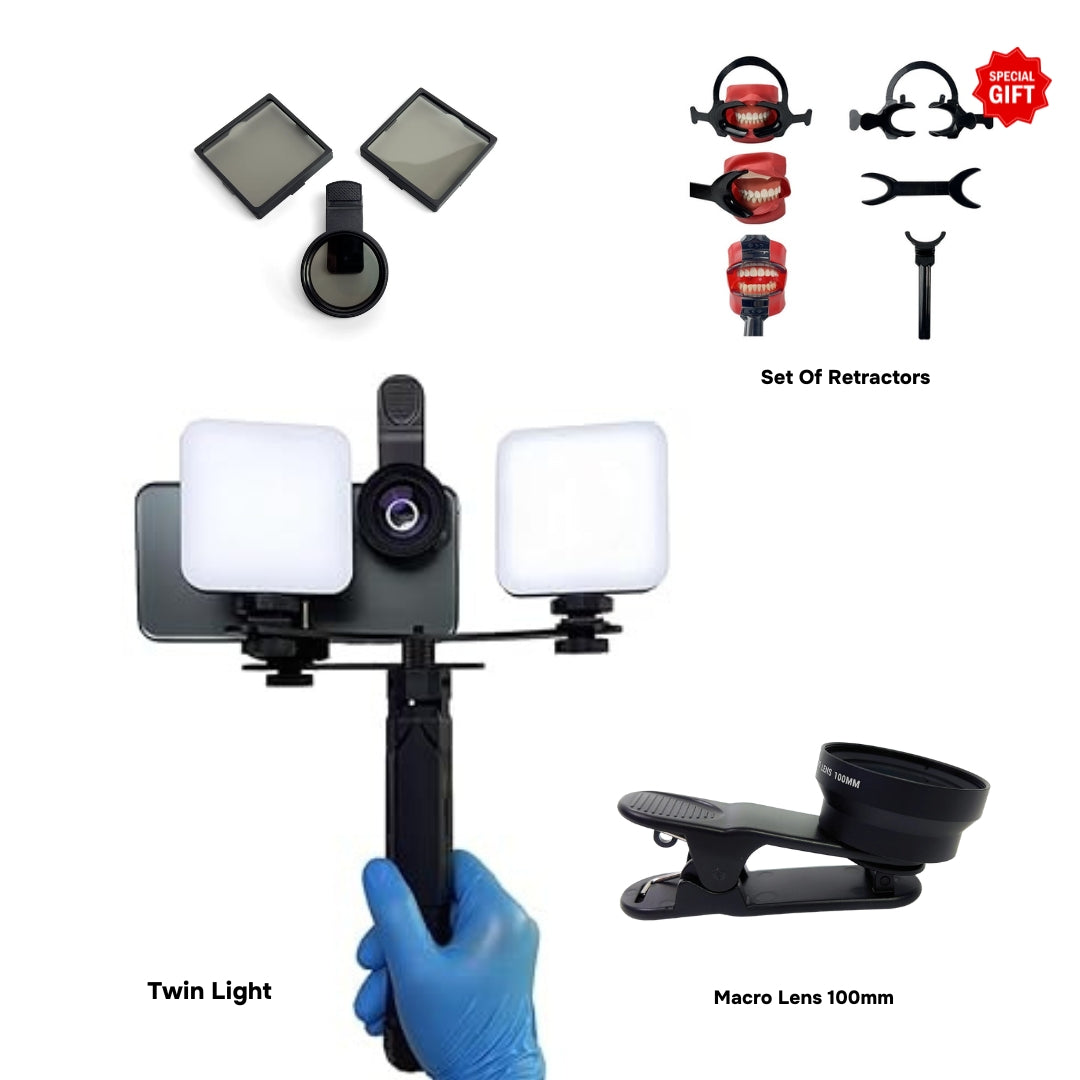
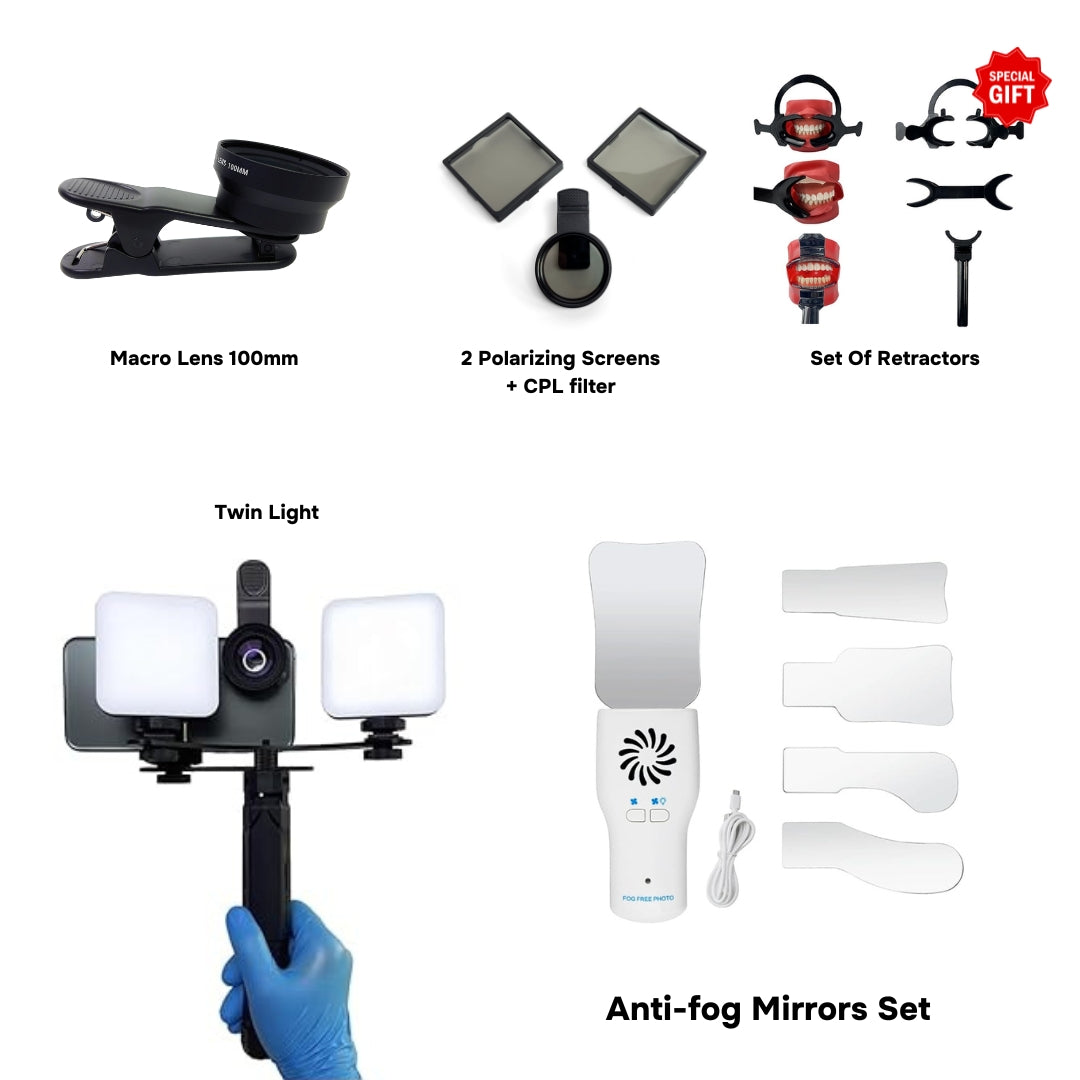
- Twin Macro Flash: Offers directional lighting, enhancing texture visibility, ideal for aesthetic-focused documentation.
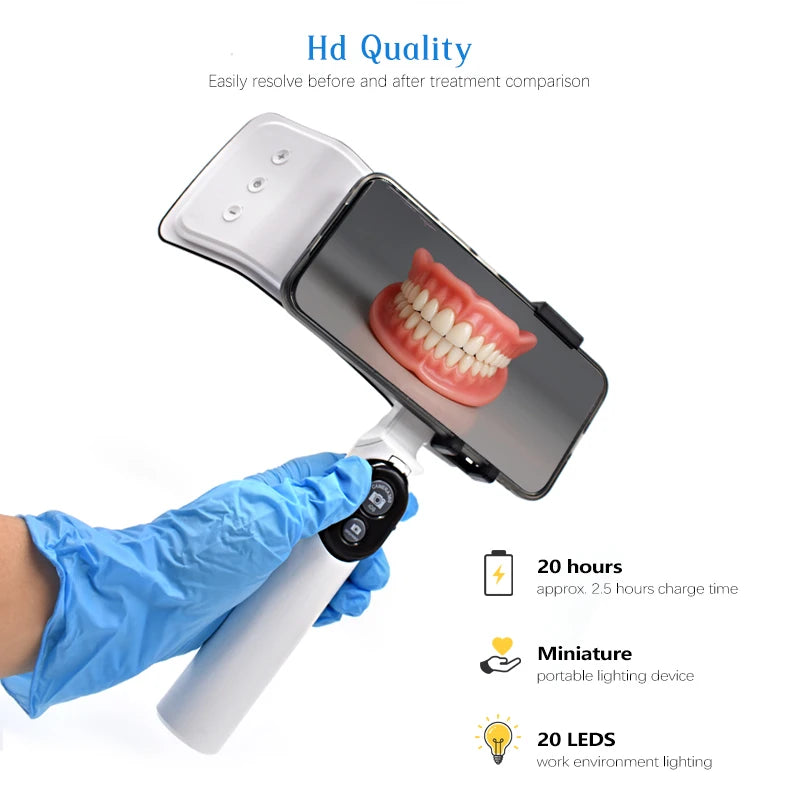
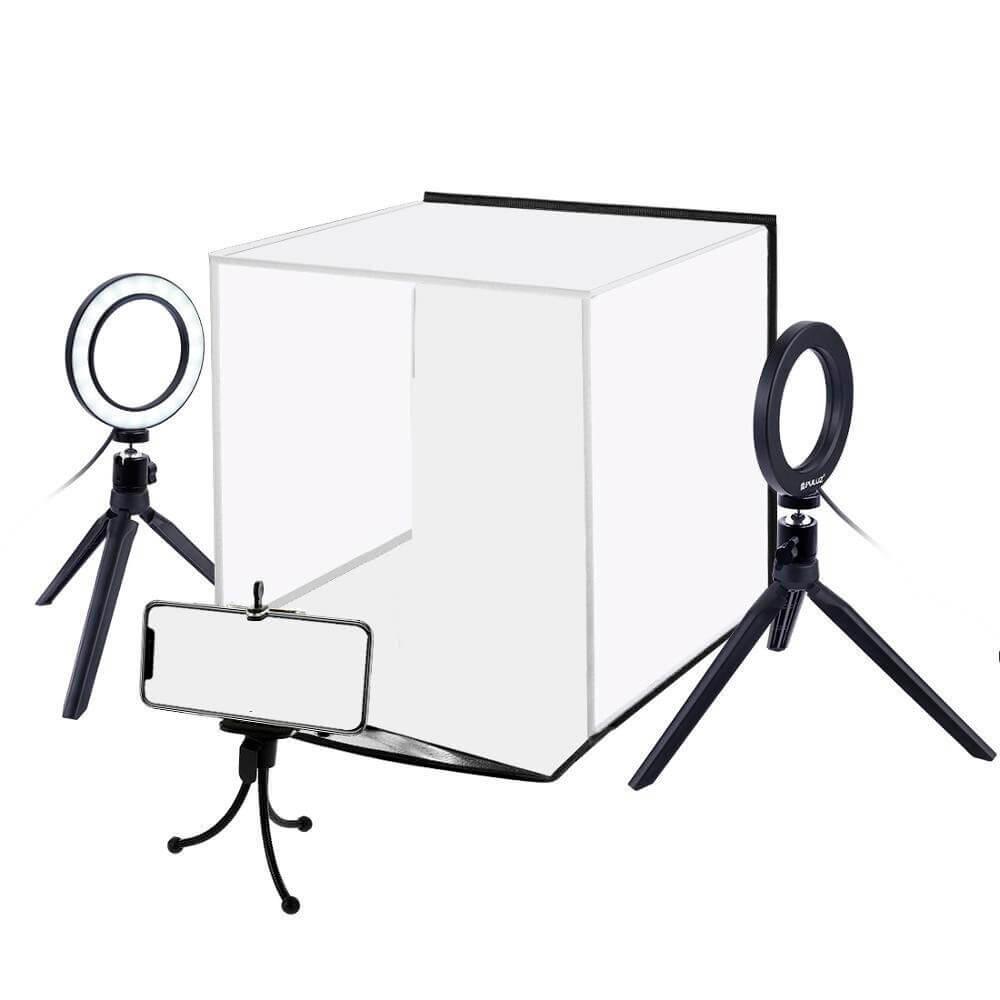
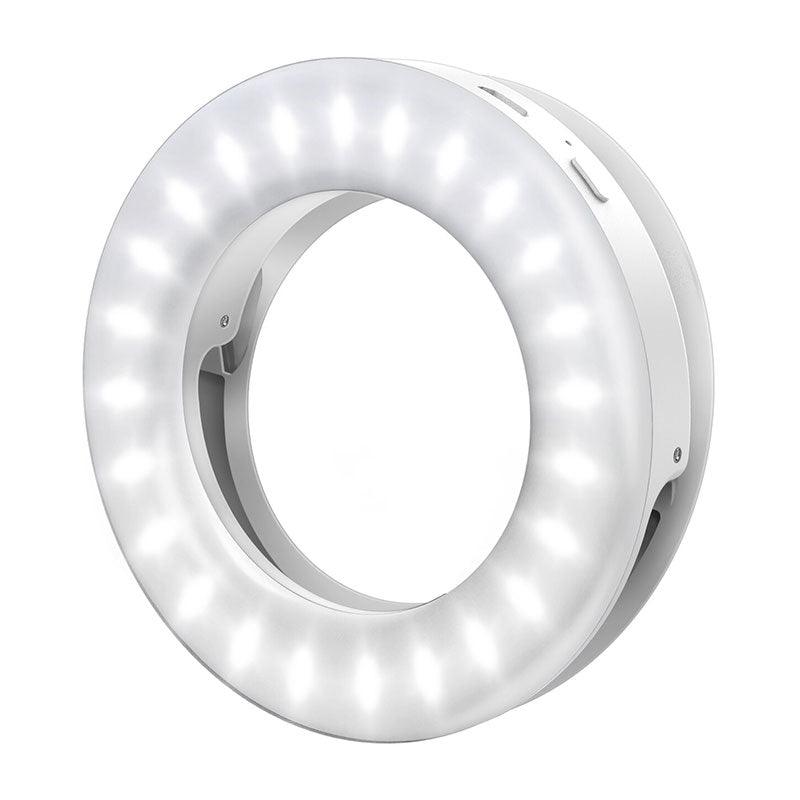
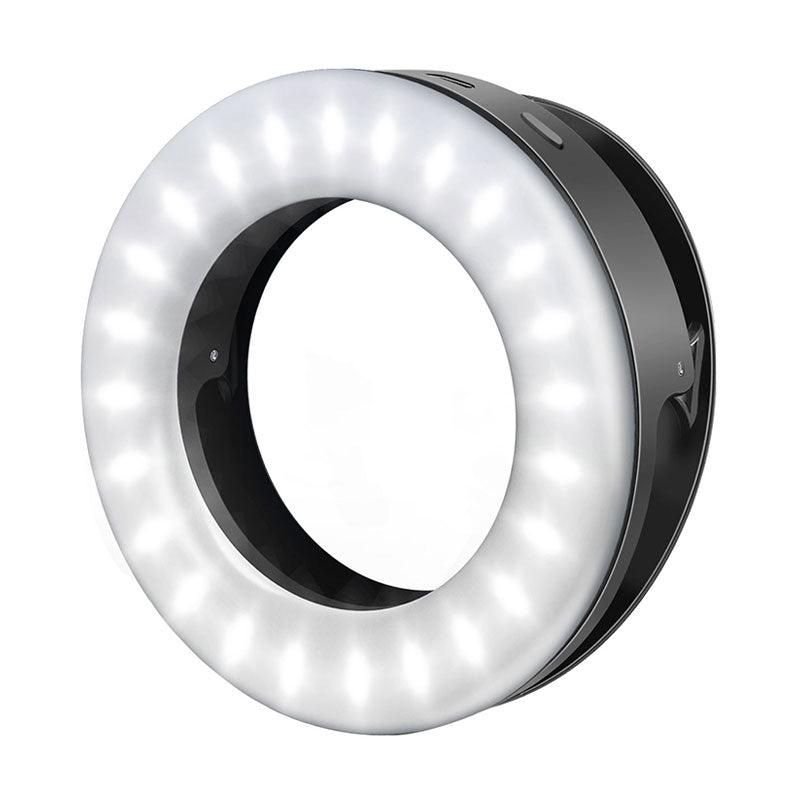
- LED Continuous Lights: Steady, natural illumination for informal settings or patient consultations.
Accessories:
- Tripods: Ensure stability for extraoral and portrait shots, improving clarity.
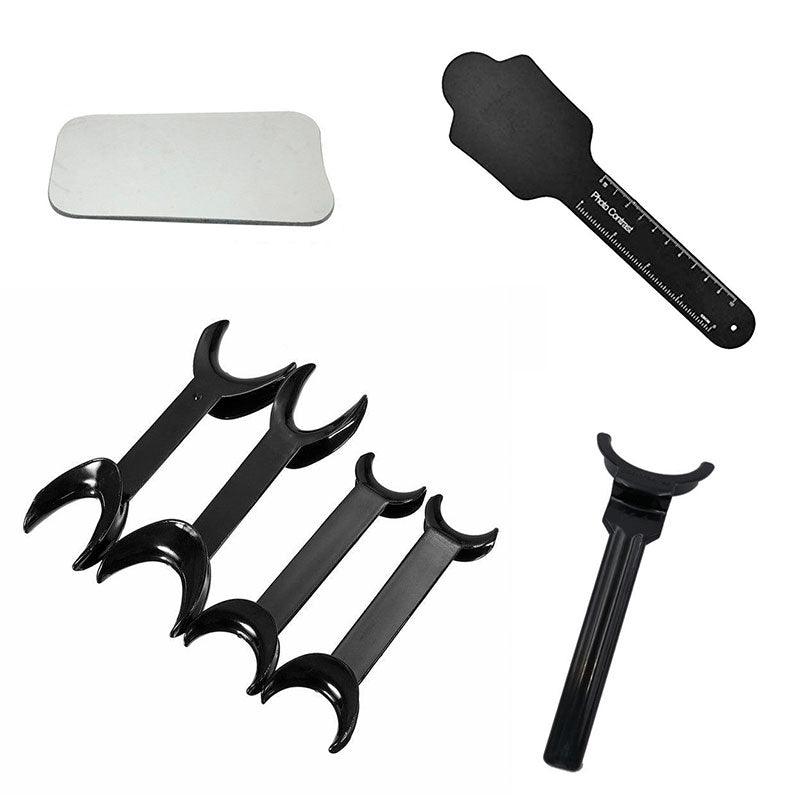
- Gray Cards: Essential for precise white balance calibration.
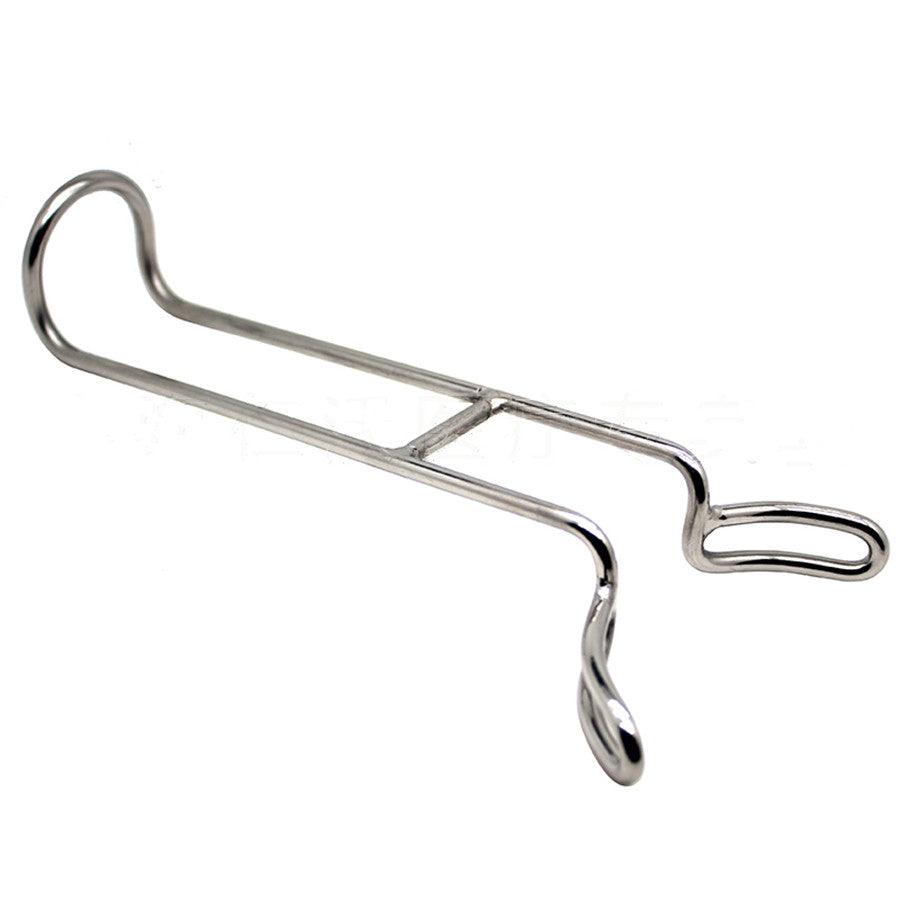
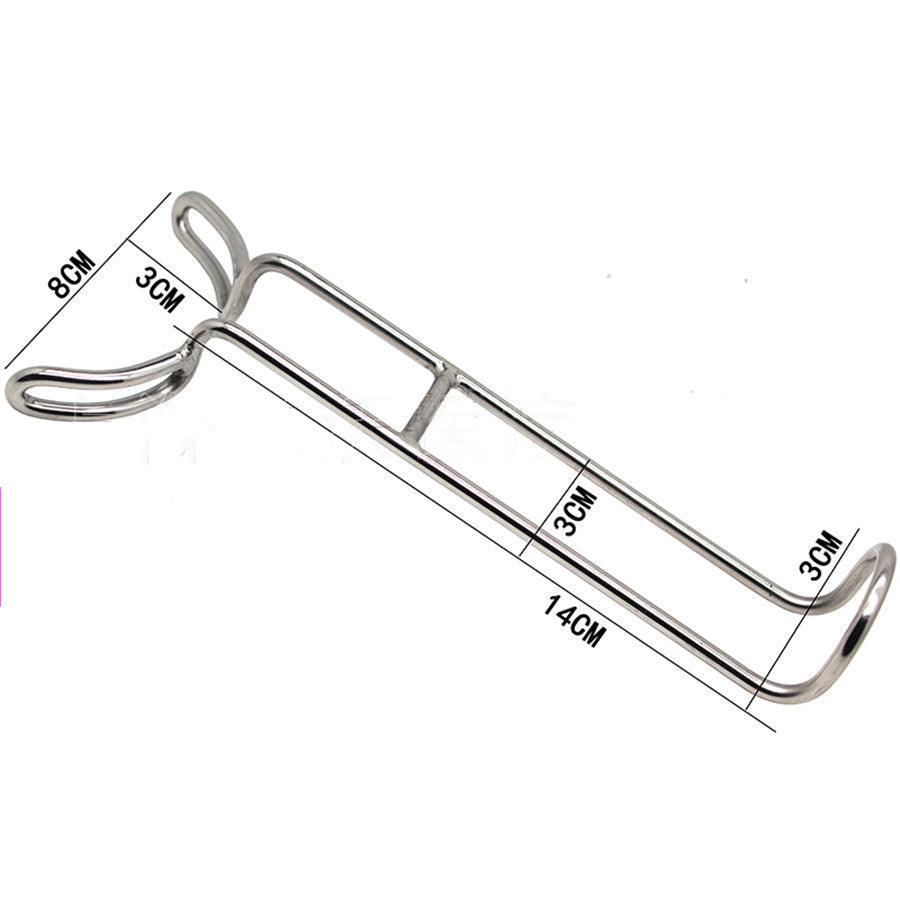
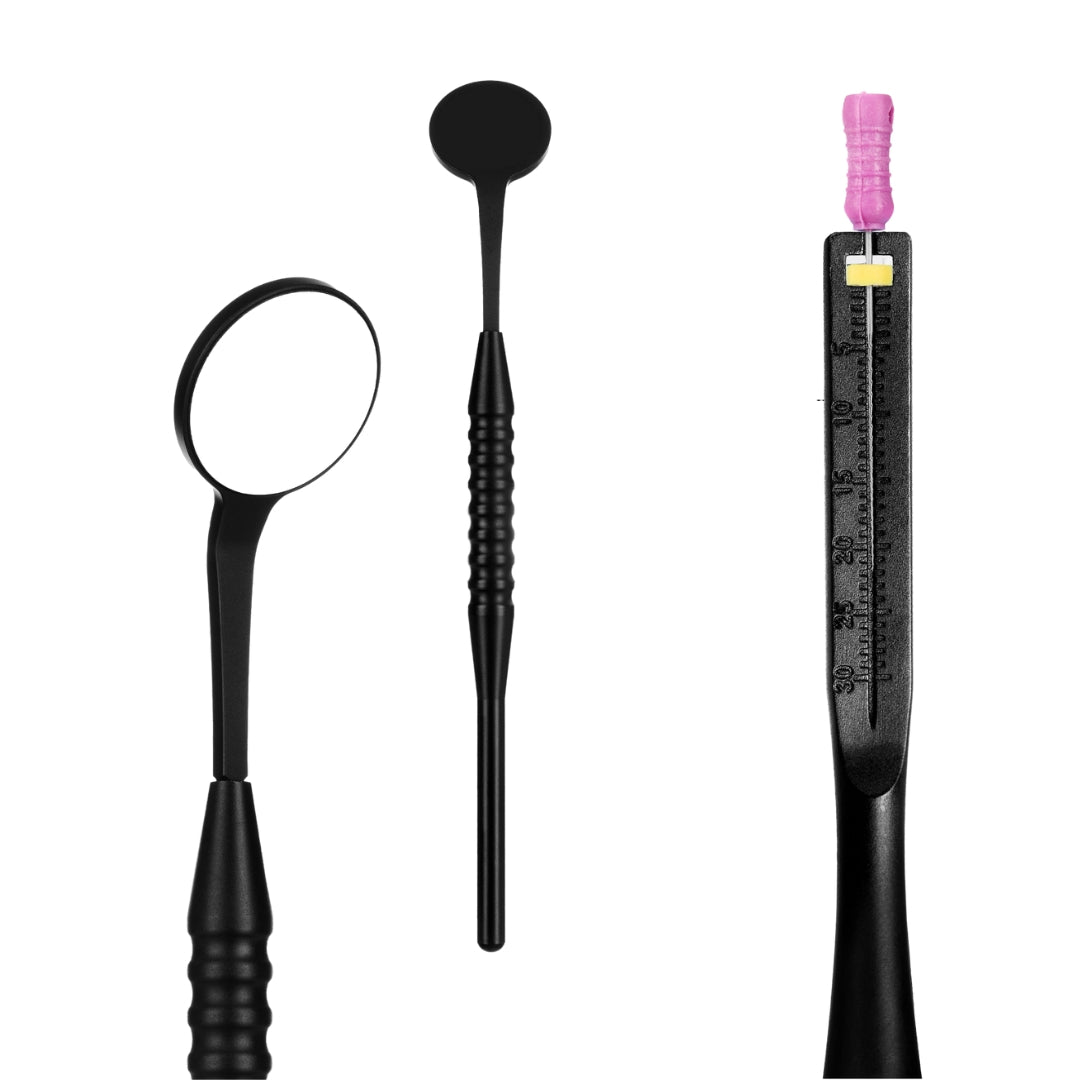
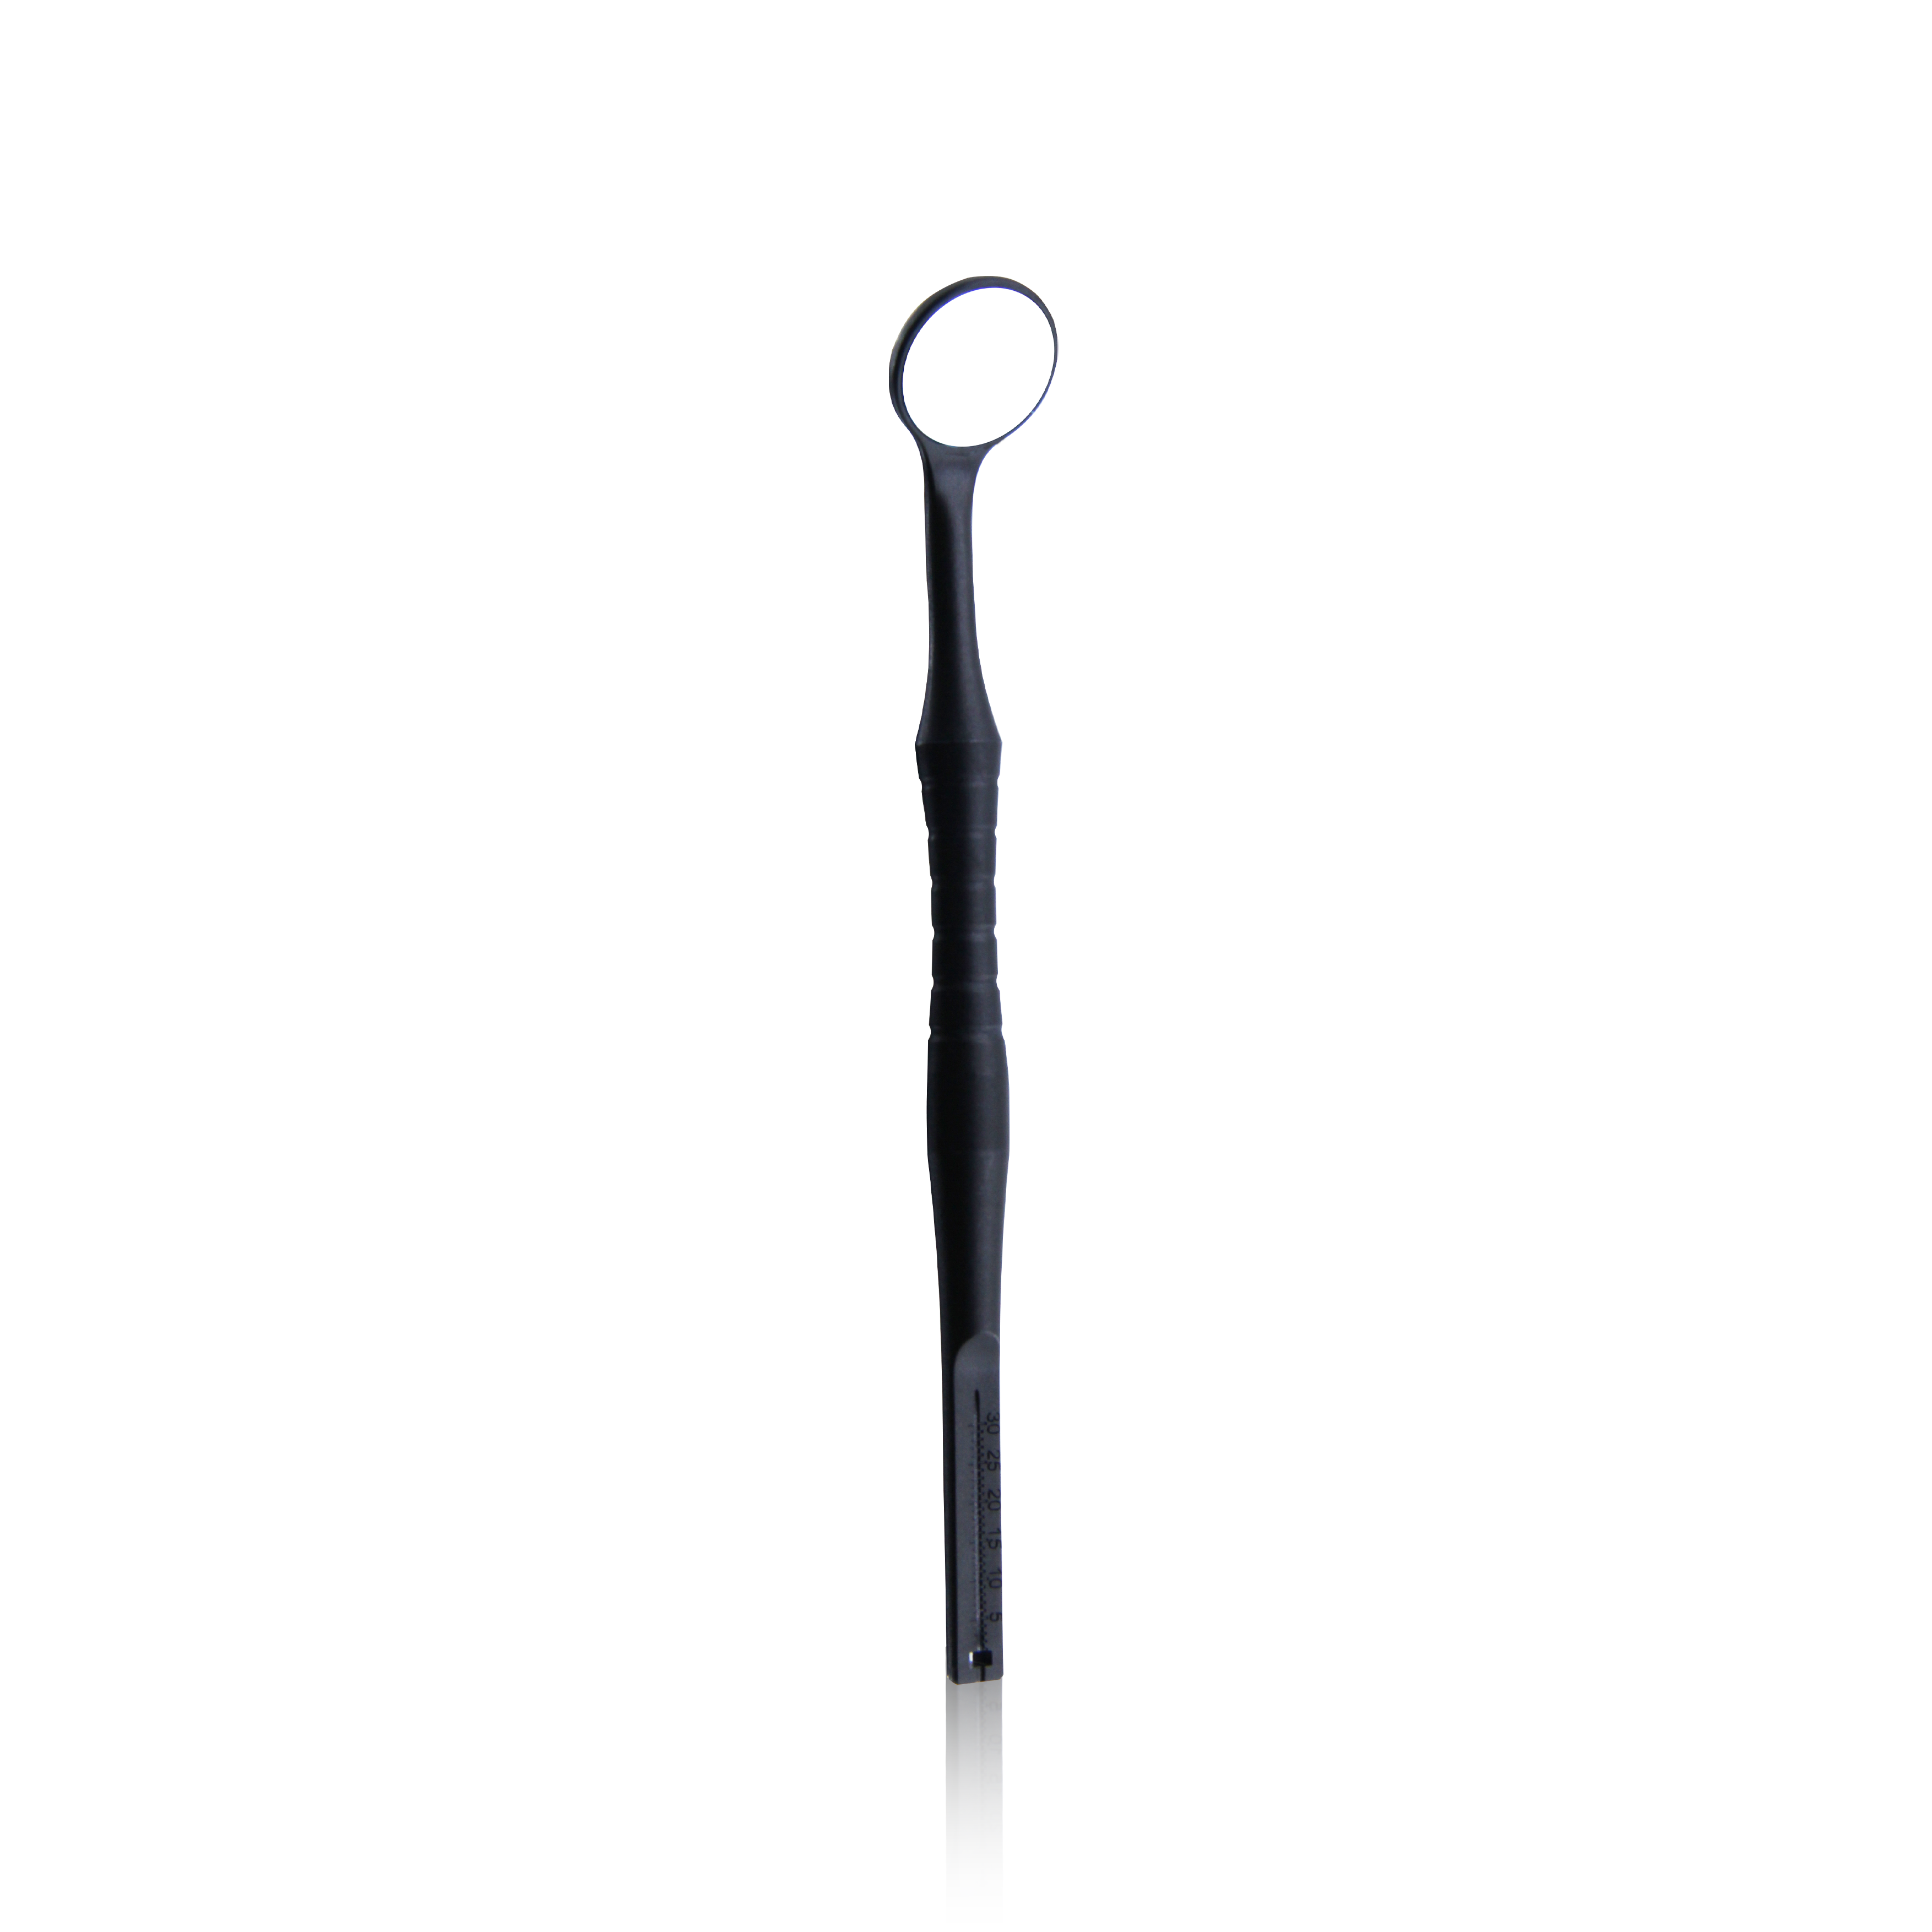
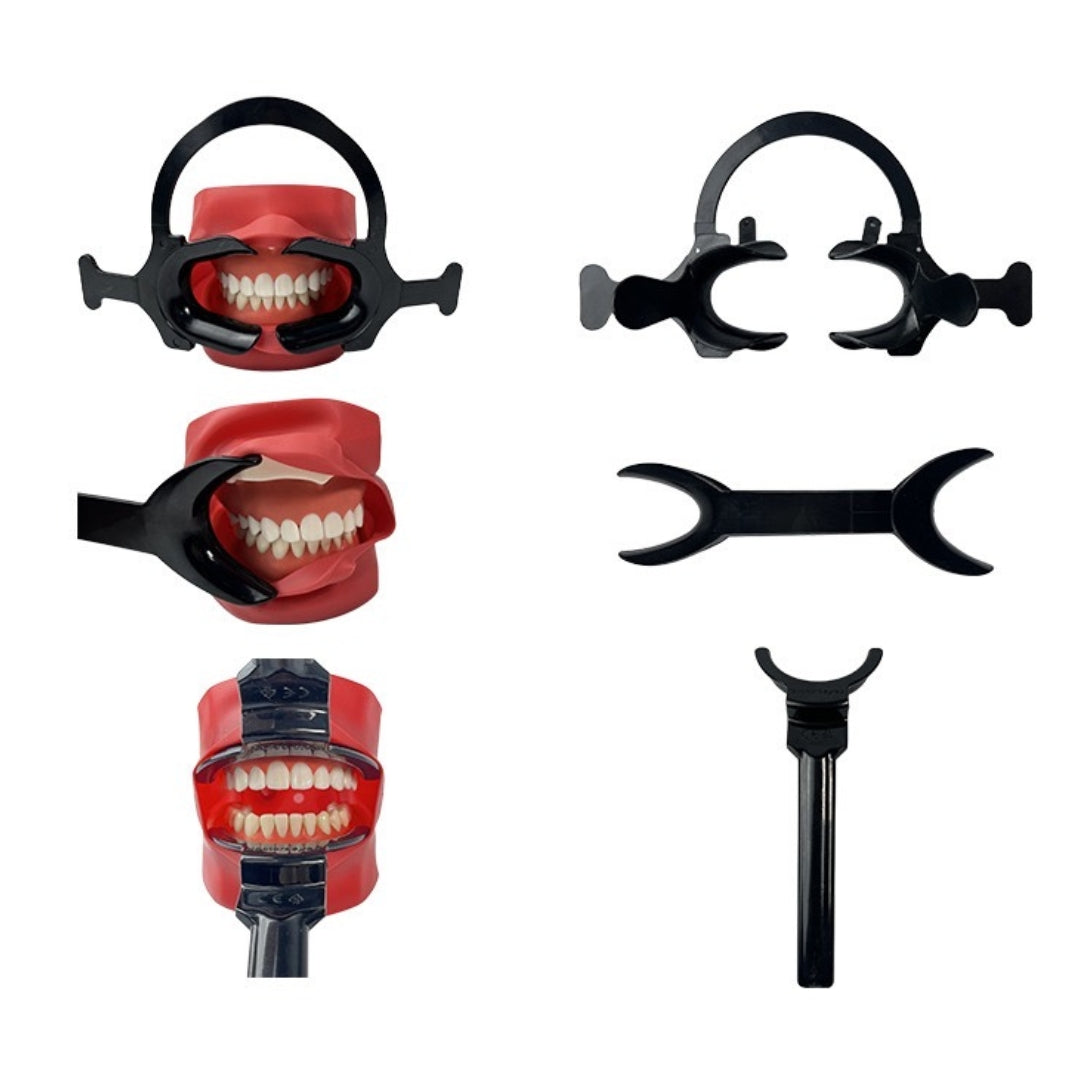
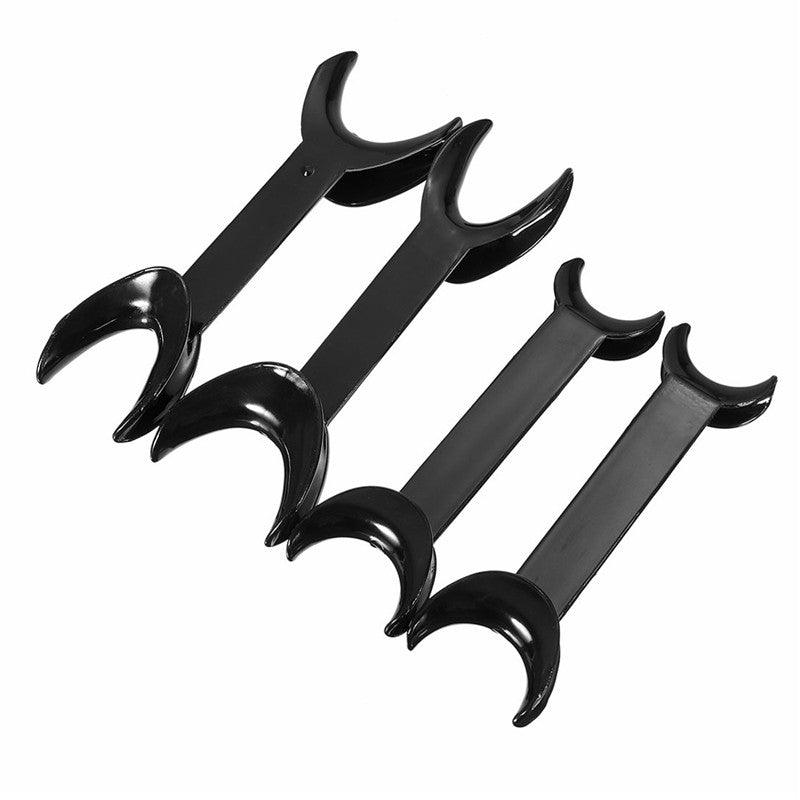
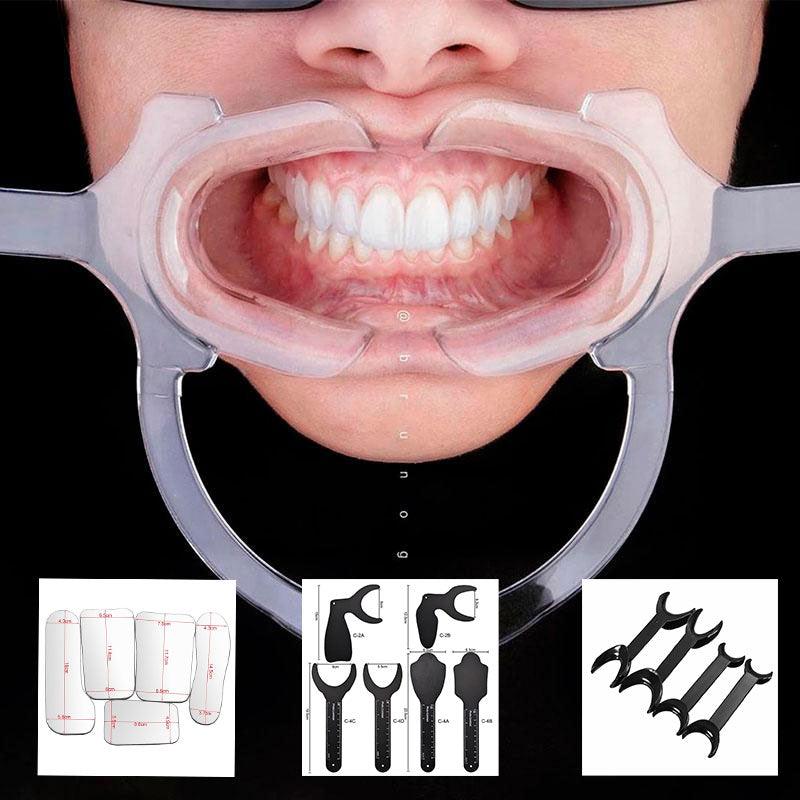
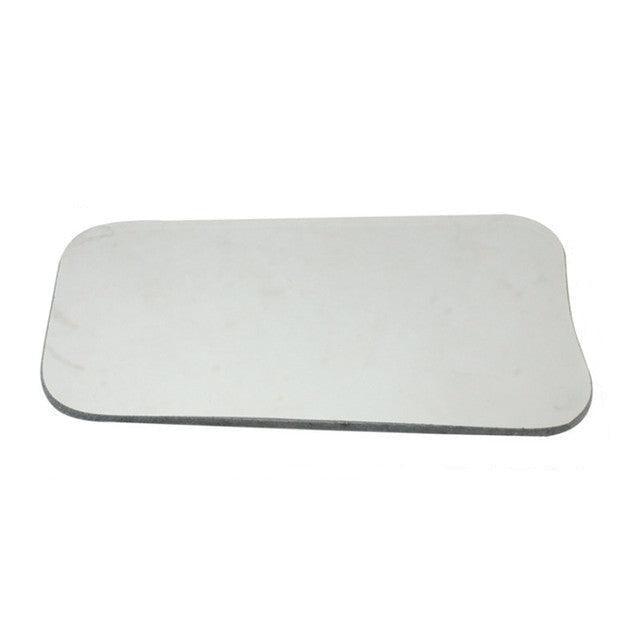
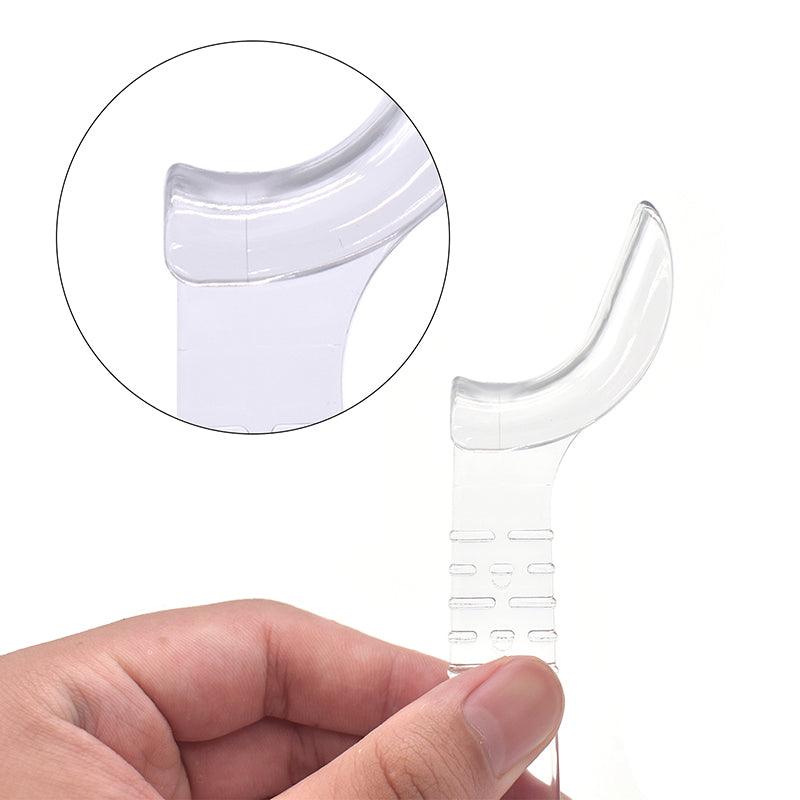
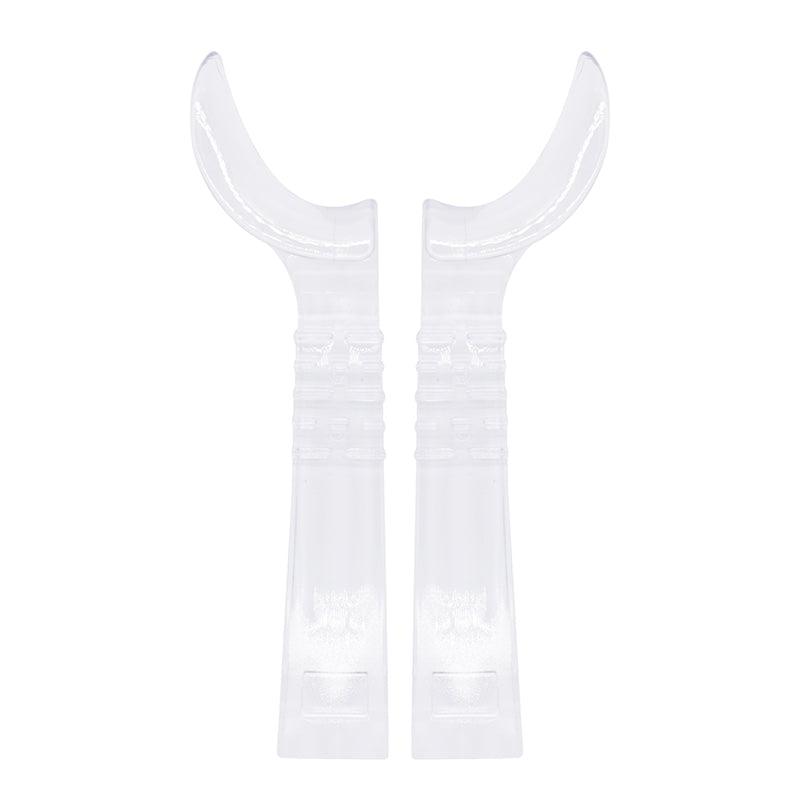
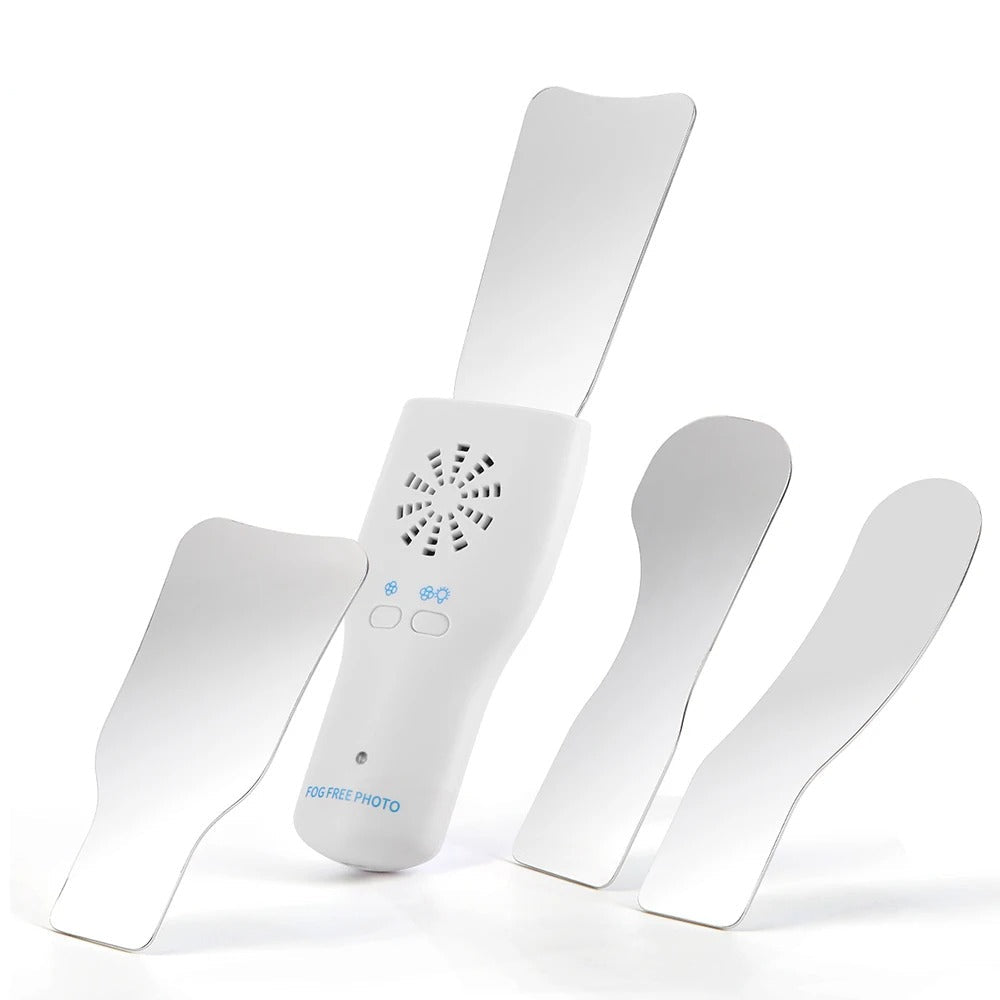
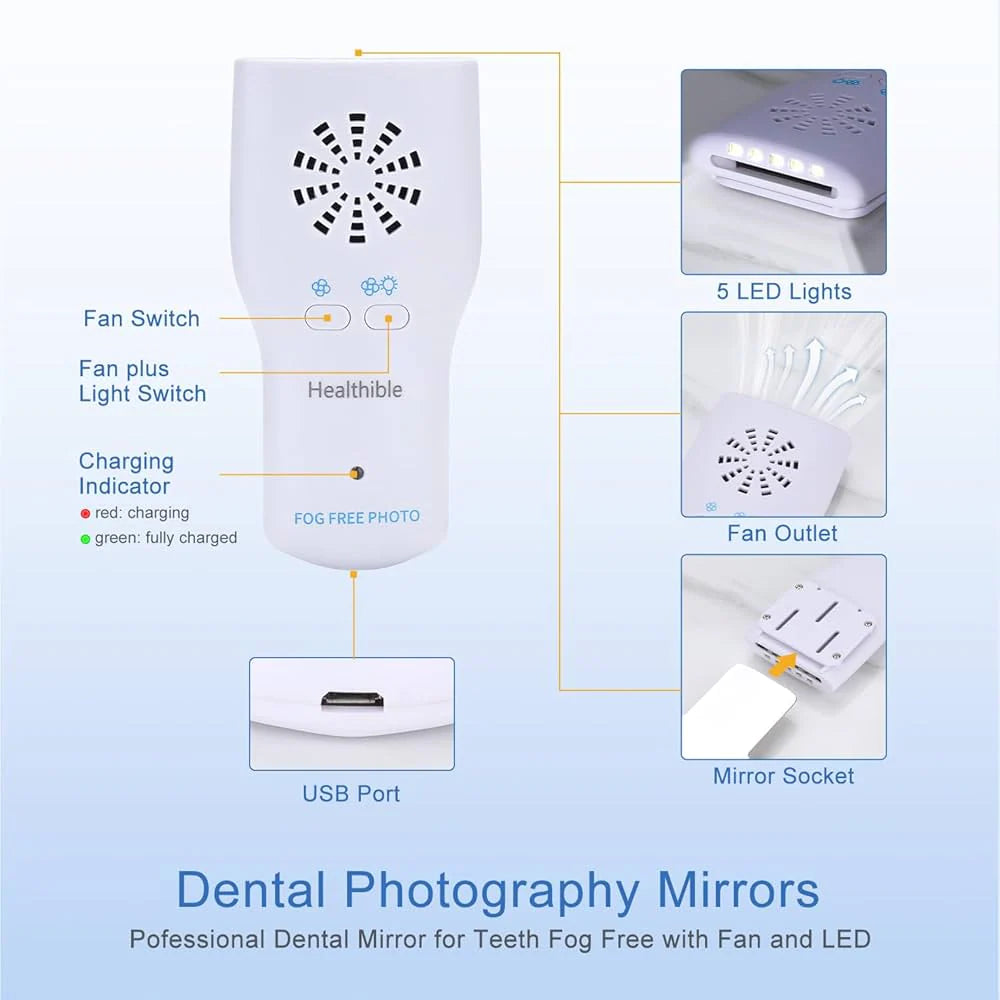
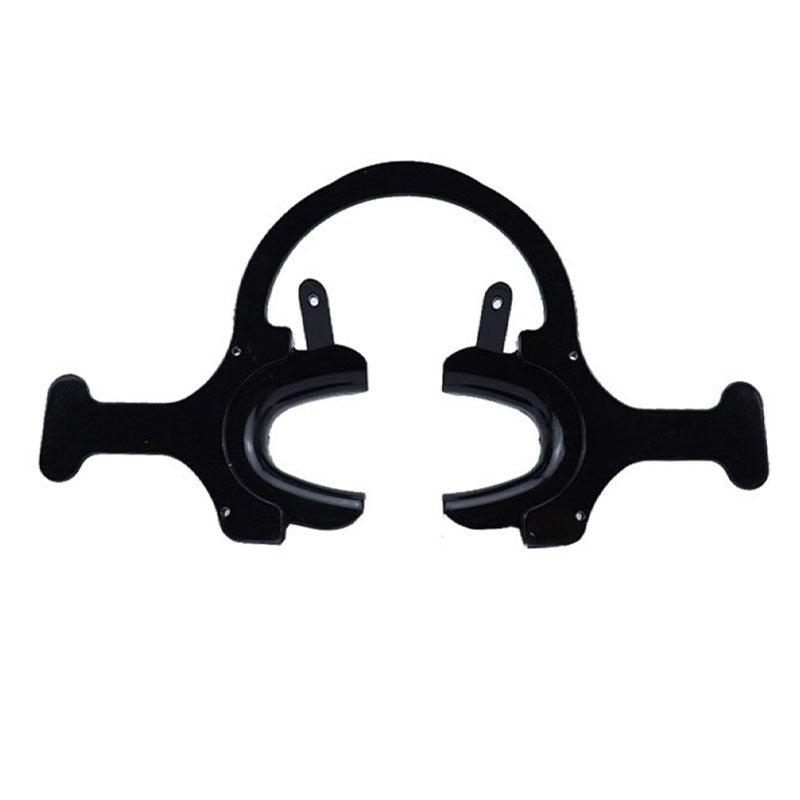
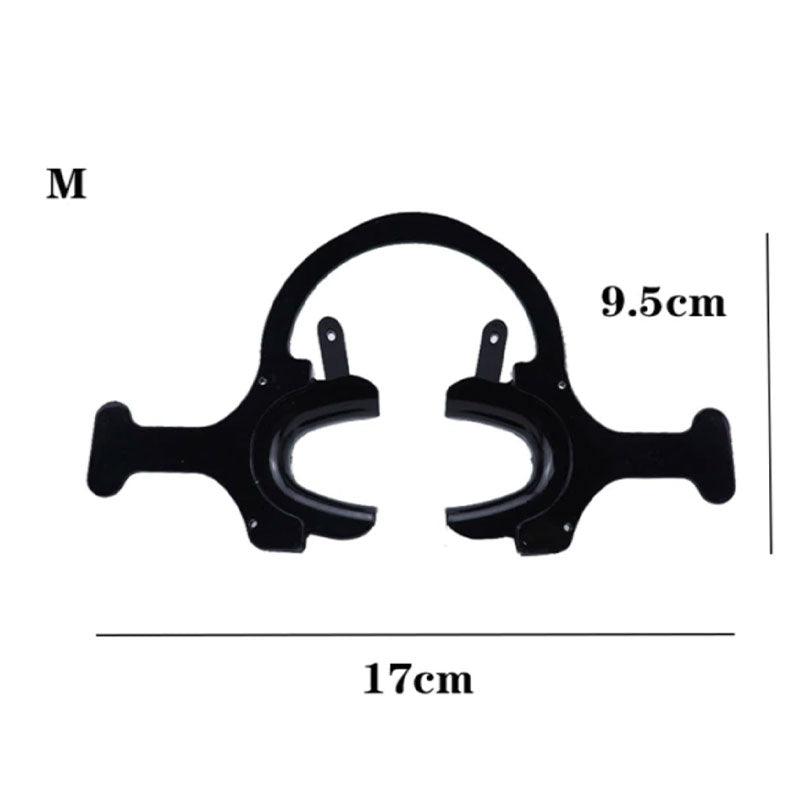
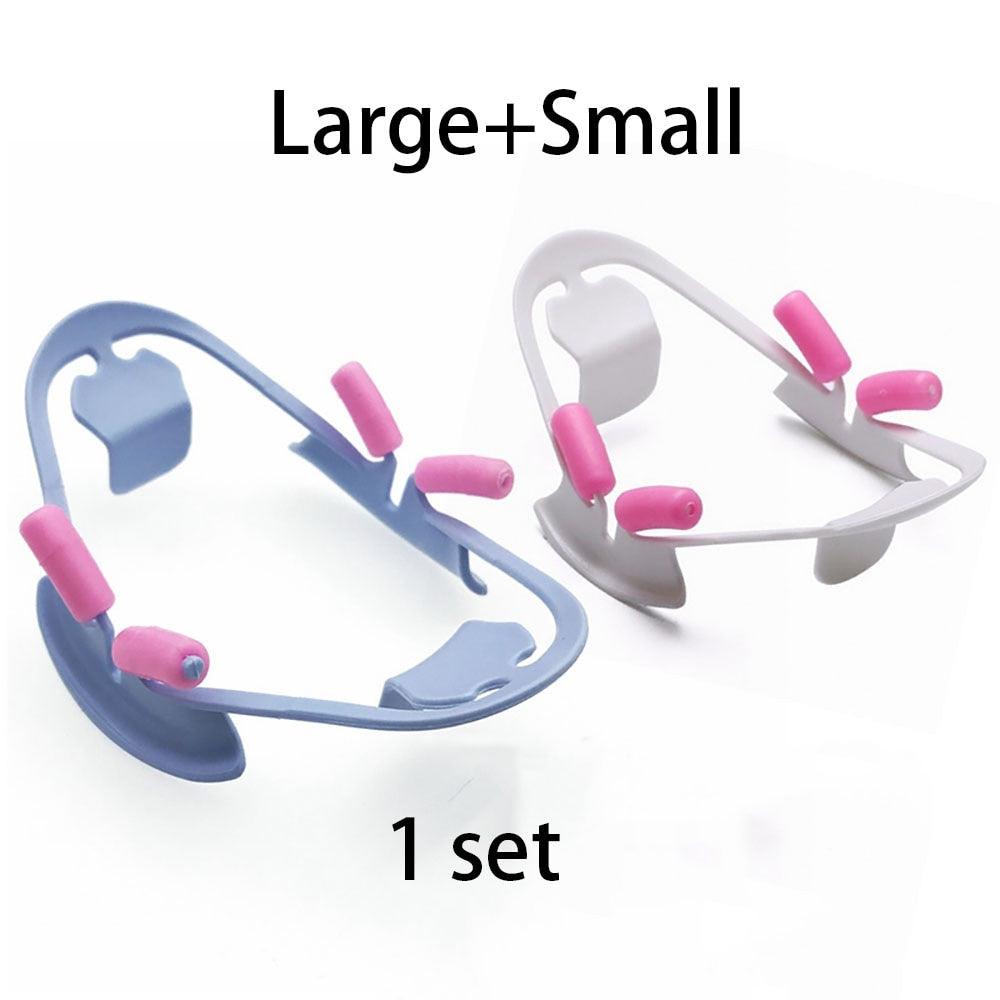
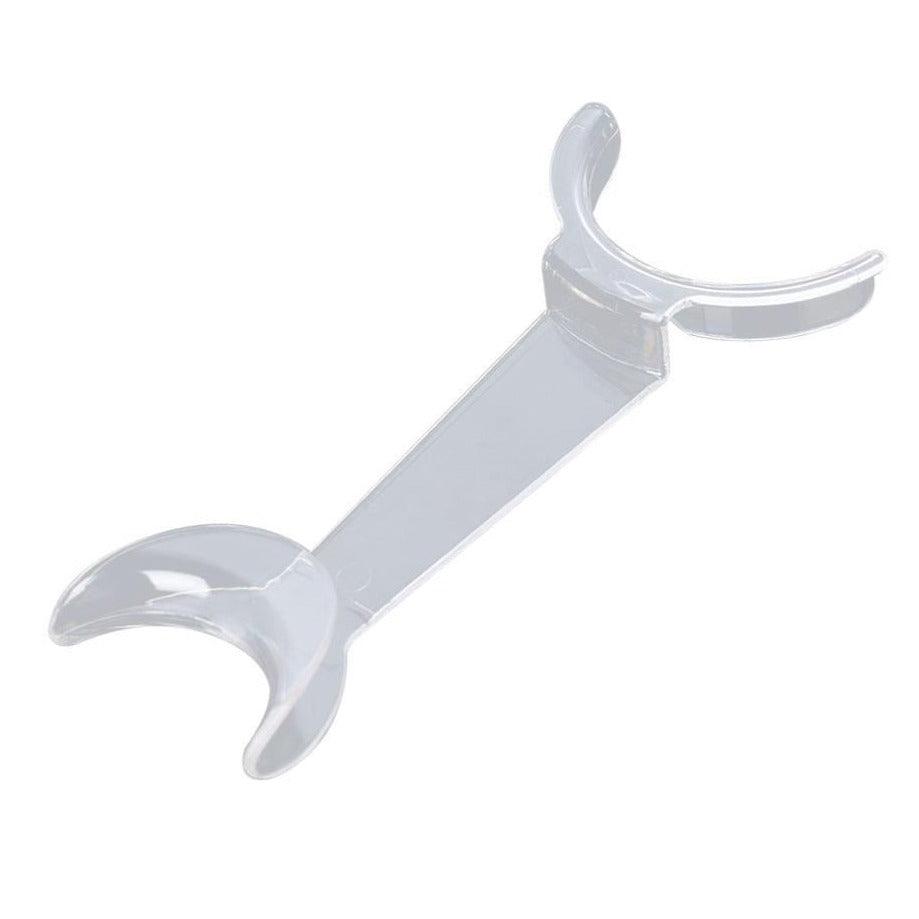
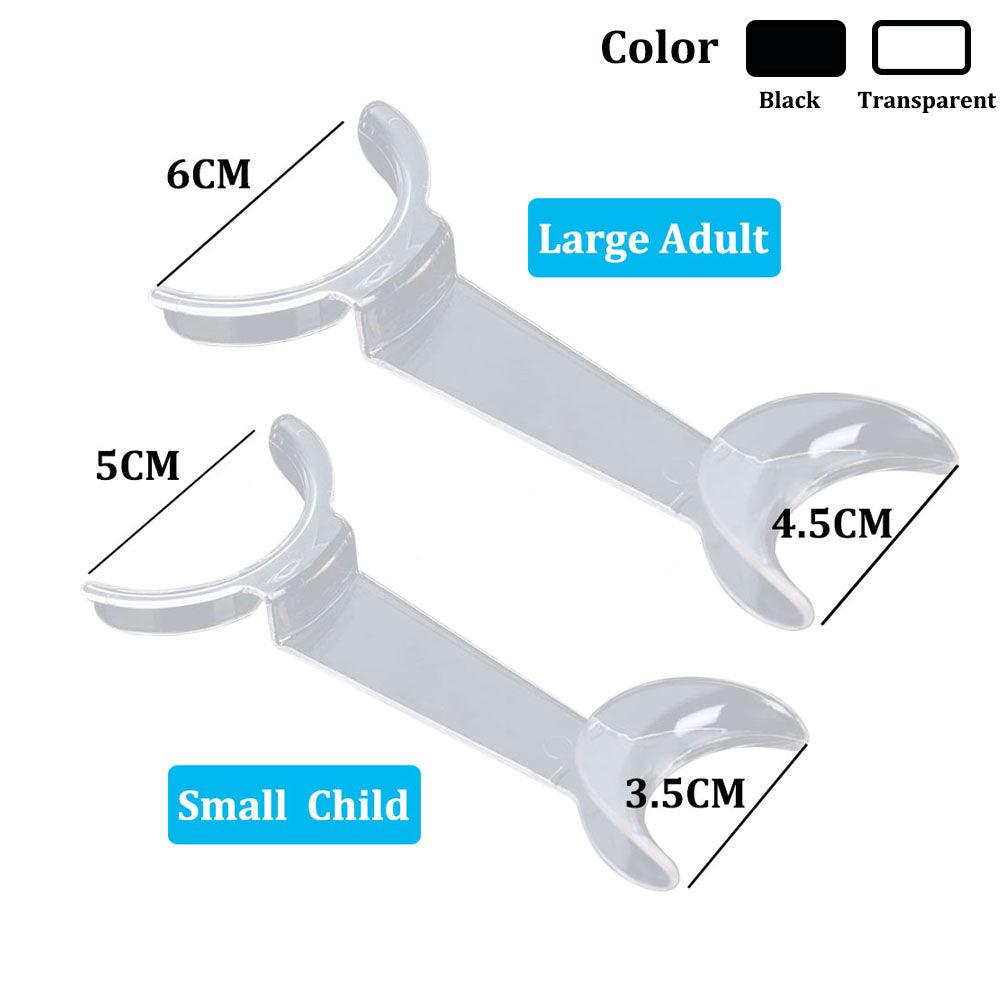
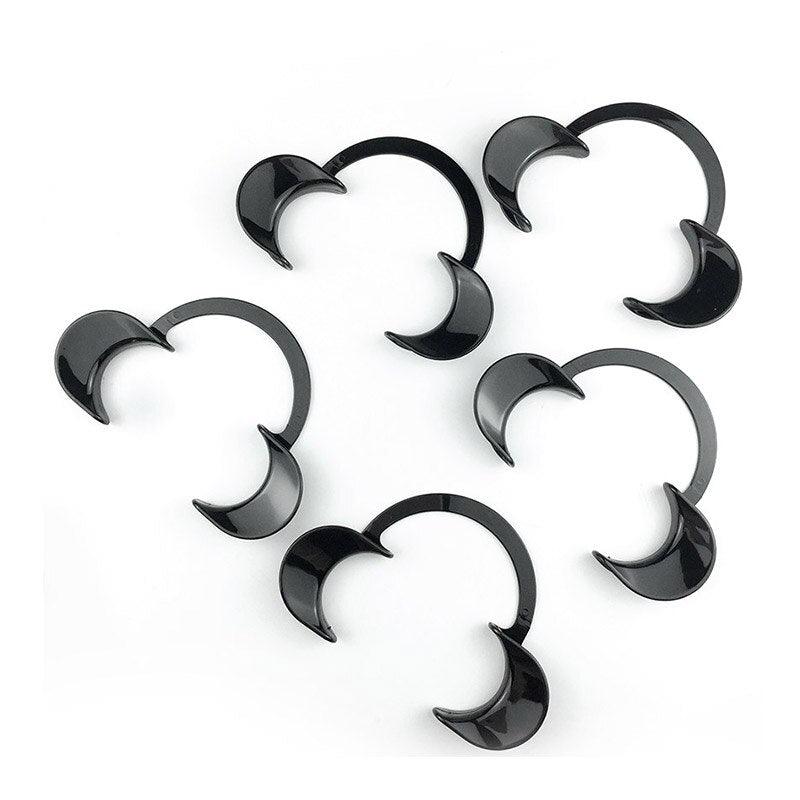
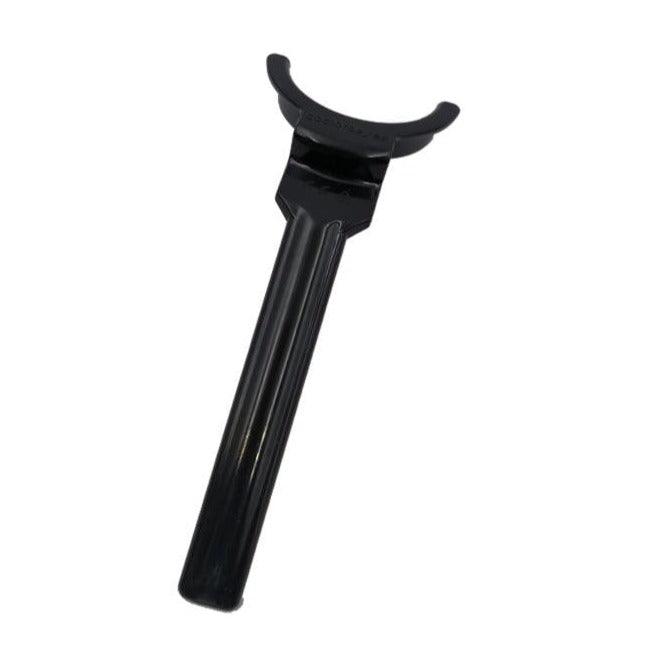
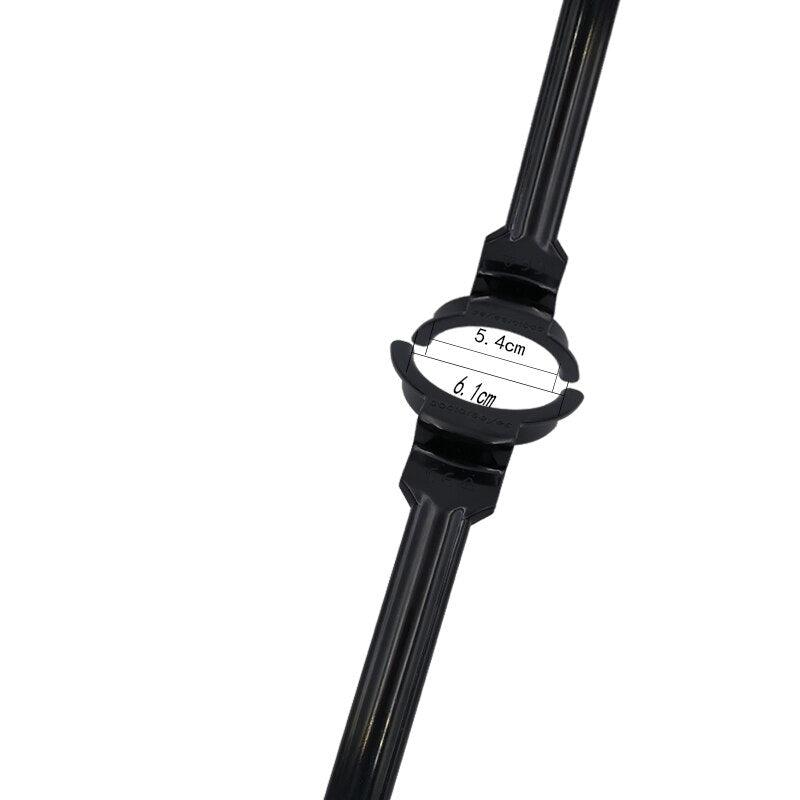
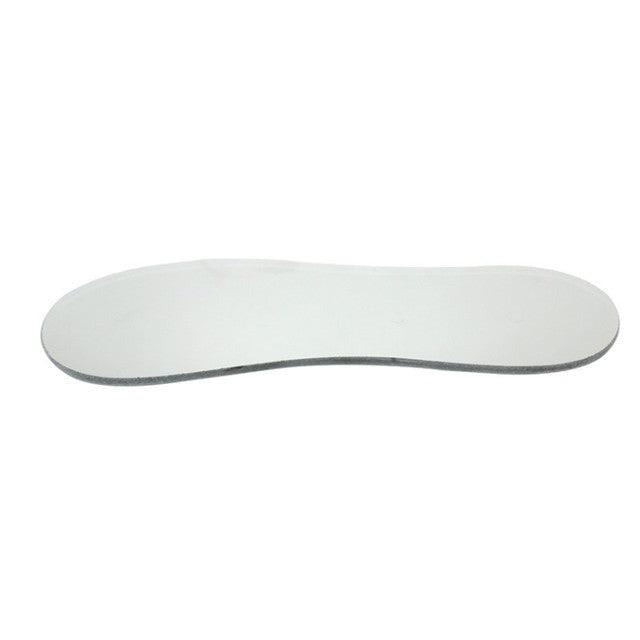
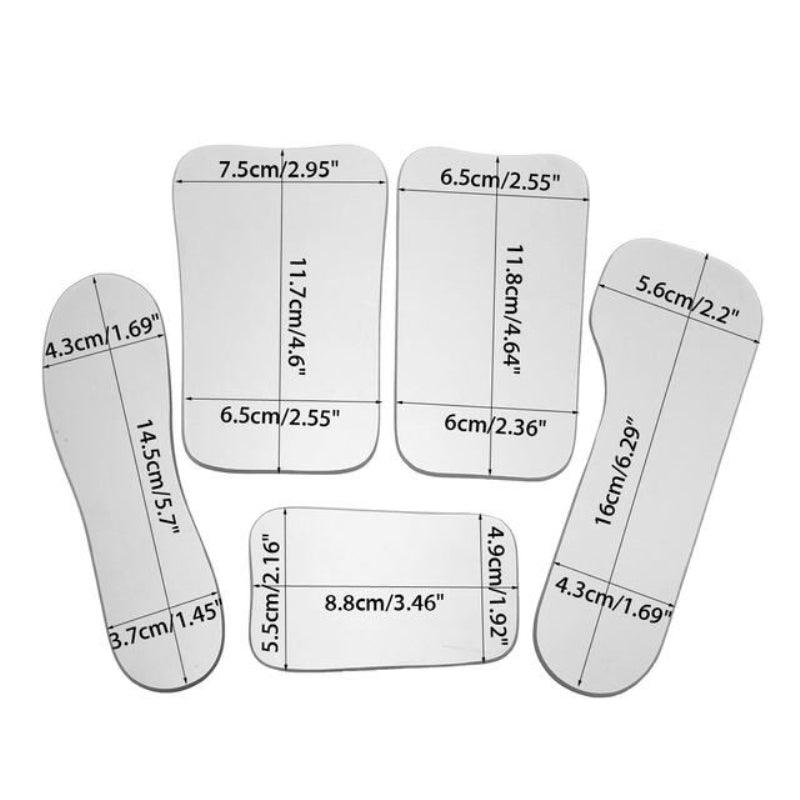
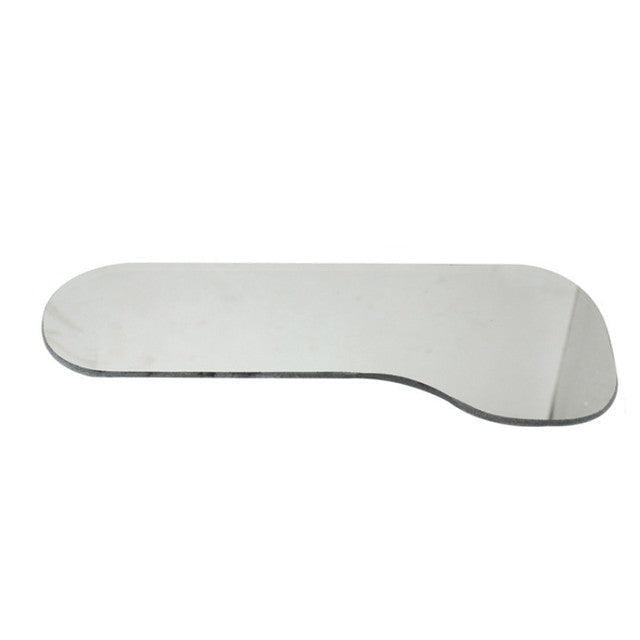
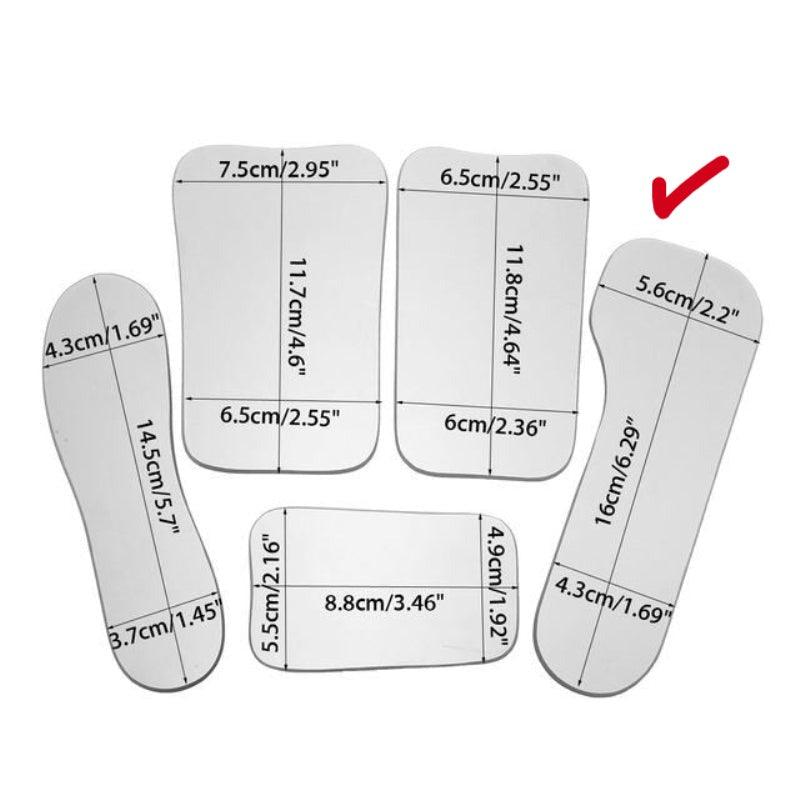
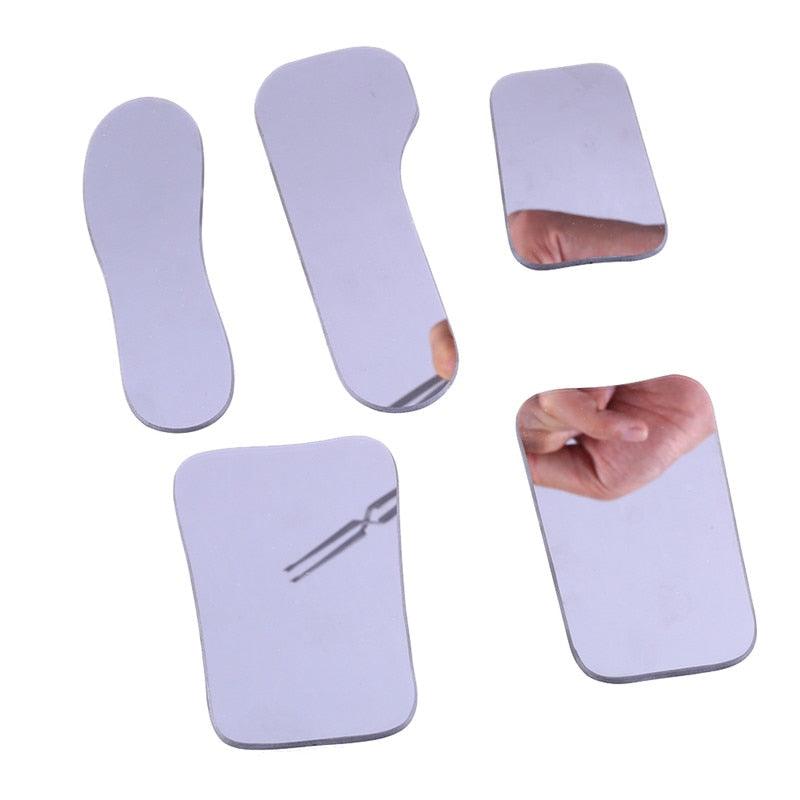
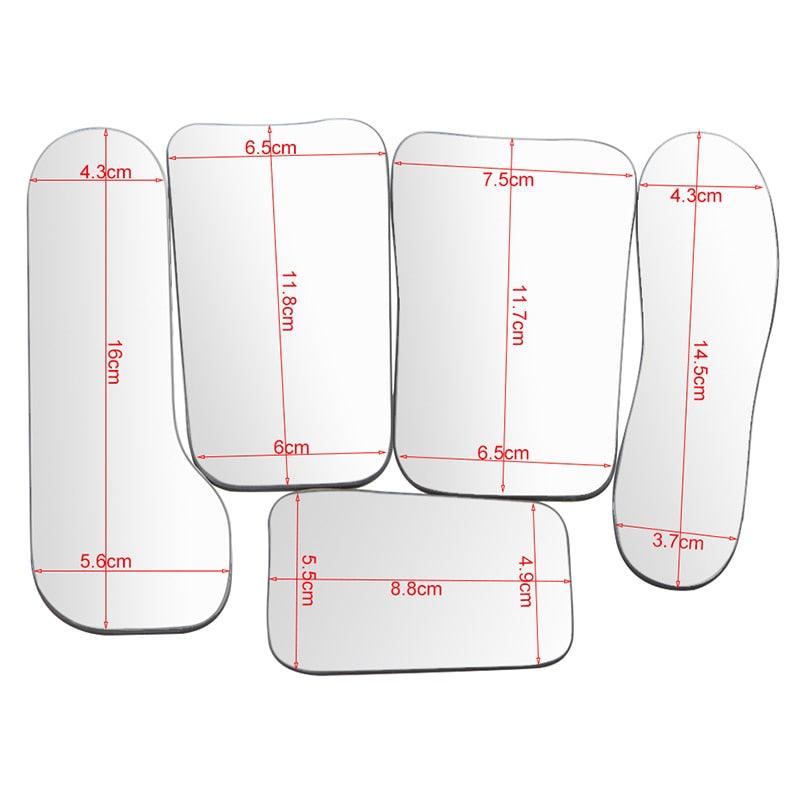
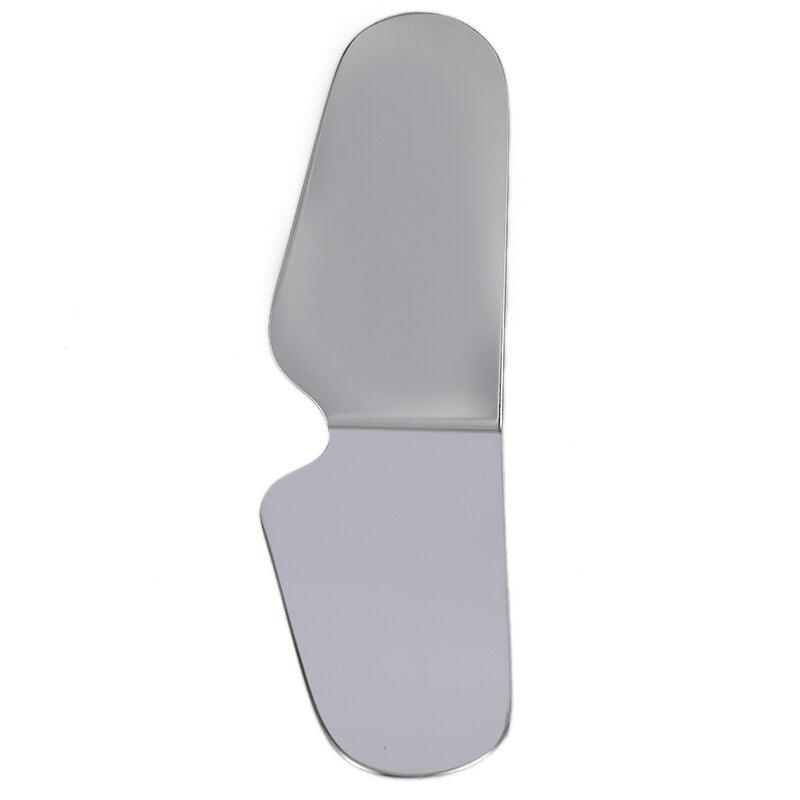
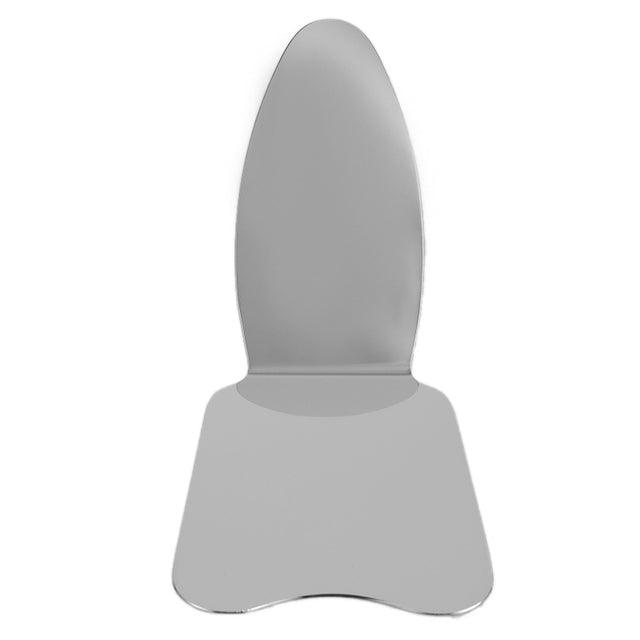
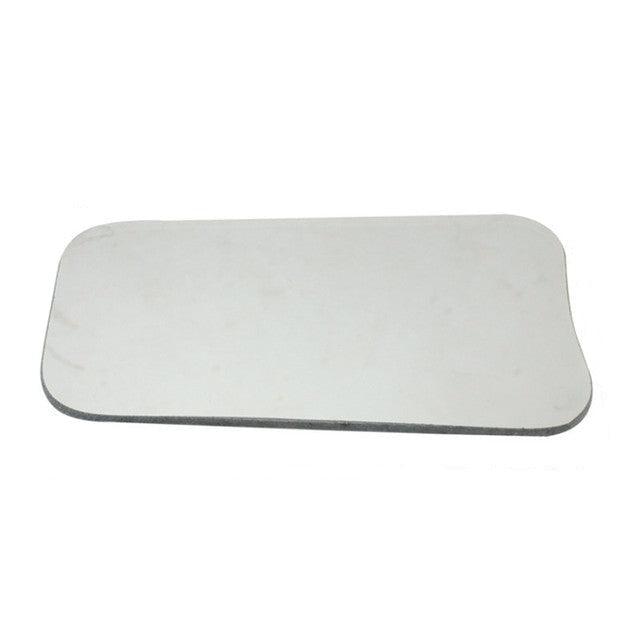
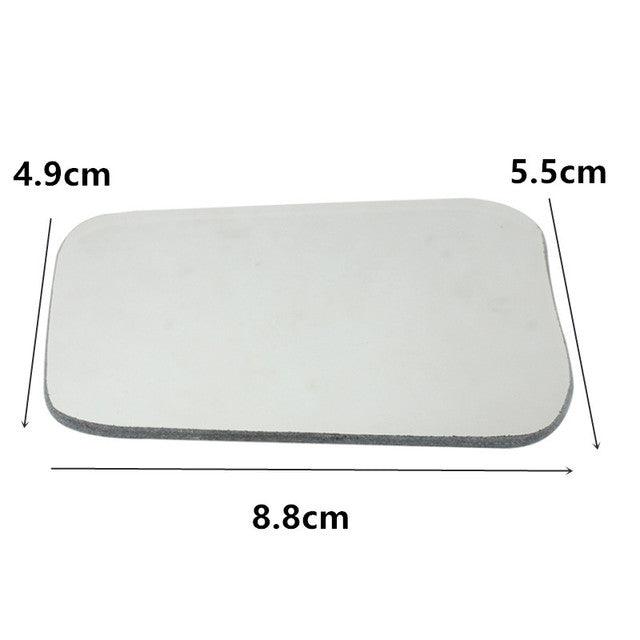
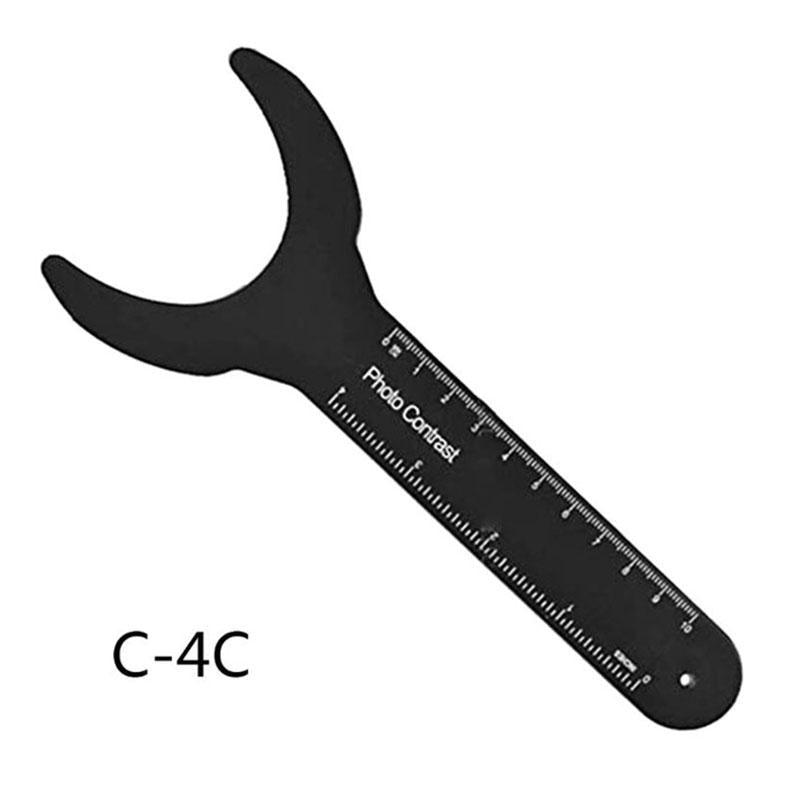
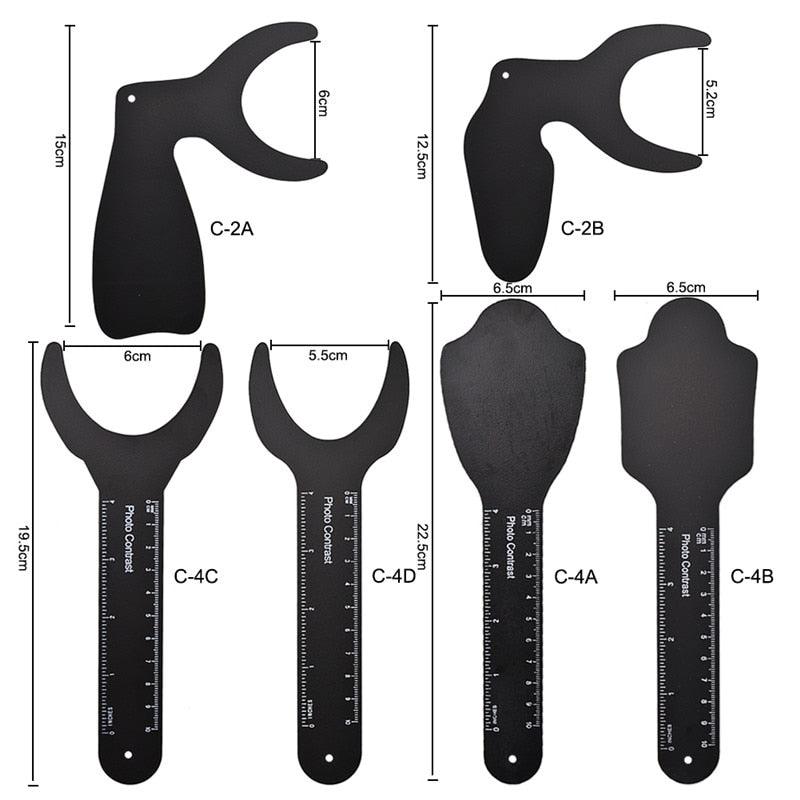
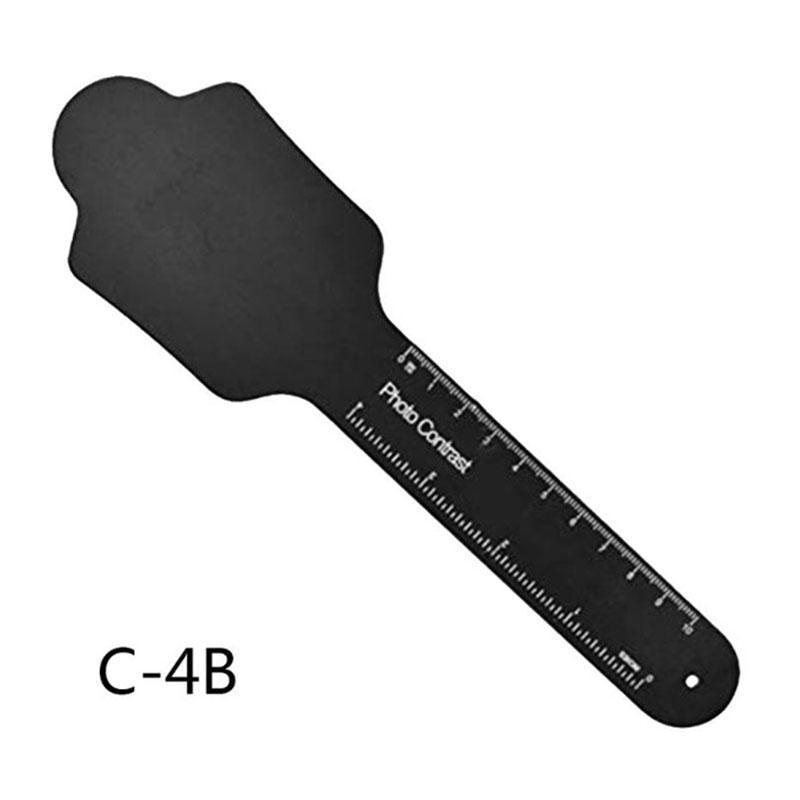
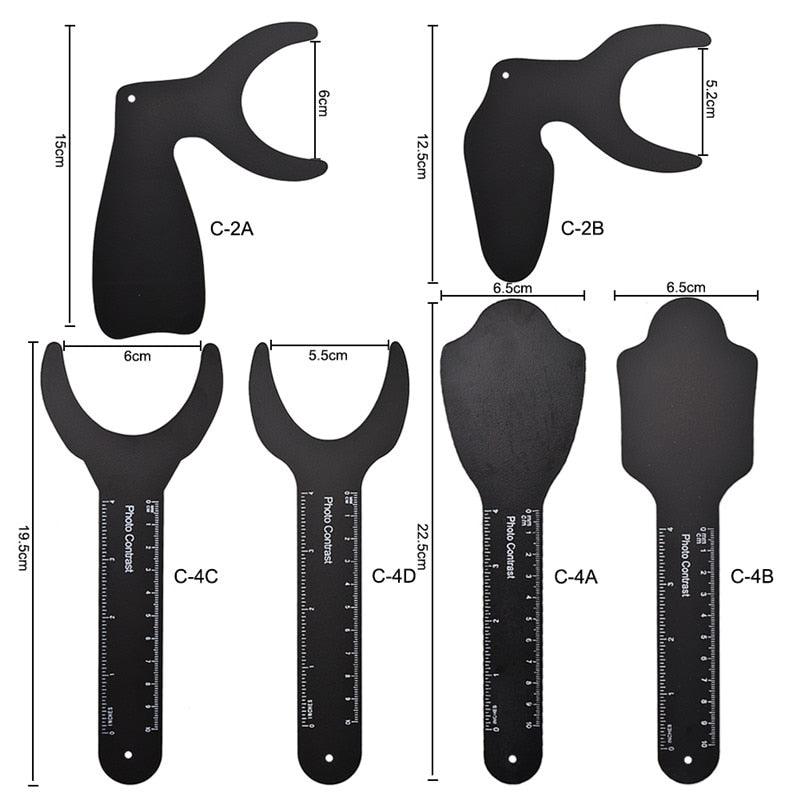
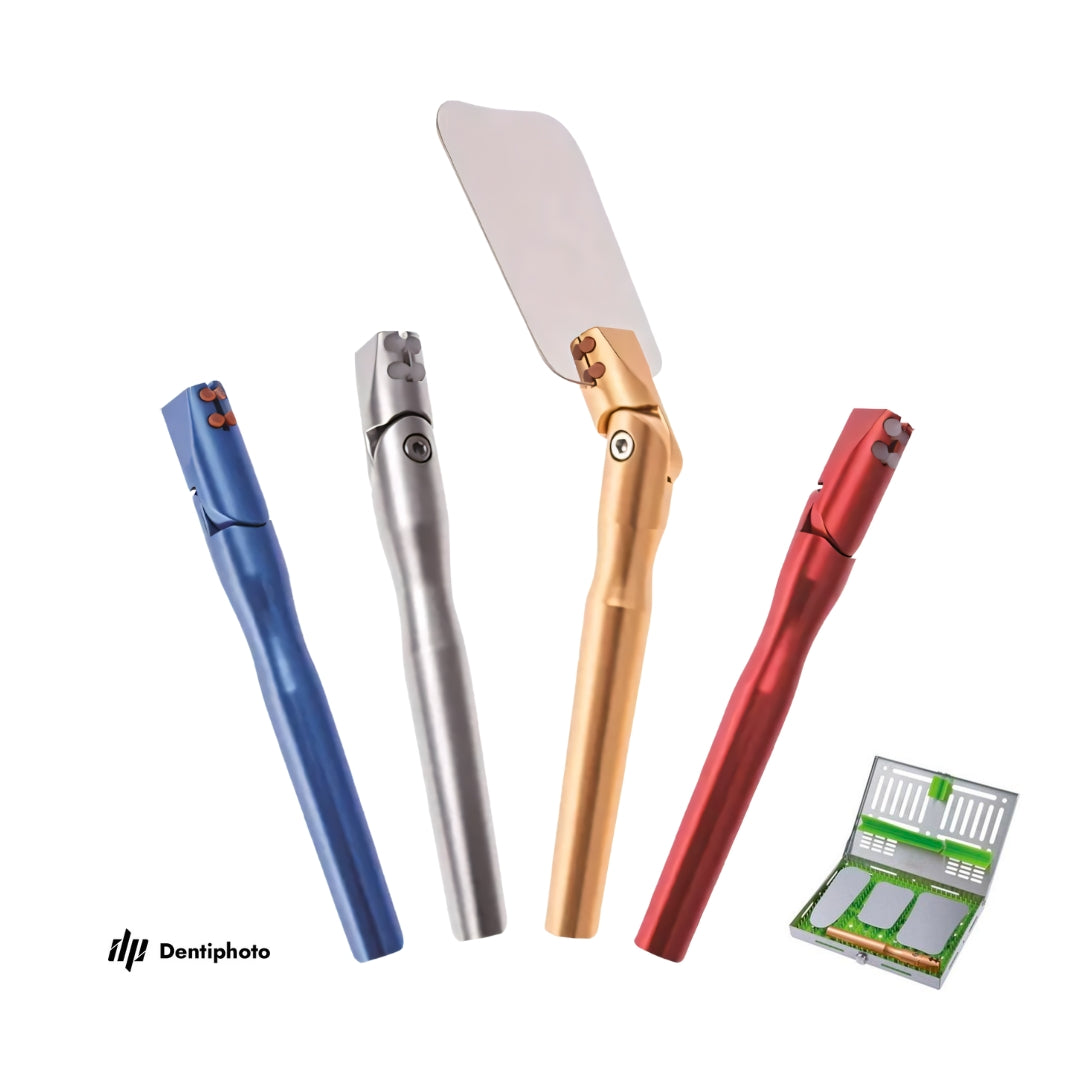
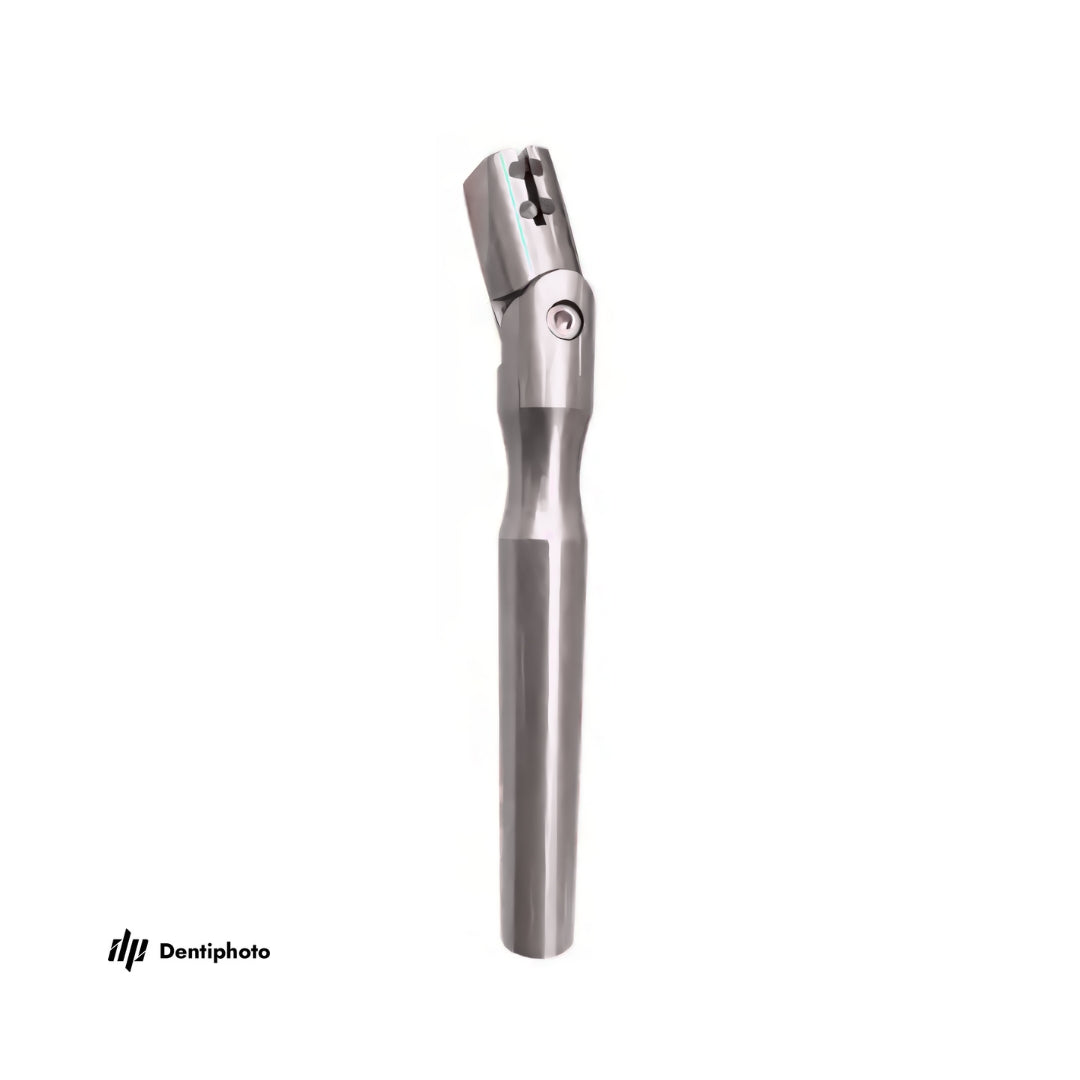
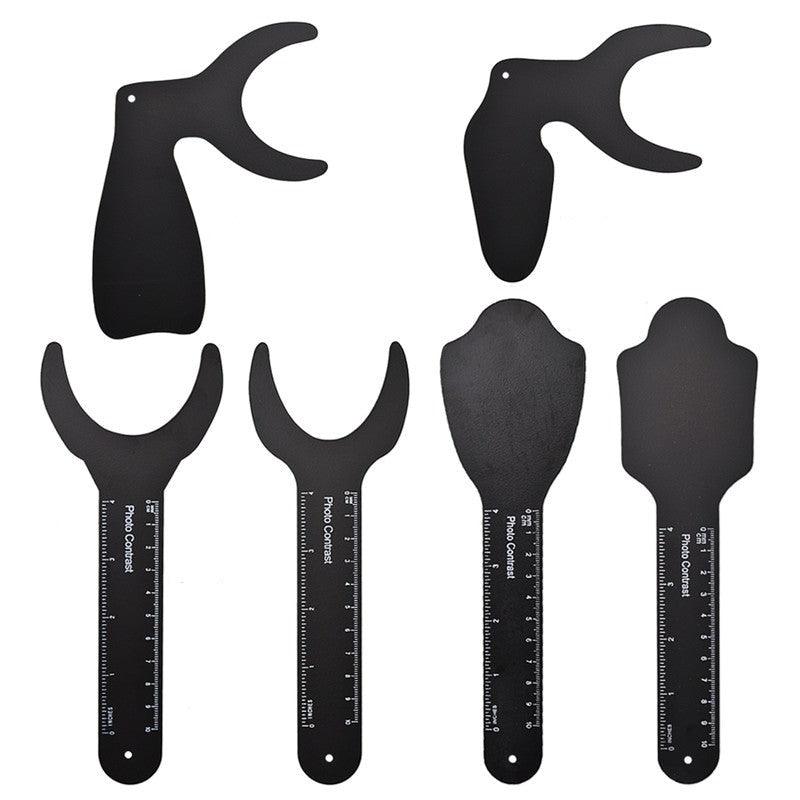
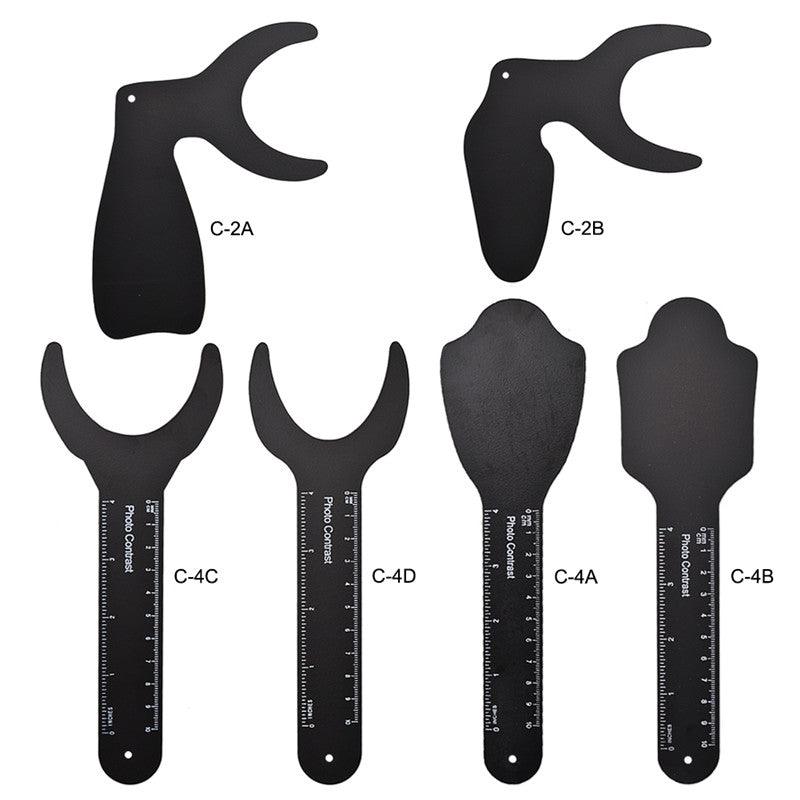
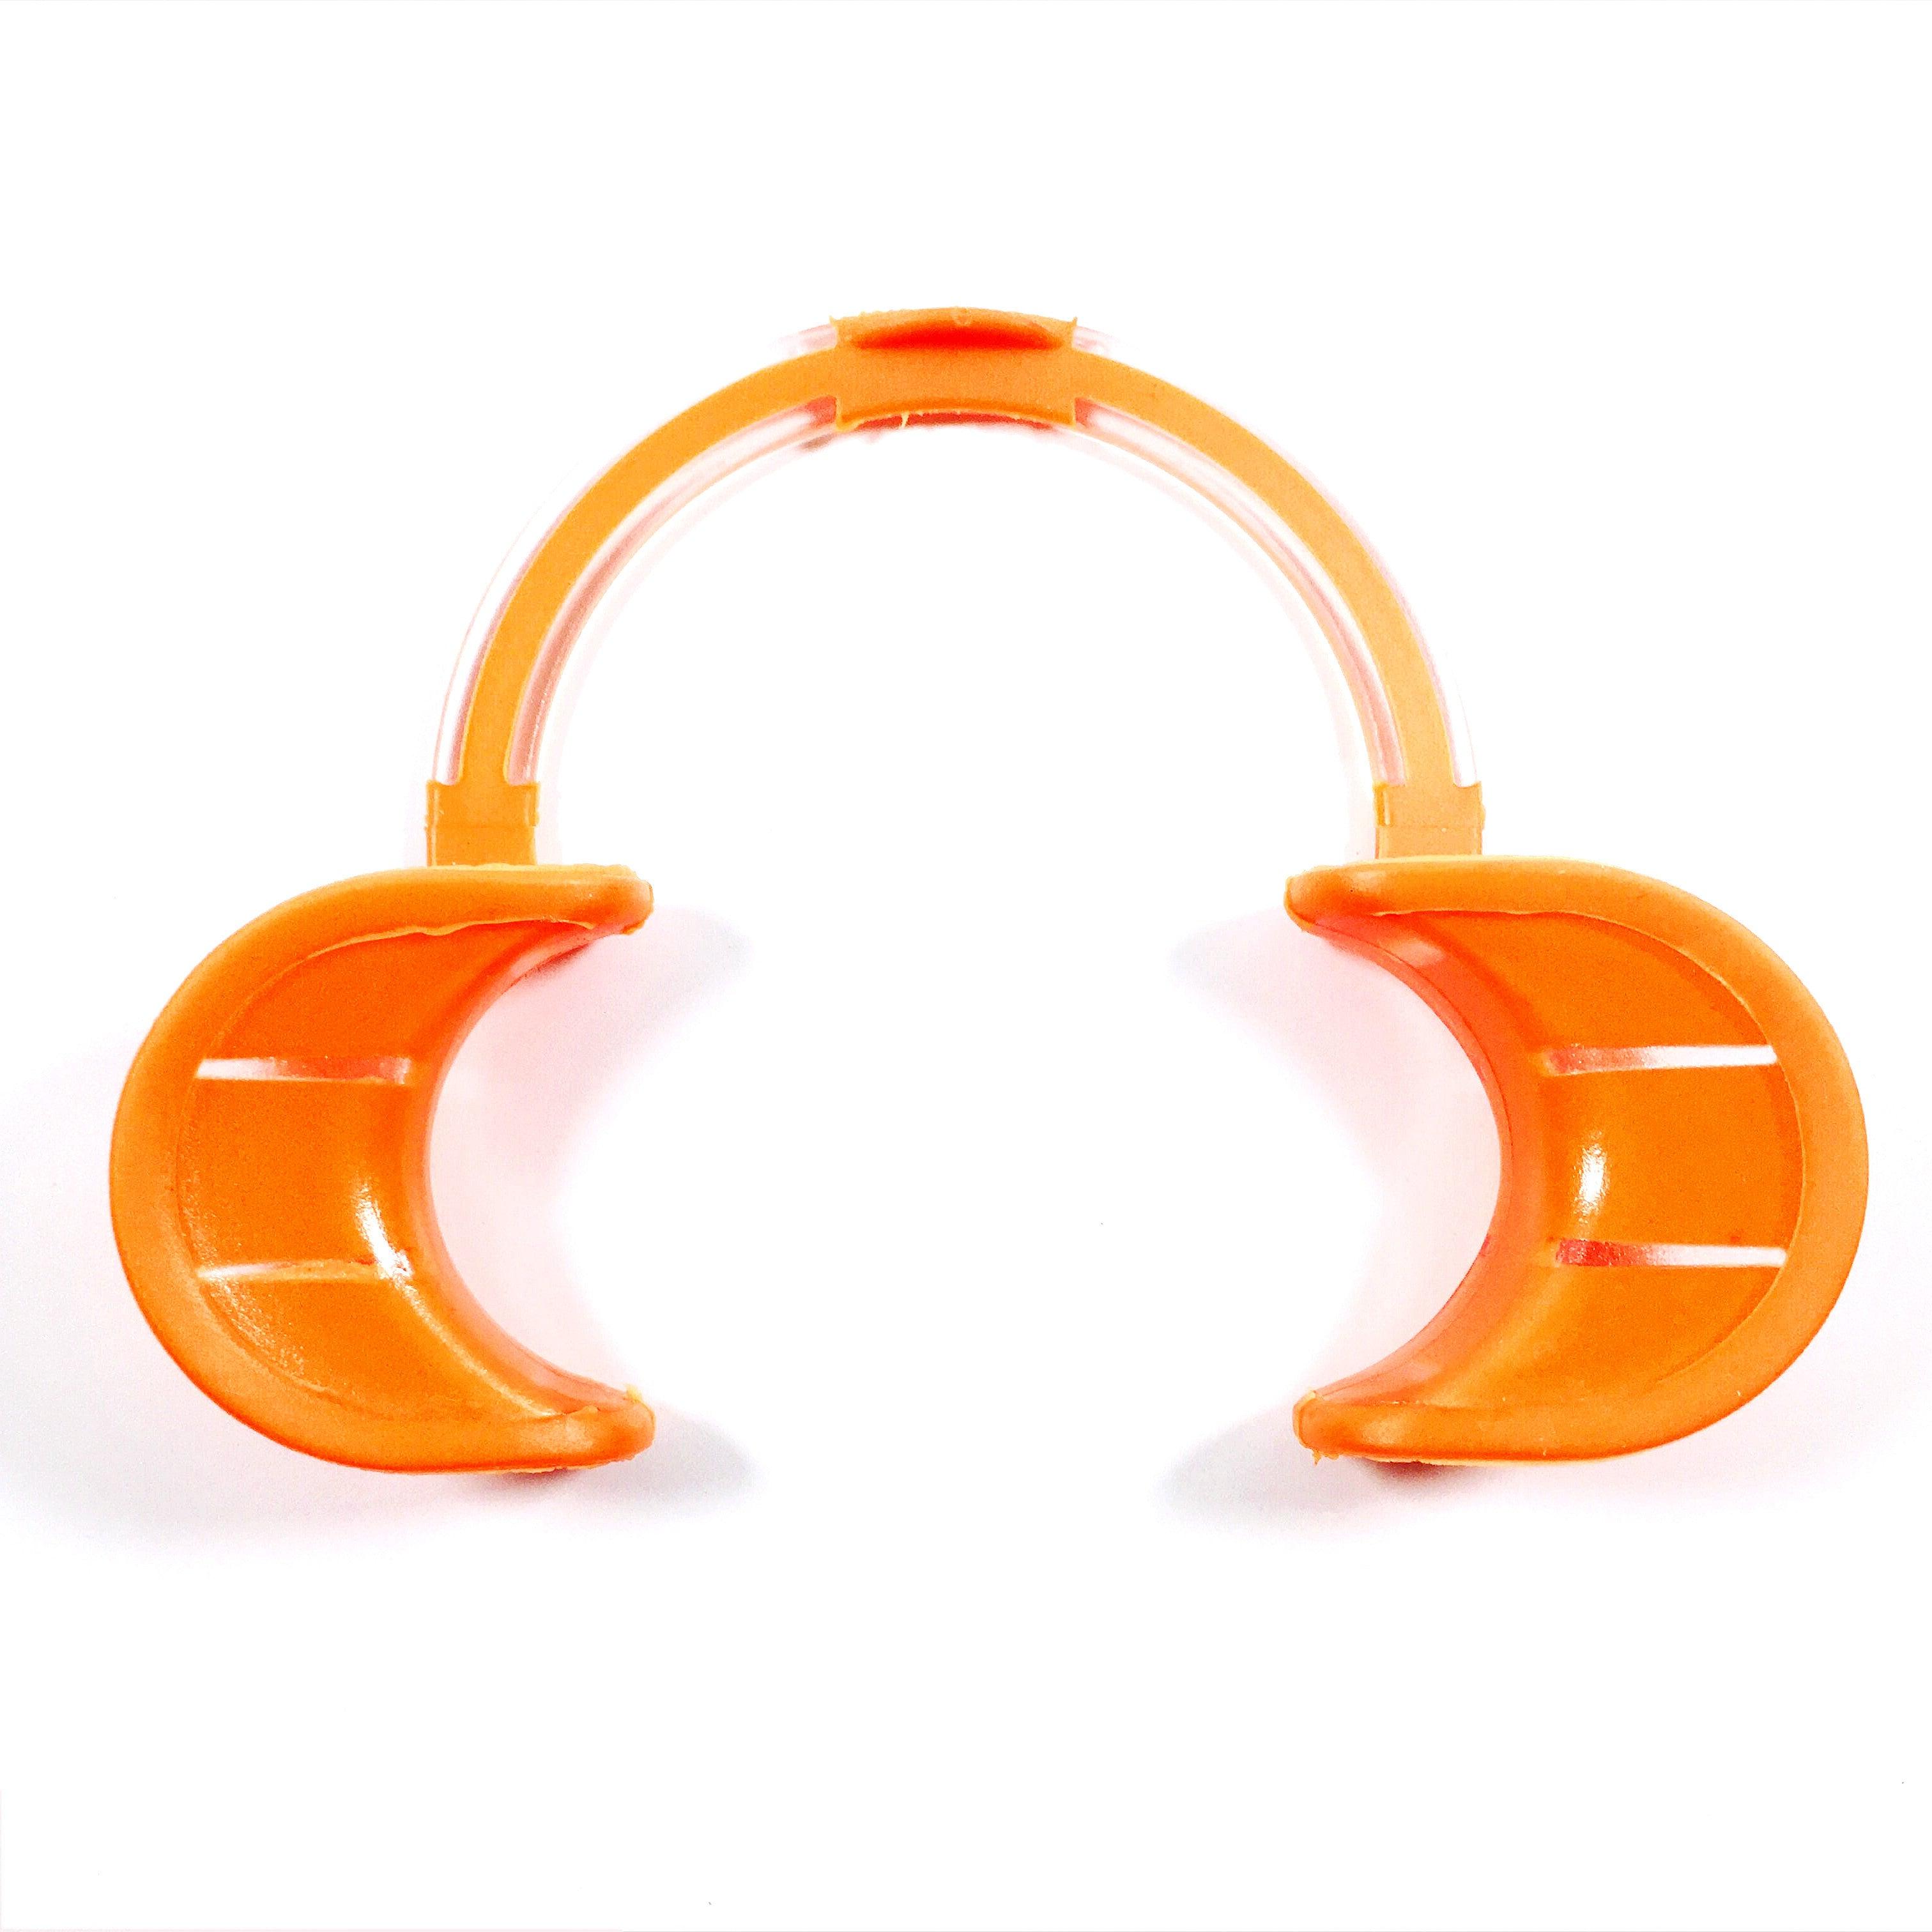
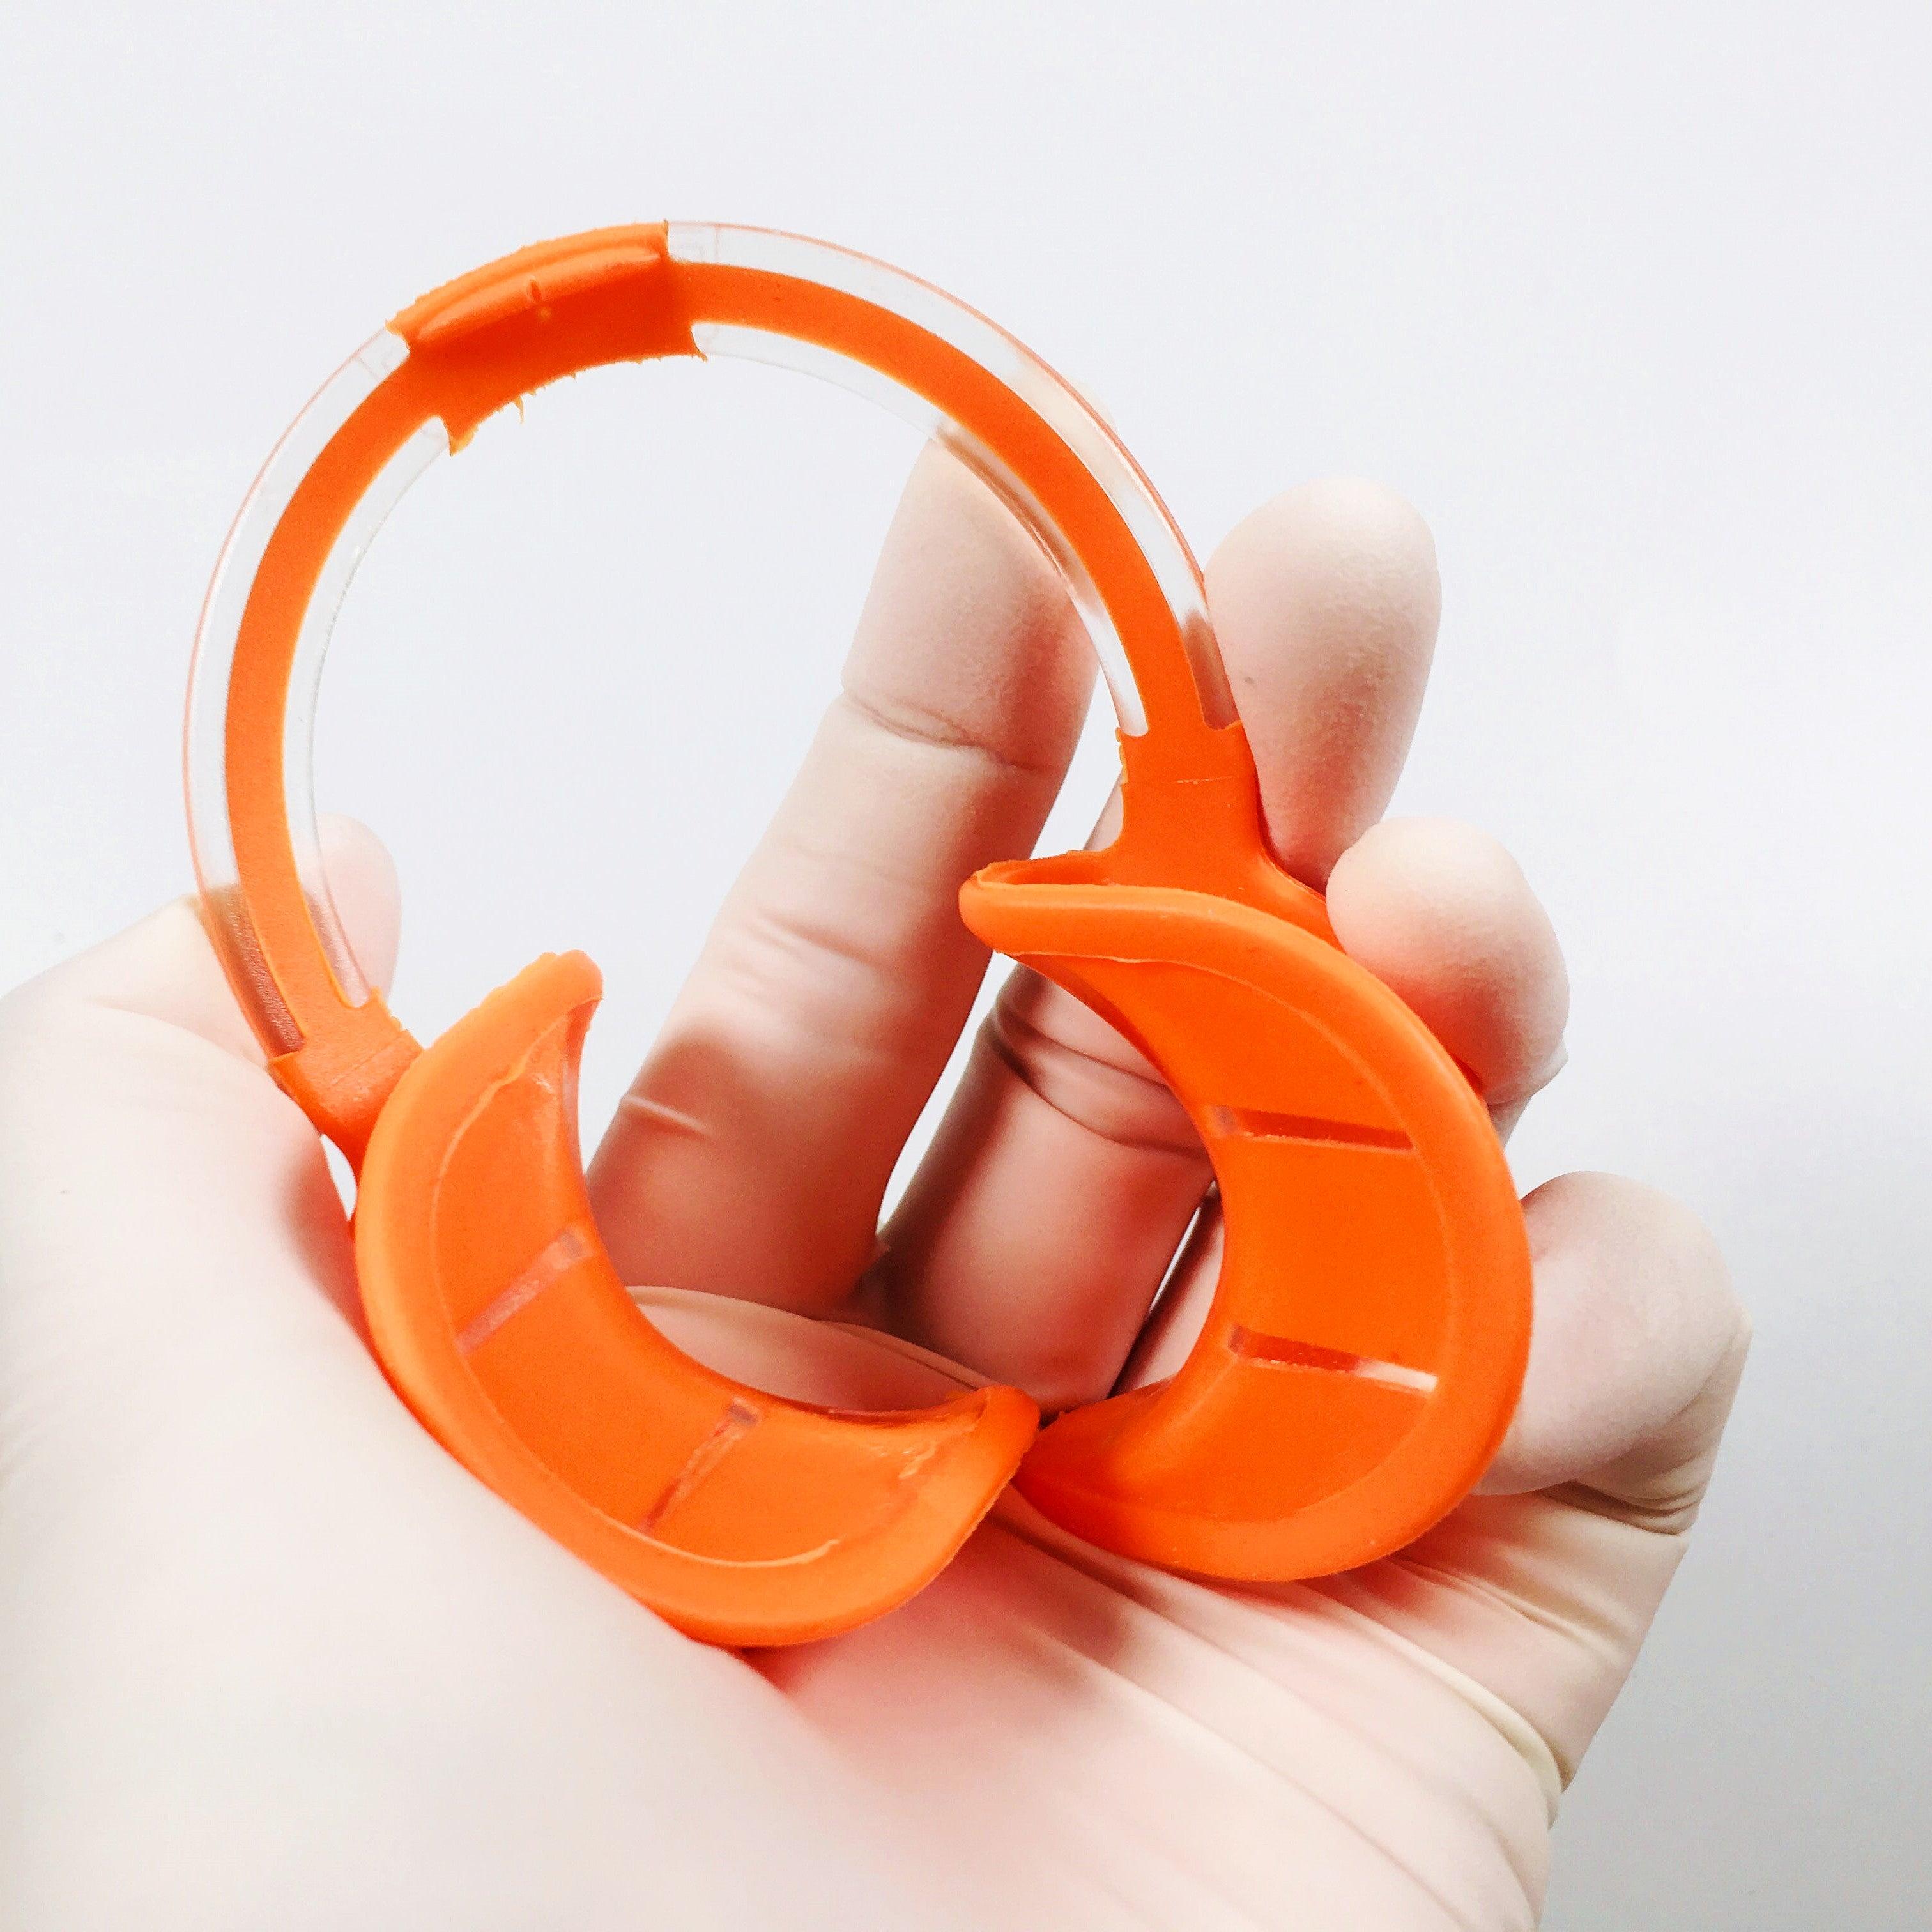
- Retractors and Mirrors: Enhance intraoral visibility and positioning for clean, distraction-free images.
Practical Tips for Dental Photography
Match your equipment to your practice’s focus. Cosmetic dentistry benefits from full-frame cameras with macro lenses, while general practice can opt for APS-C sensors. Use a gray card to ensure consistent white balance across all images. Explore RAW editing tools like Adobe Lightroom or Capture One for post-processing precision.
Recommended Camera Kits
For an in-depth guide, explore Guide: Dental Photography Equipment and Accessories from A to Z, which details:
- Budget Kits: Entry-level cameras and basic accessories for clear, clinical images.
- Mid-Range Kits: Cameras with advanced settings and versatile lenses for enhanced quality.
- High-End Kits: Full-frame cameras, professional flashes, and specialized lenses for intricate detail and color precision.
Conclusion
Investing in a high-quality camera for dental photography elevates your practice and enhances patient engagement. With the right camera, lighting, and accessories, you can document cases with clarity, showcase expertise, and build trust. To master dental photography and explore the best equipment, consult our comprehensive guide and take the first step toward professional-grade results.

