
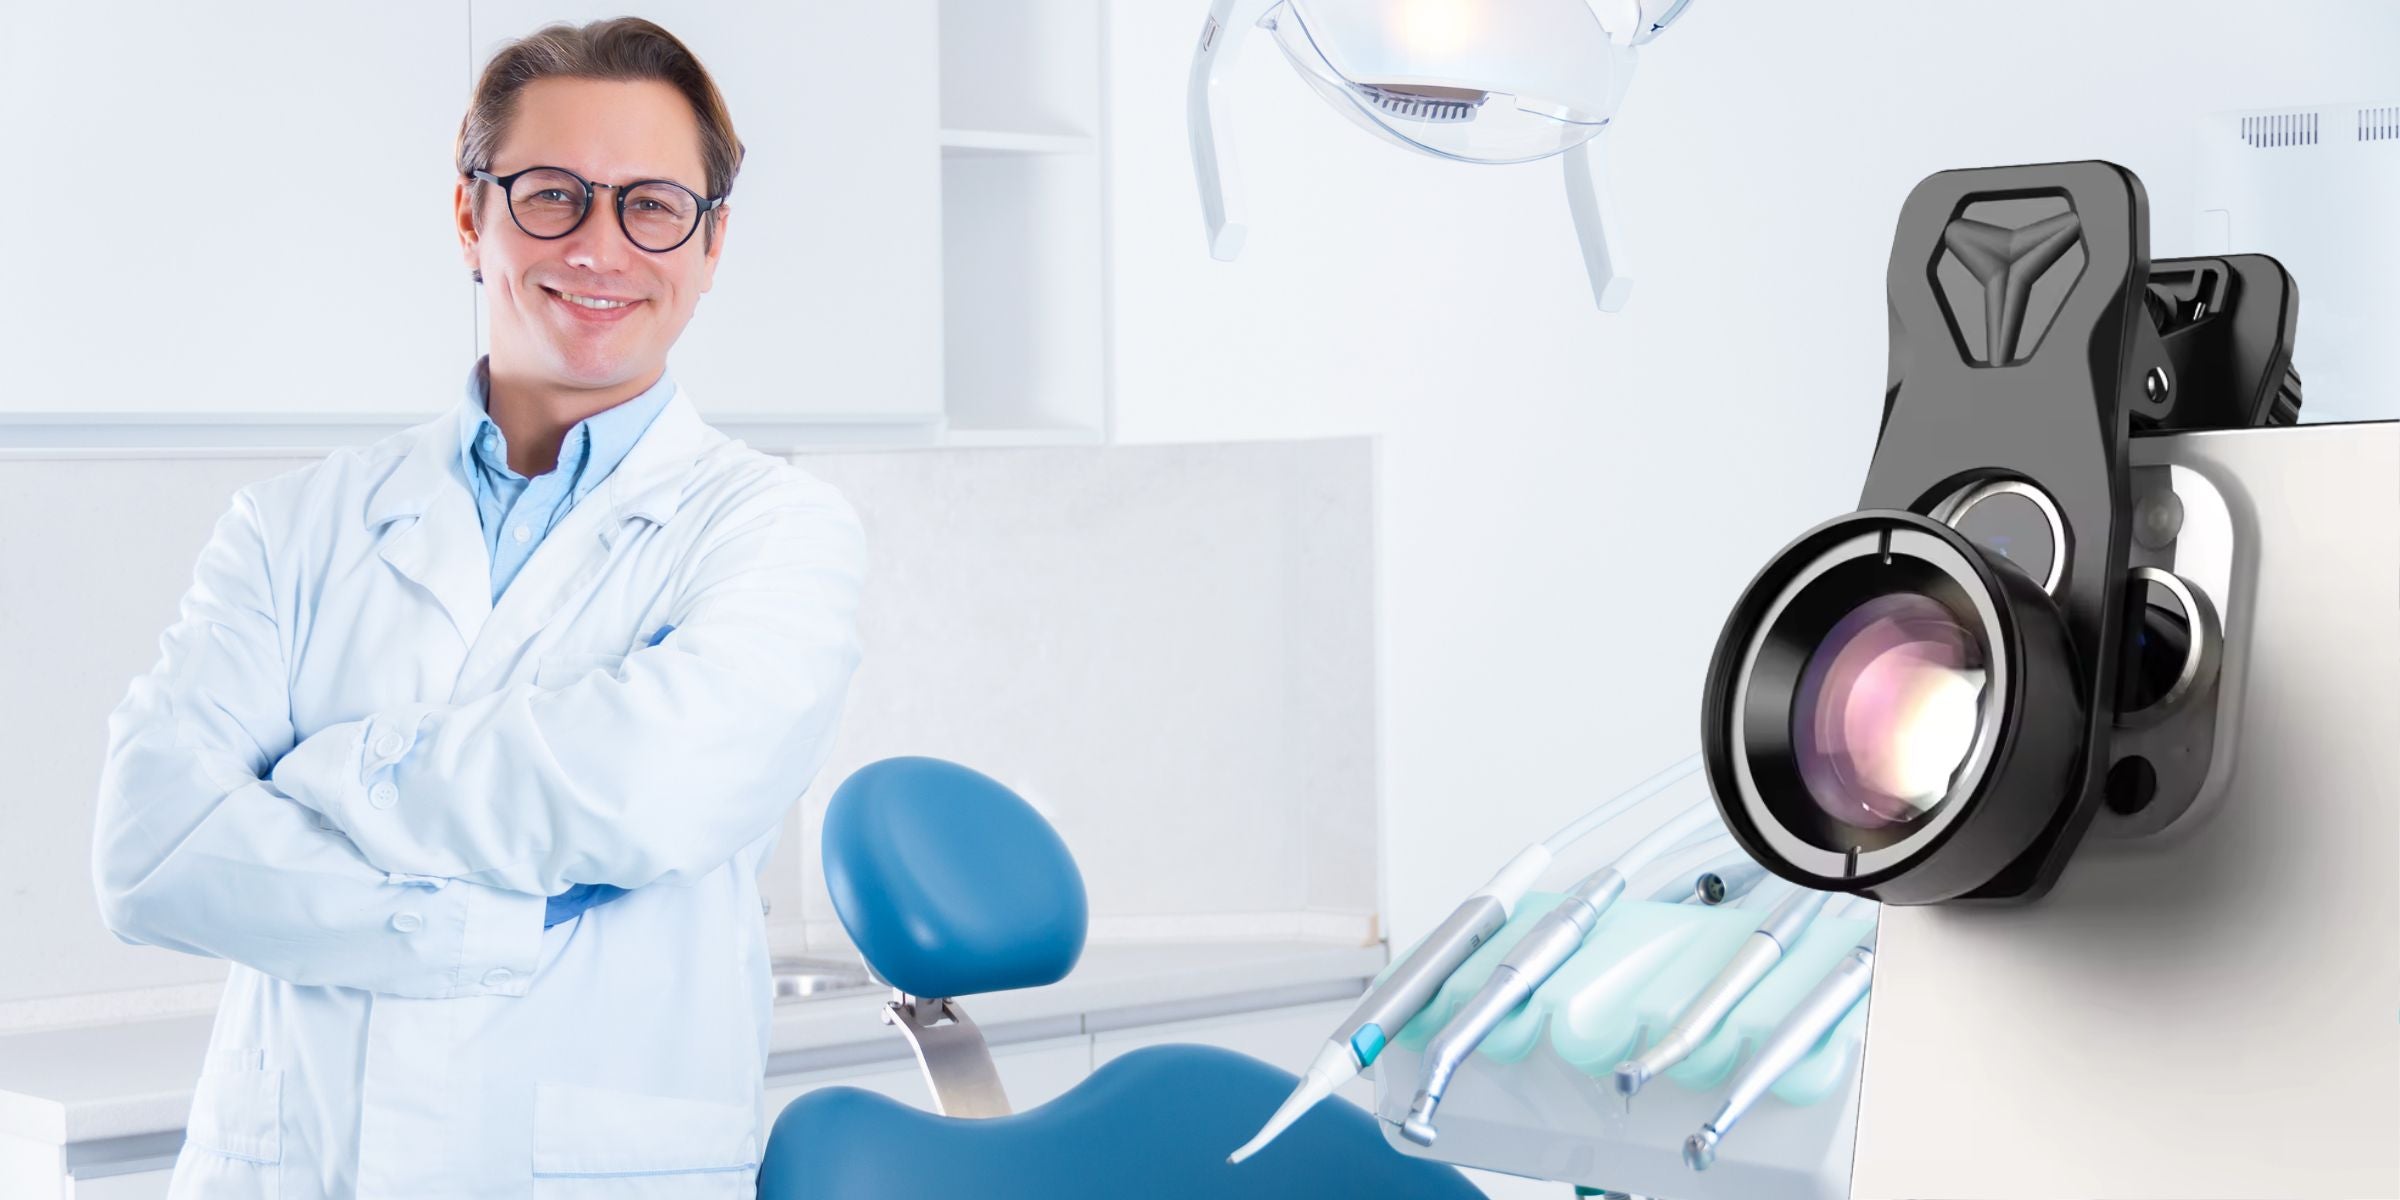
Smartphone cameras have evolved significantly, making them a viable tool for dental photography when set up correctly. Whether you’re capturing intraoral images, patient portraits, or macro details of dental work, optimizing your smartphone settings and using the right accessories can help achieve high-quality results. This guide will walk you through essential configurations and must-have equipment to improve your dental photography workflow.
1. Enable Grid and Level for Proper Framing
One of the most important factors in dental photography is precise framing. Enabling the 3x3 grid helps align shots, ensuring straight and symmetrical compositions. If your phone has a leveling feature, use it to keep the camera perfectly aligned, which is especially useful for intraoral and occlusal images.
How to Enable Grid and Level:
- iPhone: Go to Settings → Camera → Grid.
- Android: Open the camera app, go to Settings, and enable Grid & Level.
2. Use the Correct Lens for Natural Proportions
To avoid distortion, it’s crucial to use the telephoto lens (3x-5x zoom) when taking extraoral and smile shots. This maintains proper facial proportions, ensuring professional results.
- iPhone: Open the camera and select 2x, 3x, or 5x zoom, depending on your model.
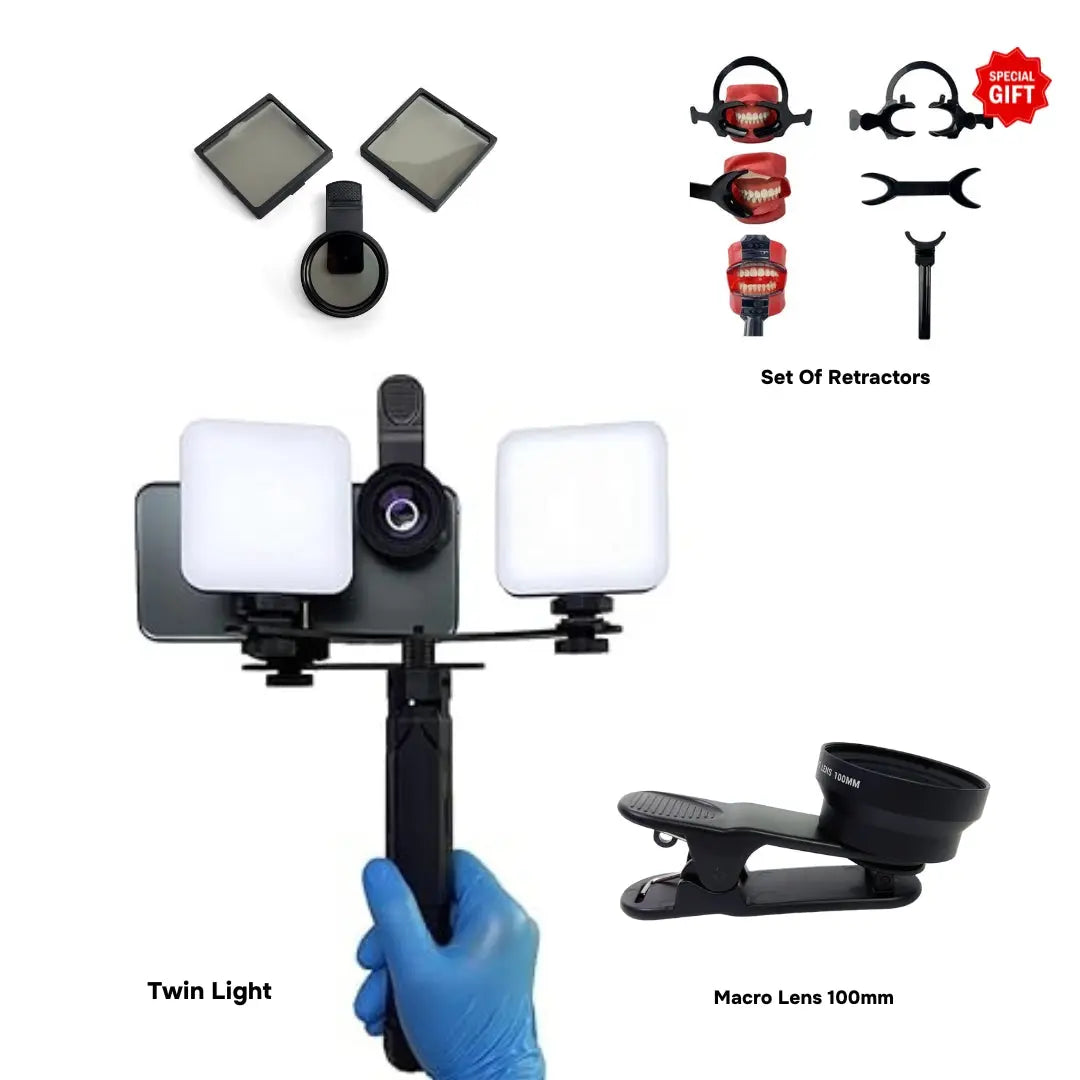
- Android: Adjust to 3x-5x zoom manually or use a clip-on portrait lens (100mm-120mm) for better results.
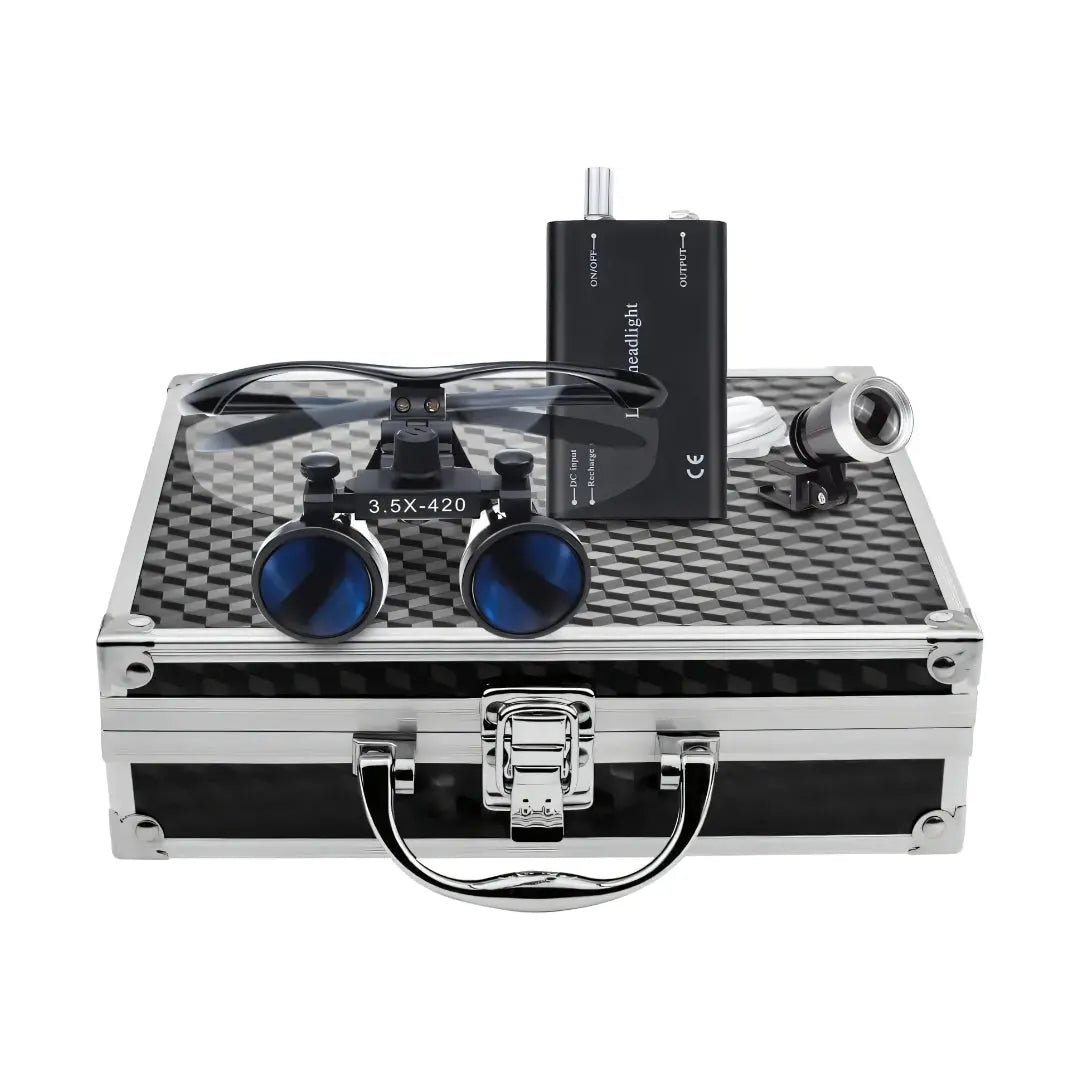
For macro photography, such as detailed images of teeth or restorations, we recommend using a 120mm macro lens. This ensures extreme clarity and accurate representation of textures and colors.
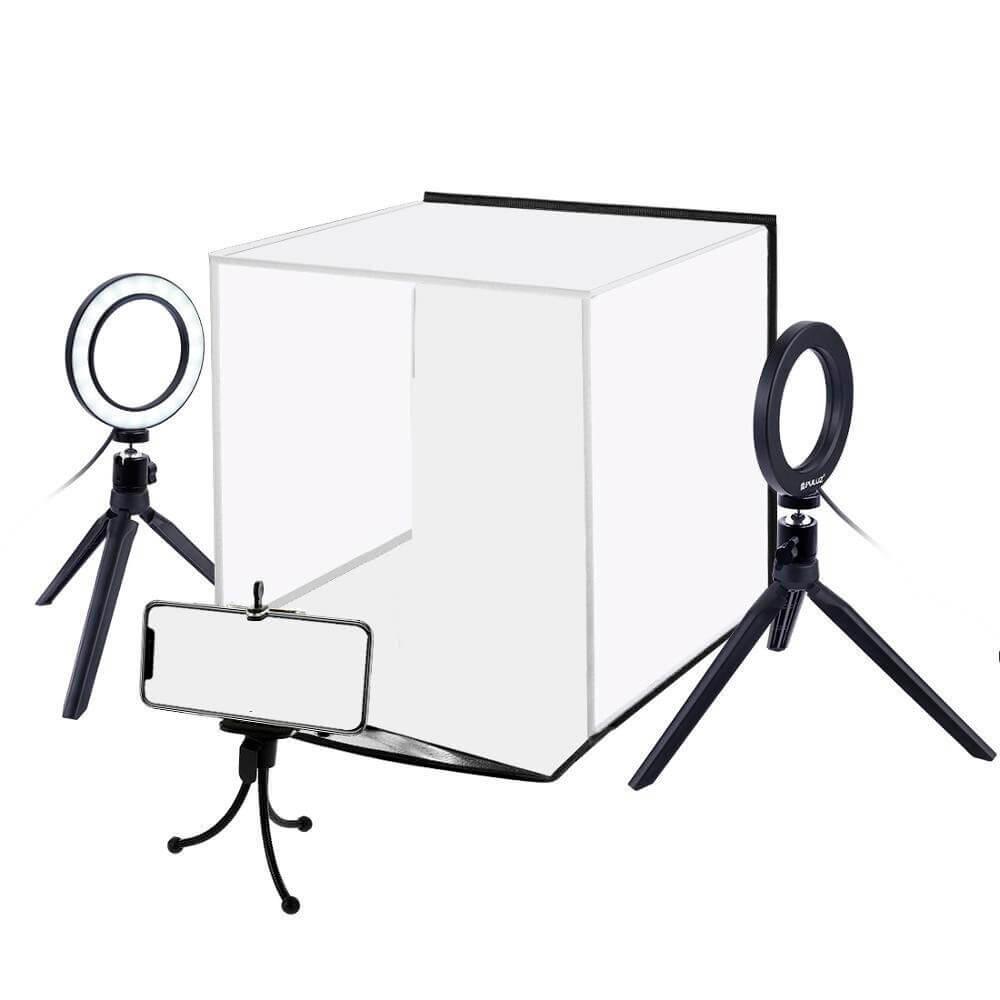
3. Lighting: The Key to High-Quality Dental Photos
Proper lighting is essential to capture sharp, well-exposed images.
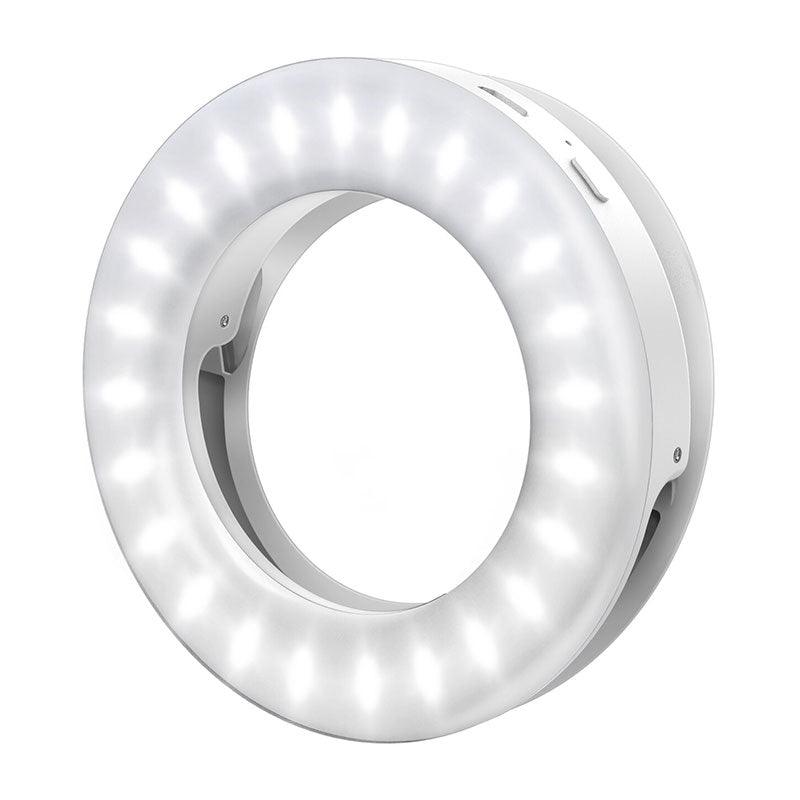
Types of Lighting for Smartphone Dental Photography:
- Ring Light – Ideal for even, shadow-free lighting. Recommended for general dental photography.
- Twin Flash (Dual Light) – Provides more dynamic lighting, allowing better texture representation. Perfect for restorative and prosthetic work.
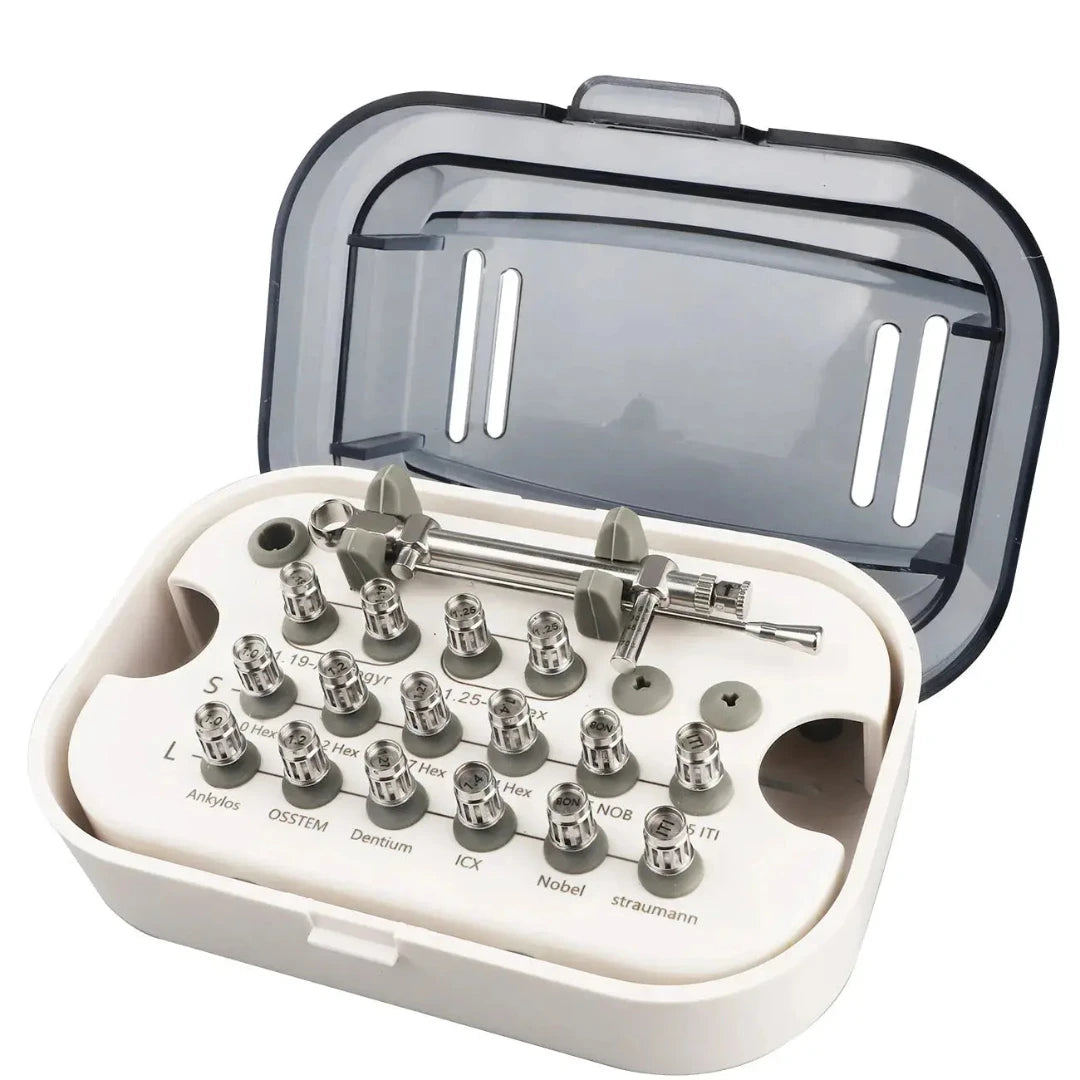
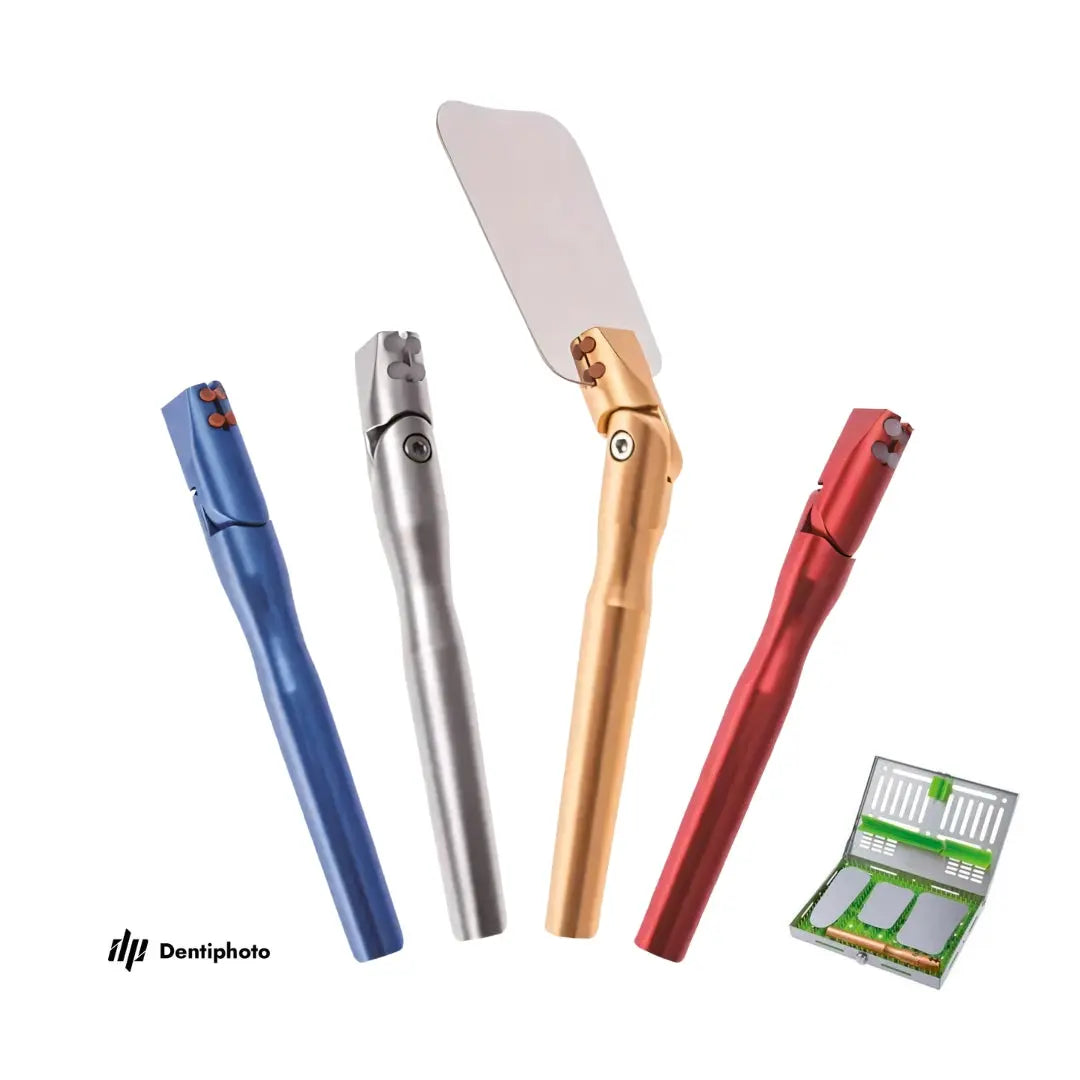
4. Essential Accessories for Smartphone Dental Photography
Using the right accessories significantly improves image quality and makes dental photography more efficient.
Must-Have Accessories:
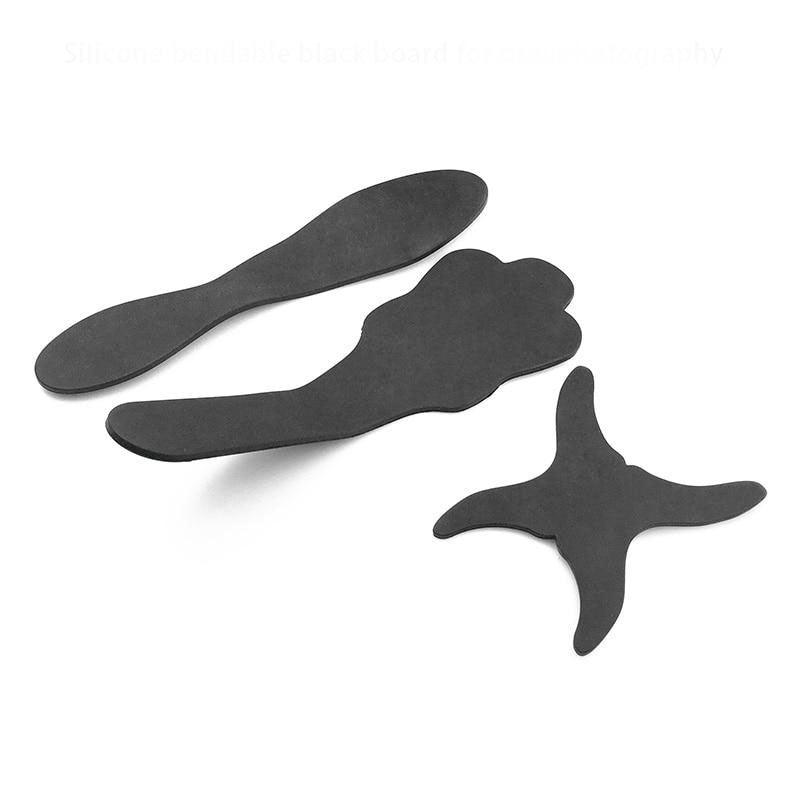
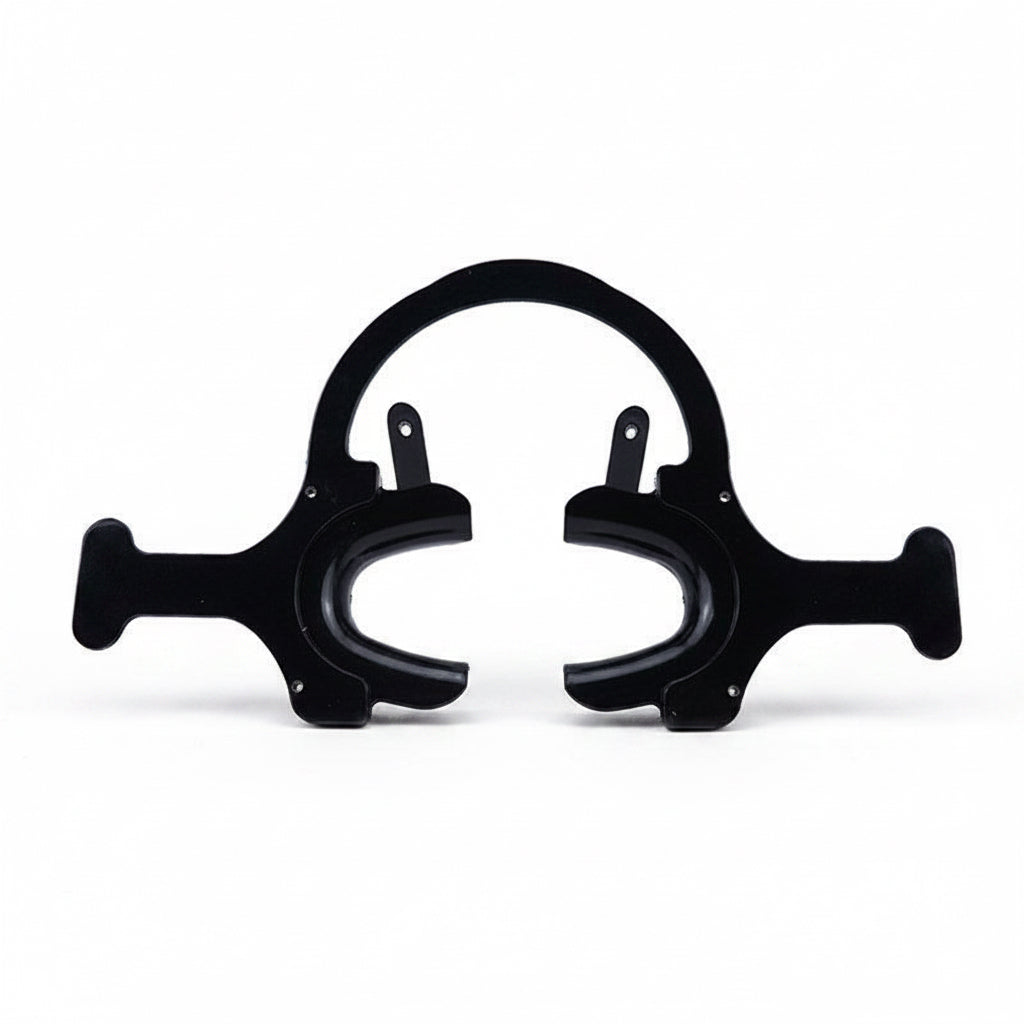
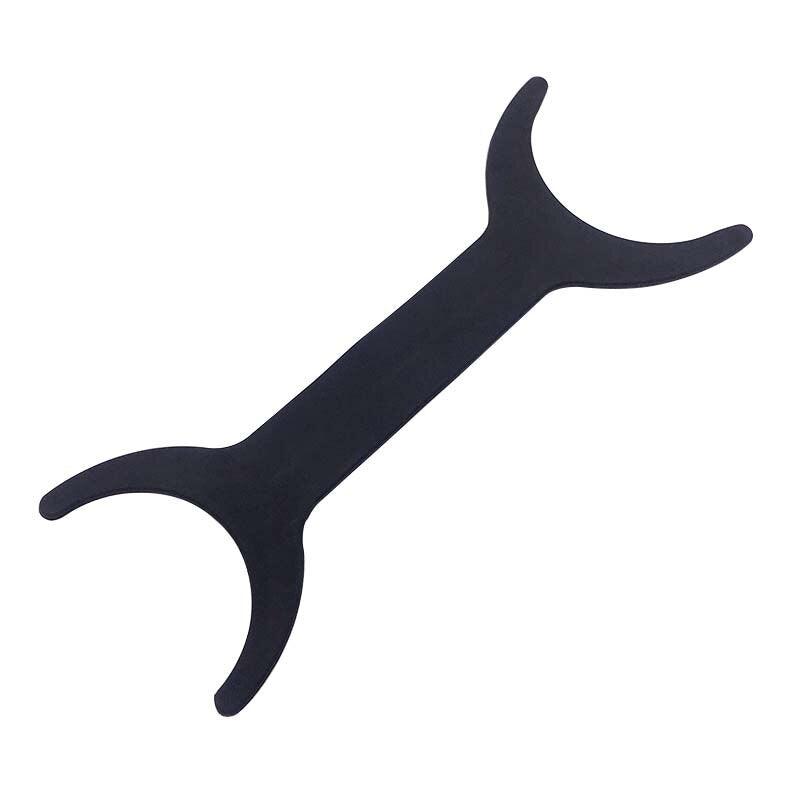
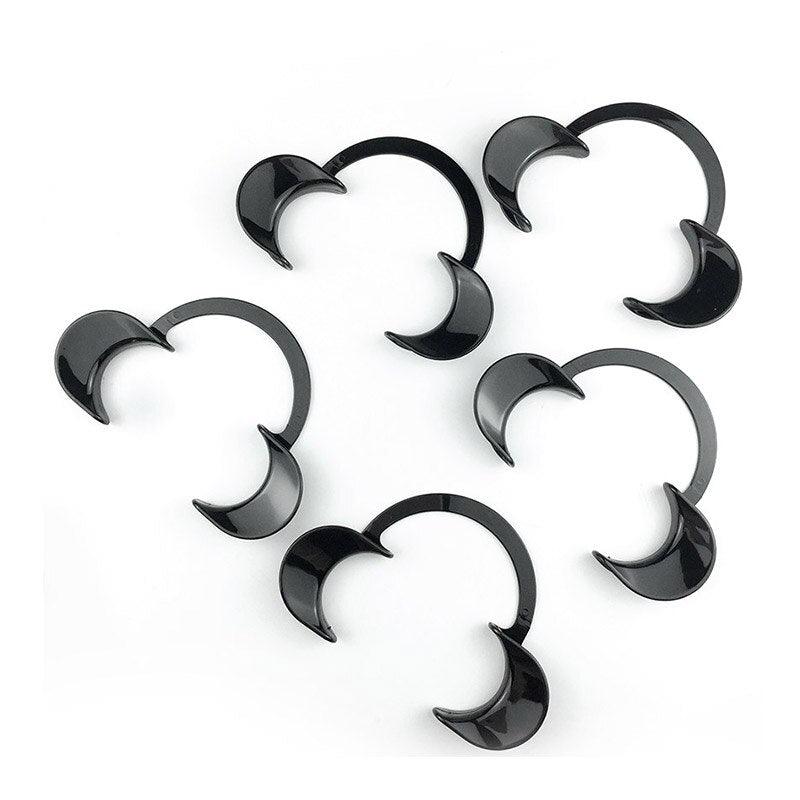
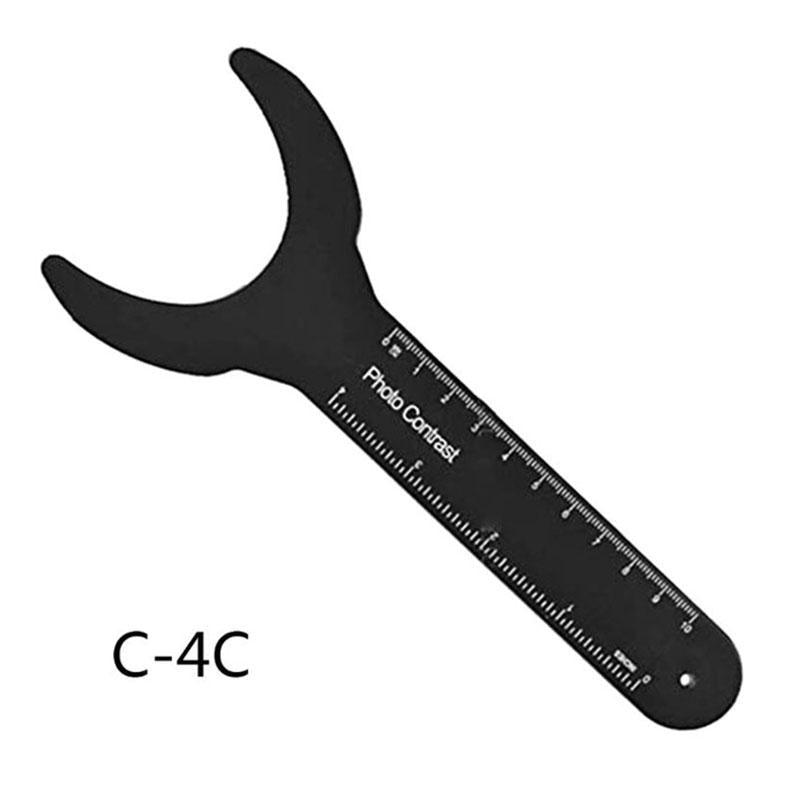
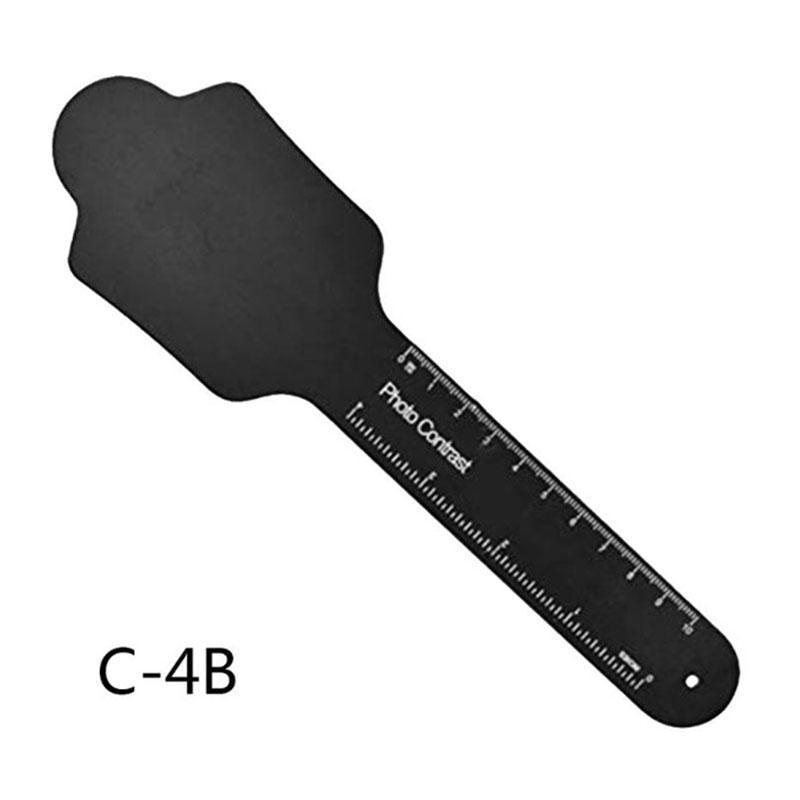
- Contrastors – Provide a black background for clear, professional-looking intraoral shots.
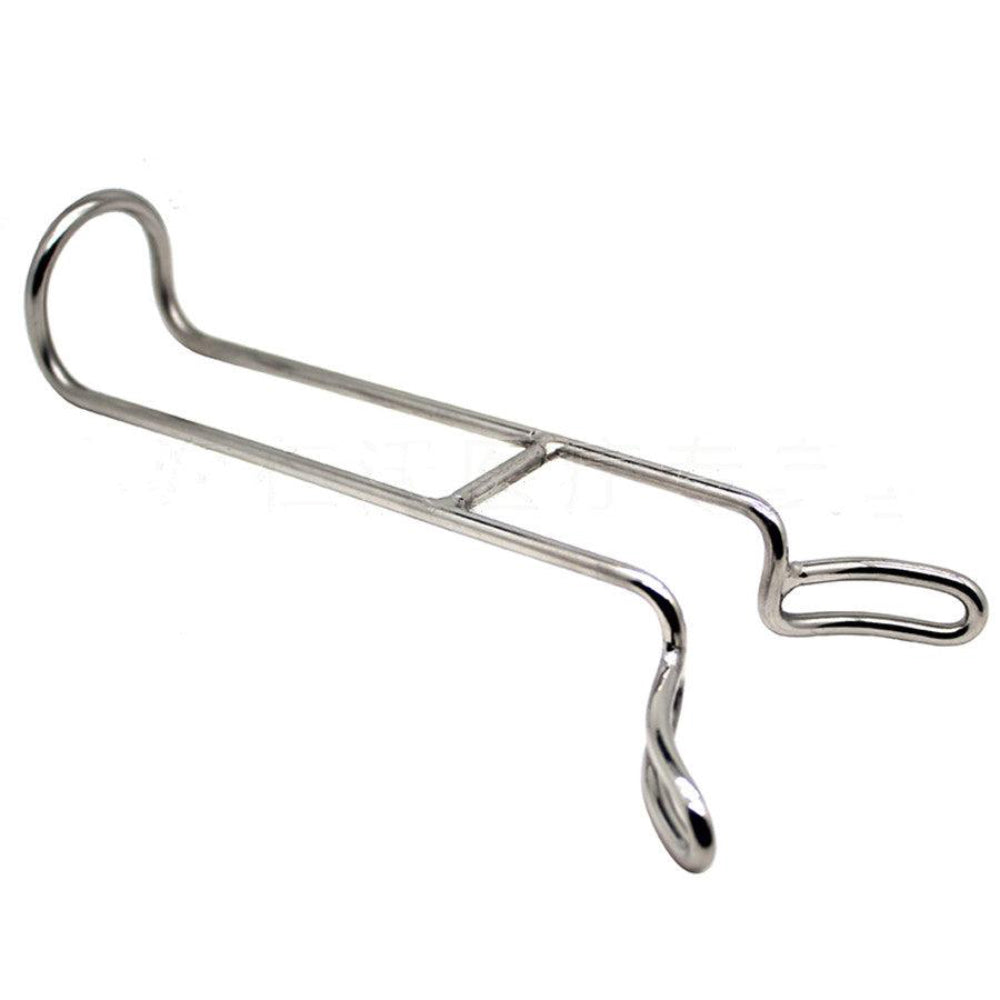
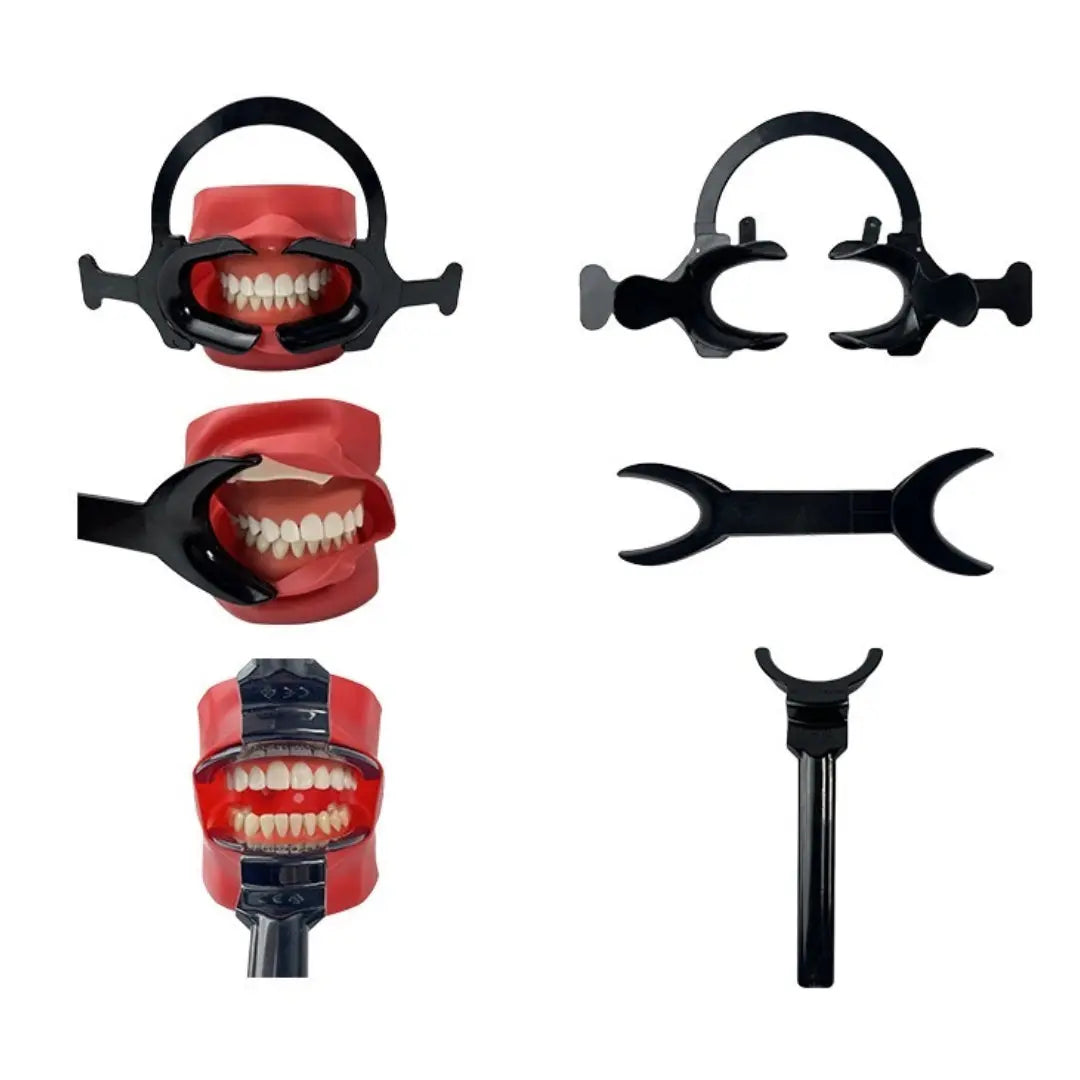
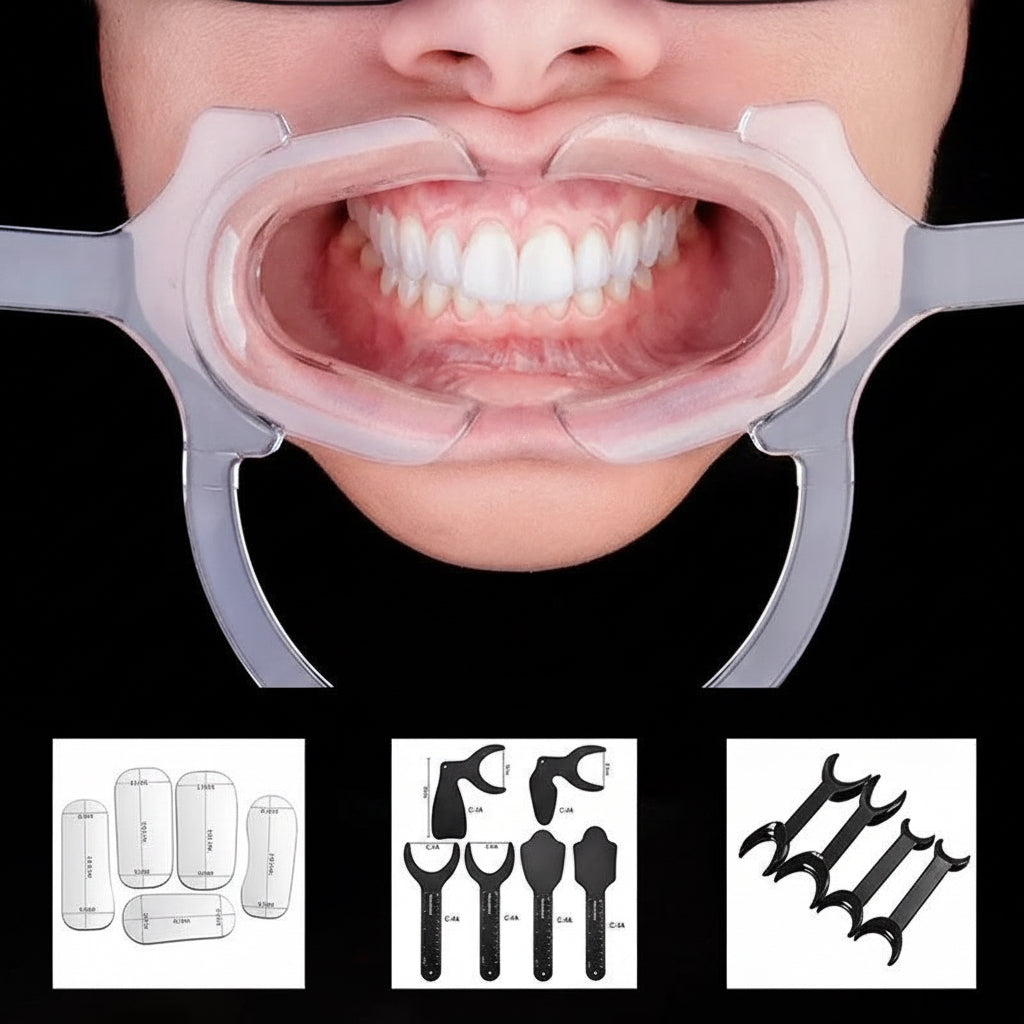
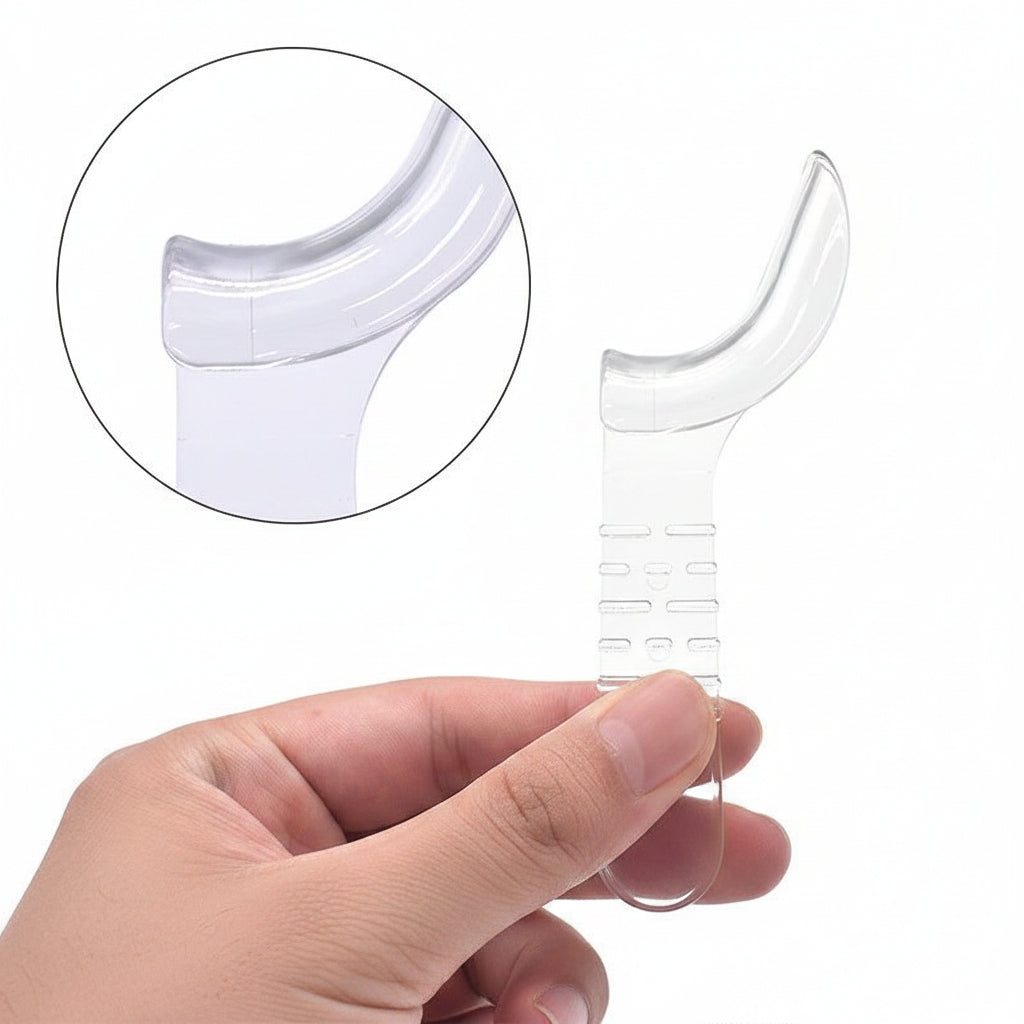
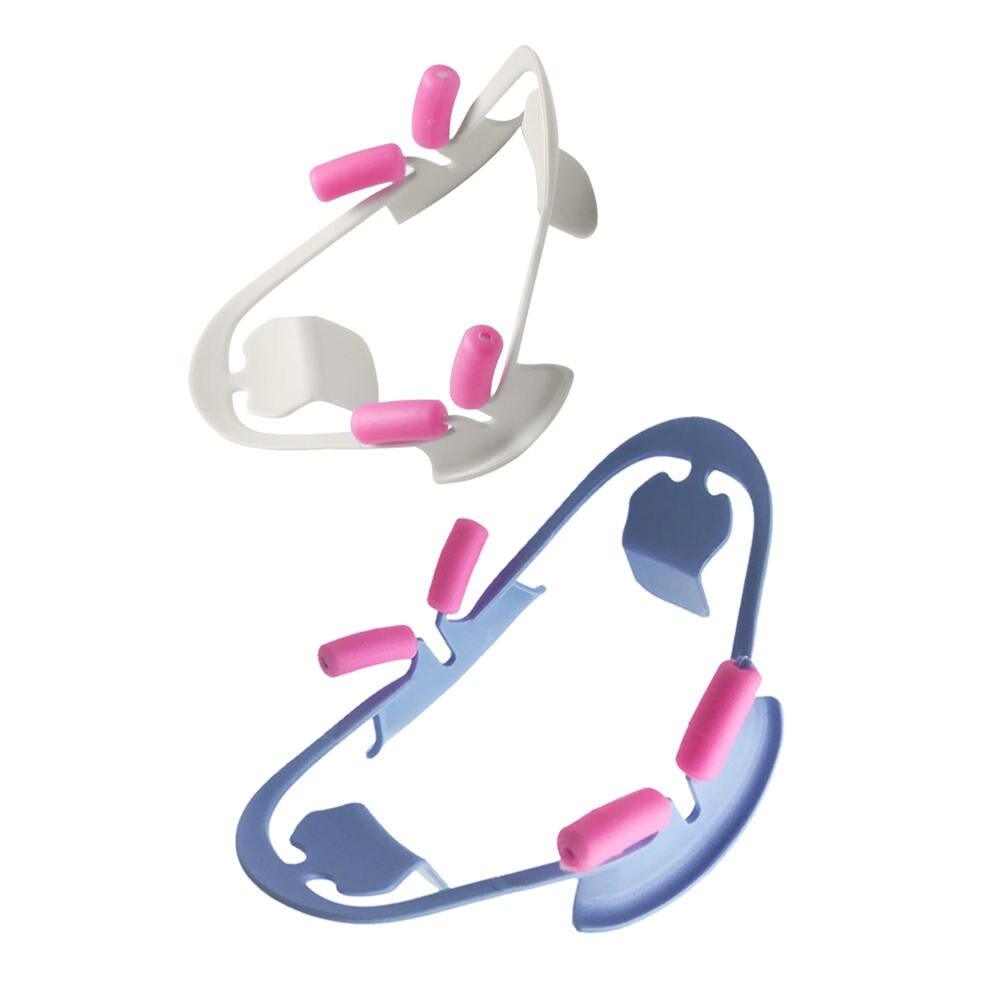
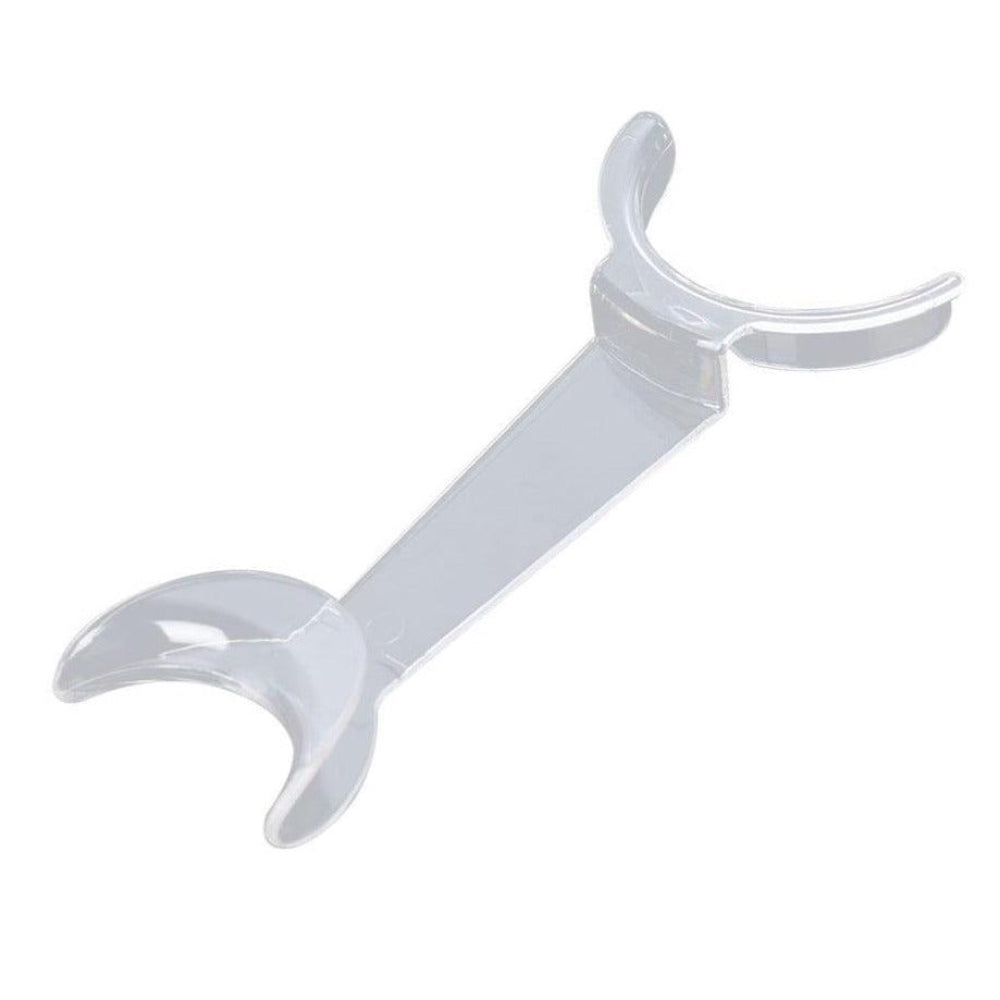
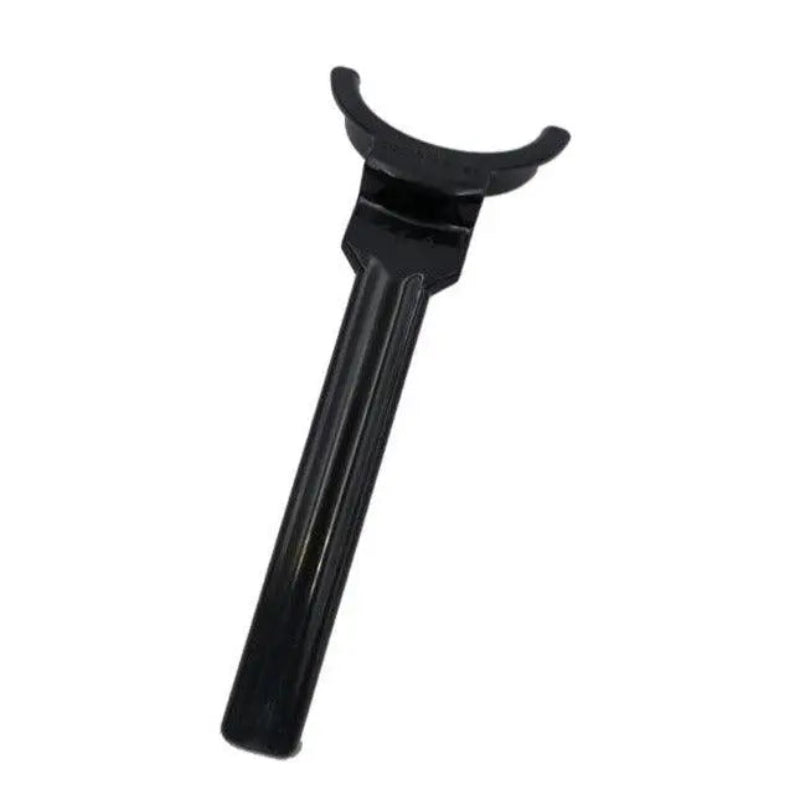
- Retractors (1/2 and S-Form) – Keep cheeks and lips away for better visibility.
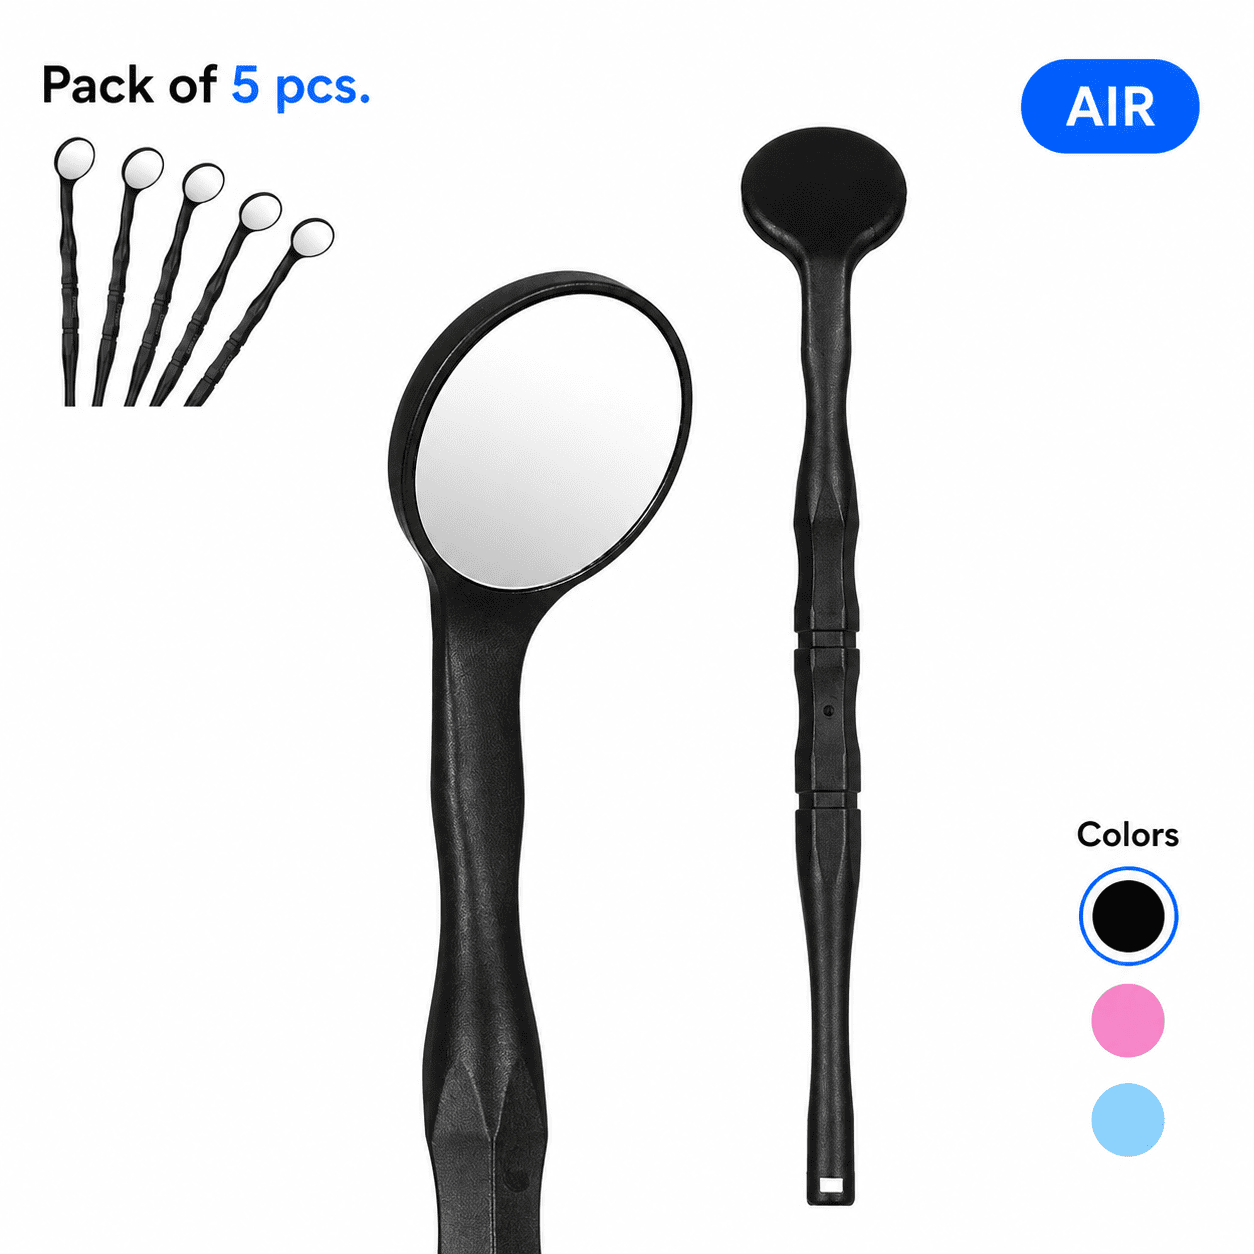
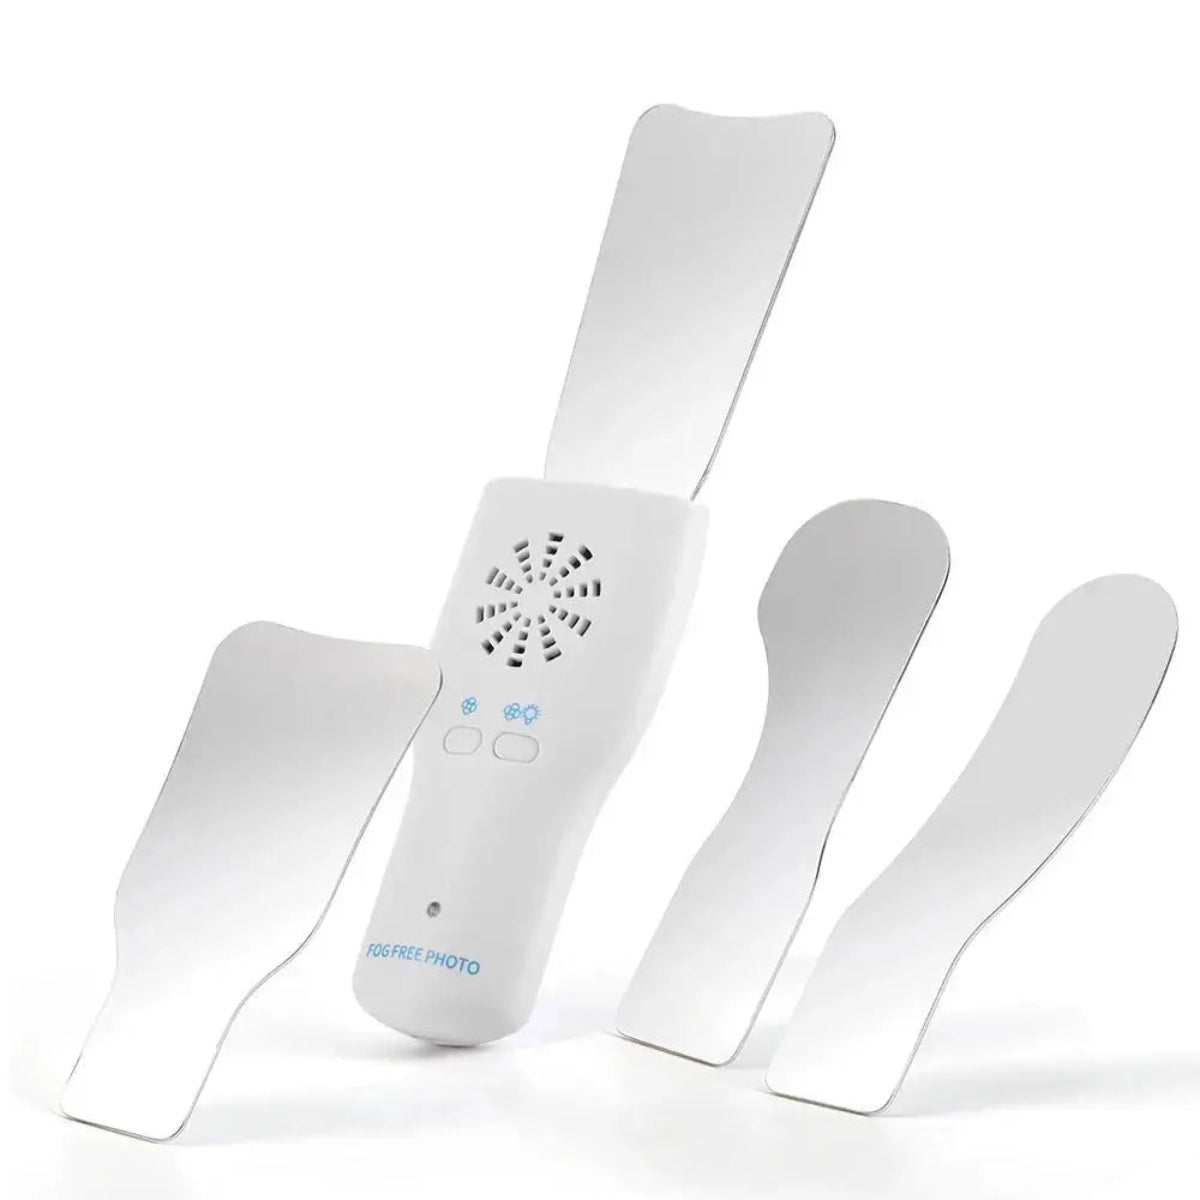
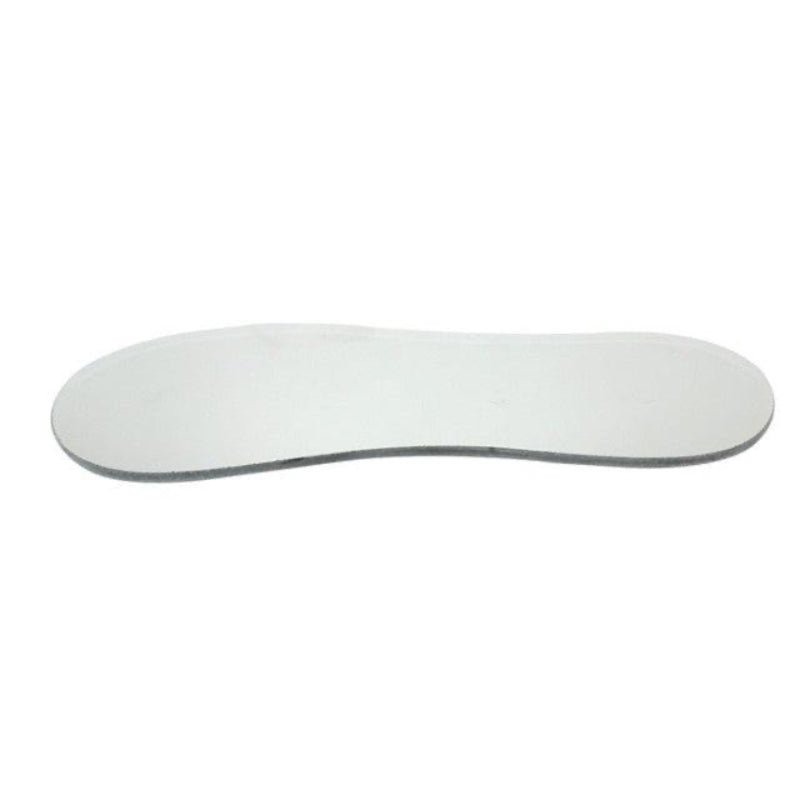
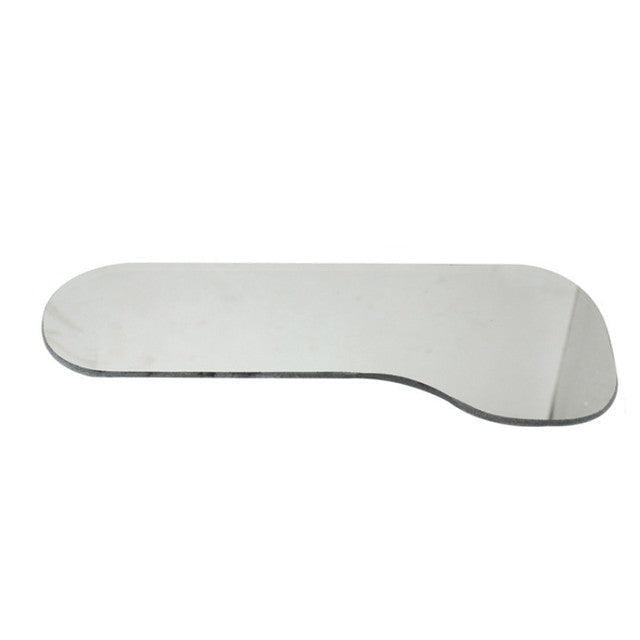
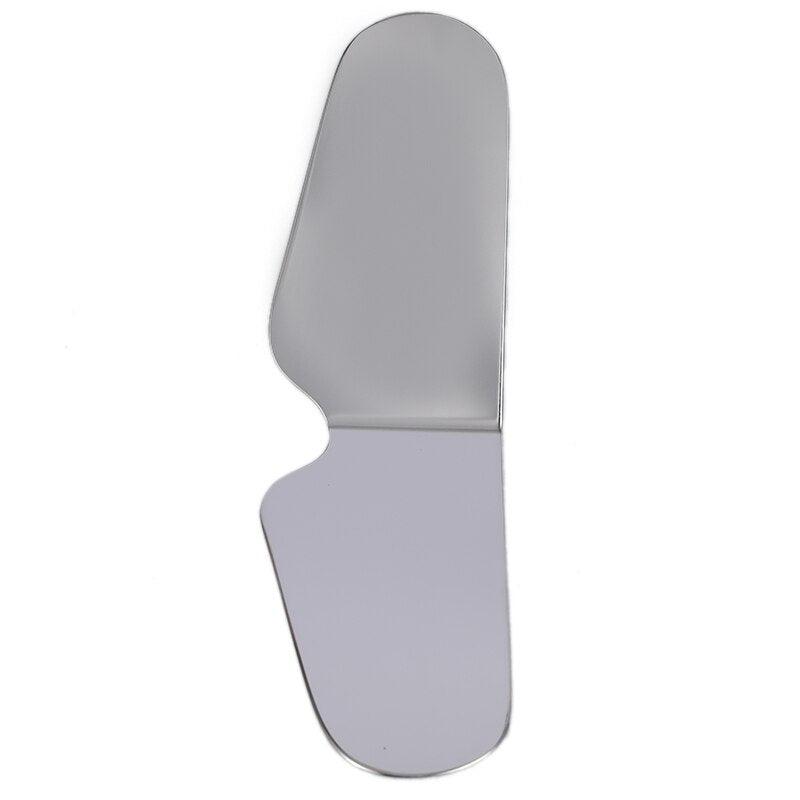
- Anti-Fog Mirror with Light – Prevents fogging and improves lighting inside the oral cavity.
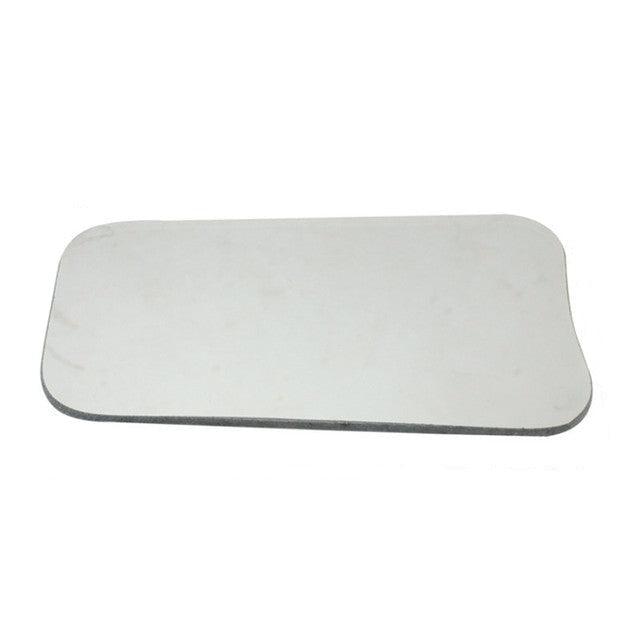
- Gray Card – Essential for accurate color correction and shade matching.
Conclusion: Get Professional Results with the Right Setup
Proper smartphone settings, high-quality lighting, and the right accessories can transform your dental photography. By following these steps, you ensure sharp, well-exposed images suitable for documentation, patient communication, and professional marketing.
Special Offer for Blog Readers
Upgrade your dental photography today! Get 15% OFF all accessories with promo code BLOG15 at dentiphoto.com.
Looking for a complete guide on dental photography equipment? Get our “Dental Photography Equipment and Accessories from A to Z” and become an expert today!


