Achieving high-quality dental photographs requires proper camera settings and techniques. Whether you're documenting cases, educating patients, or showcasing your work, these settings and tips will help you capture professional-grade images.
Recommended Camera Settings for Dental Photography
Start with these basic settings, which can be adjusted as needed during the photography process:
Aperture:
-
f/8 for full-face shots
-
f/13–16 for lips and teeth
-
f/22–29 for intraoral images
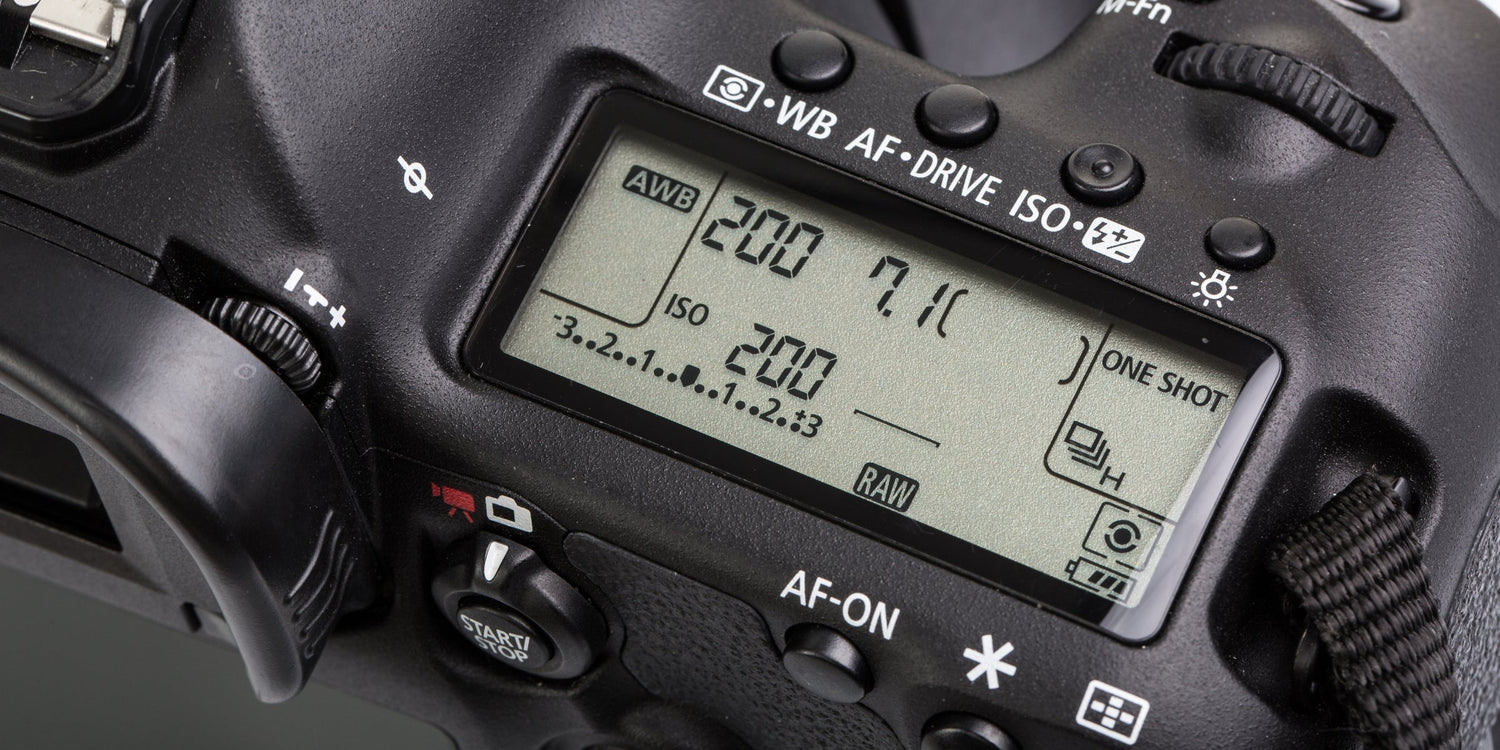
ISO: Set to 100 or 200 for minimal noise.
Shutter Speed: Use 1/160 to eliminate motion blur.
White Balance: Select "flash" mode or automatic for accurate color reproduction.
Essential Angles for Dental Photography
Capture these commonly required views to create a comprehensive dental photo protocol:
- Full-face and profile views, both with and without a smile.
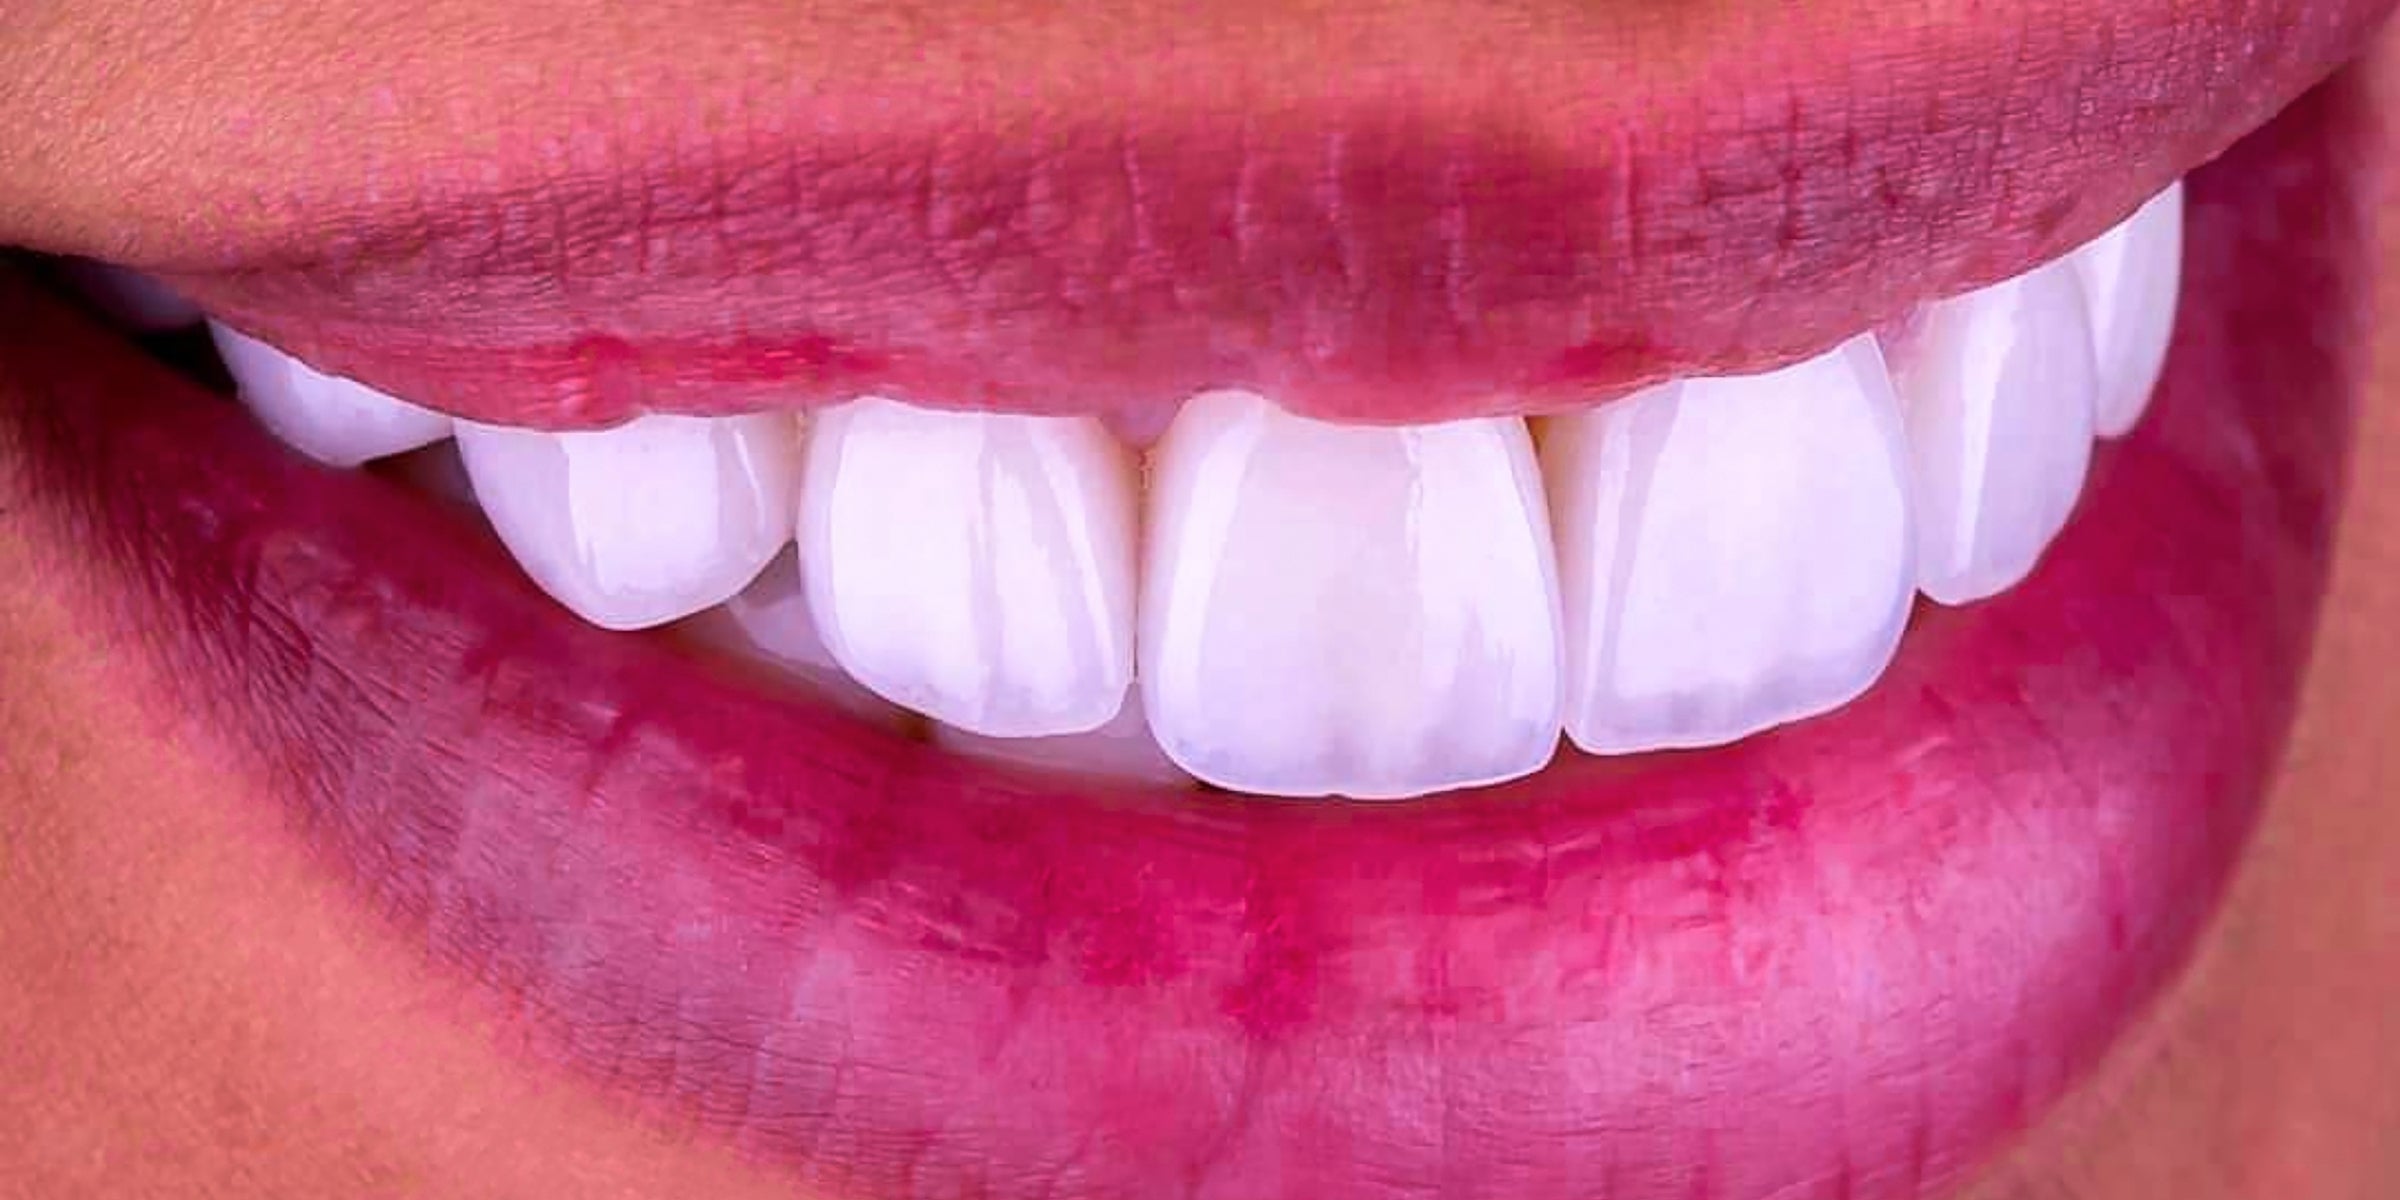
- Close-up of the smile.
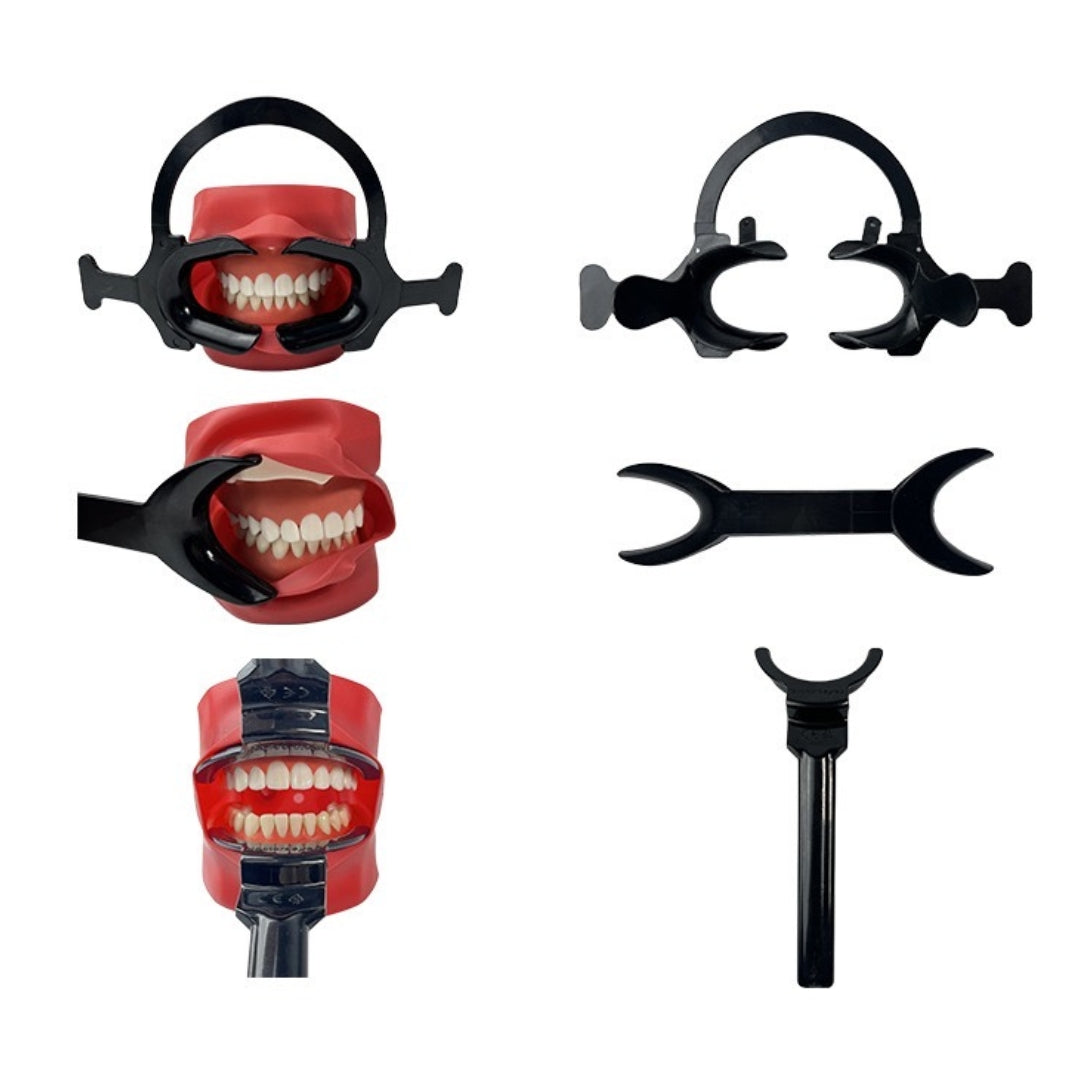
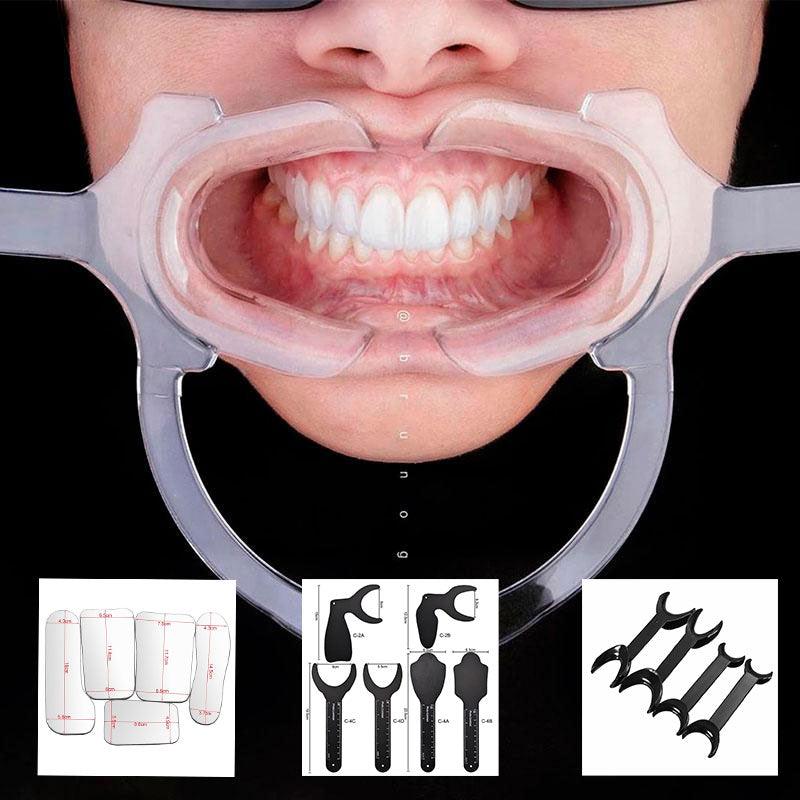
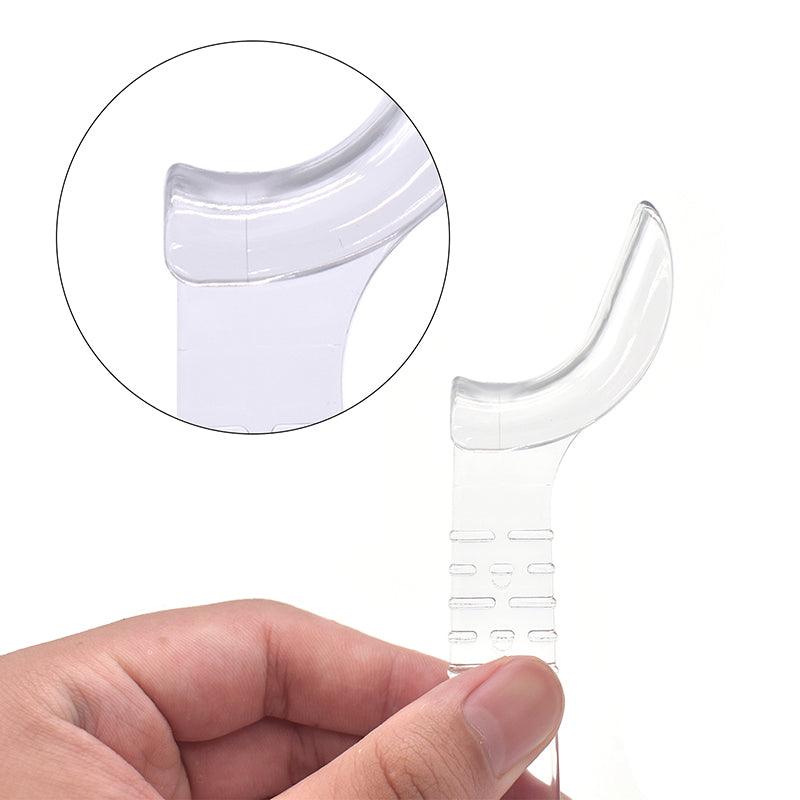
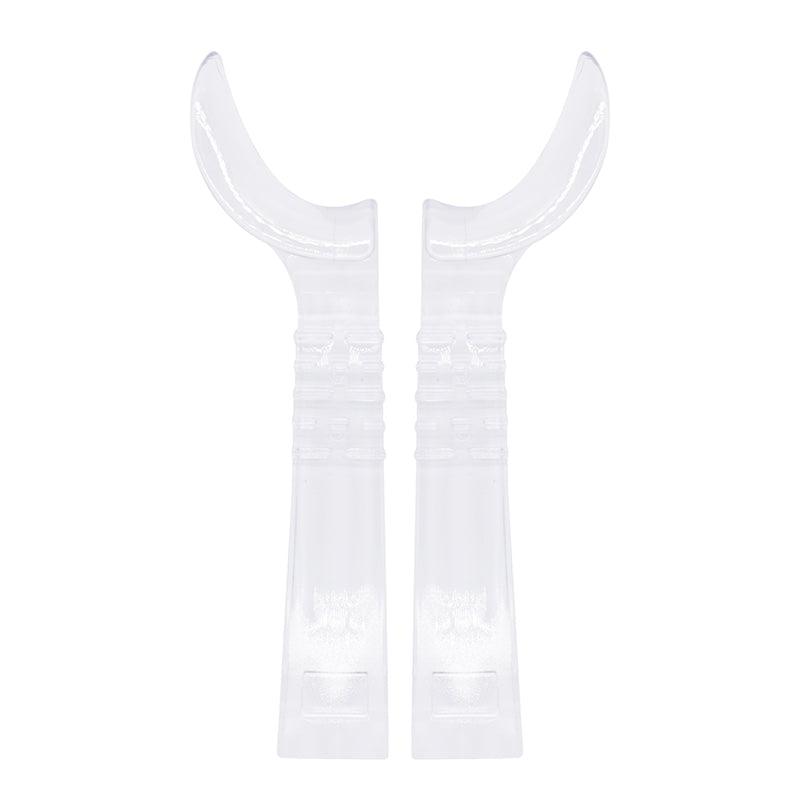
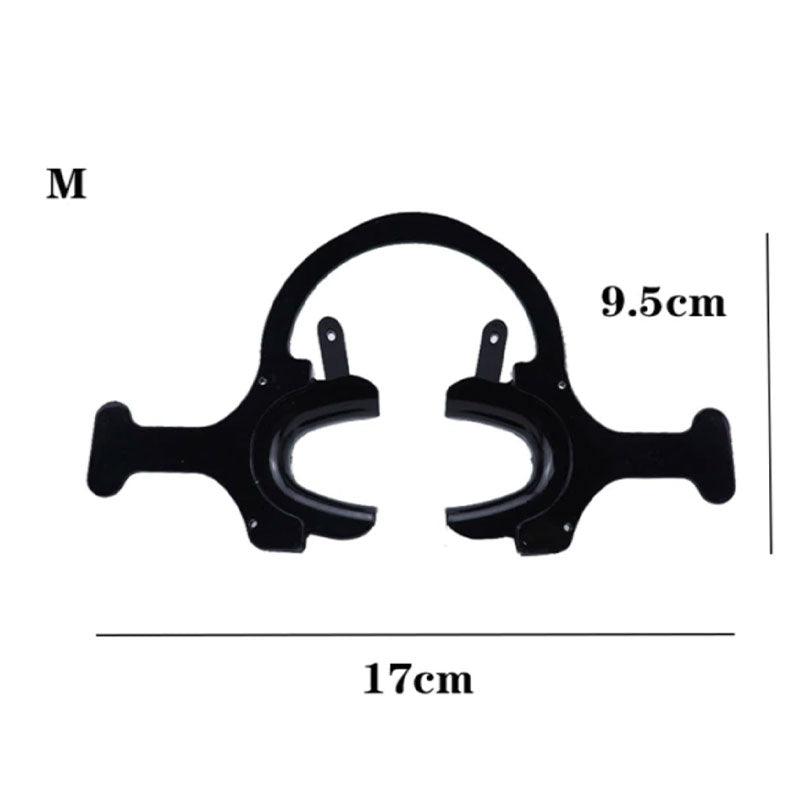
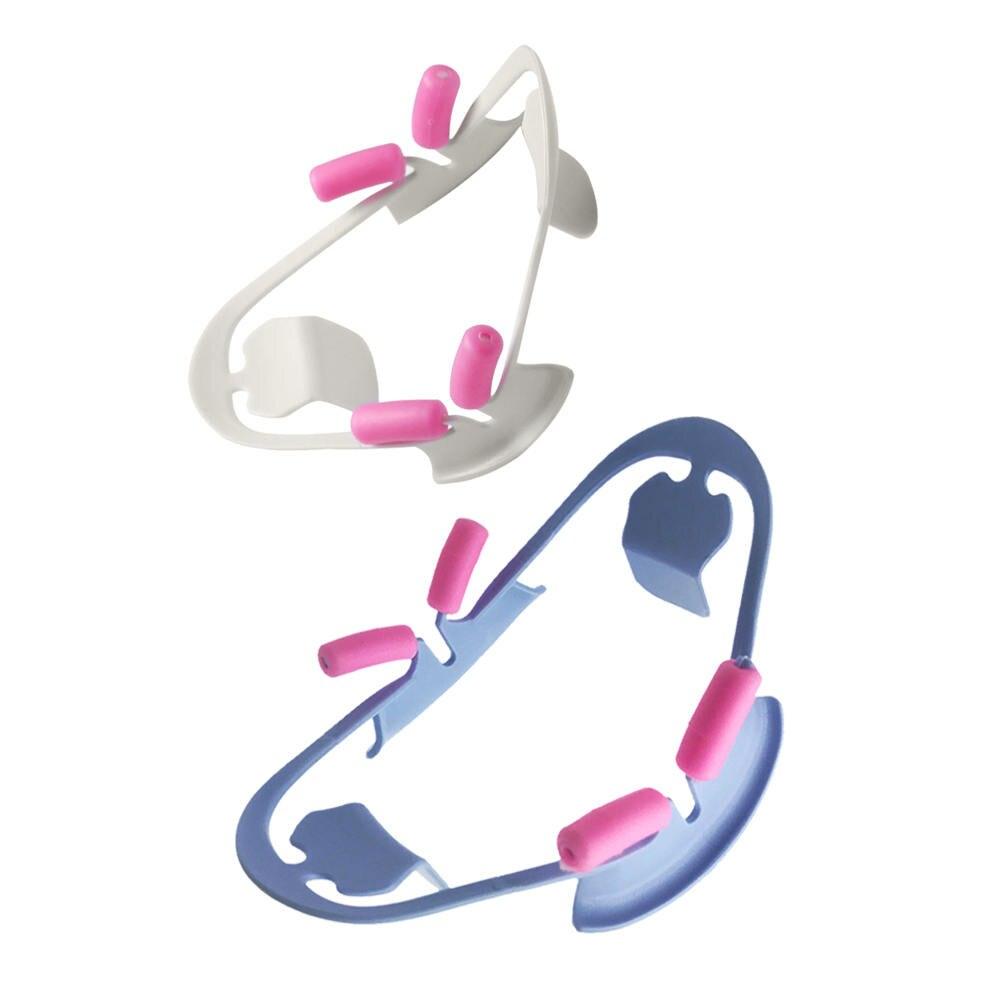
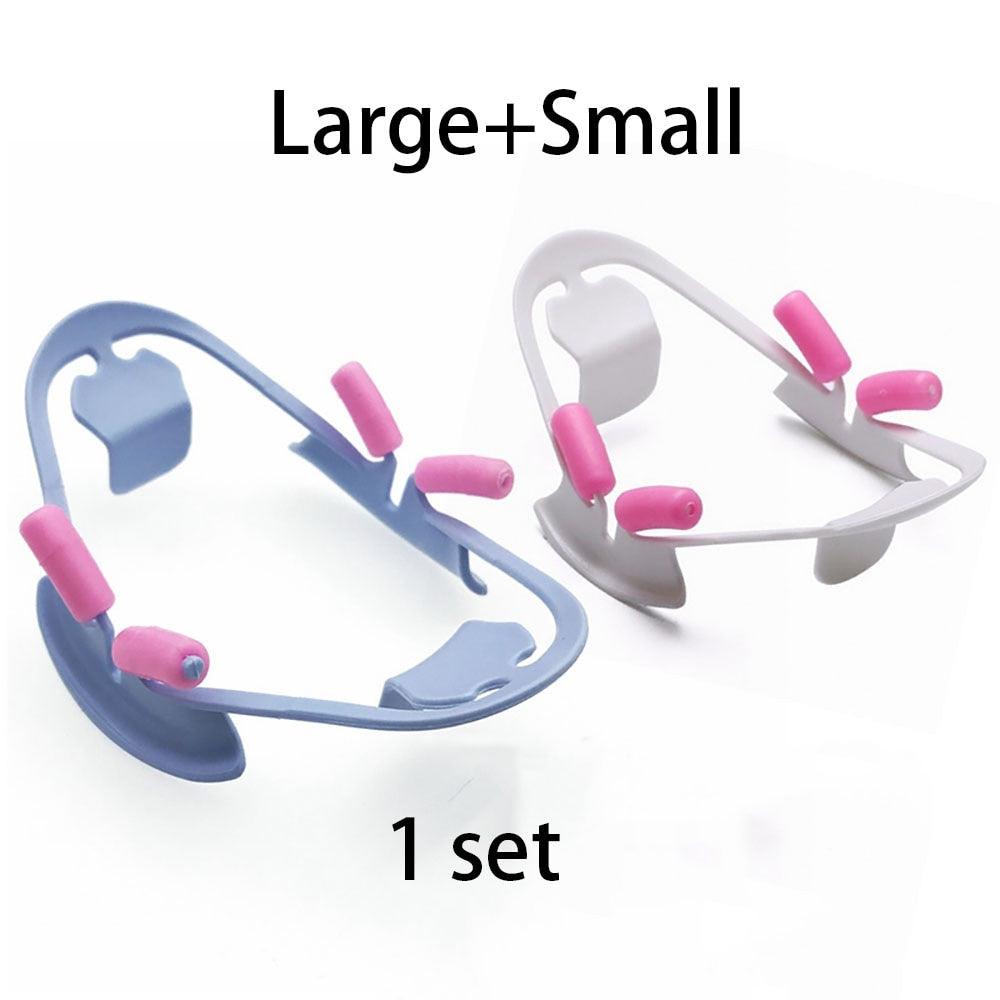
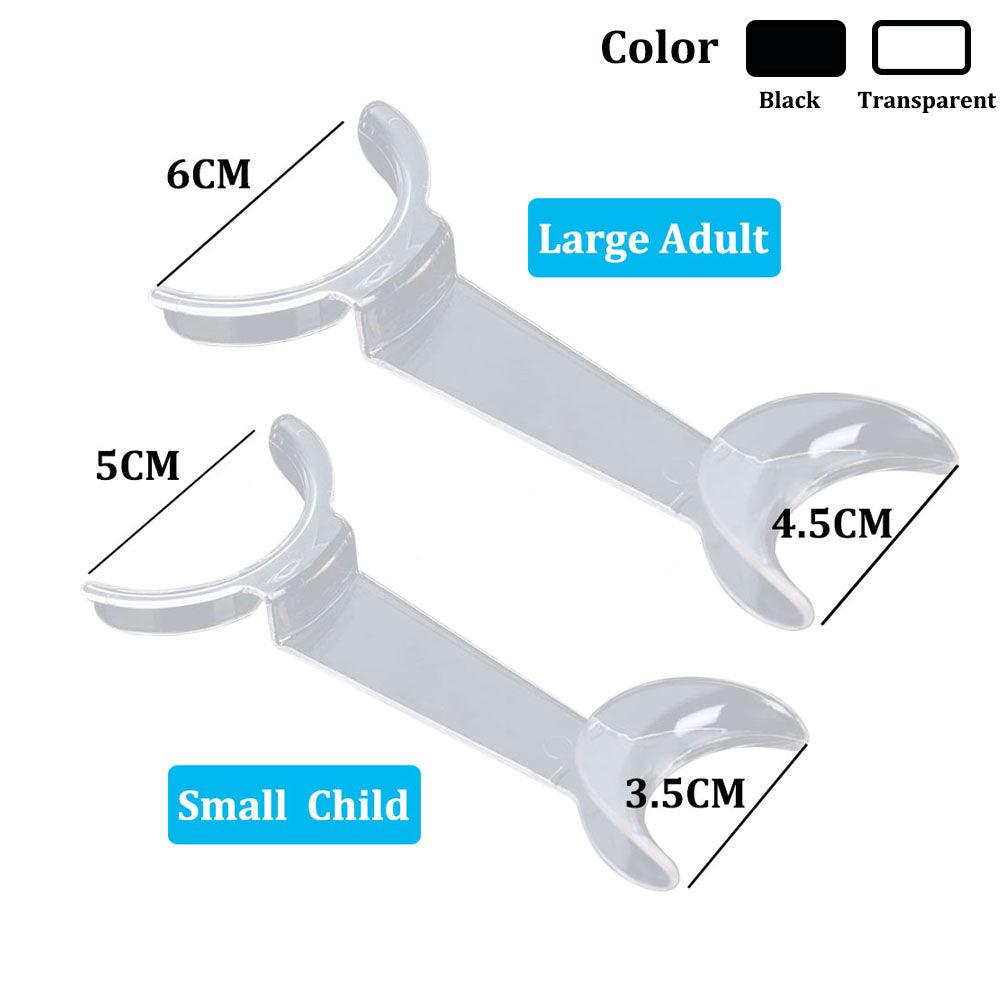
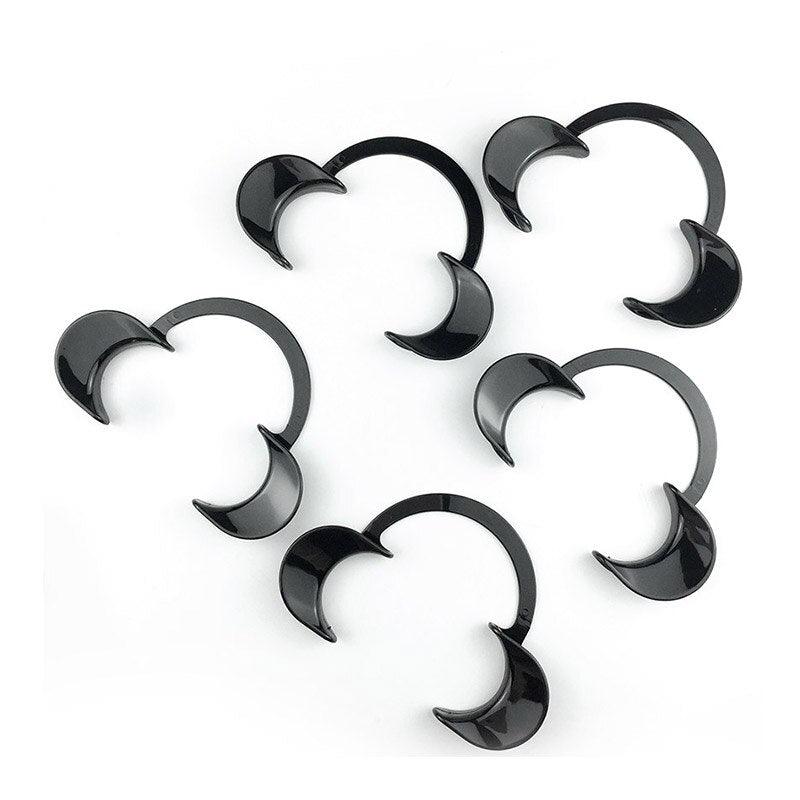
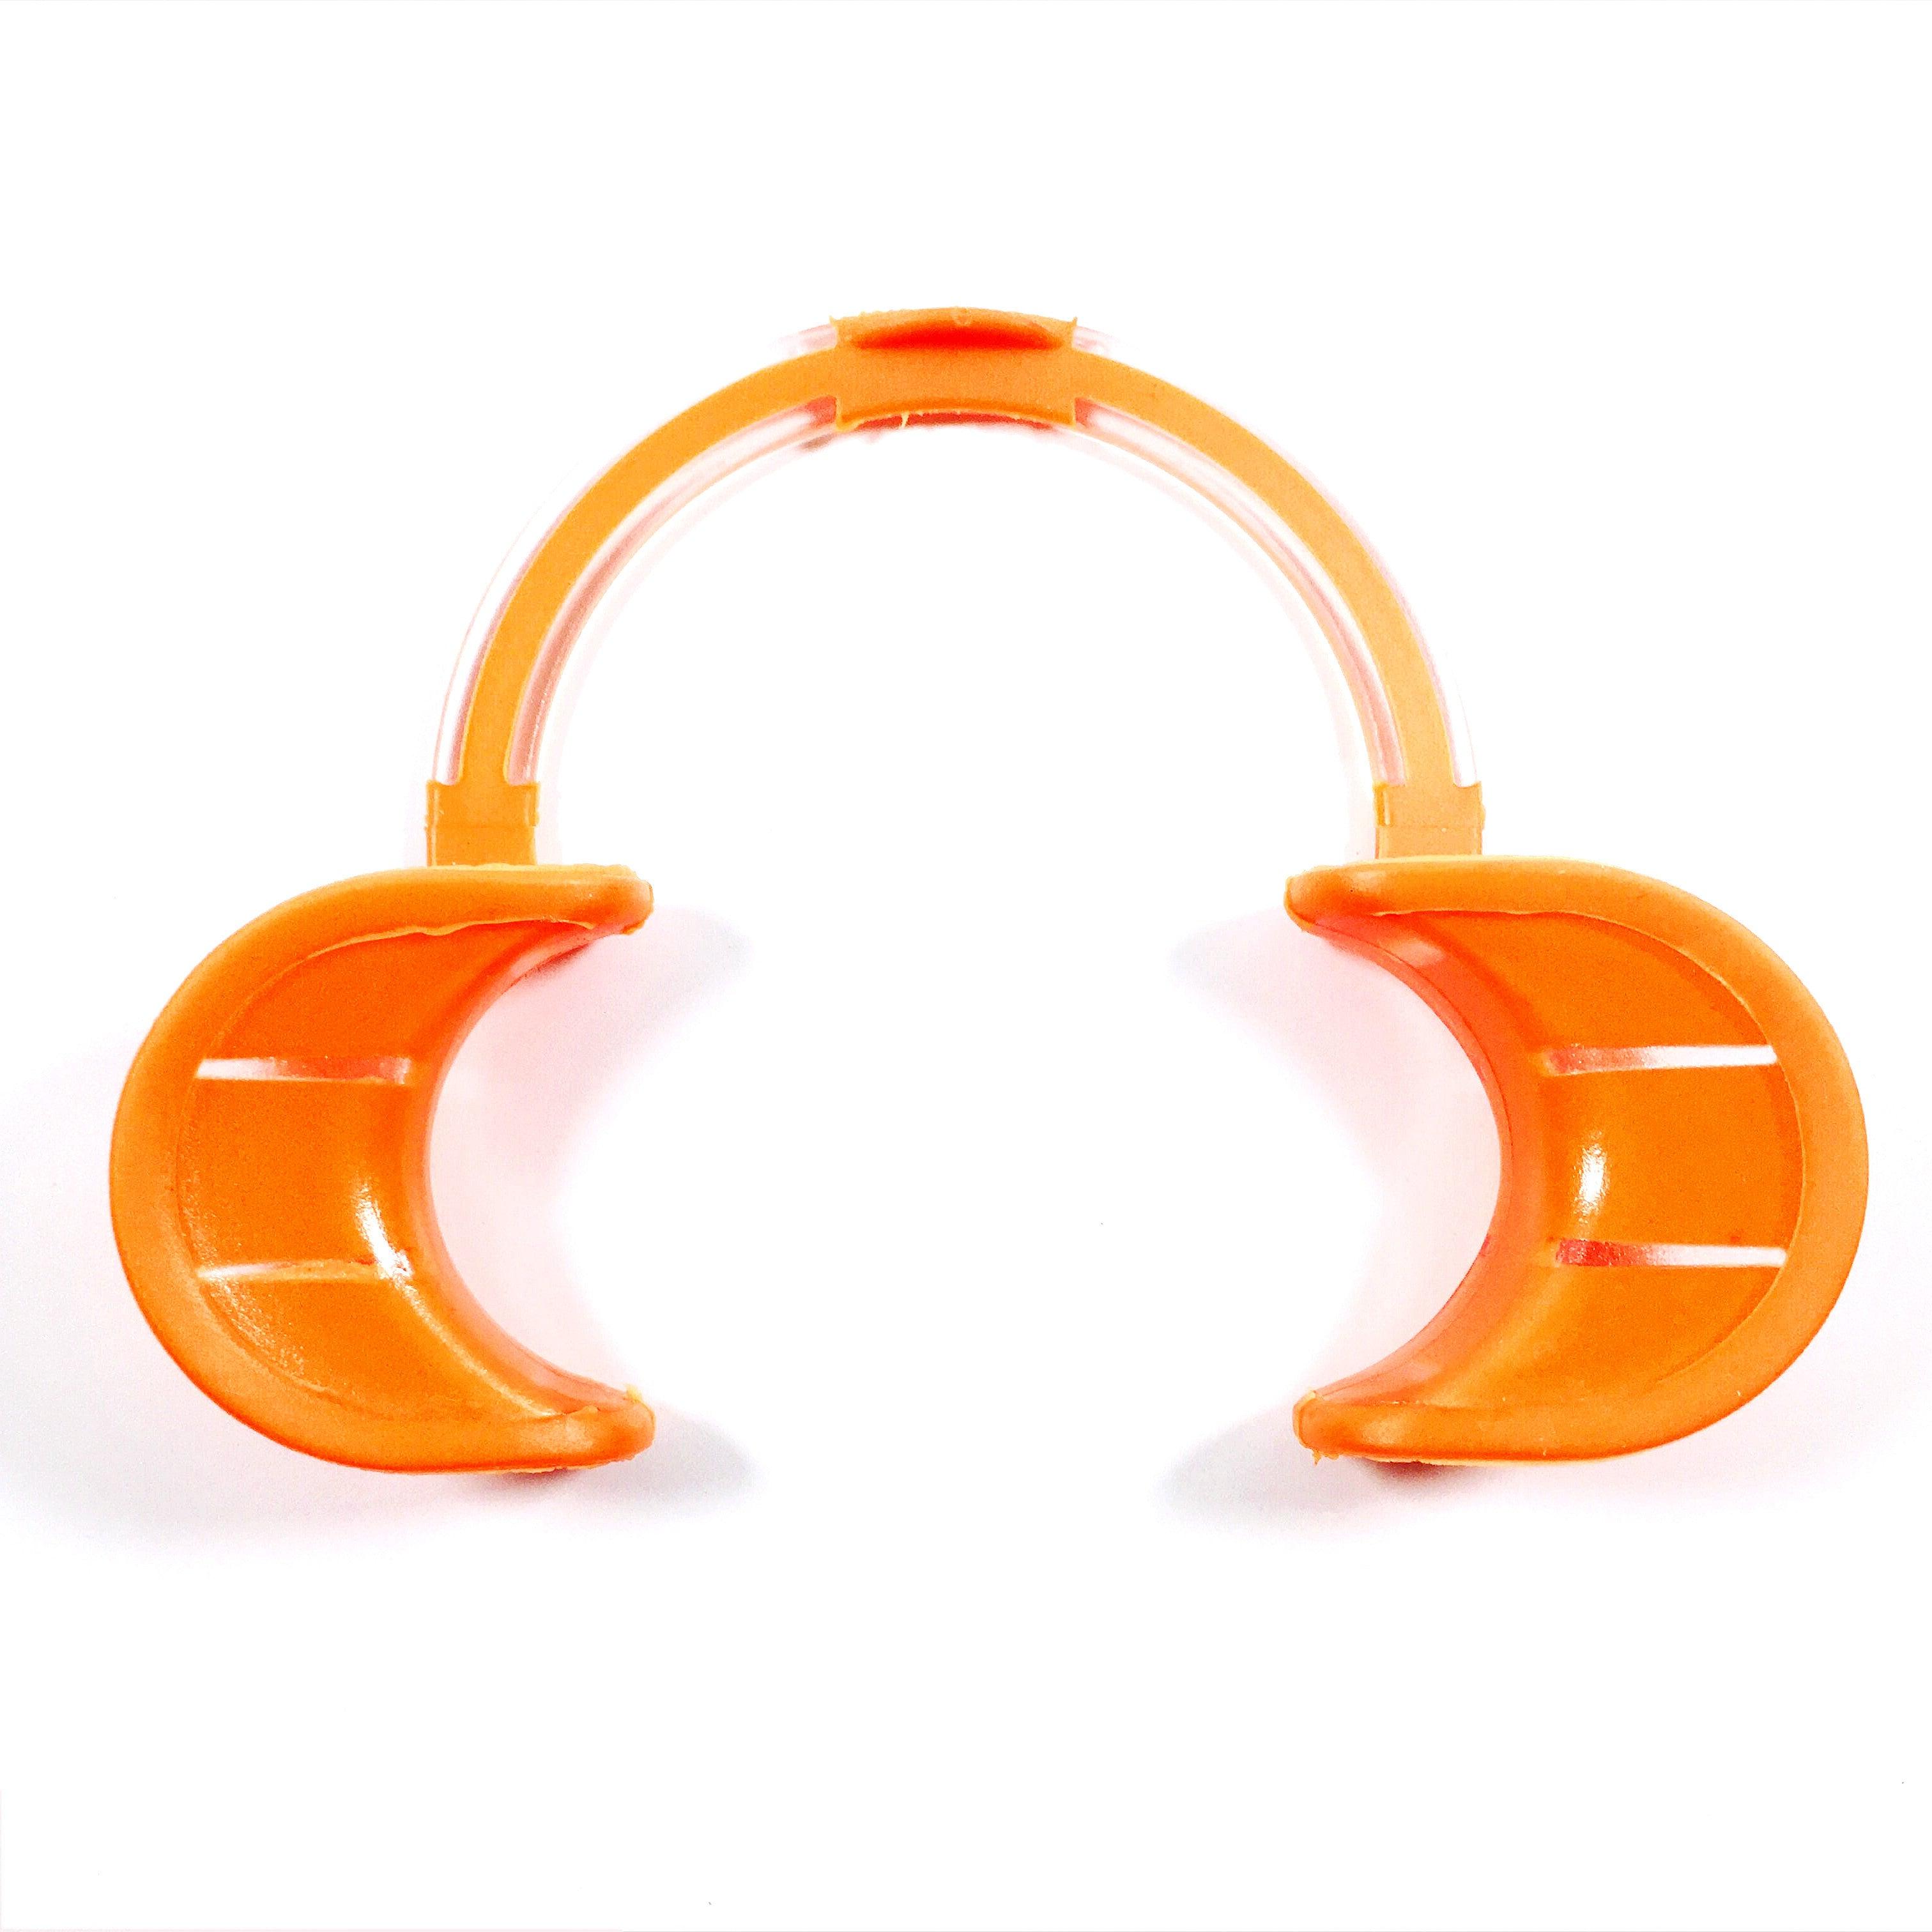
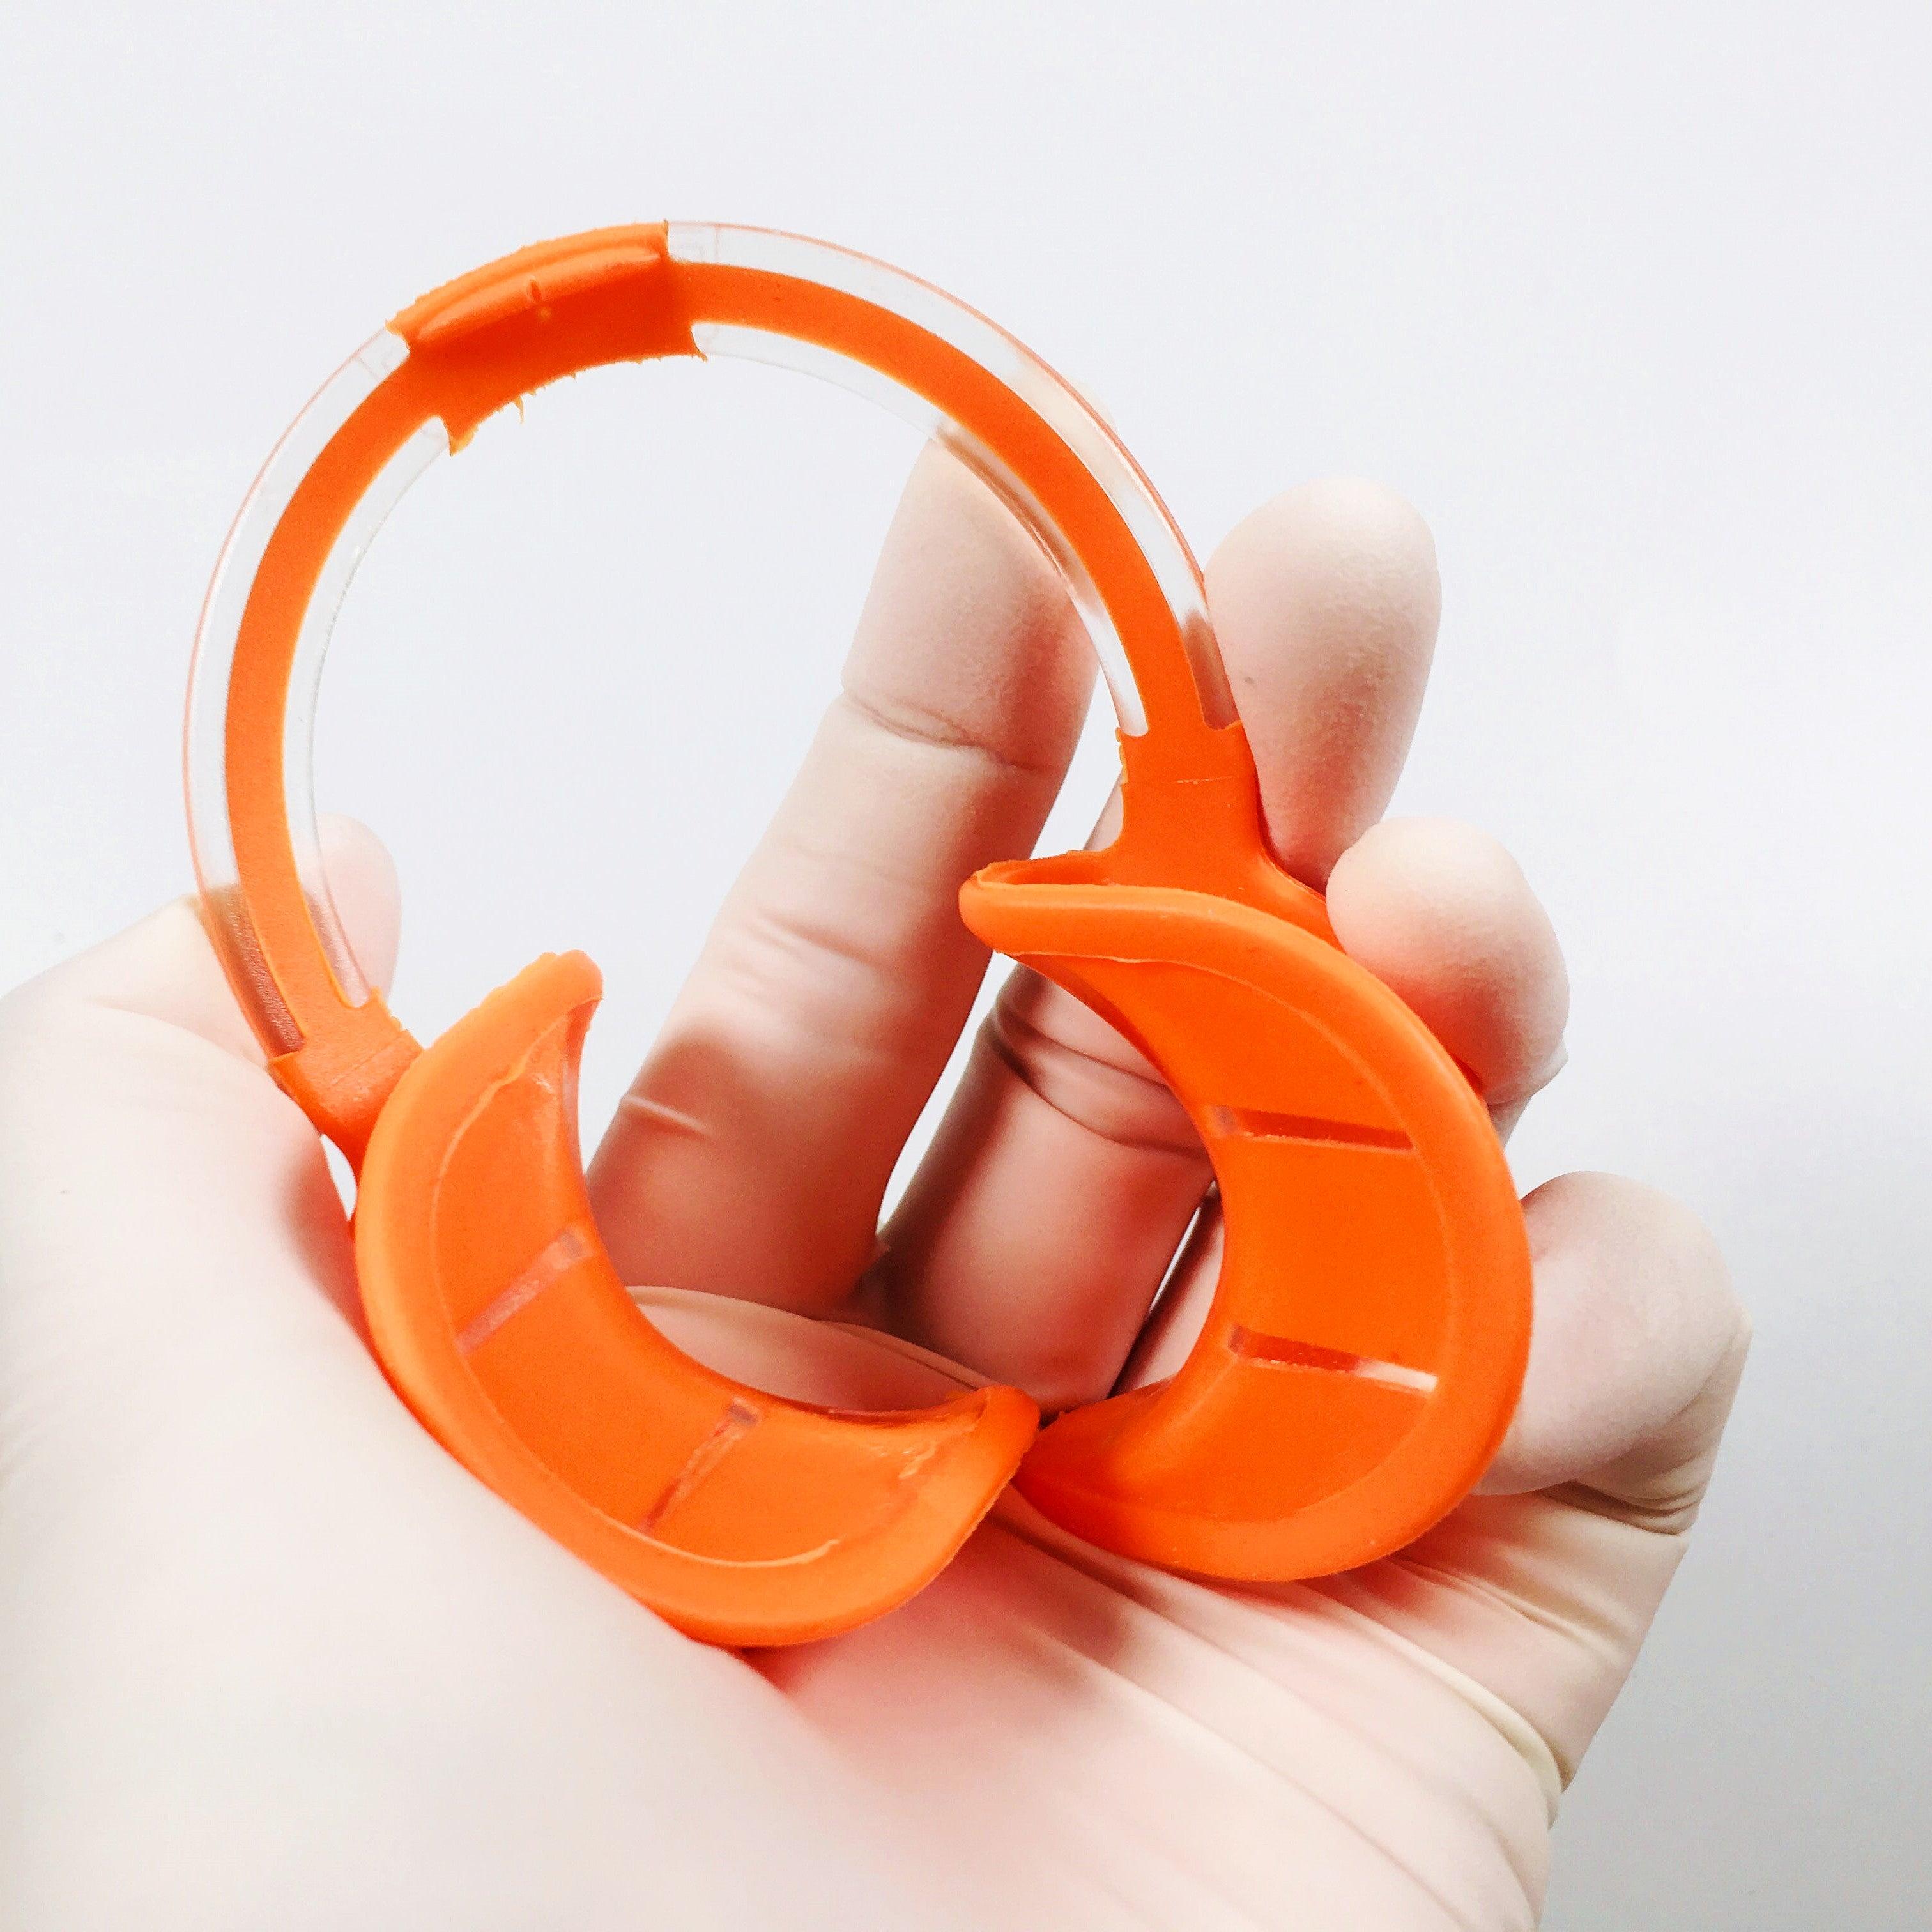
- Front teeth with retractors.
- Left and right buccal segments.
- Occlusal surfaces of the upper and lower arches.
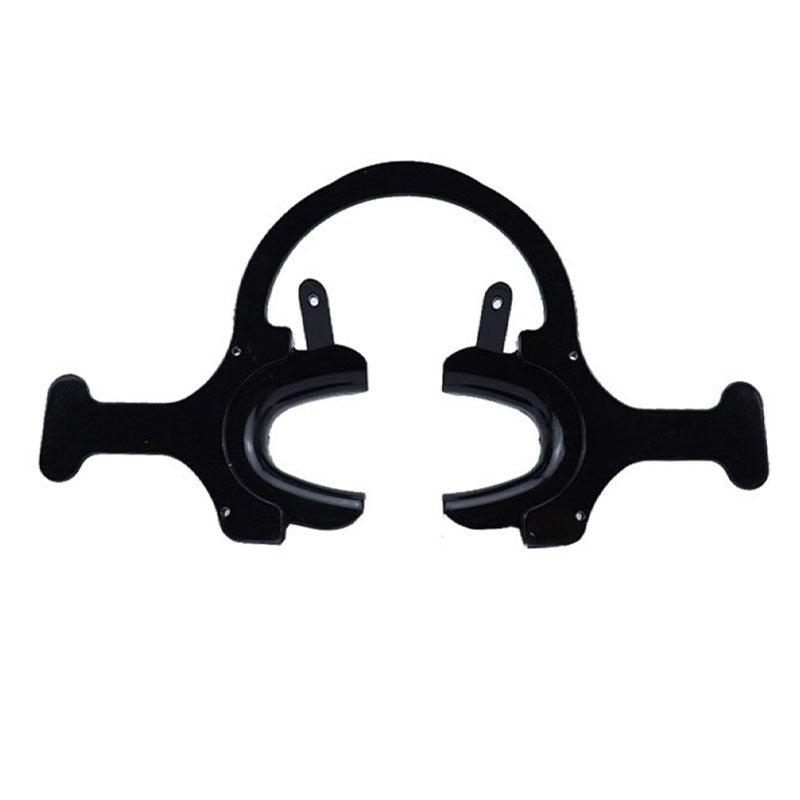
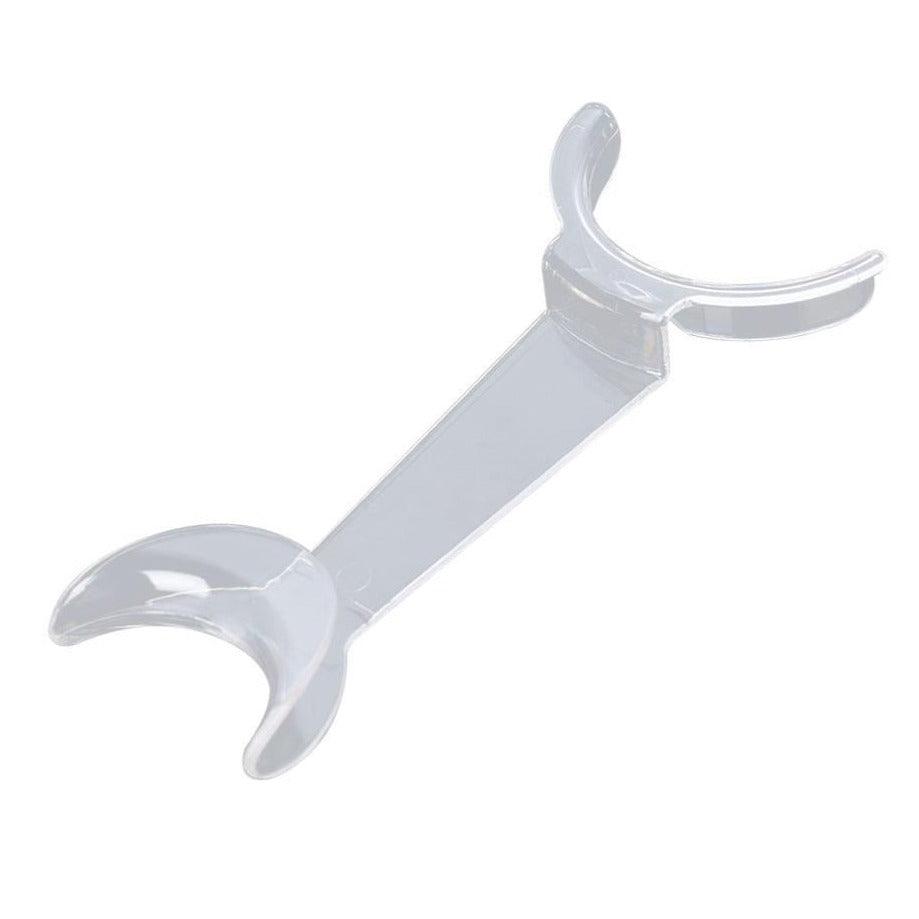
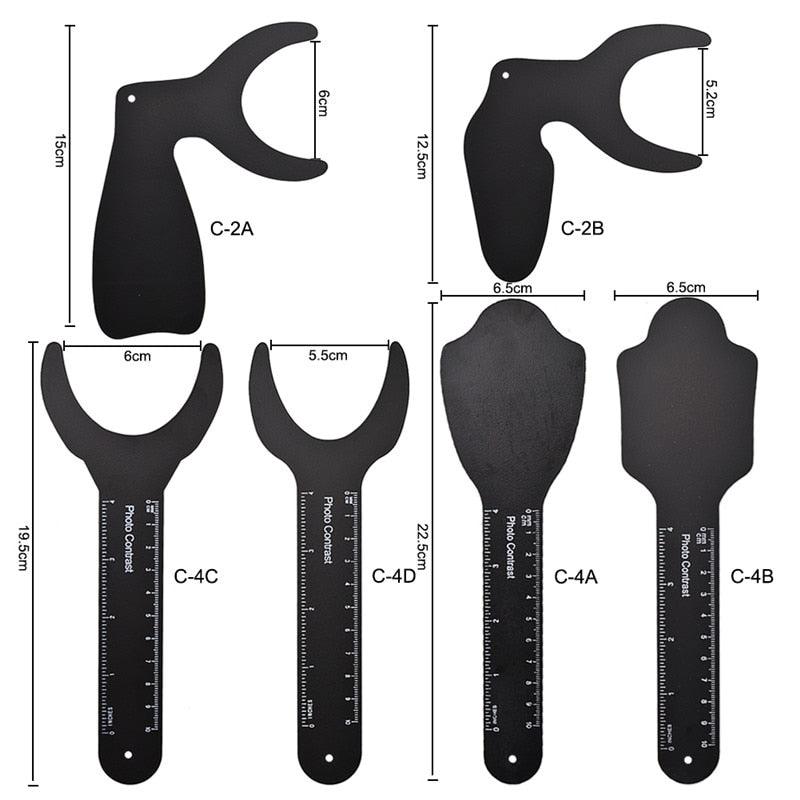
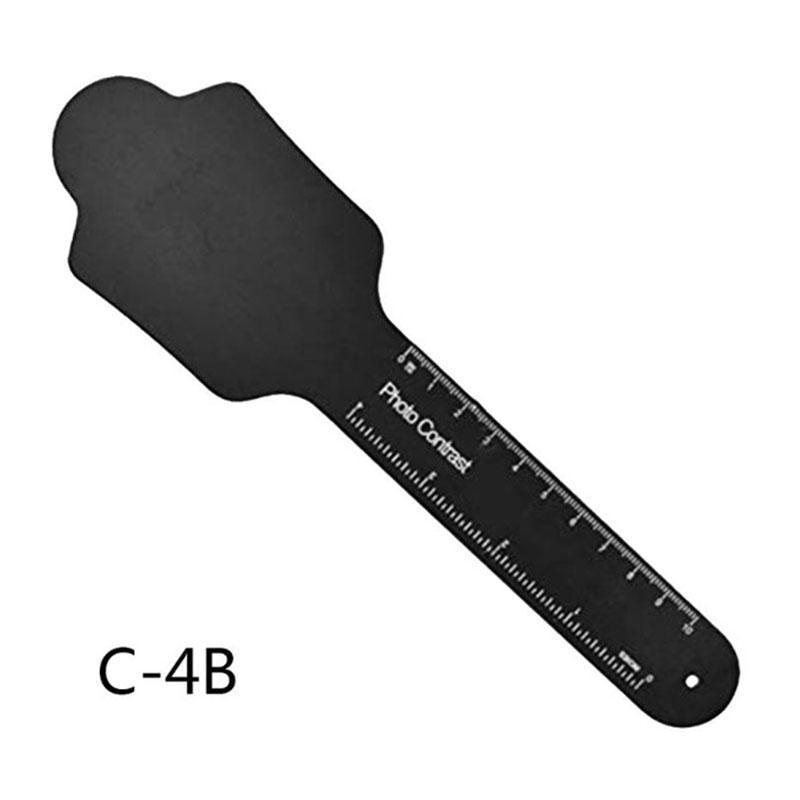
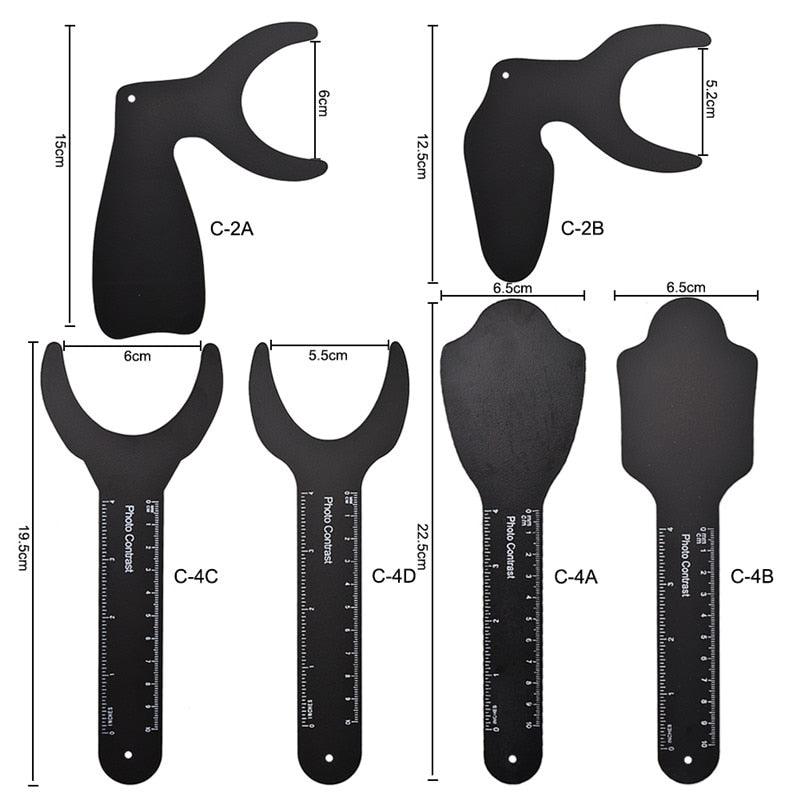
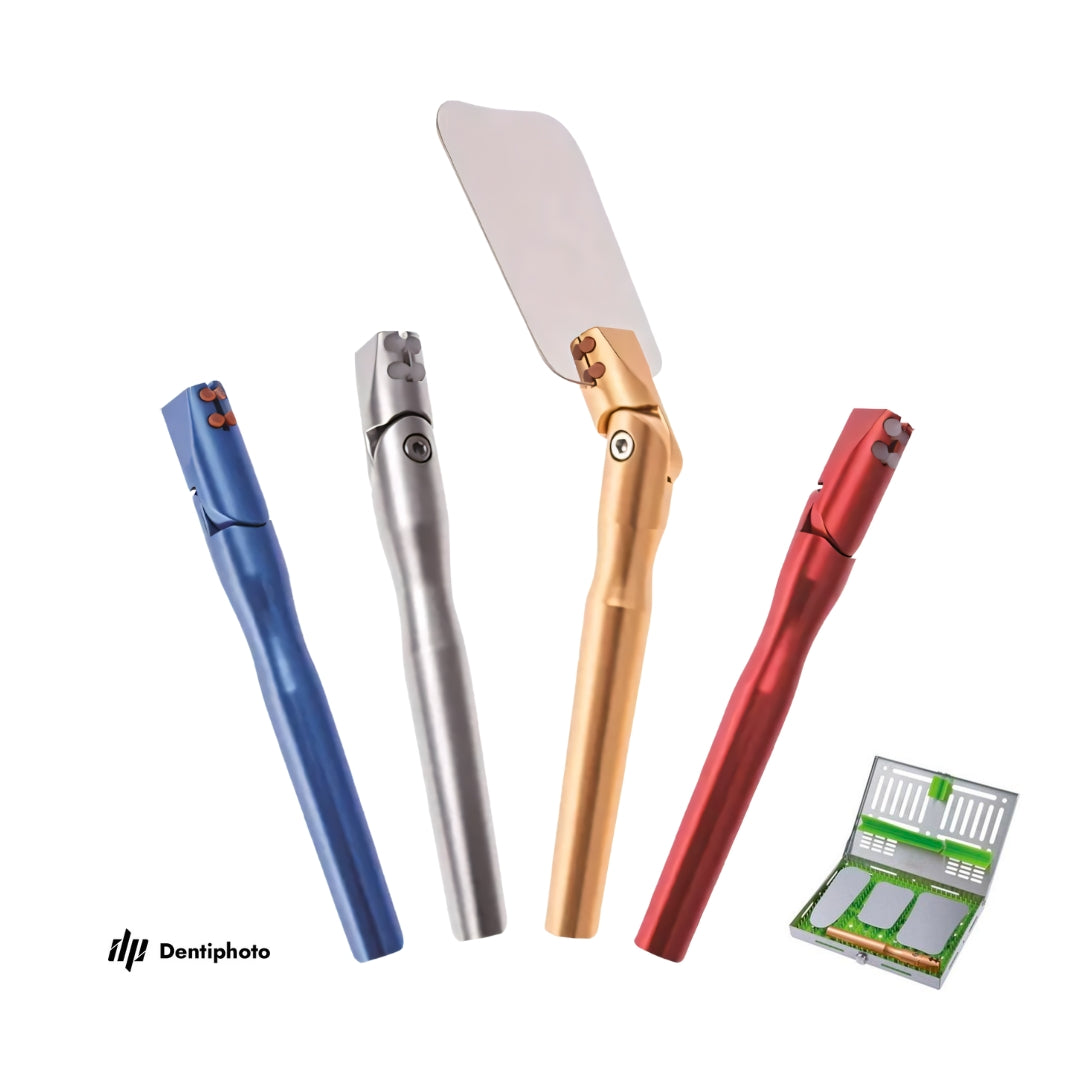
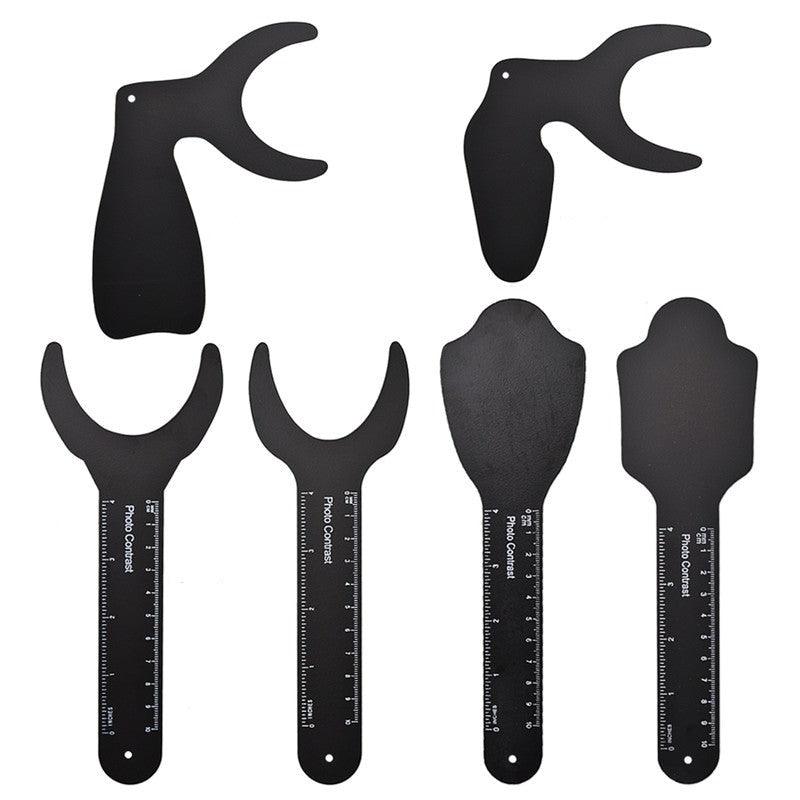
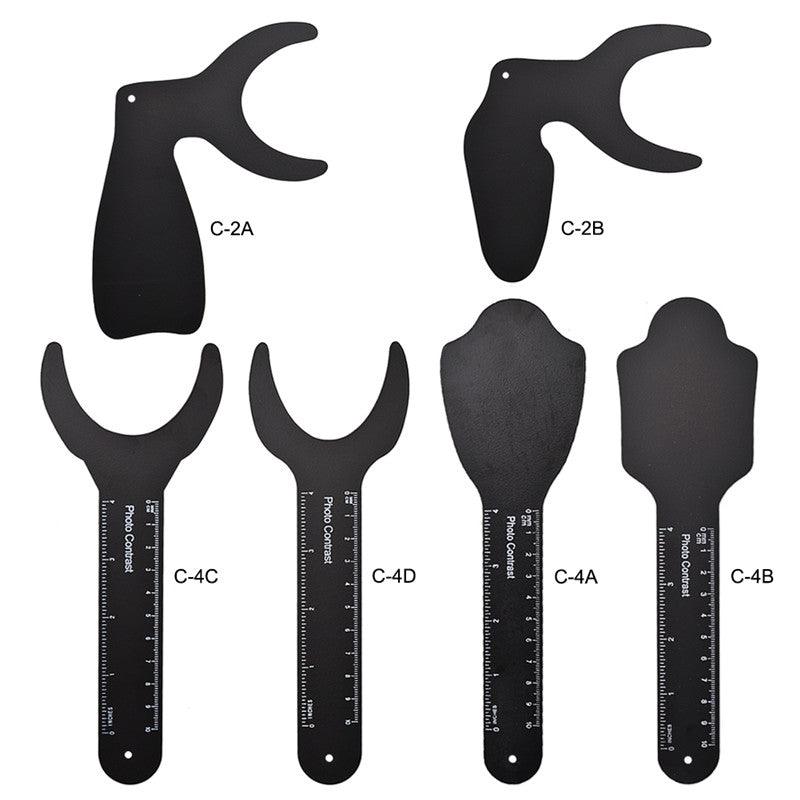
- Upper and lower incisors using a contraster.
Tips for Intraoral Photography
Shooting intraoral images can be challenging, especially for beginners. Follow these tips to improve your technique and results:
Manual Settings: Switch both the camera and lens to manual settings, avoiding autofocus for more precise control.
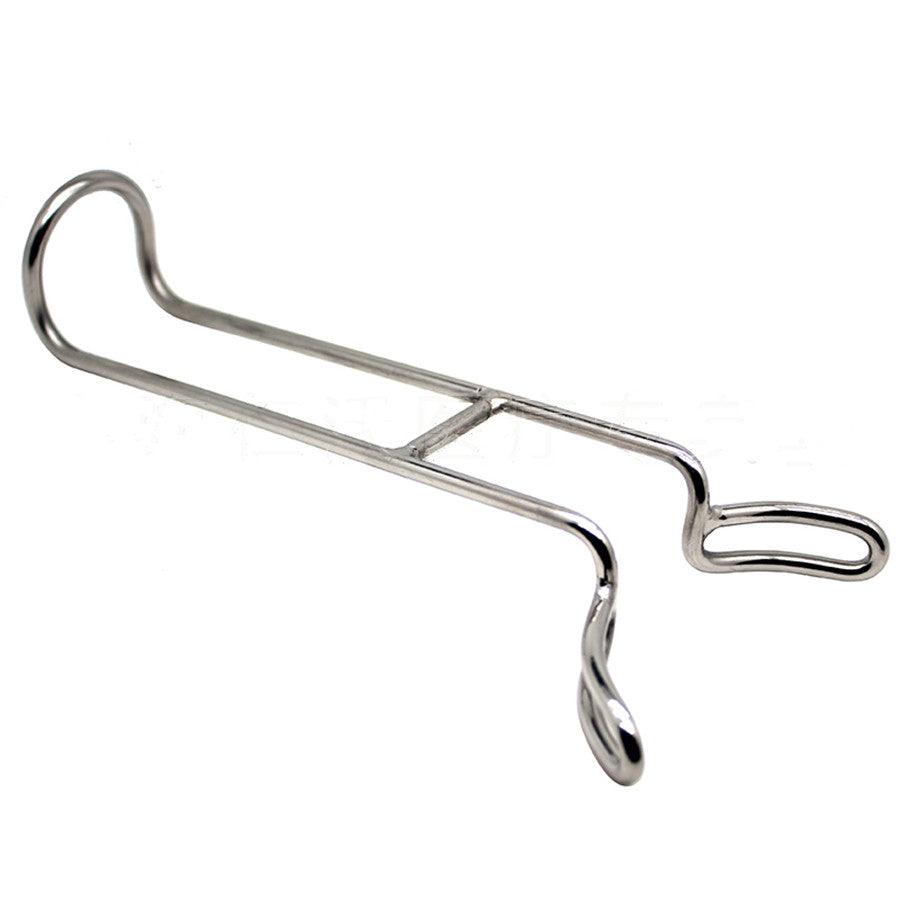
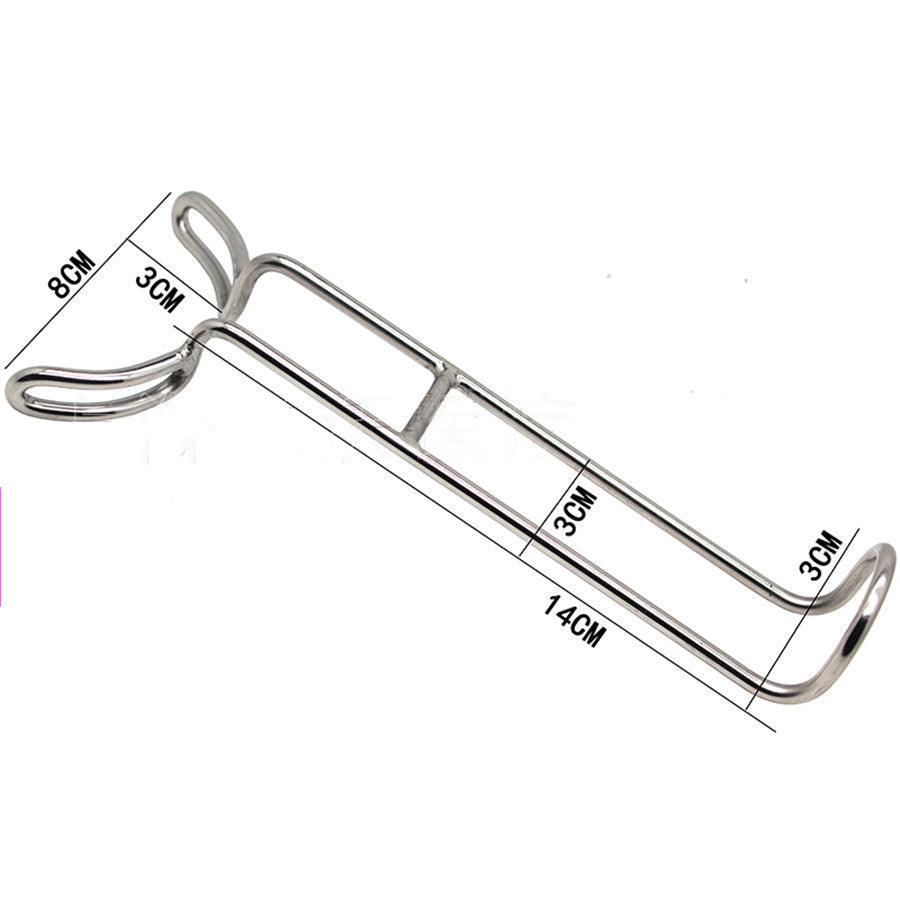
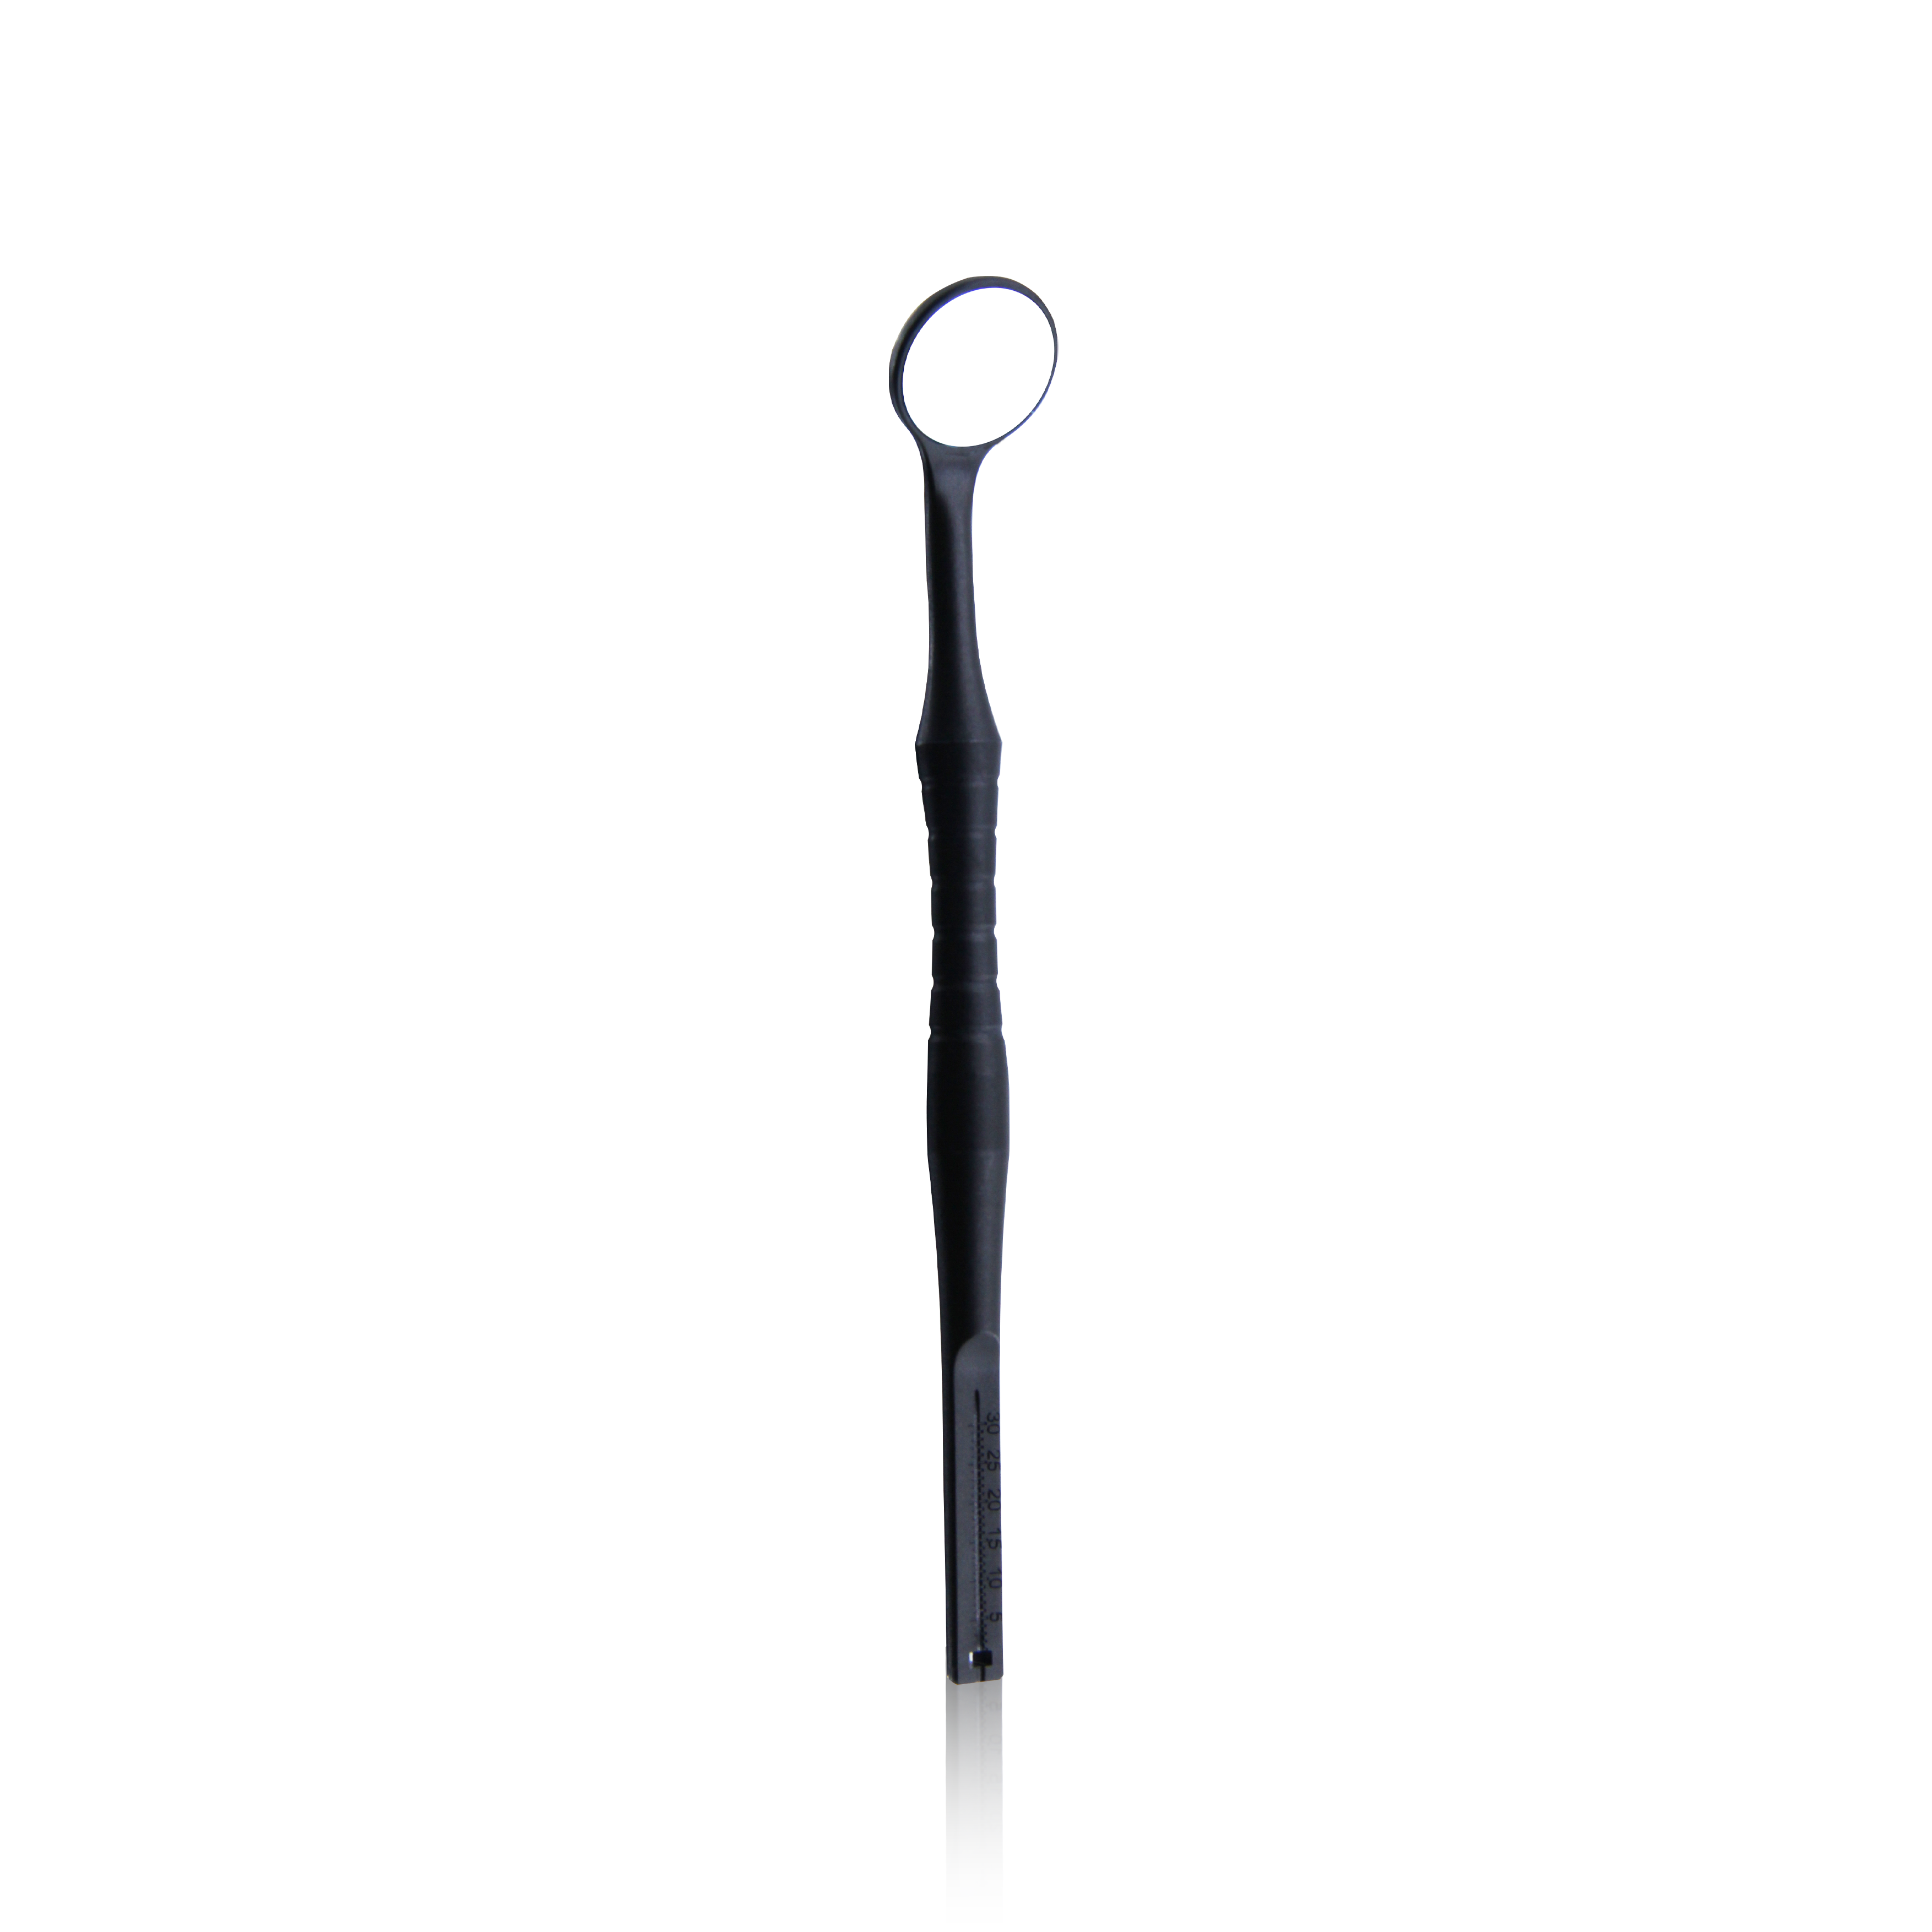
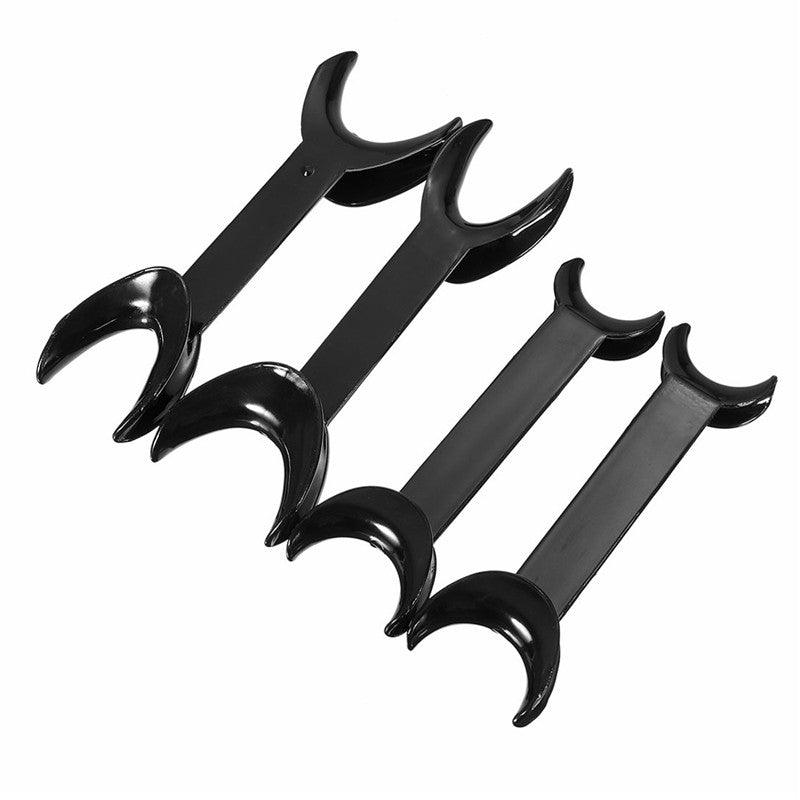
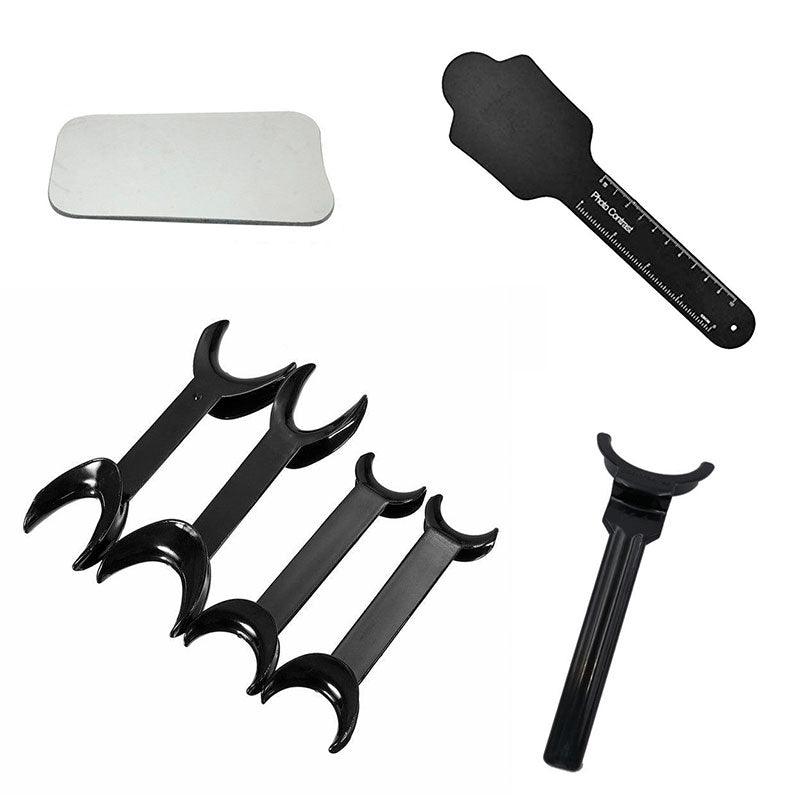
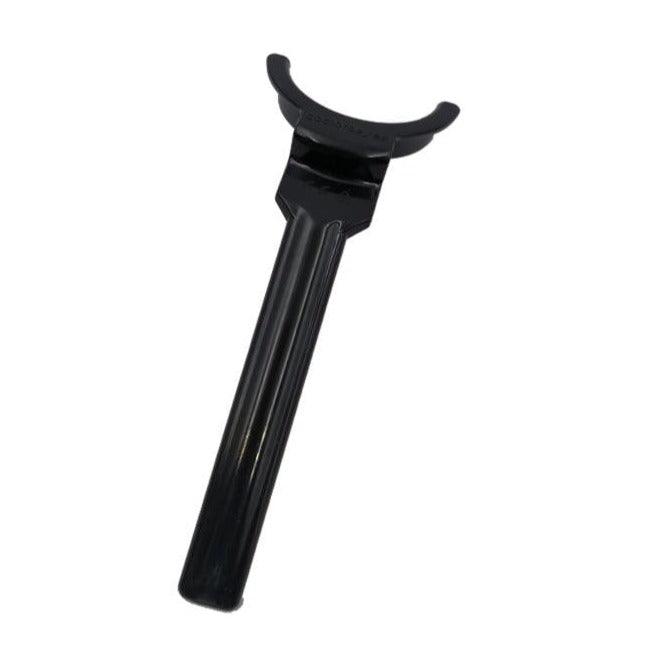
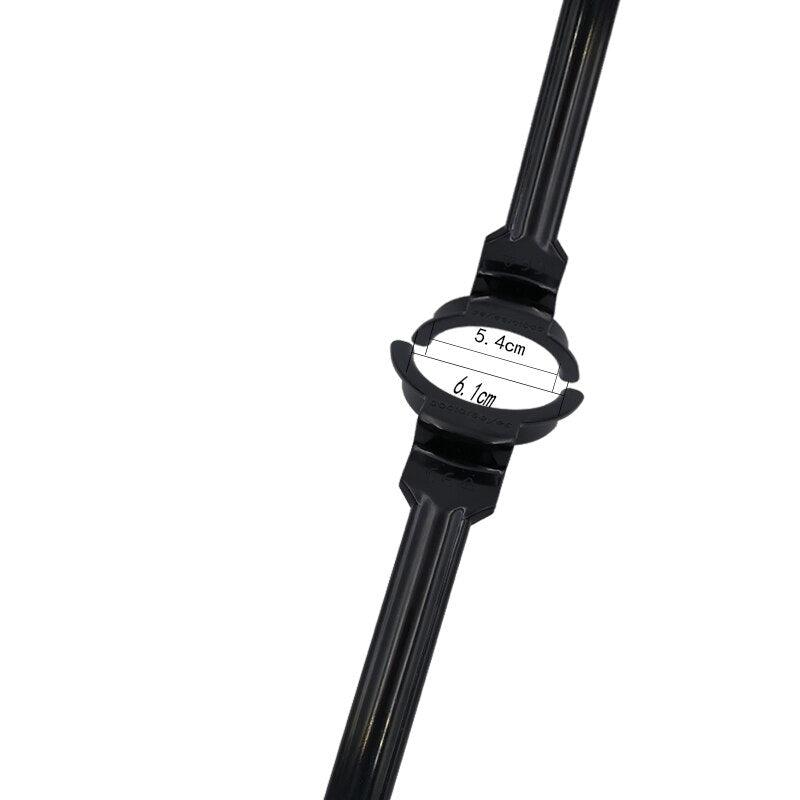
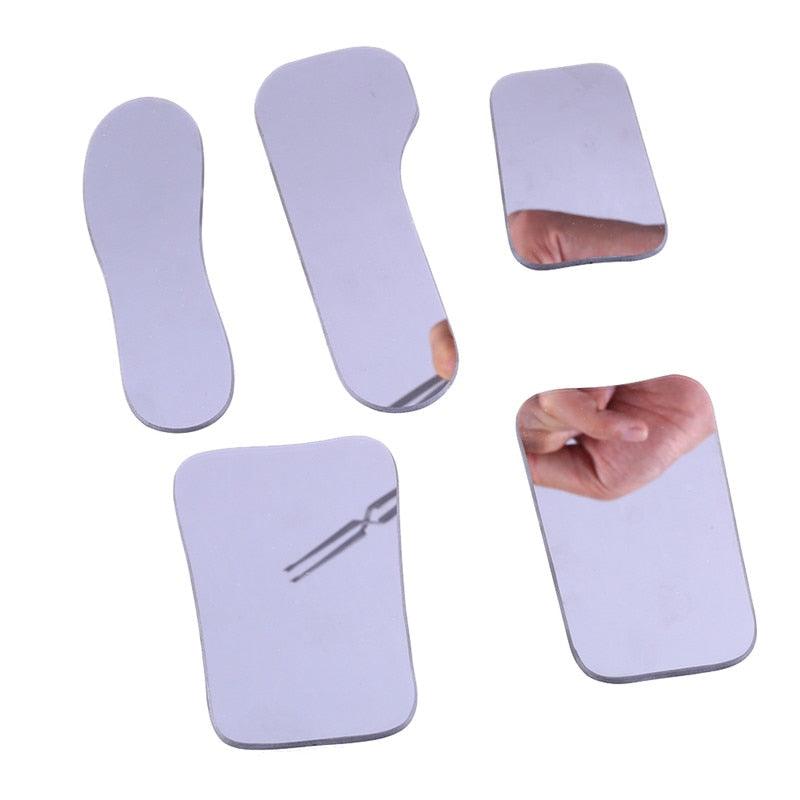
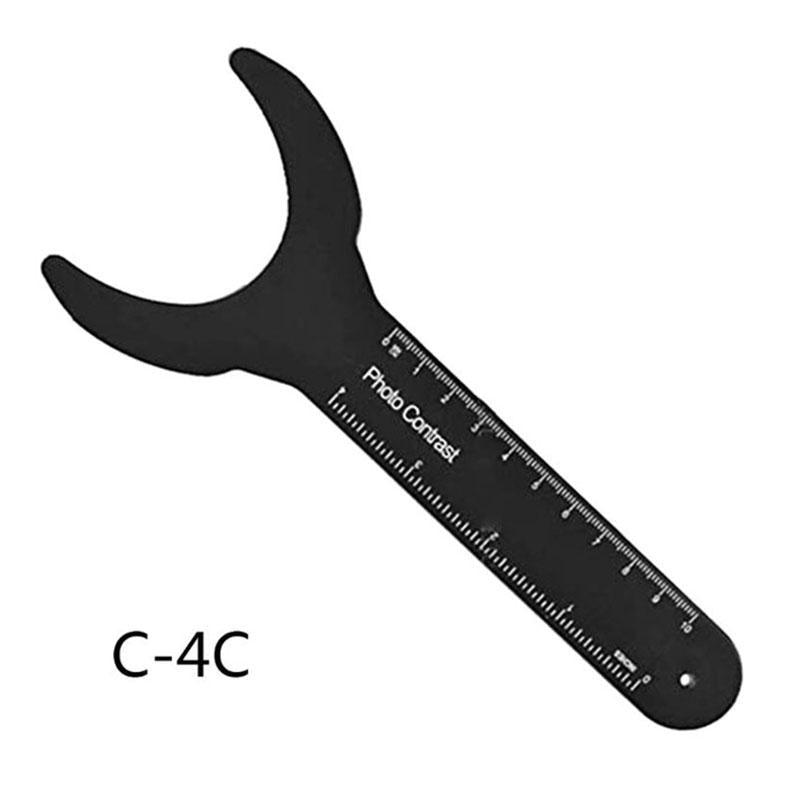
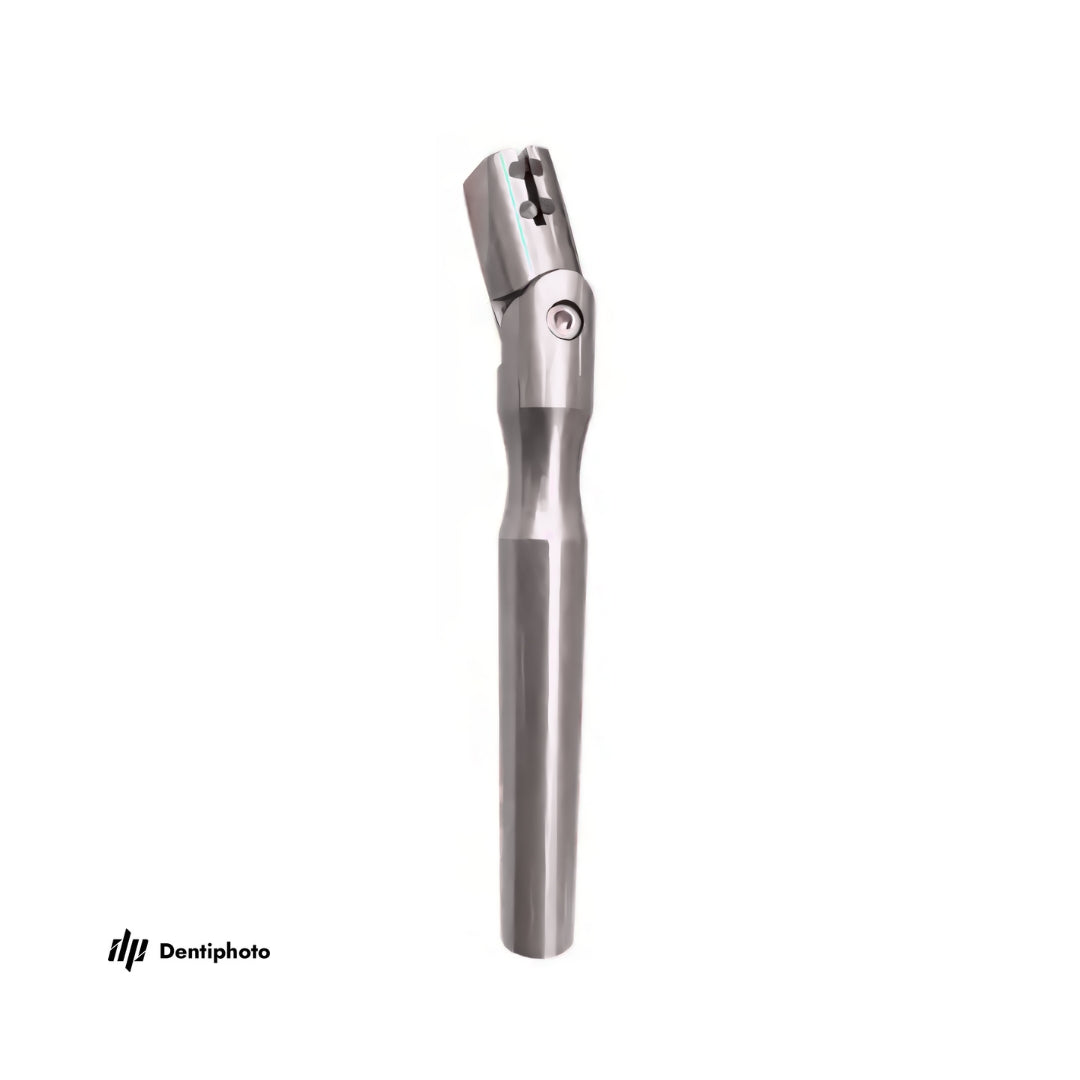
Proper Contraster Placement: Position the contraster near the first or second molars, ensuring it's far enough from the photographed teeth to avoid light spots caused by reflections.
Mirror Positioning:
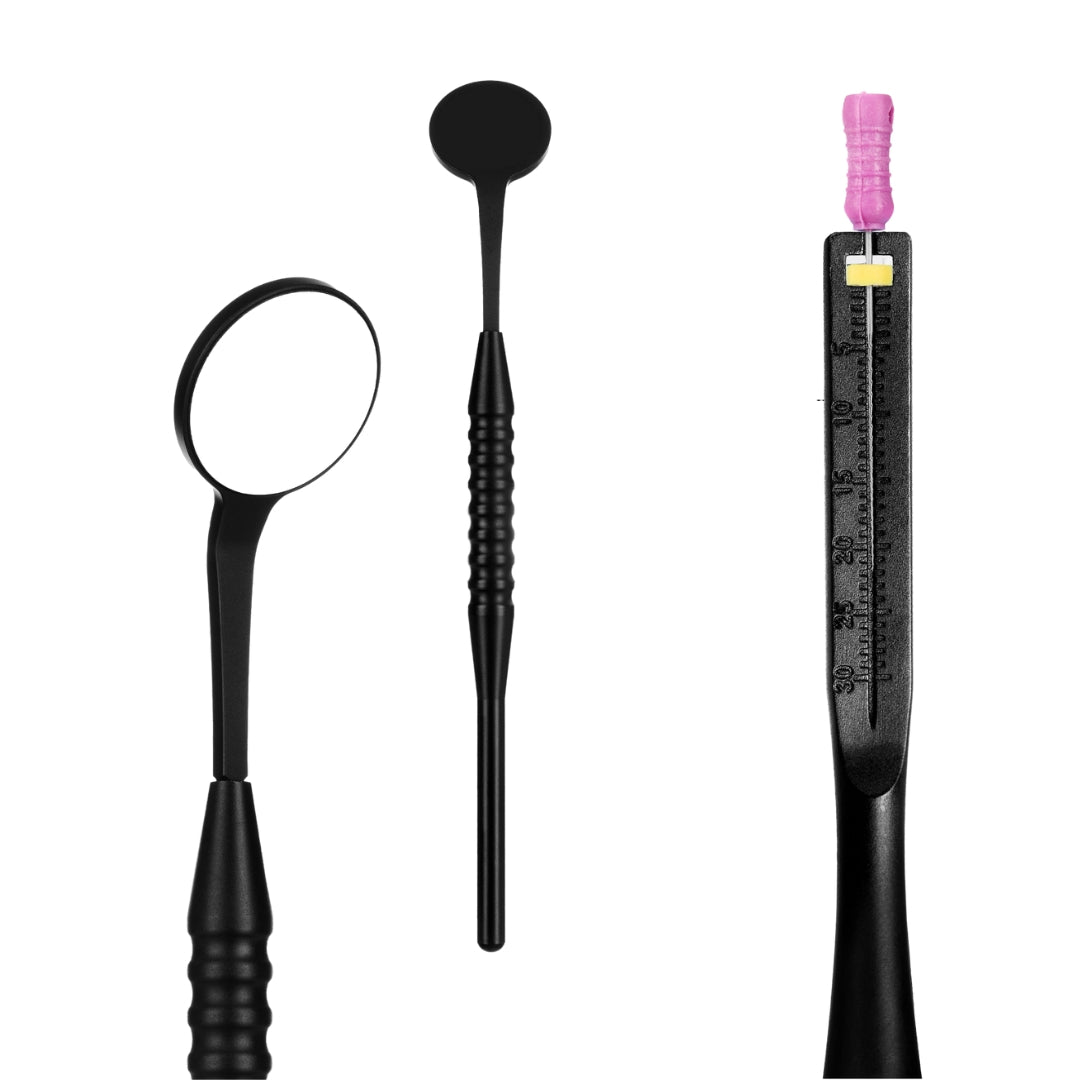
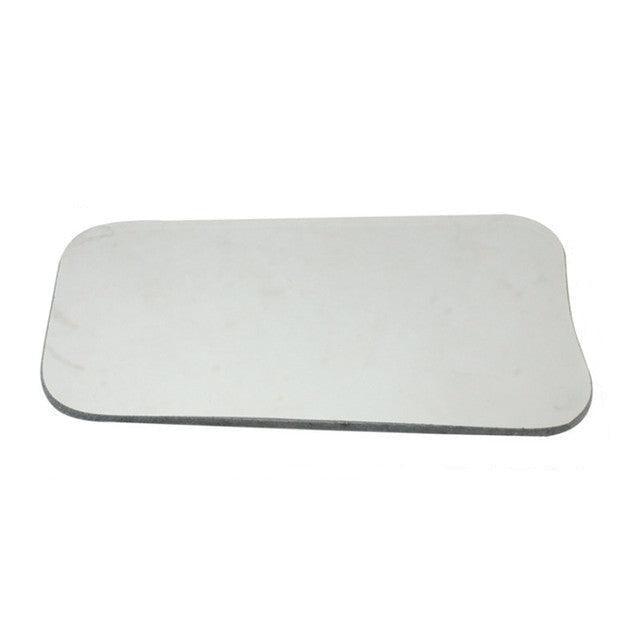
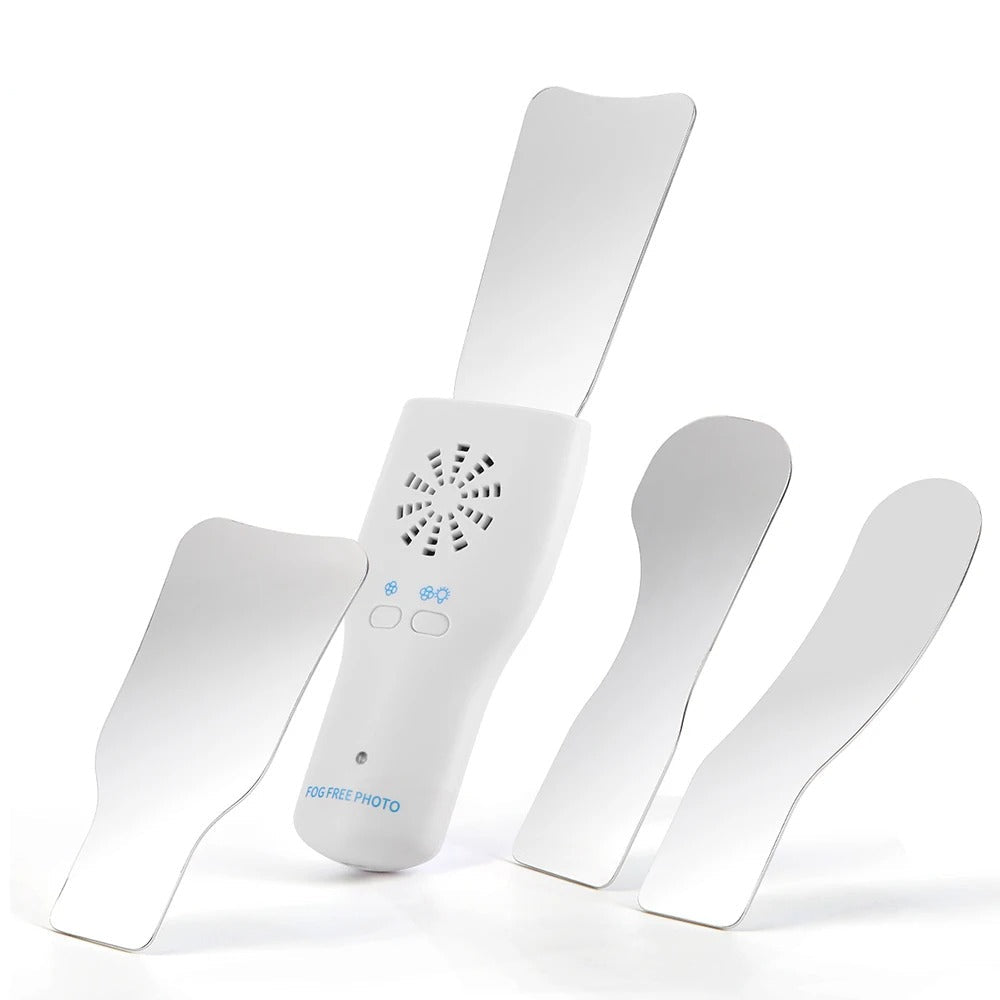
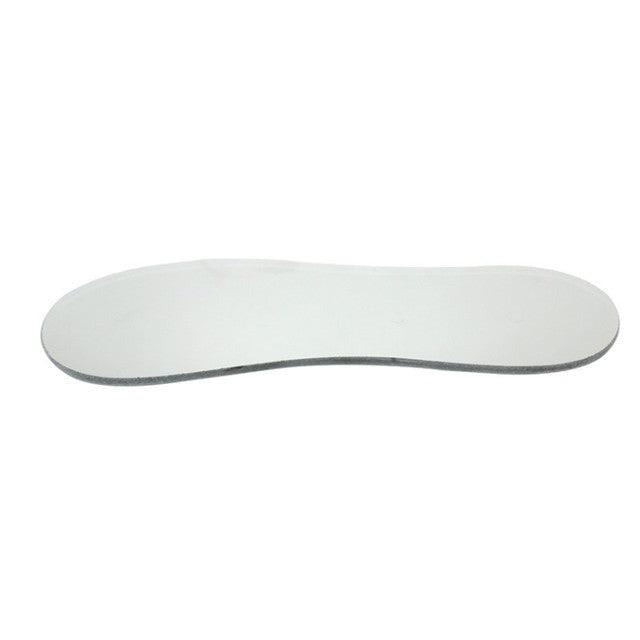
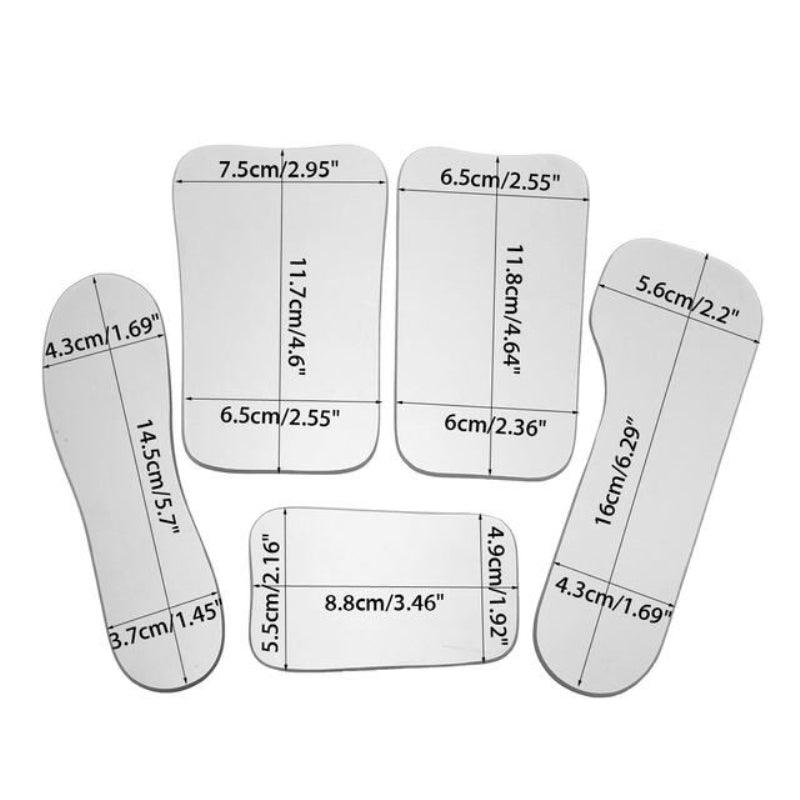
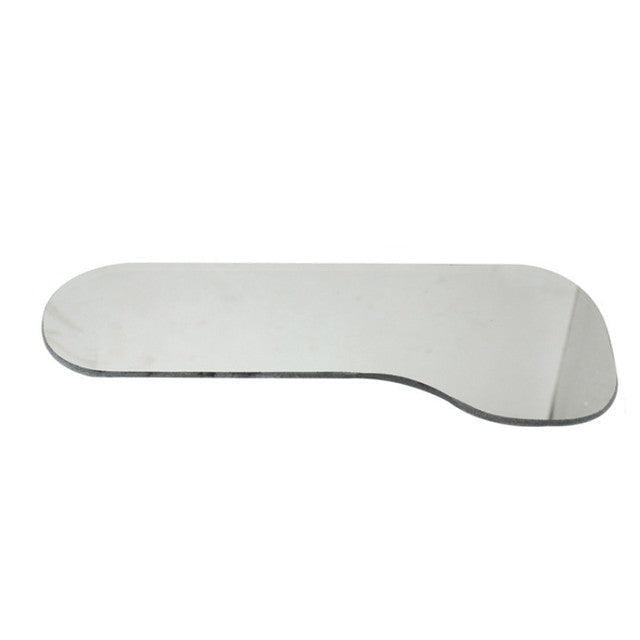
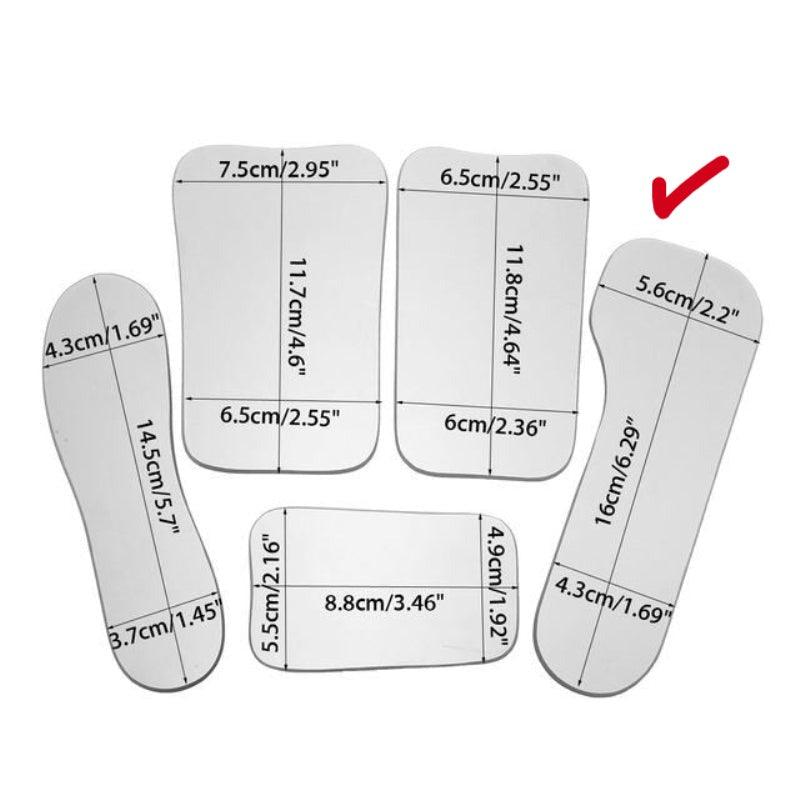
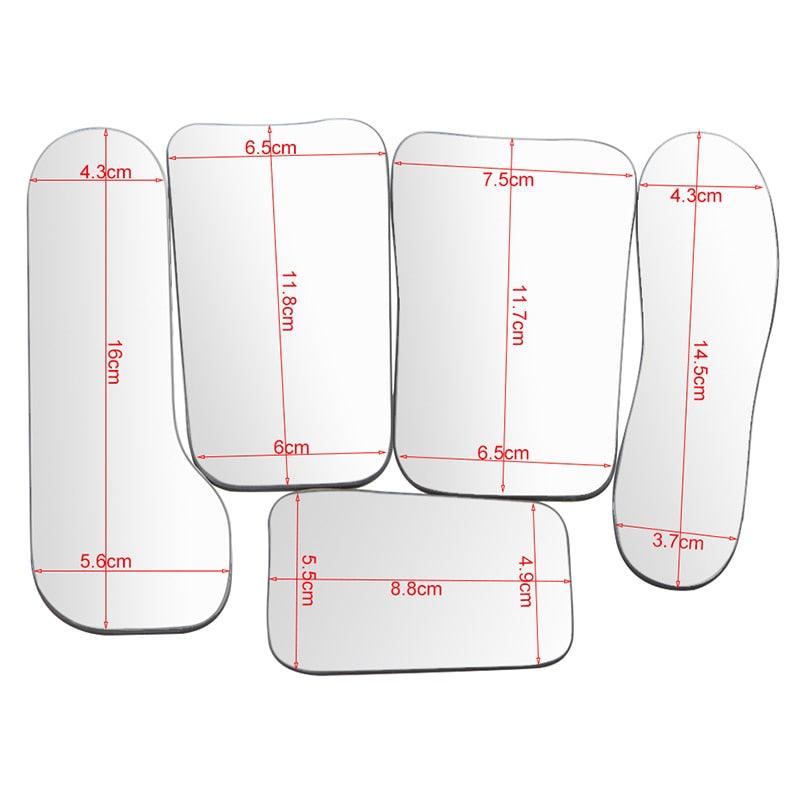
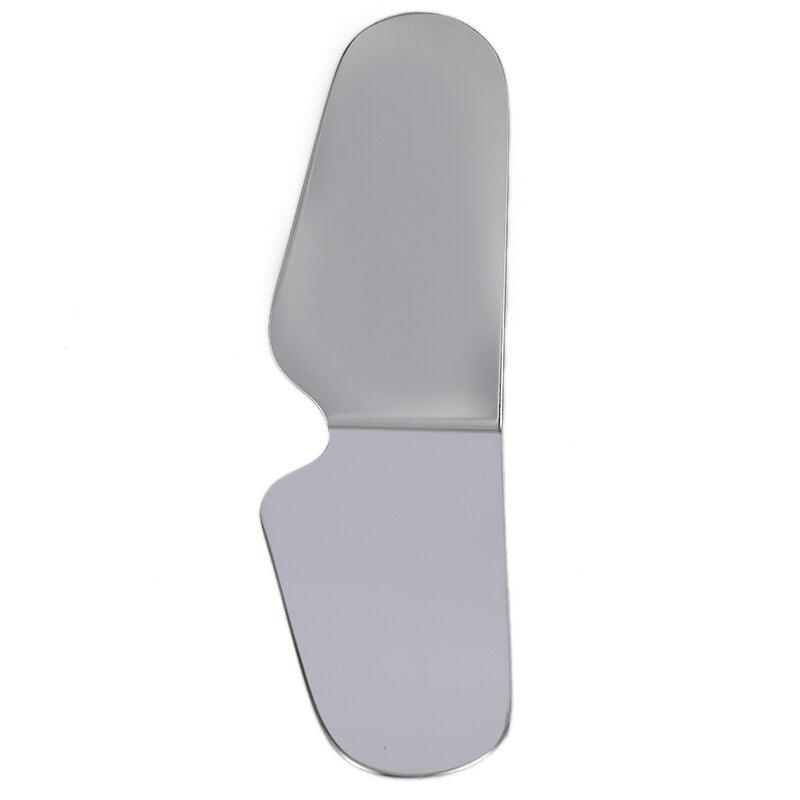
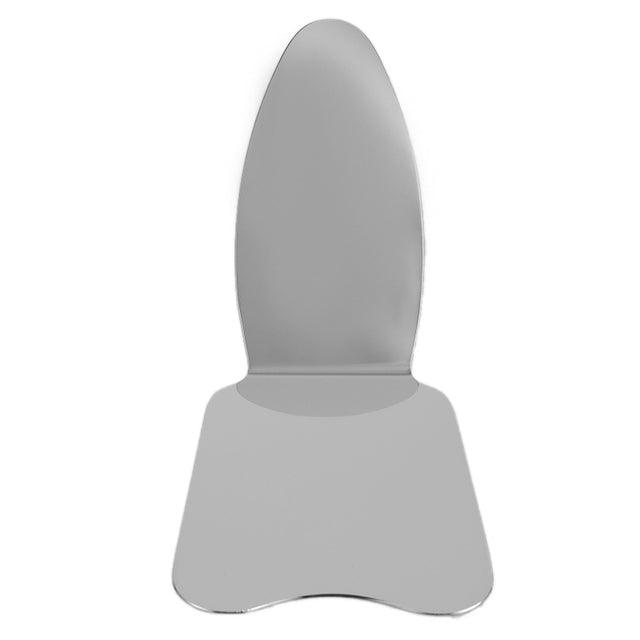
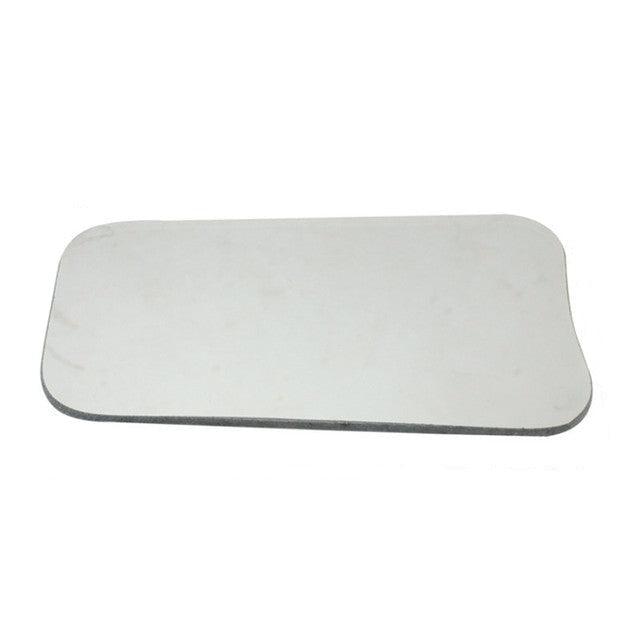
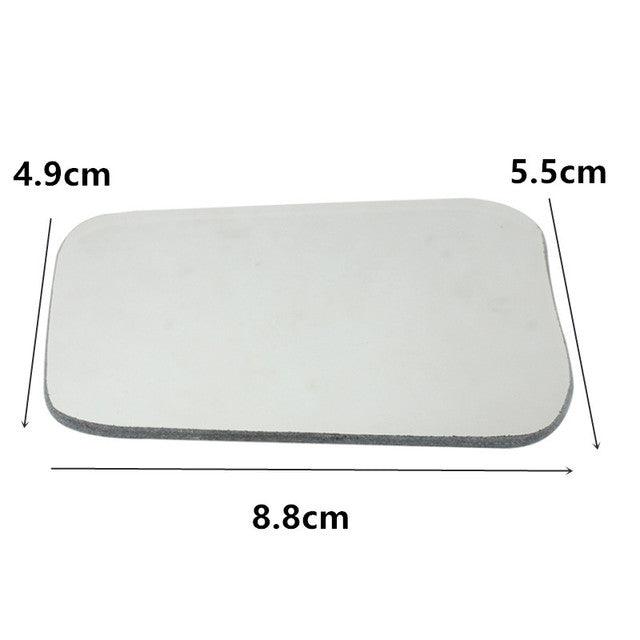
- The occlusal mirror should rest close to the teeth of the opposite jaw to avoid reflections in the image.
- For side mirrors, follow the same principle to maintain clarity and focus.
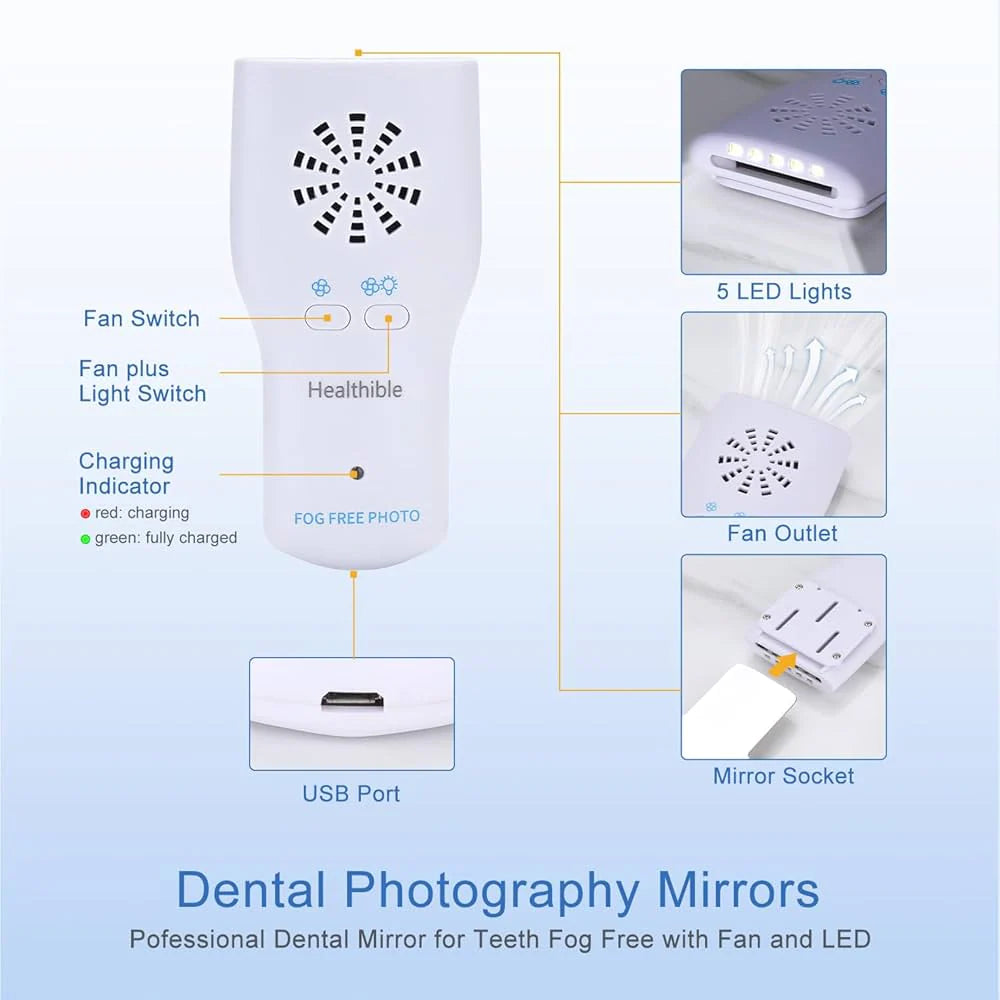
Prevent Fogging: Warm the mirror with hot water and ask the patient to hold their breath briefly to avoid fogging during exposure.
Frame Composition: Ensure the patient's nose does not appear in occlusal images. The front teeth should be at the edge of the frame, with the dental arch evenly filling the field.
Dry Surfaces: Use air to dry the teeth and gums before photographing to reduce saliva reflections.
Fluorescence Photography: For capturing tooth fluorescence and restorations, maximize the camera's ISO and turn off the flash.
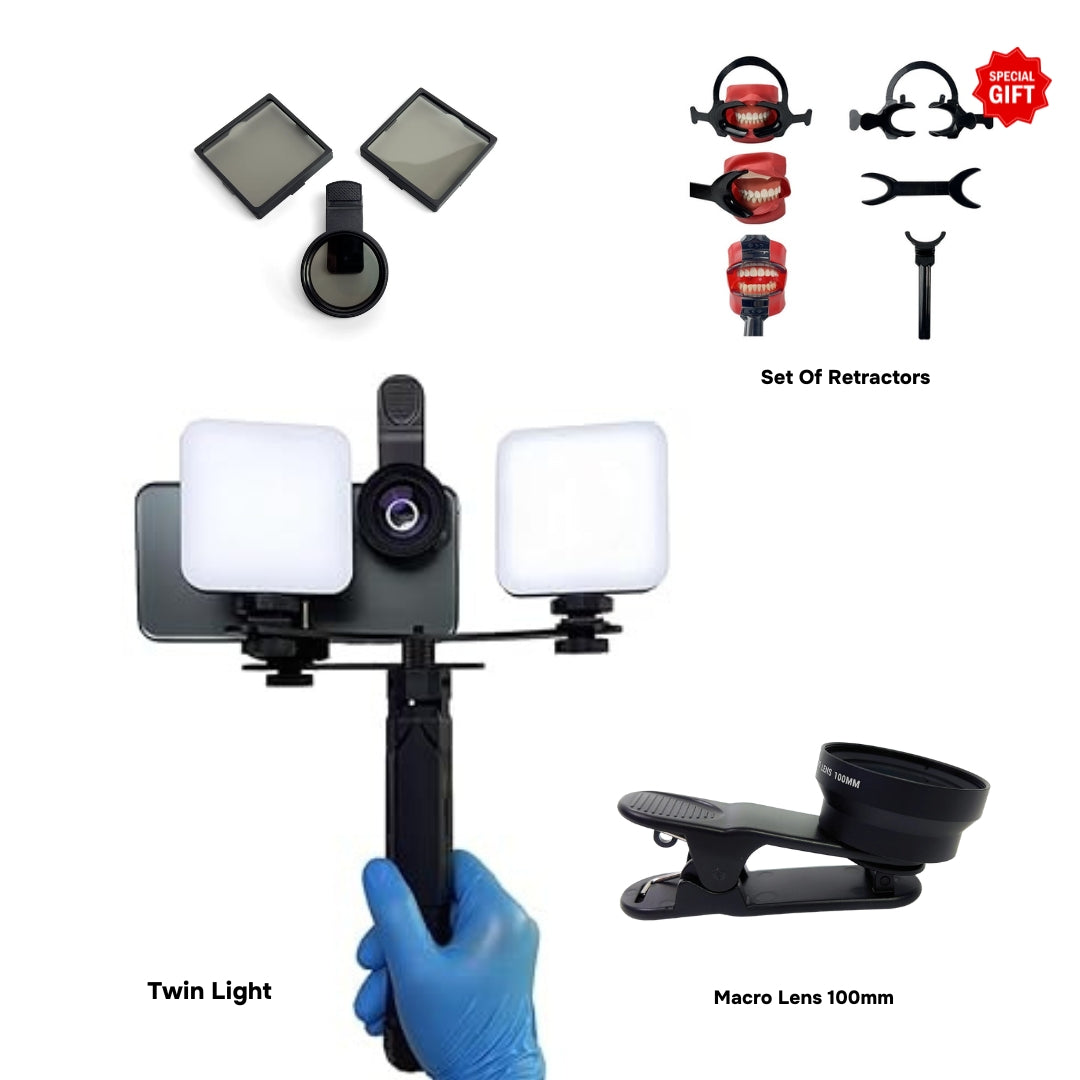
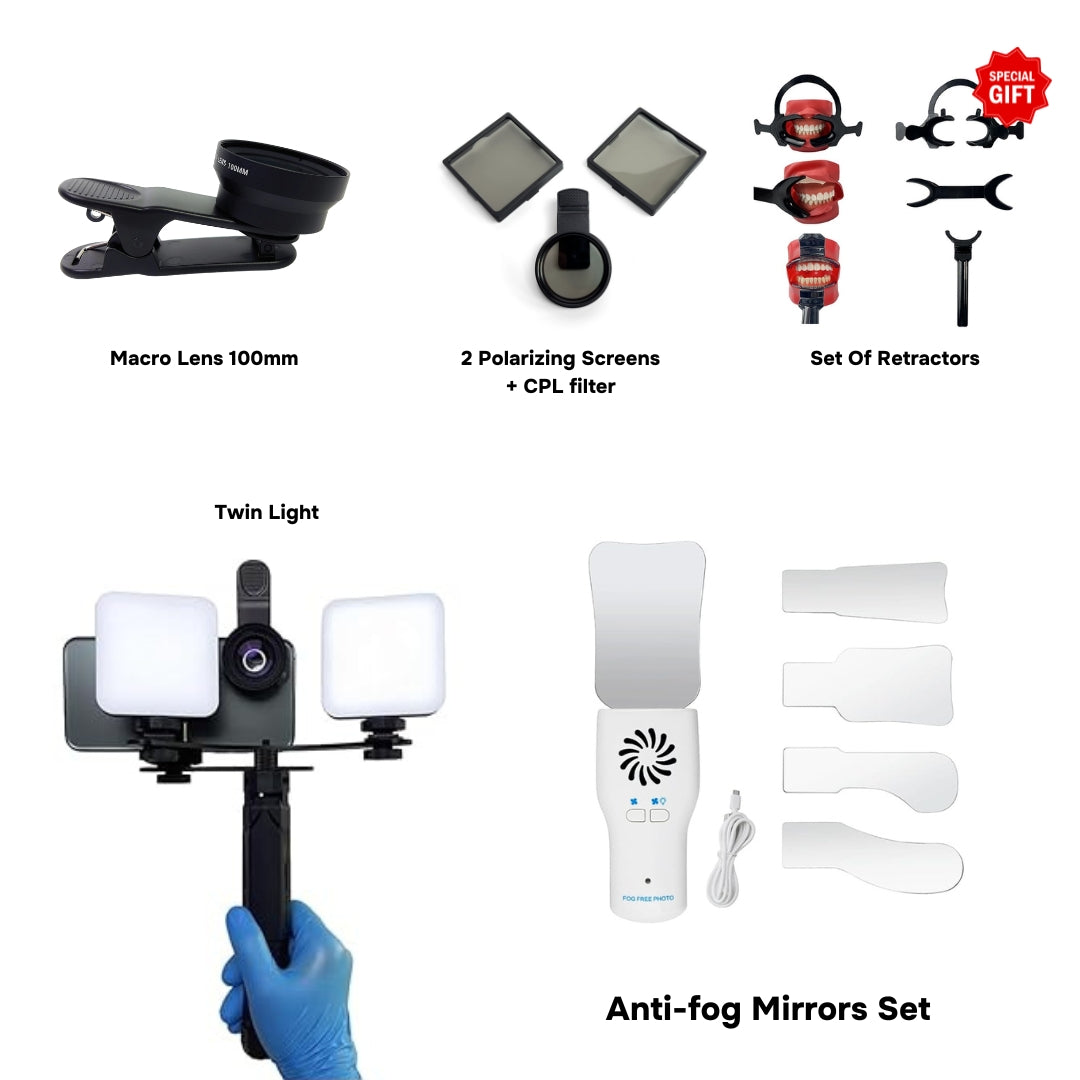
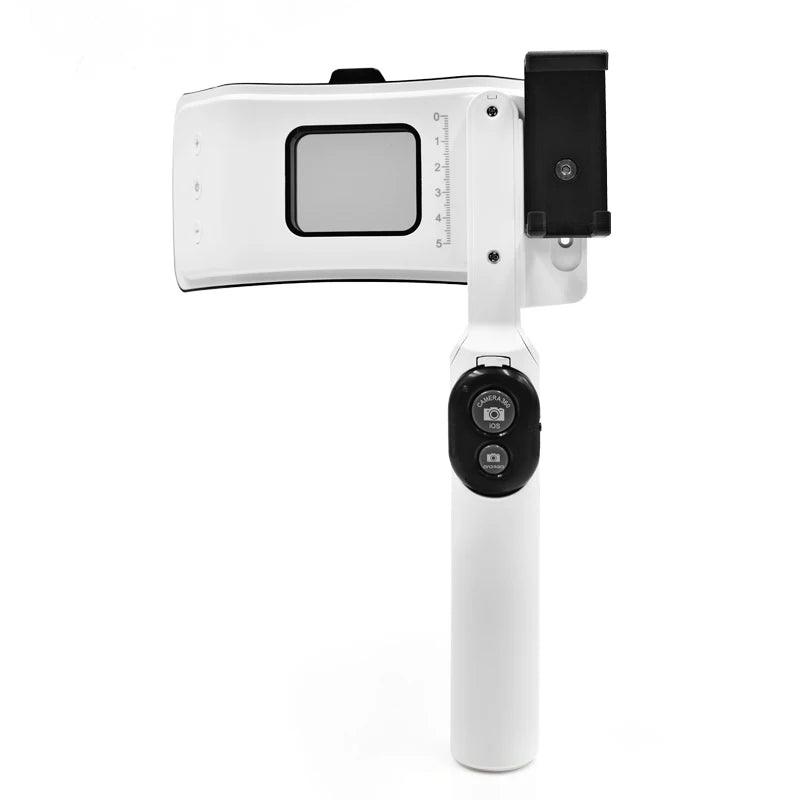
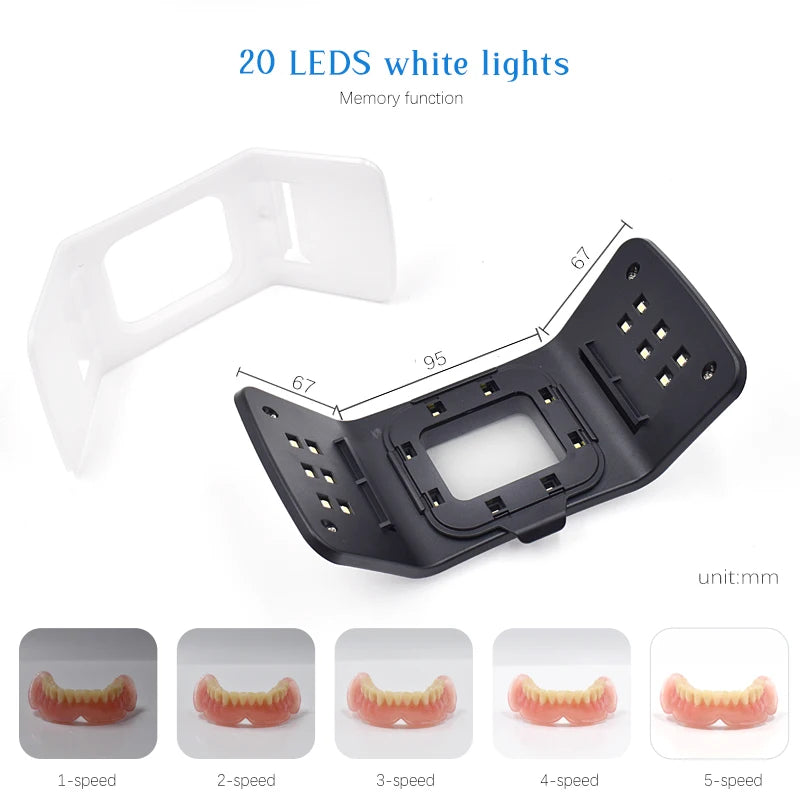
Need Dental Photography Accessories?
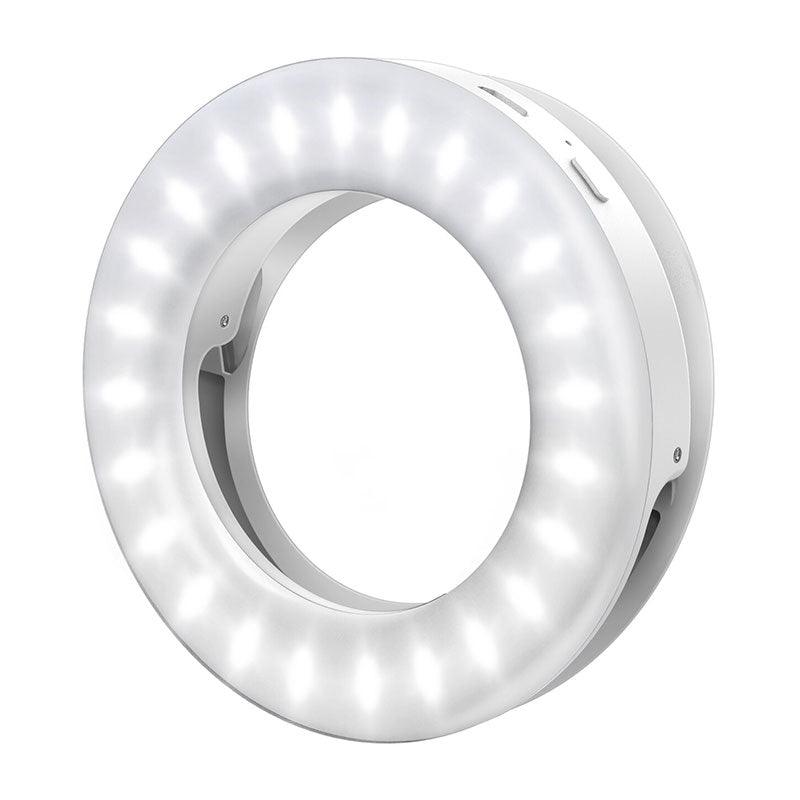
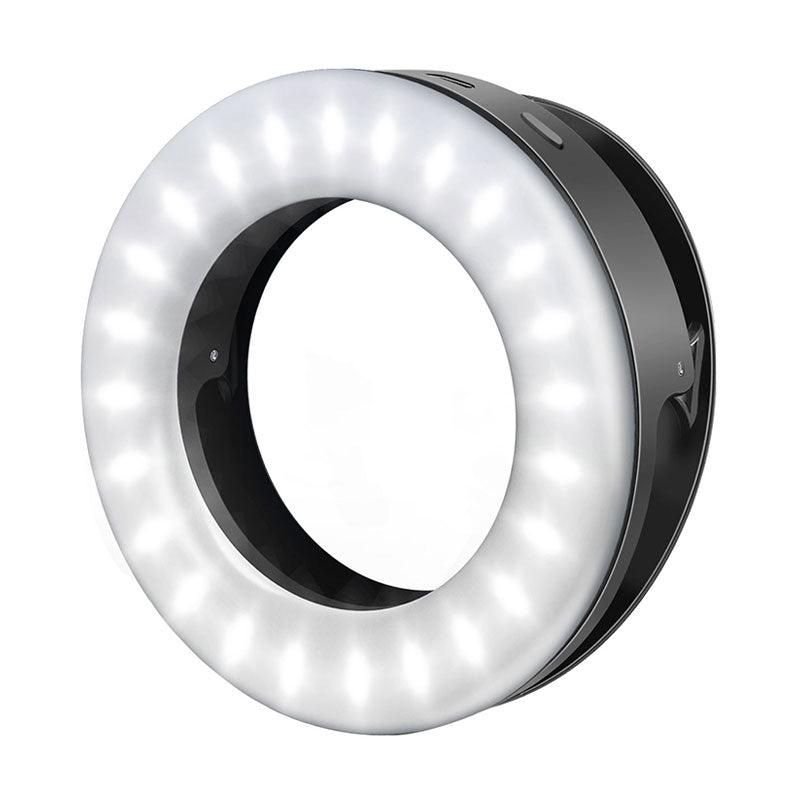
Enhance your dental photography setup with the right tools. Visit DENTIPHOTO.COM for the best selection of accessories and free worldwide shipping.
Equip your dental practice with high-quality accessories to capture professional images that impress and inform.

